
Latest & Greatest
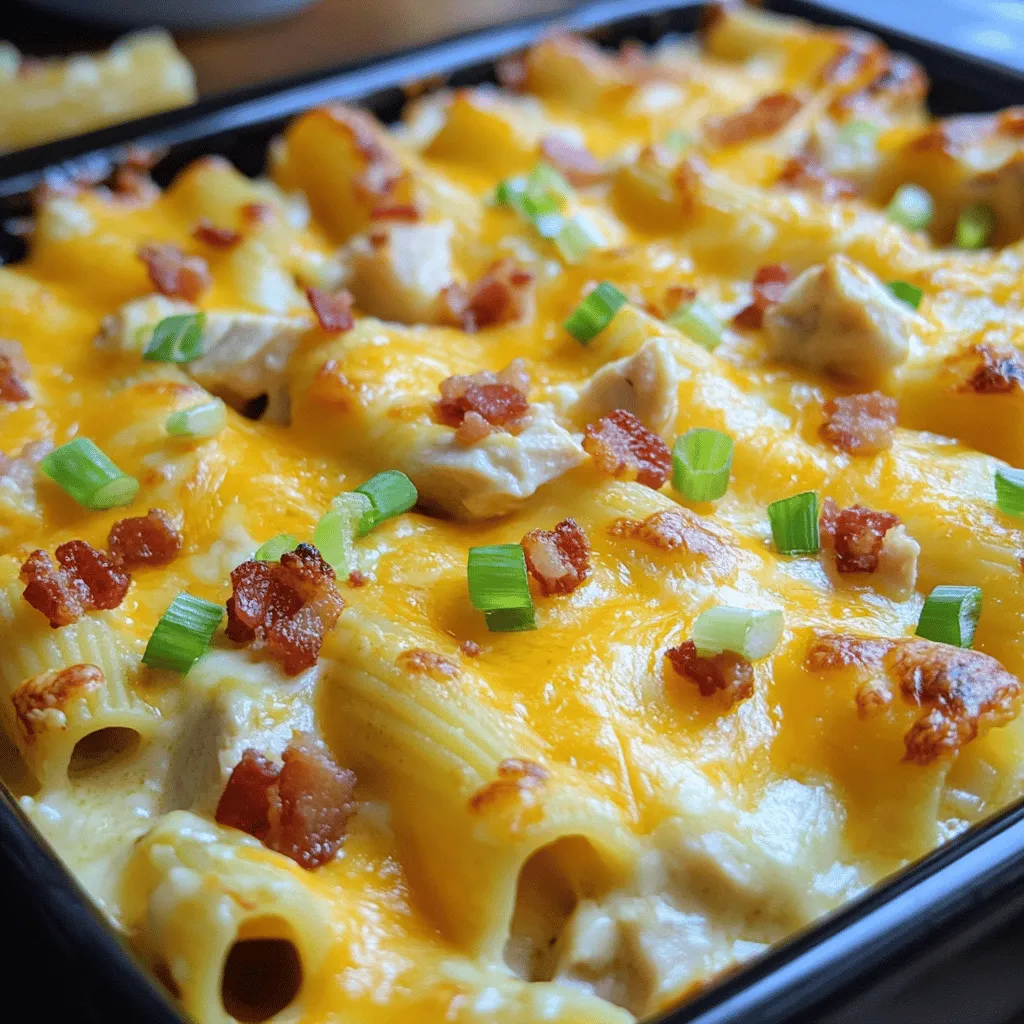
Crack Chicken Baked Ziti Delicious and Easy Comfort Meal
If you’re craving a dish that combines ease with flavors that’ll make you swoon, you’ve got to try Crack Chicken
Read more…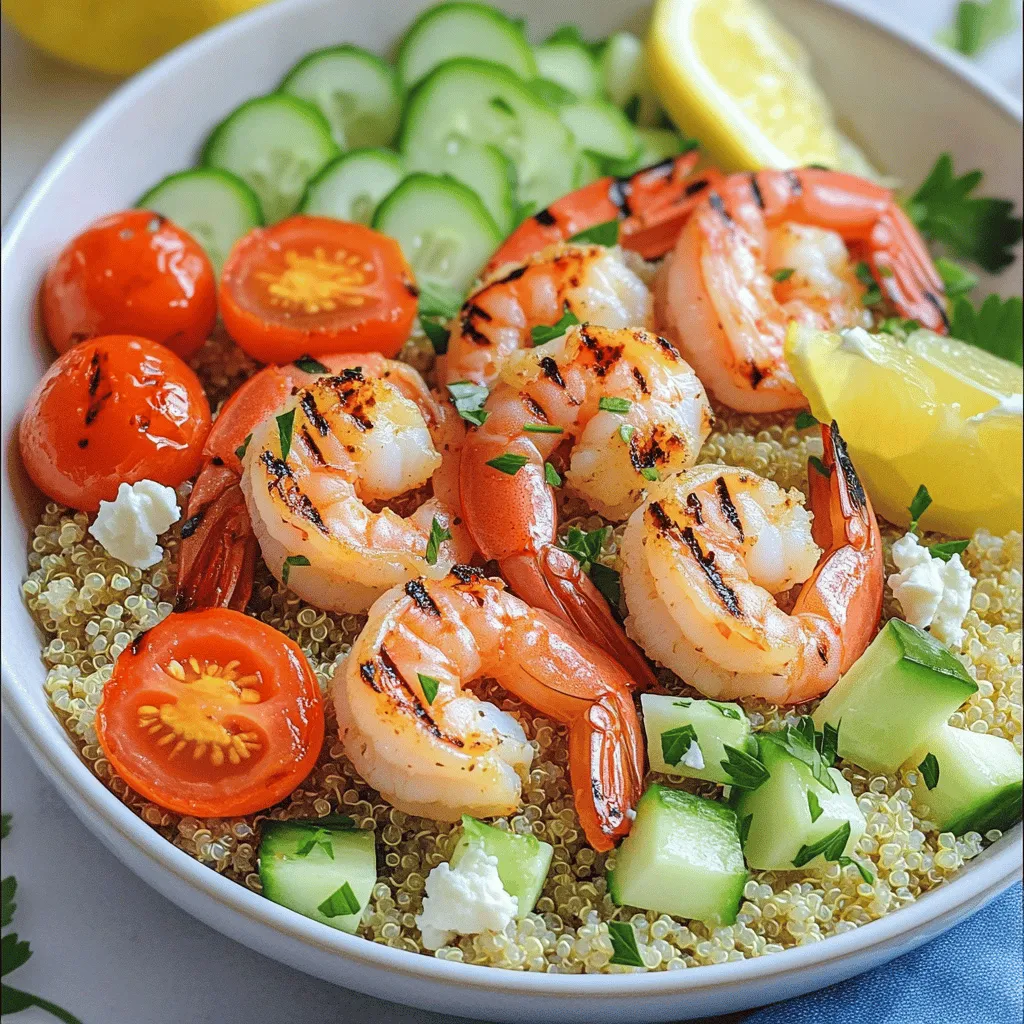
Grilled Shrimp Bowl with Garlic Sauce Flavor Boost
Dive into the delicious world of grilled shrimp with this easy Grilled Shrimp Bowl with Garlic Sauce! I’m excited to
Read more…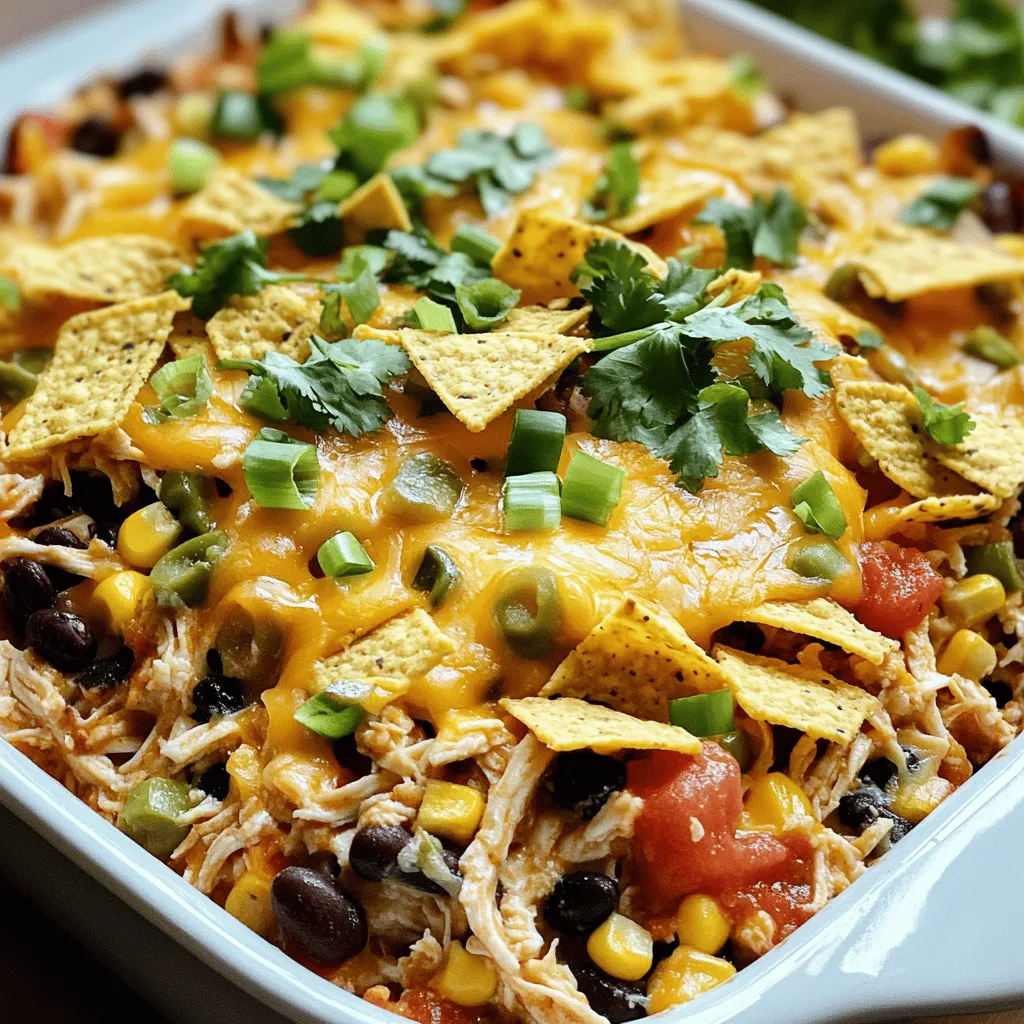
Chicken Taco Casserole Flavorful and Simple Dinner
Craving a quick and tasty meal? Look no further! My Chicken Taco Casserole is easy to make and packed with
Read more…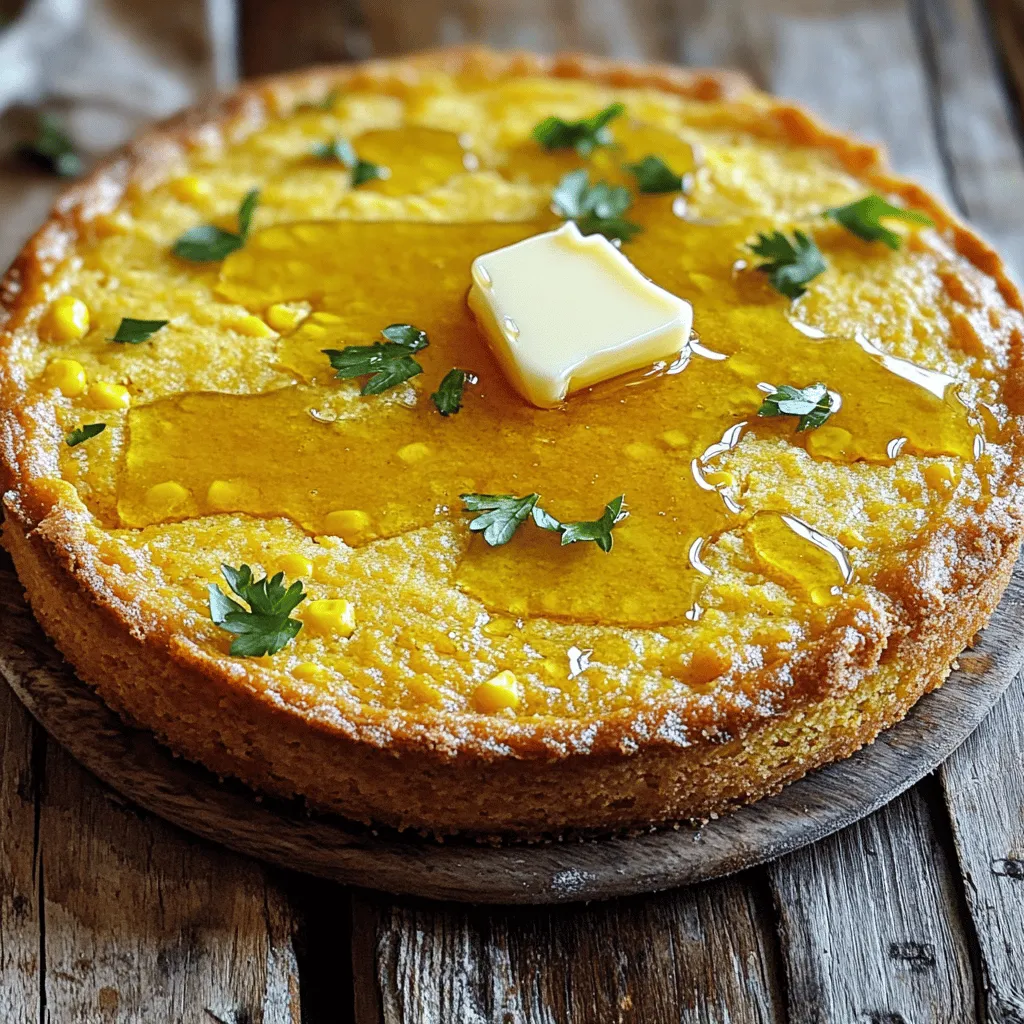
Sweet Cornbread Recipe Easy and Delicious Treat
Are you looking for a treat that’s both sweet and easy to make? Look no further! My sweet cornbread recipe
Read more…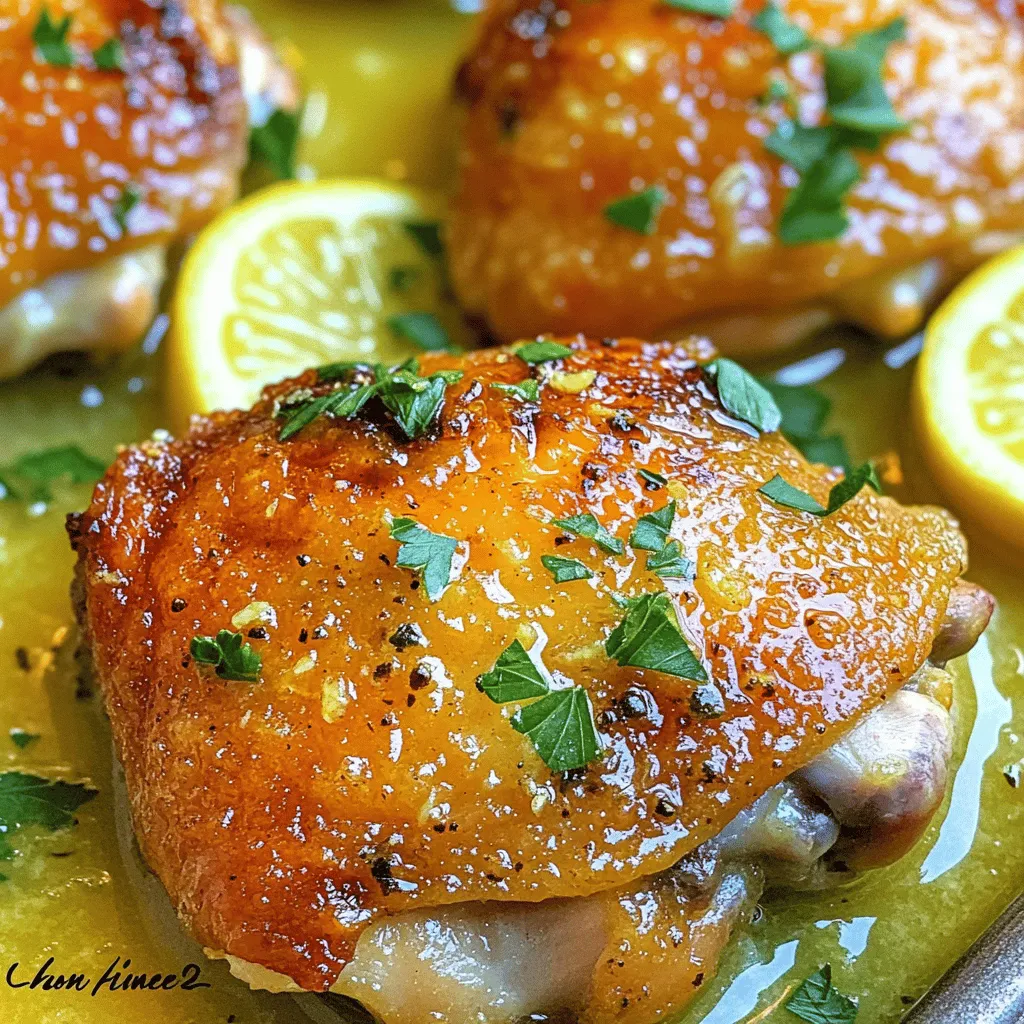
Baked Lemon Butter Chicken Juicy and Flavorful Meal
If you’re craving a dish that’s both juicy and packed with flavor, you’re in the right place! My Baked Lemon
Read more…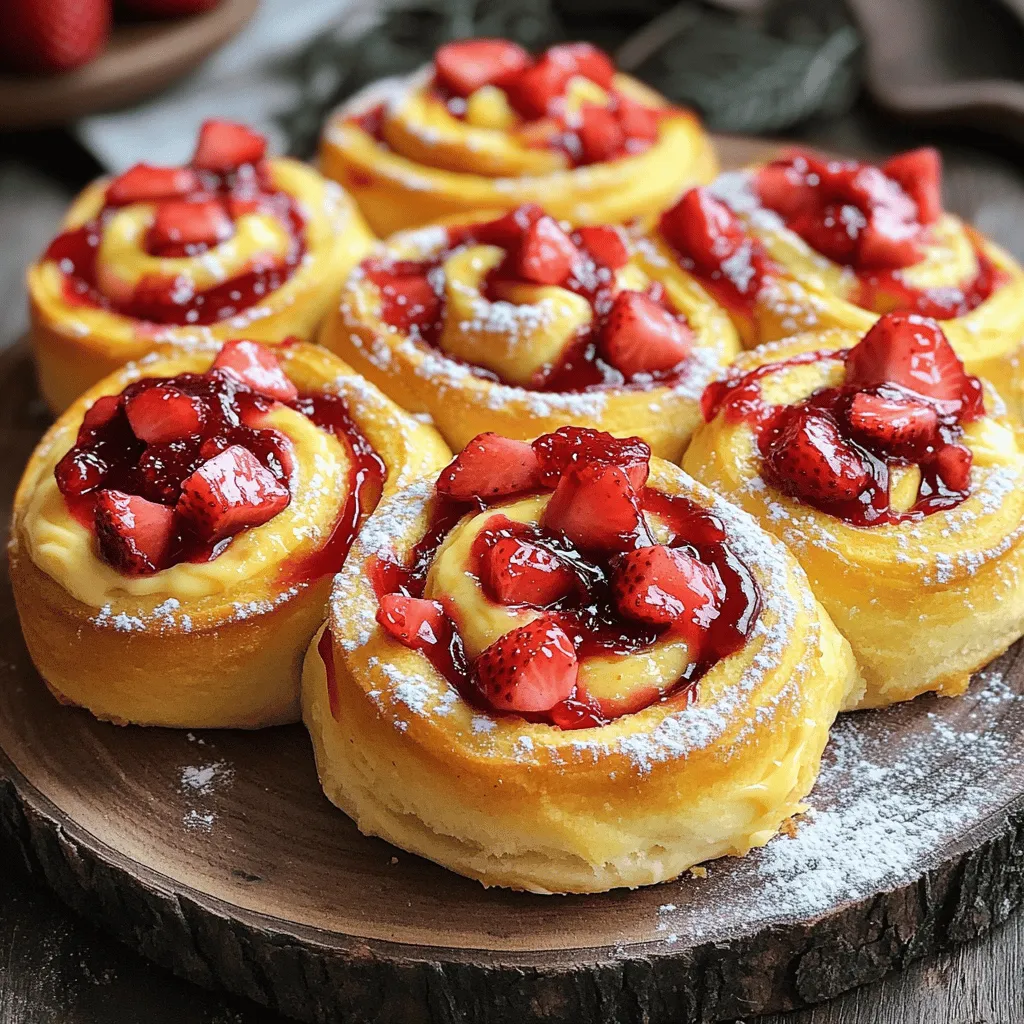
Strawberry Cheesecake Sweet Rolls Irresistible Delight
If you’re craving a sweet treat that combines the best of strawberry cheesecake and warm rolls, you’re in for a
Read more…
Dwarven Feast Delightful Recipe for Flavorful Fun
If you crave a hearty meal filled with flavor and fun, the Dwarven Feast is your answer. This delightful recipe
Read more…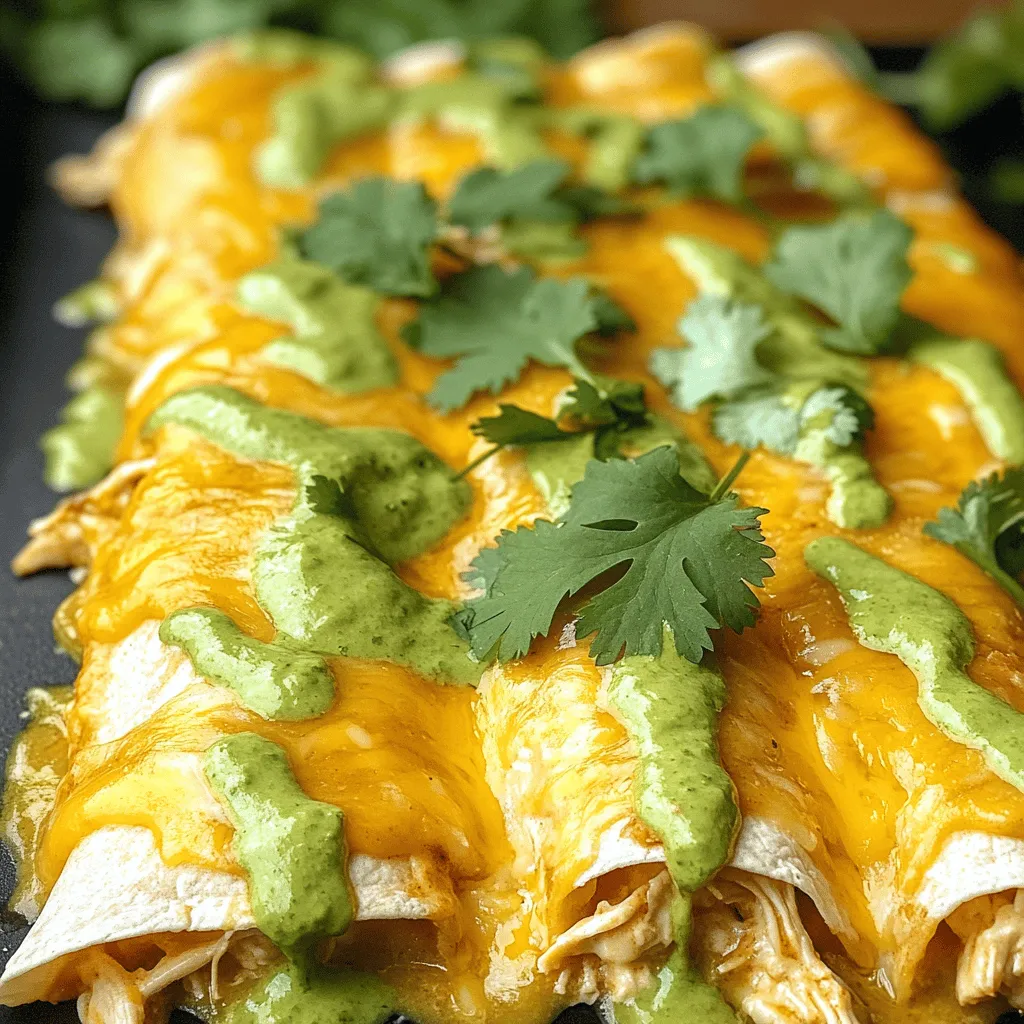
Easy Cream Cheese Chicken Enchiladas Simple and Tasty
Looking for a quick dinner that’s both simple and delicious? These Easy Cream Cheese Chicken Enchiladas are perfect for you!
Read more…browse recipes


![For this dish, you need simple and fresh items. The main ingredients include: - 20 jumbo pasta shells - 2 cups cooked chicken, shredded - 1 cup fresh spinach, chopped - 1 cup ricotta cheese - 1 cup mozzarella cheese, shredded - 1/2 cup Parmesan cheese, grated - 1 egg, beaten - 2 cups marinara sauce - 1 teaspoon garlic powder - 1 teaspoon onion powder - Salt and pepper to taste - Fresh basil leaves for garnish These ingredients come together to create a tasty meal. The chicken brings protein, while the spinach adds nutrients. The cheeses create a creamy texture that makes each bite rich and satisfying. You can enhance your stuffed shells with a few extras. Consider adding: - 1 teaspoon Italian seasoning - Red pepper flakes for a little spice - Fresh herbs like parsley or oregano These optional ingredients can boost the flavors and make your dish unique. They allow you to customize your meal based on your taste. To make cooking easier, use the right tools. Here are some recommended items: - Large pot for boiling pasta - Mixing bowl for the filling - Baking dish (9x13 inches) - Spoon or spatula for mixing - Aluminum foil to cover the dish Having these tools ready will help you cook smoothly. Good tools make the process fun and keep your kitchen organized. For the full recipe, check out the guidelines that include every step you need. Start by preheating your oven to 375°F (190°C). Next, cook the jumbo pasta shells. Follow the package instructions and boil them until they are al dente. This means they should still have a slight firmness. Drain the shells and set them aside to cool for a few minutes. You want to make sure they are easy to handle. In a large mixing bowl, add the cooked chicken. Shred it into small pieces. Then, add the chopped fresh spinach. Mix in the ricotta cheese, half of the mozzarella cheese, and grated Parmesan cheese. Next, crack an egg into the bowl and add garlic powder, onion powder, salt, and pepper. Stir everything together until it is well combined. This filling is packed with flavor and nutrients. Now it's time to stuff the pasta shells. Take each shell and fill it with the chicken and spinach mixture. Place the stuffed shells in a 9x13 inch baking dish. Once all the shells are filled, pour marinara sauce evenly over them. Sprinkle the remaining mozzarella cheese on top. Cover the dish with aluminum foil and place it in the oven. Bake for 25 minutes. After that, take off the foil and bake for an extra 10-15 minutes. The cheese should become bubbly and golden. Let the dish sit for 5 minutes before serving. Garnish with fresh basil leaves for a nice touch. You can find the Full Recipe [here]. Cooking pasta shells may seem simple, but a few tricks help. Always cook the shells until they are al dente. This way, they stay firm and hold the filling well. Follow the package instructions for timing. After cooking, drain the shells and rinse them with cold water. This stops the cooking and keeps them from sticking together. Stuffing shells can get messy, but practice makes perfect. Use a spoon or a piping bag to fill each shell. Fill them generously but avoid overstuffing. This helps the shells stay intact while baking. Place the shells in your baking dish with the opening facing up. This way, they soak up the sauce and flavors better. Once your stuffed shells are ready, serve them hot. They pair well with a fresh salad or garlic bread. You can also sprinkle some extra Parmesan cheese on top for added flavor. For drinks, a light white wine or sparkling water makes a nice choice. Want to try something different? Add a side of roasted vegetables for a colorful plate. For the full recipe, check out the [Full Recipe]. {{image_2}} If you want a vegetarian spin on this dish, swap the chicken for more veggies. Use mushrooms, zucchini, or bell peppers. You can also add more spinach or even kale for extra greens. For the cheese, you might try using cottage cheese instead of ricotta. This will keep the dish creamy and delicious without meat. You can change up the protein in these stuffed shells to suit your taste. Ground turkey or beef works well. If you prefer seafood, cooked shrimp or crab meat adds a nice twist. Just make sure to cook any raw meat before mixing it with the other filling ingredients. This way, everything cooks evenly in the oven. While marinara sauce is a classic choice, feel free to get creative with your sauce. Try Alfredo sauce for a rich and creamy taste. A pesto sauce can add a fresh and herby flavor. For a spicy kick, a arrabbiata sauce can bring heat to the dish. You can even mix sauces for a unique blend that makes your meal stand out. For the full recipe, check out the instructions above. After enjoying your Chicken and Spinach Stuffed Shells, store any leftovers promptly. Use an airtight container to keep them fresh. Place the shells in a single layer if possible. This way, they won't stick together. Store them in the fridge for up to three days. Always check for signs of spoilage before eating. Freezing is a great option for meal prep. To freeze, let the stuffed shells cool completely. Then, place them in a freezer-safe container or a zip-top bag. Make sure to label the bag with the date. They can last up to three months in the freezer. For best results, freeze them before baking. This keeps the flavors fresh. When you’re ready to enjoy your frozen stuffed shells, there are easy ways to reheat them. For frozen shells, thaw them overnight in the fridge. Preheat your oven to 375°F (190°C). Place the shells in a baking dish and cover with foil. Bake for about 25 minutes. If they are refrigerated, bake for about 15 minutes. Check with a fork to make sure they are hot in the center. Enjoy your tasty meal! Yes, you can make Chicken and Spinach Stuffed Shells ahead of time. You can prepare them and then store them in the fridge before baking. This saves time on busy days. Just cover the dish with foil and keep it in the fridge for up to 24 hours. When you are ready to eat, bake it straight from the fridge. You may need to add a few extra minutes to the baking time. If you don’t have ricotta cheese, there are great substitutes. You can use cottage cheese, cream cheese, or even Greek yogurt. Each of these will change the flavor a bit. Cottage cheese gives a nice texture. Cream cheese adds a rich taste. Greek yogurt makes it creamy and tangy. Choose one based on what you like. Stuffed shells can last about 3 to 5 days in the fridge. Make sure to store them in an airtight container. This keeps them fresh and prevents odors from other foods. When you reheat them, make sure they are warmed all the way through. Enjoy your tasty meal again! For the complete recipe, check out the Full Recipe. Chicken and spinach stuffed shells are a great dish to make at home. We covered the main ingredients, optional flavors, and tools to use. You learned how to prepare, fill, and bake your shells perfectly. Plus, I shared tips for storing leftovers and meal prep. You can even experiment with variations and find what you love most. Use this guide to enjoy a delicious meal with ease. Now, it's time to get cooking and savor each bite!](https://lisadishes.com/wp-content/uploads/2025/06/c9318db0-5624-4189-a6be-1e769a360590.webp)
Chicken and Spinach Stuffed Shells Tasty Family Meal
Looking for a tasty family meal that everyone will love? You’ve found it! Chicken and Spinach Stuffed Shells are the perfect mix of flavor…
My Latest Desserts

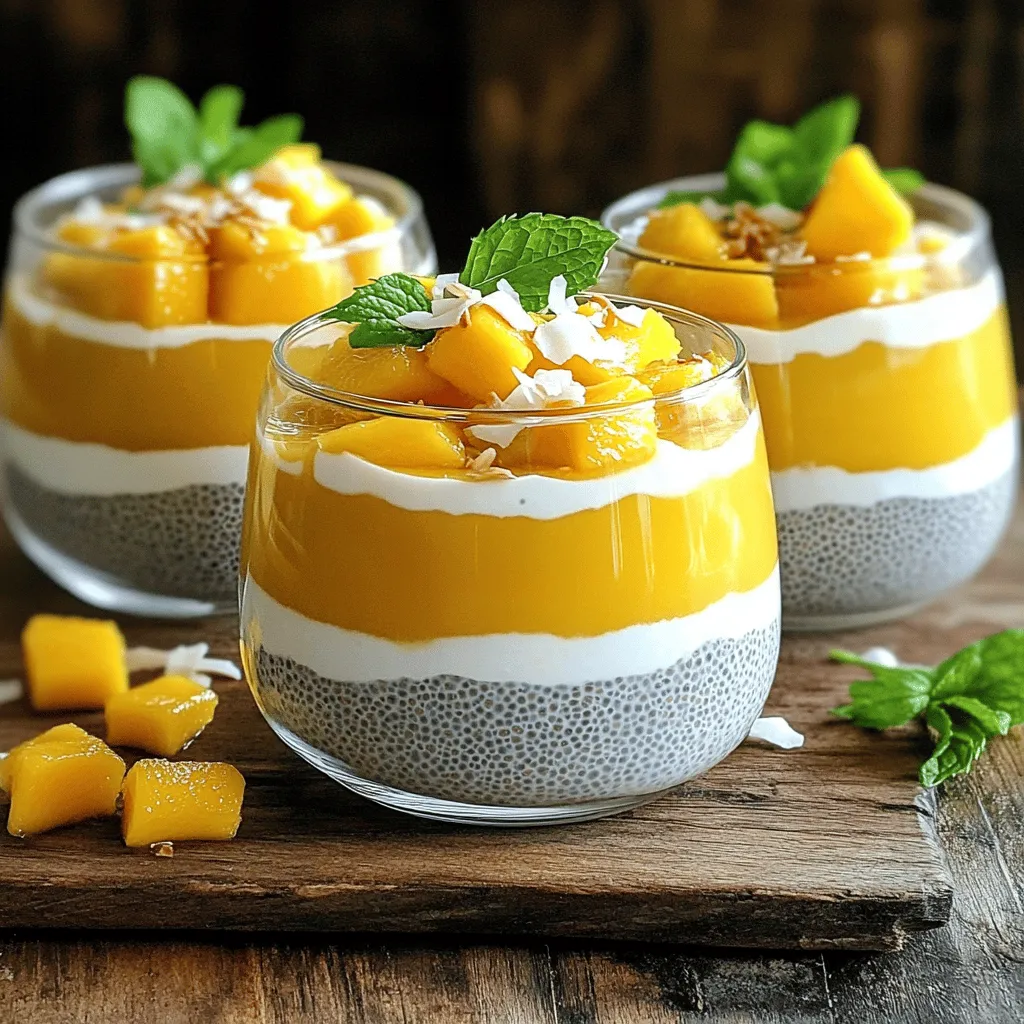
Mango Coconut Chia Pudding Delicious and Nutritious Treat
Are you ready to treat yourself to something truly delicious and nutritious? Mango Coconut Chia Pudding is the perfect way Read Full Recipe-
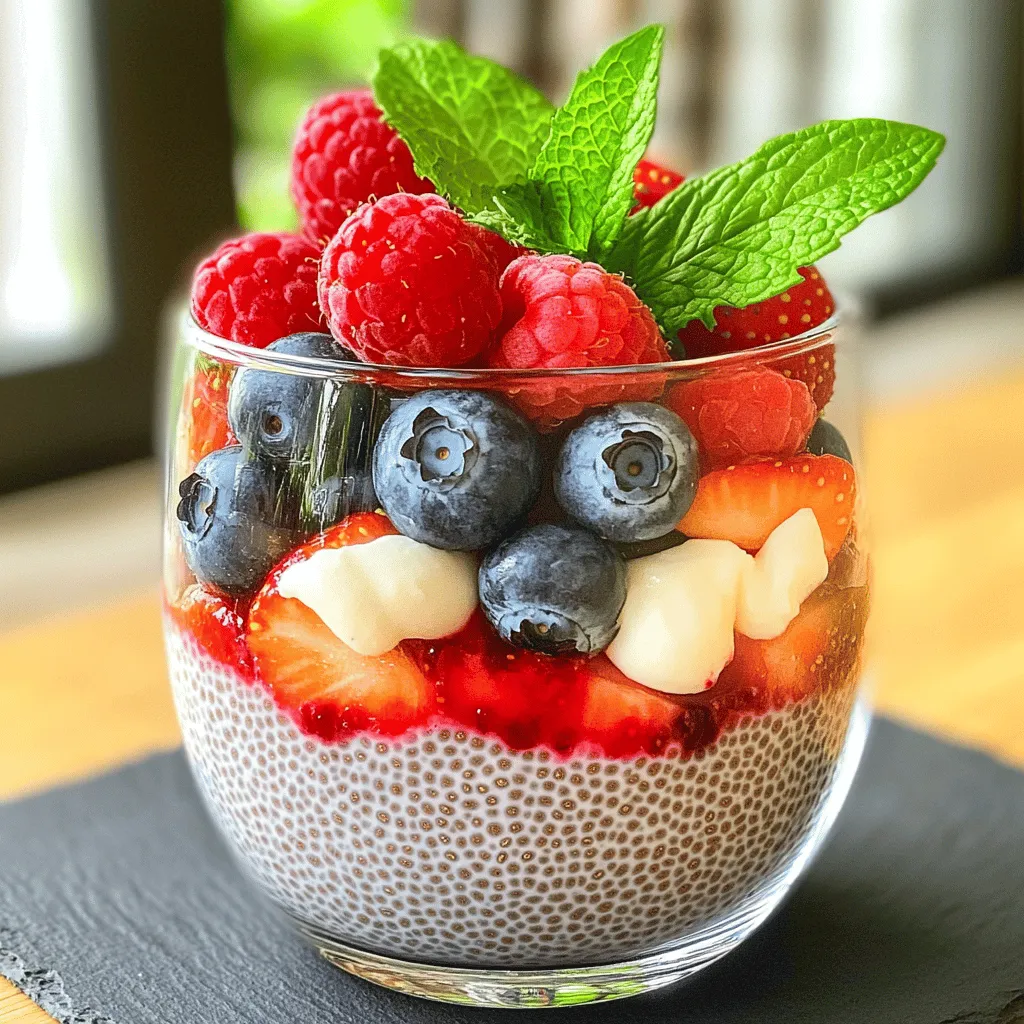
Berry Chia Pudding Simple and Healthy Delight
Berry Chia Pudding is a simple and healthy treat that packs a punch. With just a few easy ingredients, you Read Full Recipe -
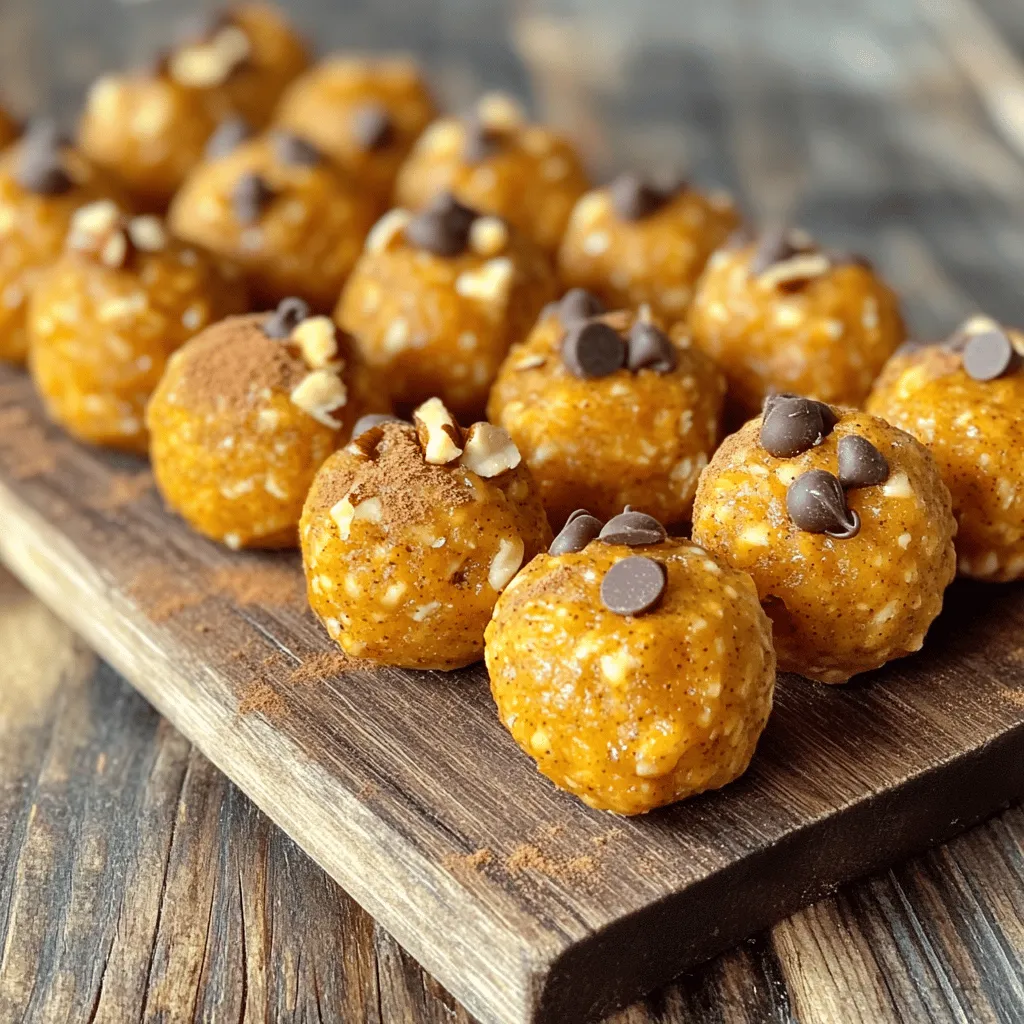
Pumpkin Spice Energy Bites Tasty and Healthy Snack
Looking for a tasty and healthy snack to fuel your day? This Pumpkin Spice Energy Bites recipe is your answer! Read Full Recipe -
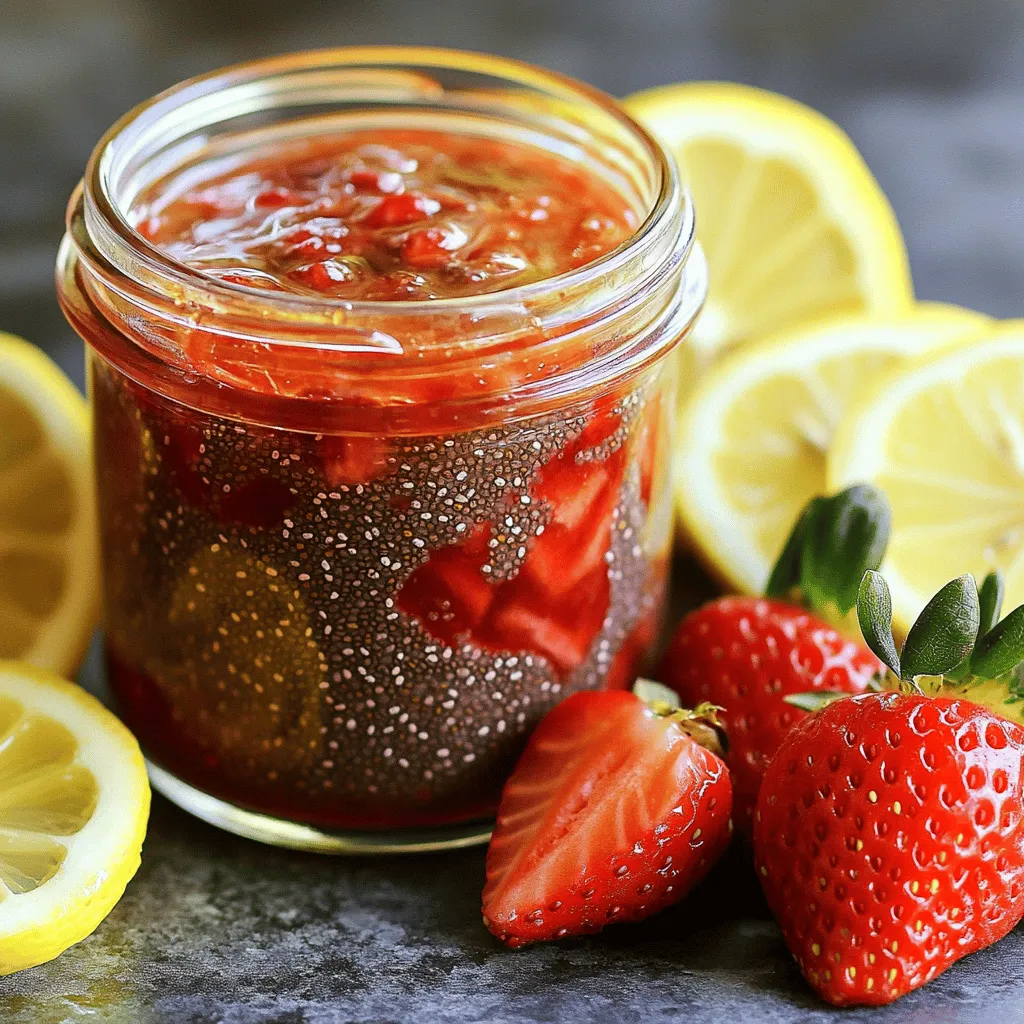
Strawberry Chia Seed Jam Tasty and Healthy Treat
If you’re craving a sweet treat that’s also good for you, I’ve got just the thing: Strawberry Chia Seed Jam! Read Full Recipe -
Pumpkin Spice Muffins Warm and Cozy Fall Treat
Fall is the perfect time for warm and cozy treats, and nothing says autumn like pumpkin spice muffins. These fluffy Read Full Recipe -
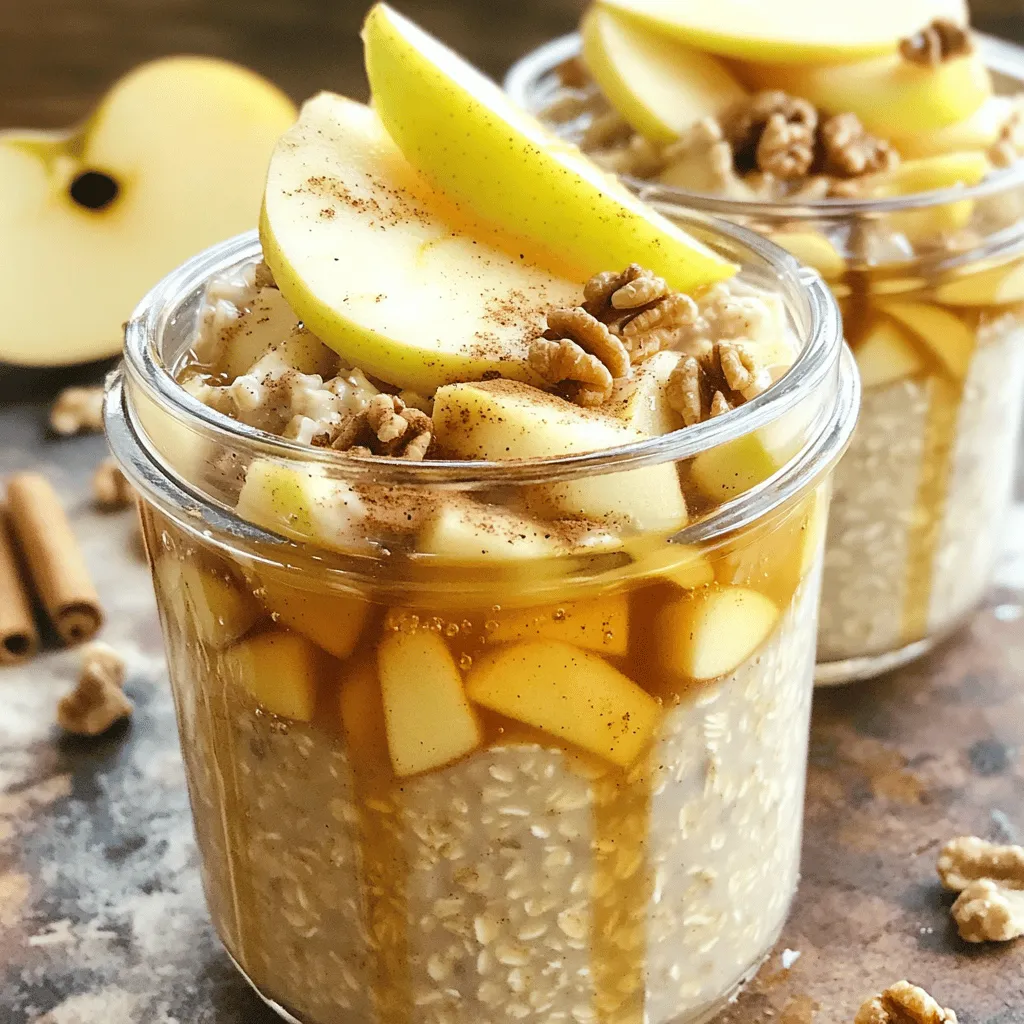
Apple Cinnamon Overnight Oats Healthy Breakfast Option
Looking for a quick and healthy breakfast? You’ve found it! Apple Cinnamon Overnight Oats are the perfect choice for busy Read Full Recipe -
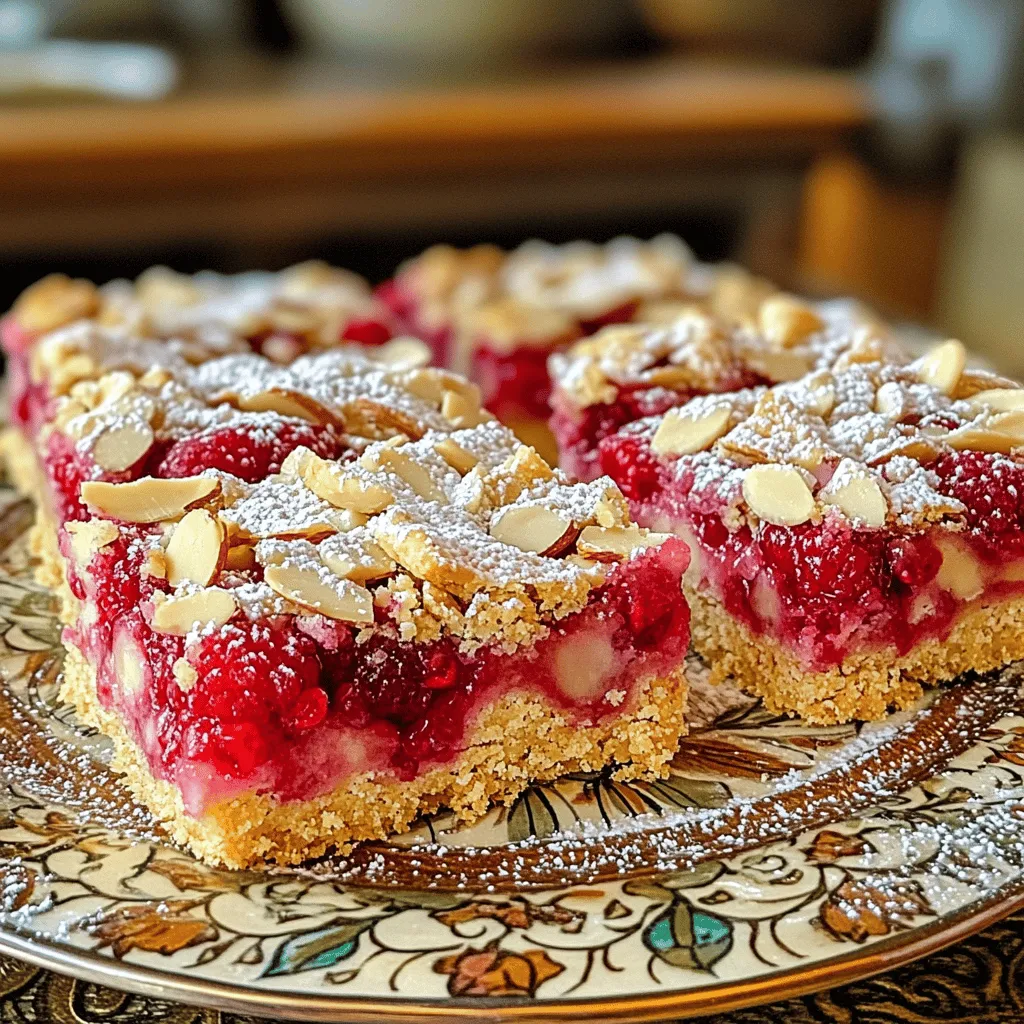
Raspberry Almond Shortbread Bars Simple and Tasty Treat
Looking for a sweet treat that’s easy to make and perfect for any occasion? Raspberry Almond Shortbread Bars are your Read Full Recipe -
Chocolate Covered Strawberry Pops Delightful Treats
Are you ready for a sweet treat? Chocolate Covered Strawberry Pops are delicious and fun to make. I’ll guide you Read Full Recipe -
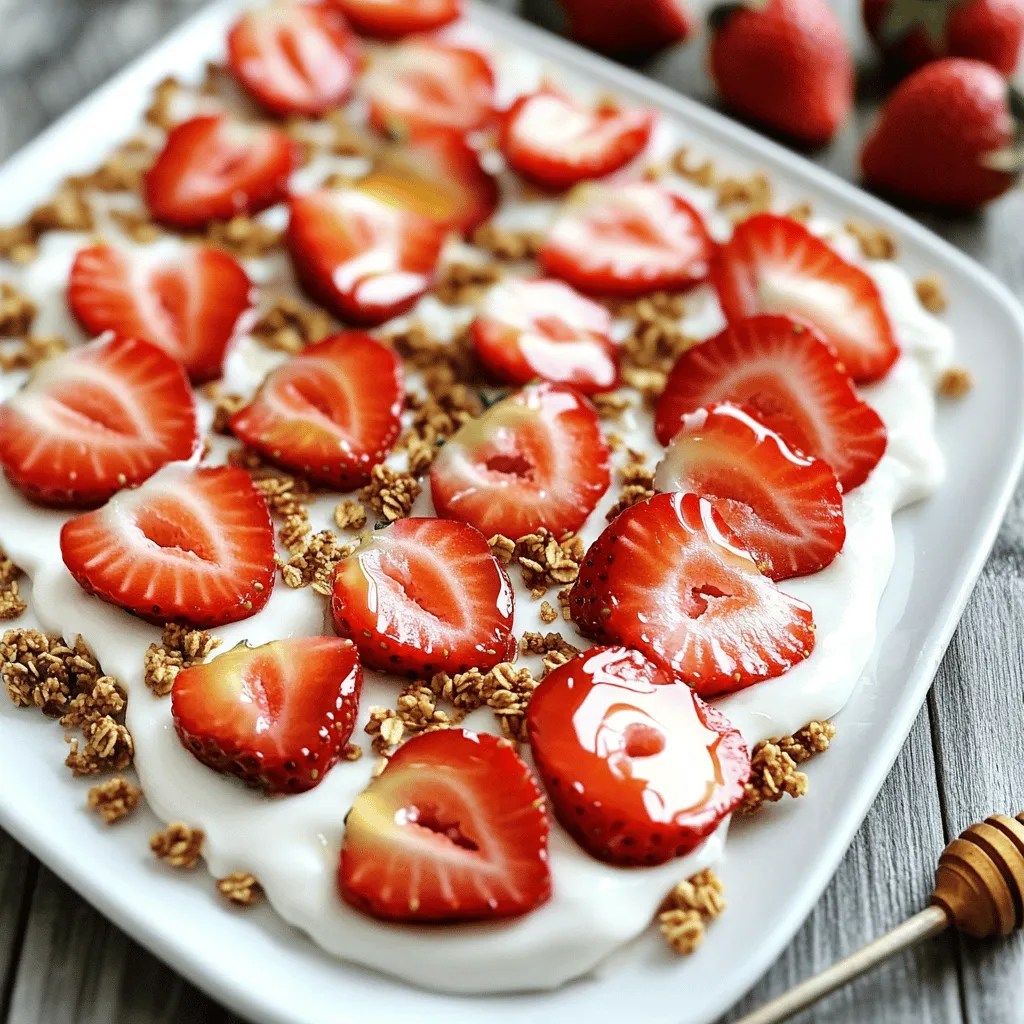
Fresh Strawberry Yogurt Bark Delicious and Easy Treat
Looking for a quick and tasty treat? Fresh Strawberry Yogurt Bark is your answer! This easy recipe combines creamy Greek Read Full Recipe -
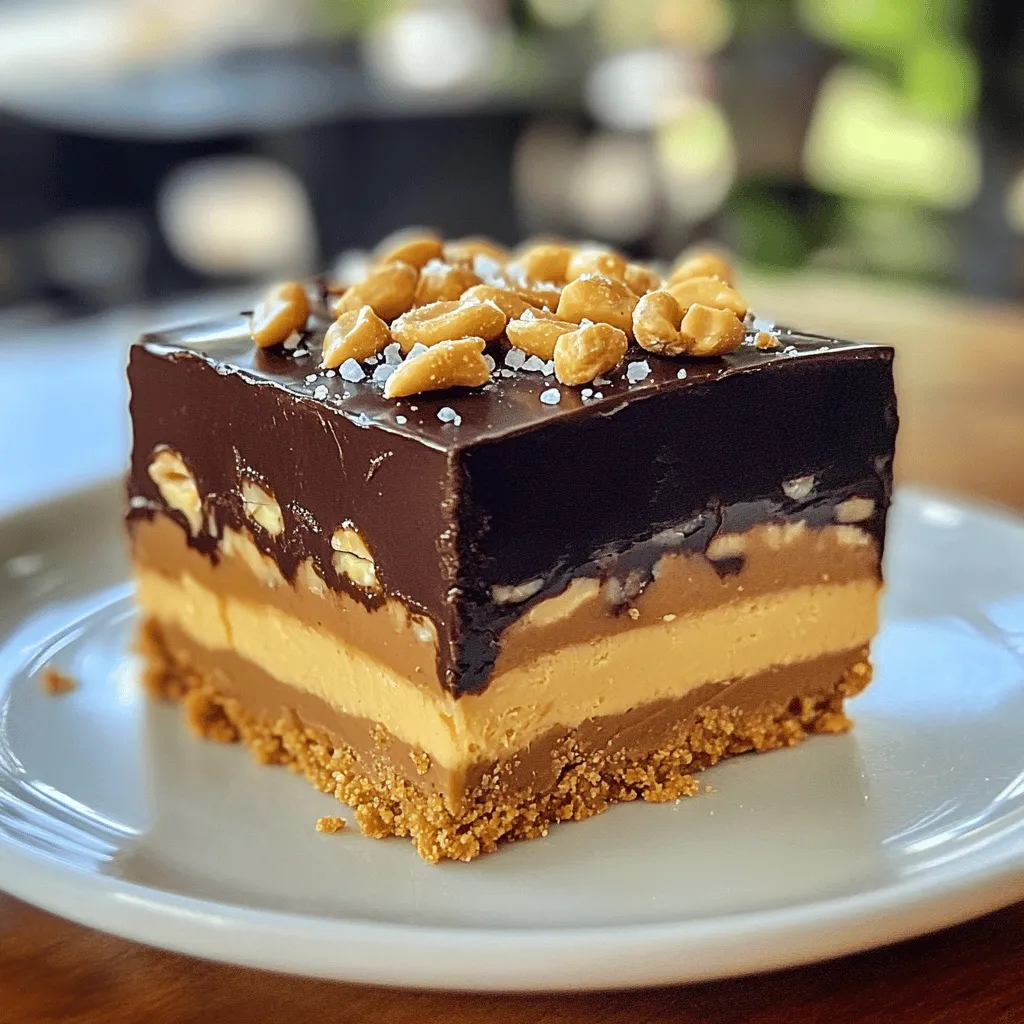
No-Bake Snickers Bars Simple and Decadent Treat
Indulge in a simple and delicious treat with my No-Bake Snickers Bars recipe! These bars come together fast and need Read Full Recipe -
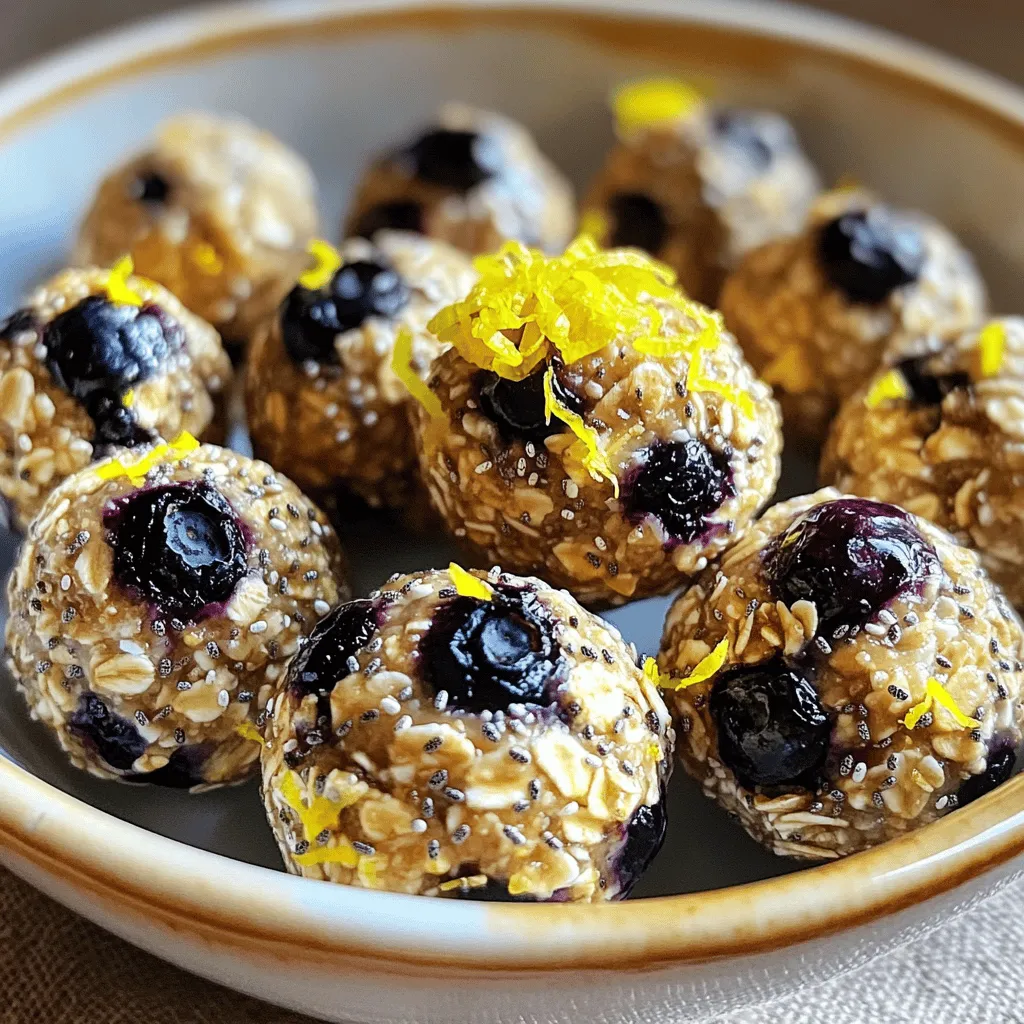
Lemon Blueberry Energy Bites Nourishing Snack Idea
Looking for a tasty, energy-packed snack? Try my Lemon Blueberry Energy Bites! These little balls are the perfect blend of Read Full Recipe -
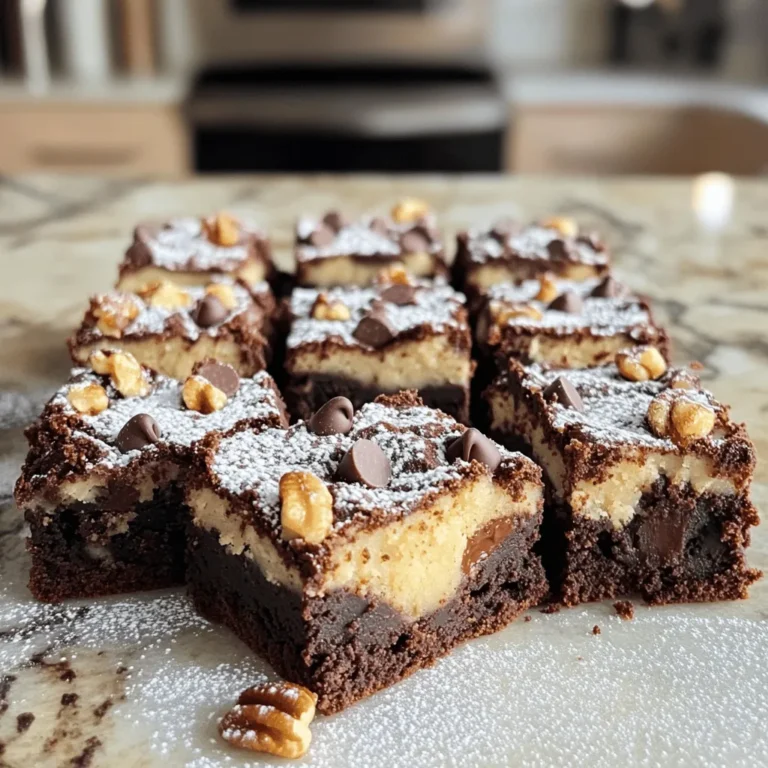
Fudgy Salted Caramel Brownies Rich and Indulgent Treat
Love brownies? Get ready to elevate your dessert game with these Fudgy Salted Caramel Brownies! They combine rich chocolate with Read Full Recipe


hey,
i’m !
I’m so happy you’re here!
Each recipe I share is a little piece of love from my kitchen. May they fill your heart and home with warmth. Let’s cook up something wonderful together.


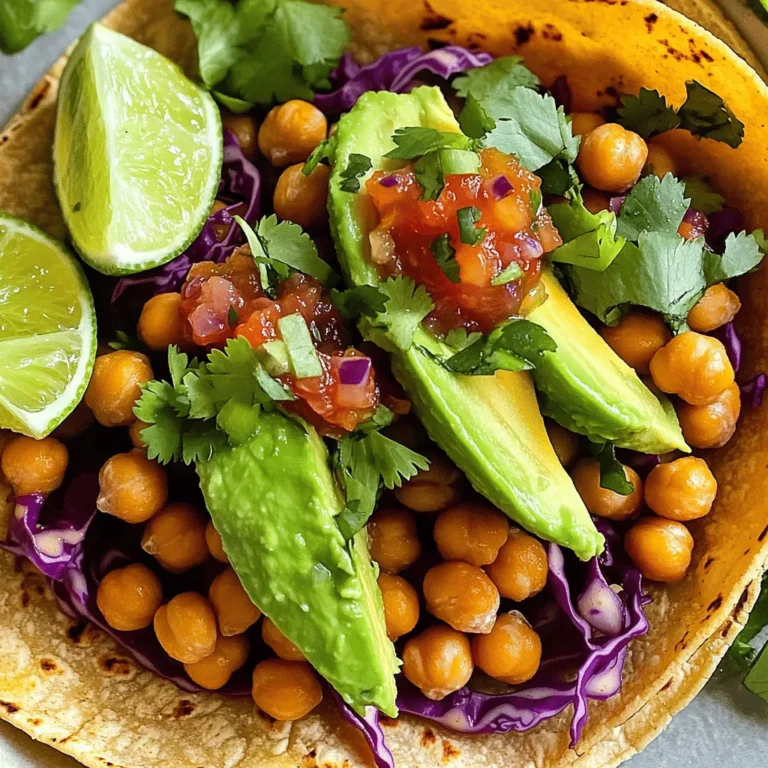
Avocado Chickpea Salad Quick and Easy Recipe
Are you ready to create a flavorful Avocado Chickpea Salad that’s quick and simple? This vibrant dish packs nutrients and tastes great! With creamy…
My Latest Dinners
-
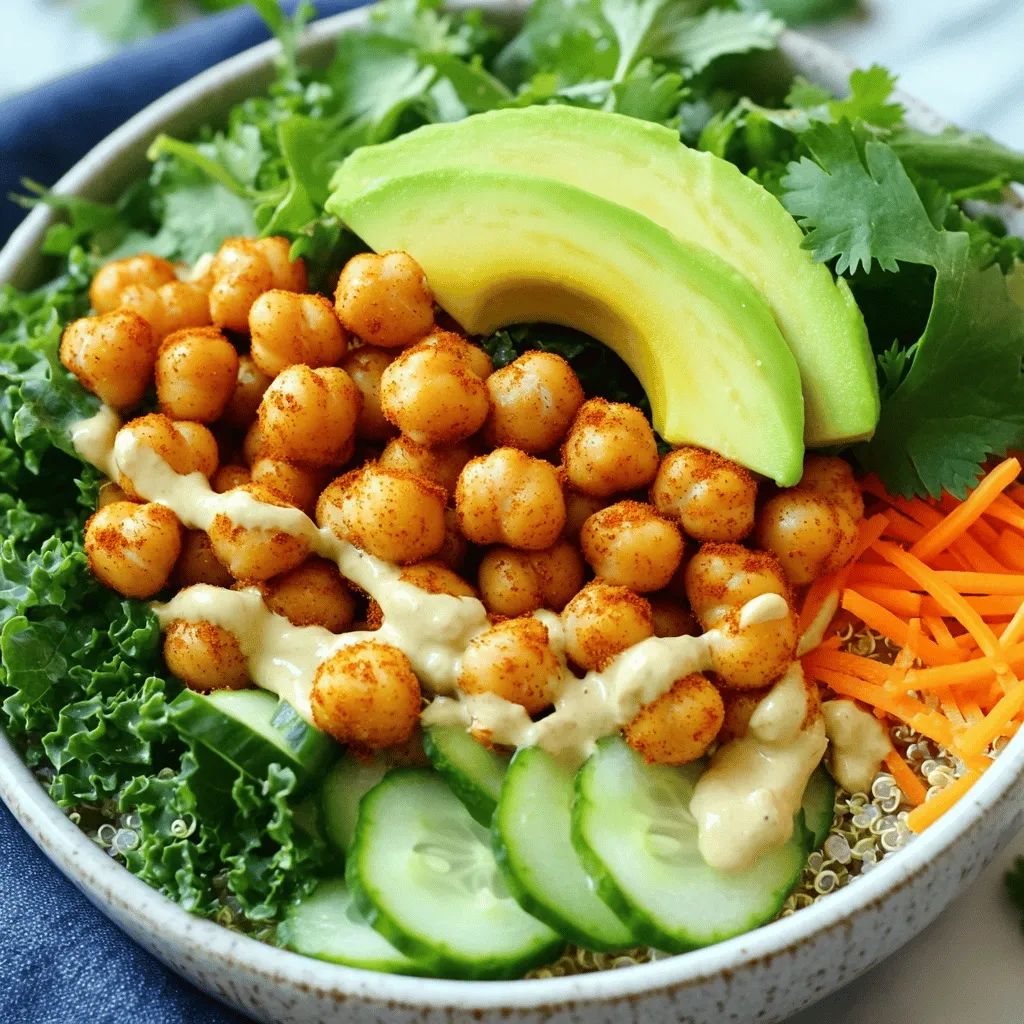
Crispy Chickpea Buddha Bowl Energizing and Nutritious
Looking for a delicious, energizing meal? Try my Crispy Chickpea Buddha Bowl! Packed with protein, fresh veggies, and a zesty Read Full Recipe -
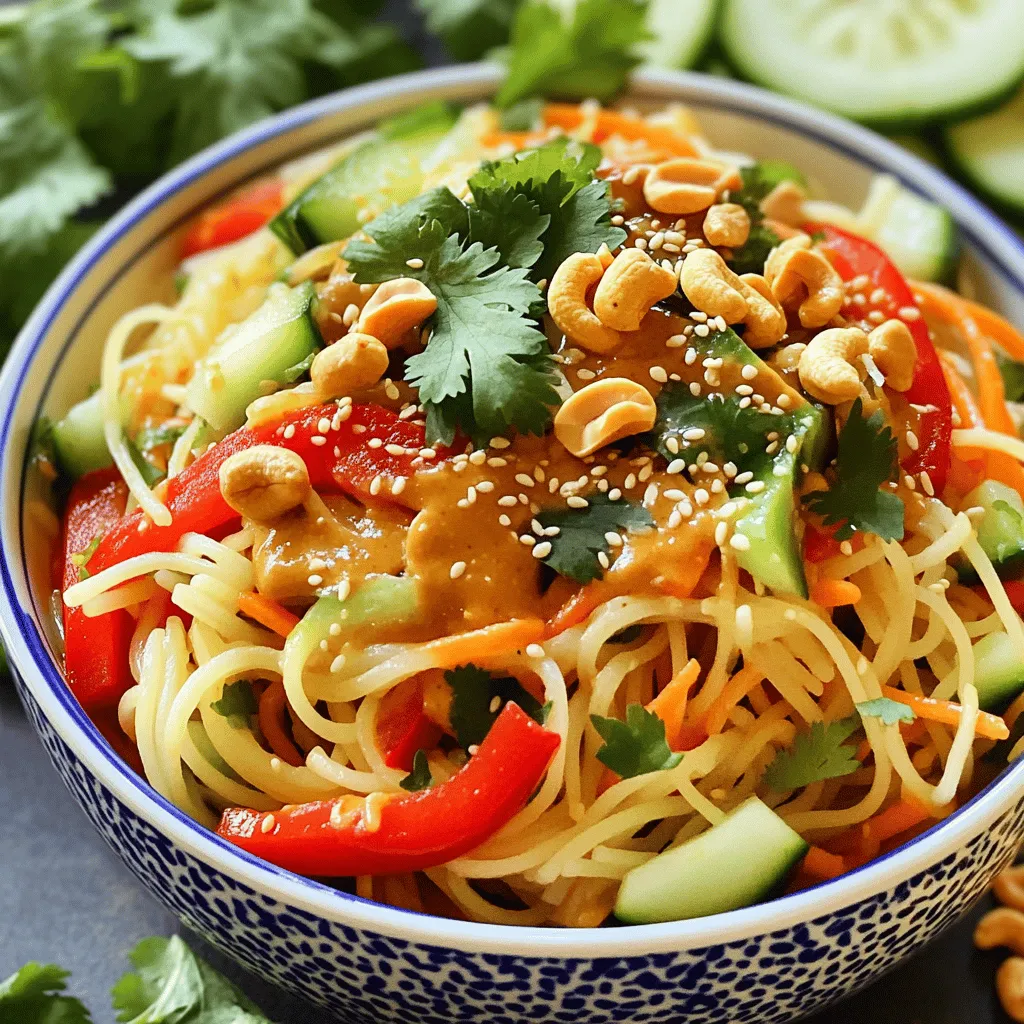
Spicy Cashew Noodle Salad Tasty and Simple Recipe
Are you ready to enjoy a tasty dish that packs a flavorful punch? My Spicy Cashew Noodle Salad is not Read Full Recipe -
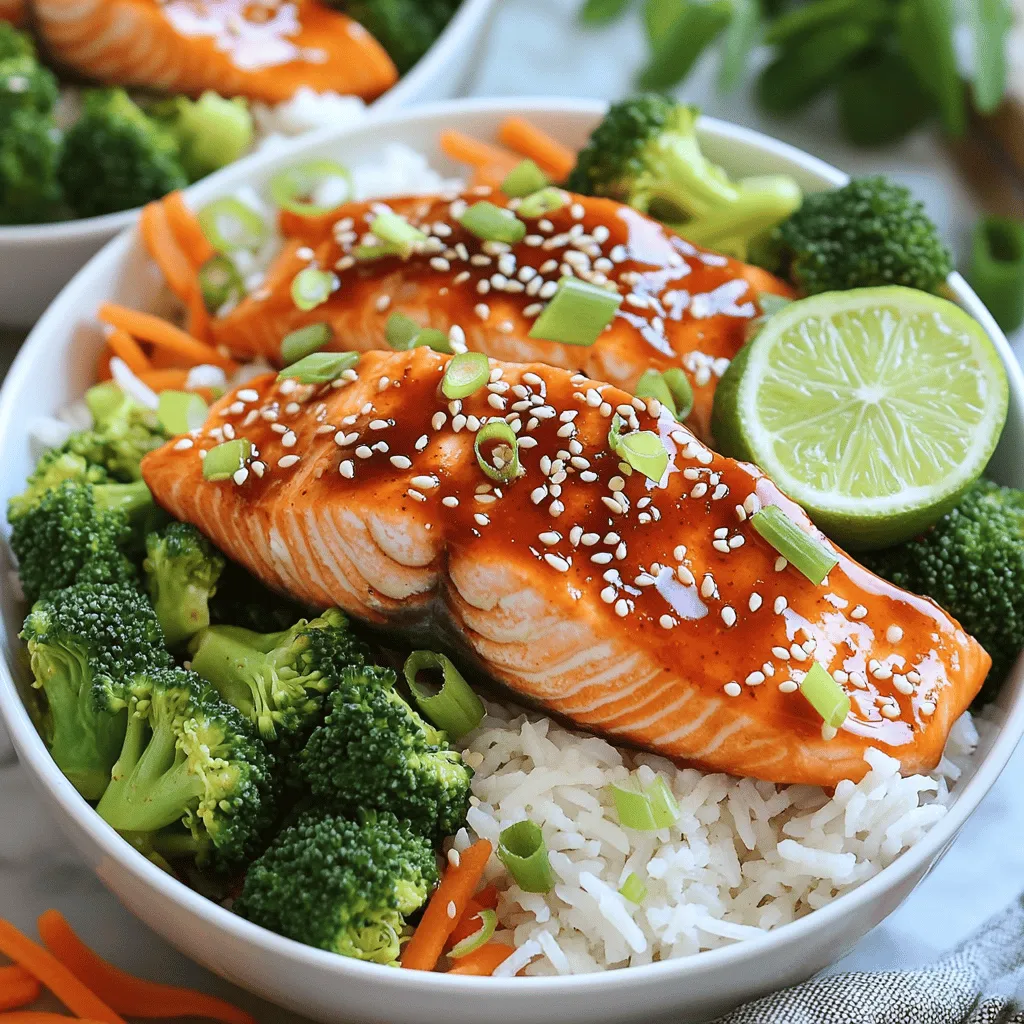
Sweet Chili Salmon Bowls Healthy and Flavorful Meal
Looking for a quick, healthy meal that’s bursting with flavor? Sweet Chili Salmon Bowls are the answer! I’ll walk you Read Full Recipe -
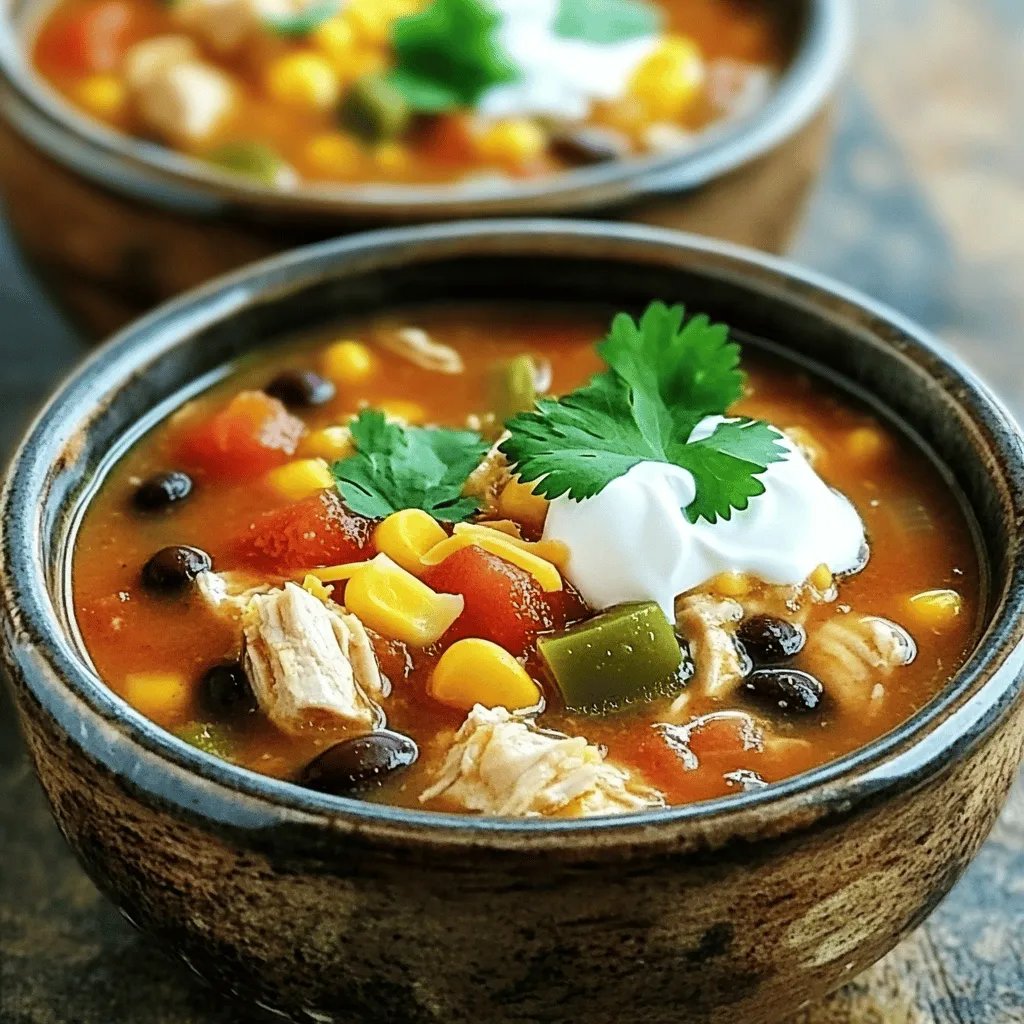
Chicken Taco Soup Flavorful and Simple Recipe Guide
Looking for a quick and tasty meal? I’ve got the perfect solution: Chicken Taco Soup! This flavor-packed recipe is easy Read Full Recipe -
Baked Lemon Garlic Tilapia Simple and Tasty Meal
Are you ready to whip up a meal that’s both simple and bursting with flavor? Baked Lemon Garlic Tilapia is Read Full Recipe -
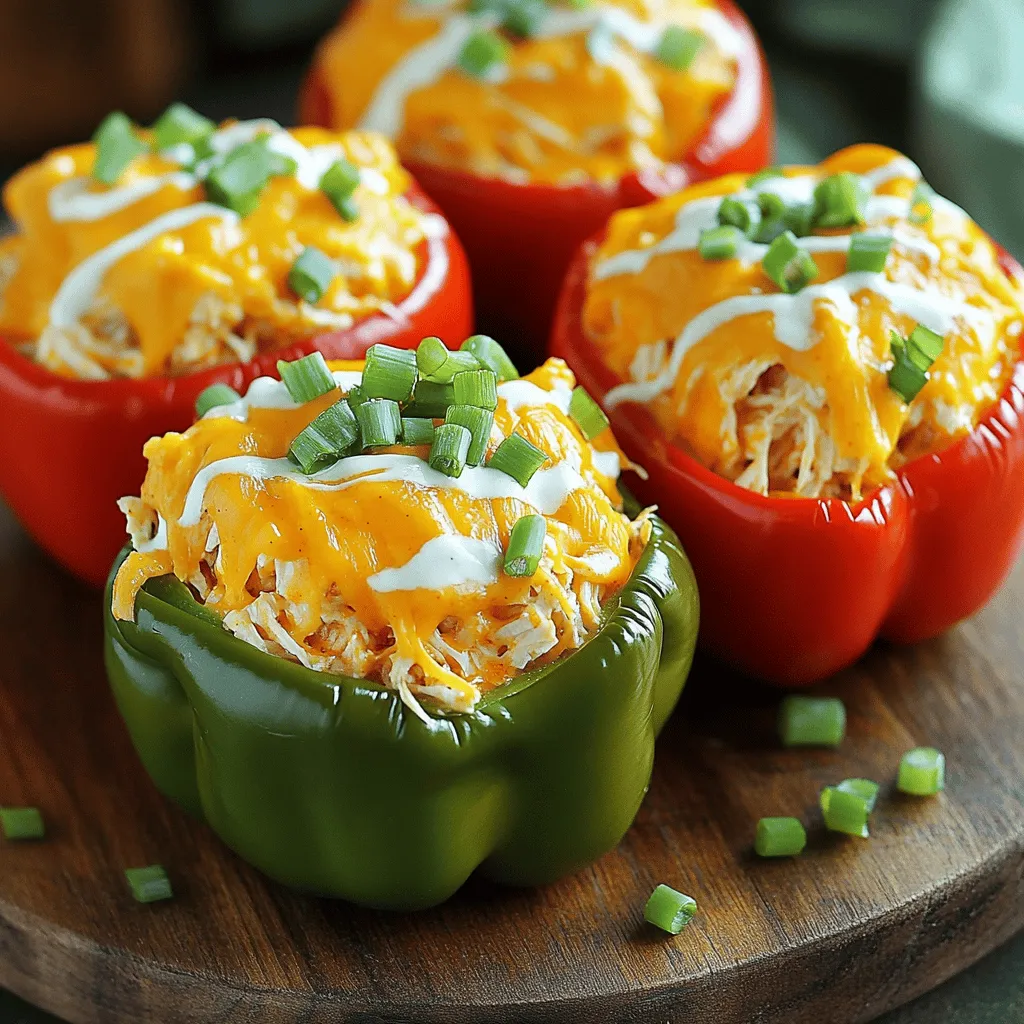
Buffalo Chicken Stuffed Peppers Tasty and Easy Recipe
Are you craving a meal that’s both tasty and easy to make? Look no further! This Buffalo Chicken Stuffed Peppers Read Full Recipe