
Latest & Greatest
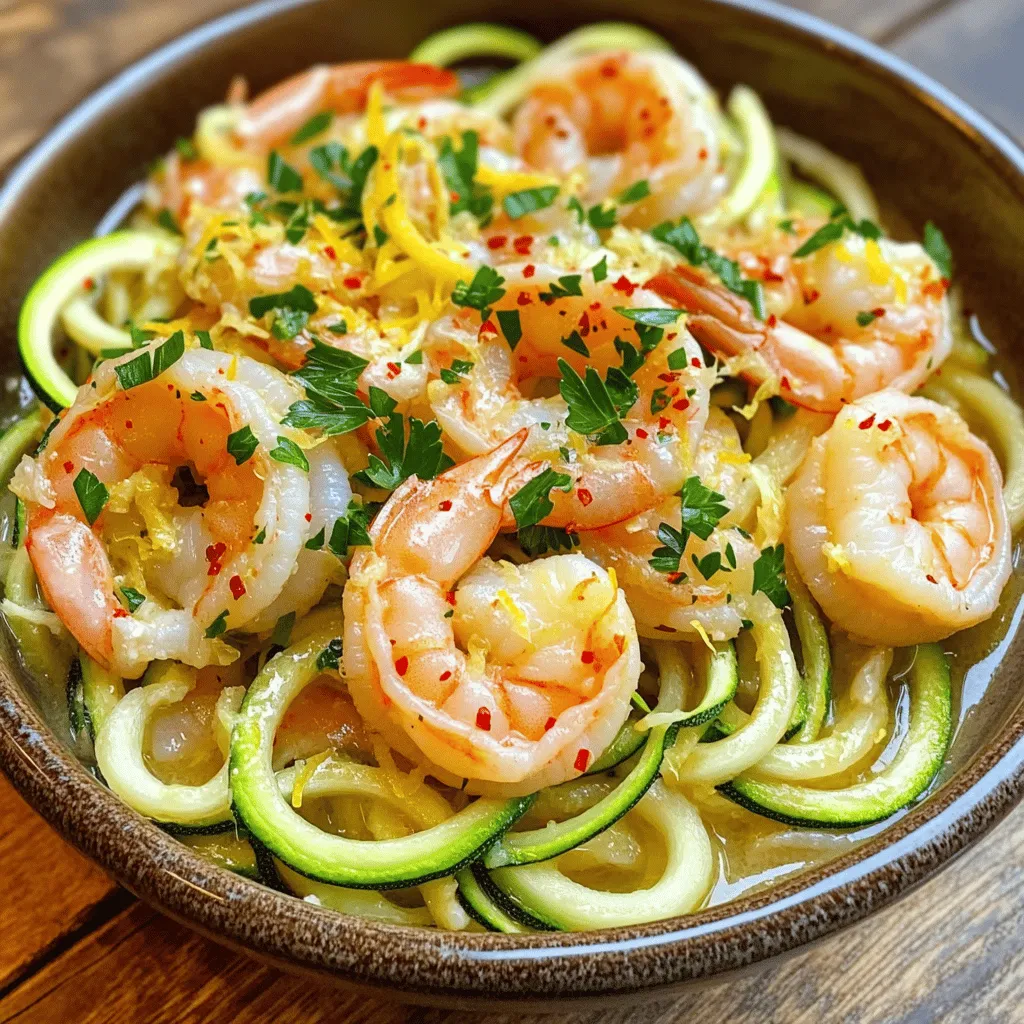
Skinny Shrimp Scampi with Zucchini Noodles Delight
If you’re craving a tasty and light dish, you’re in the right place! Skinny Shrimp Scampi with Zucchini Noodles combines
Read more…
Grilled Chicken Bites with Garlic Sauce Delight
If you’re craving a quick, tasty meal, these Grilled Chicken Bites with Garlic Sauce are a must-try. They’re juicy, packed
Read more…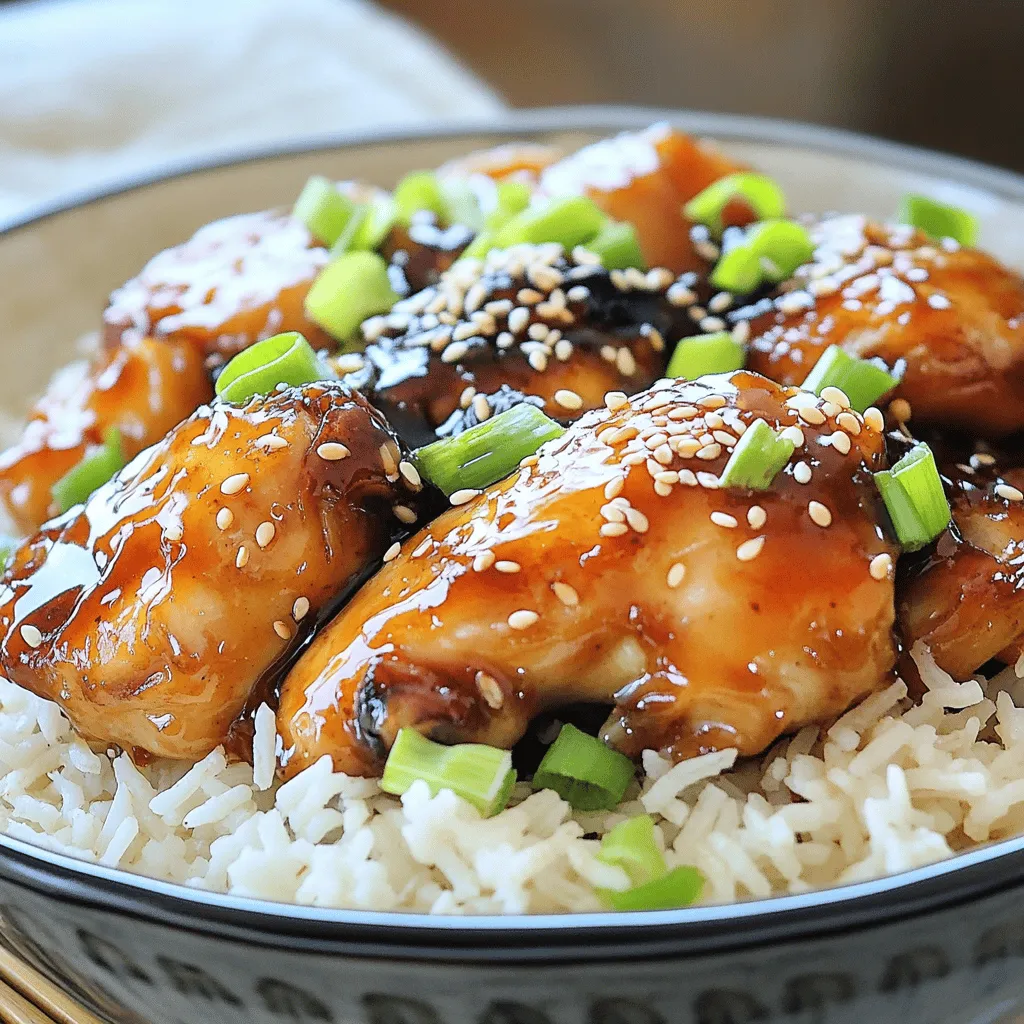
Sticky Honey Chicken Quick Recipe for Busy Nights
Looking for a quick dinner that packs a punch? My Sticky Honey Chicken recipe is your answer! With just a
Read more…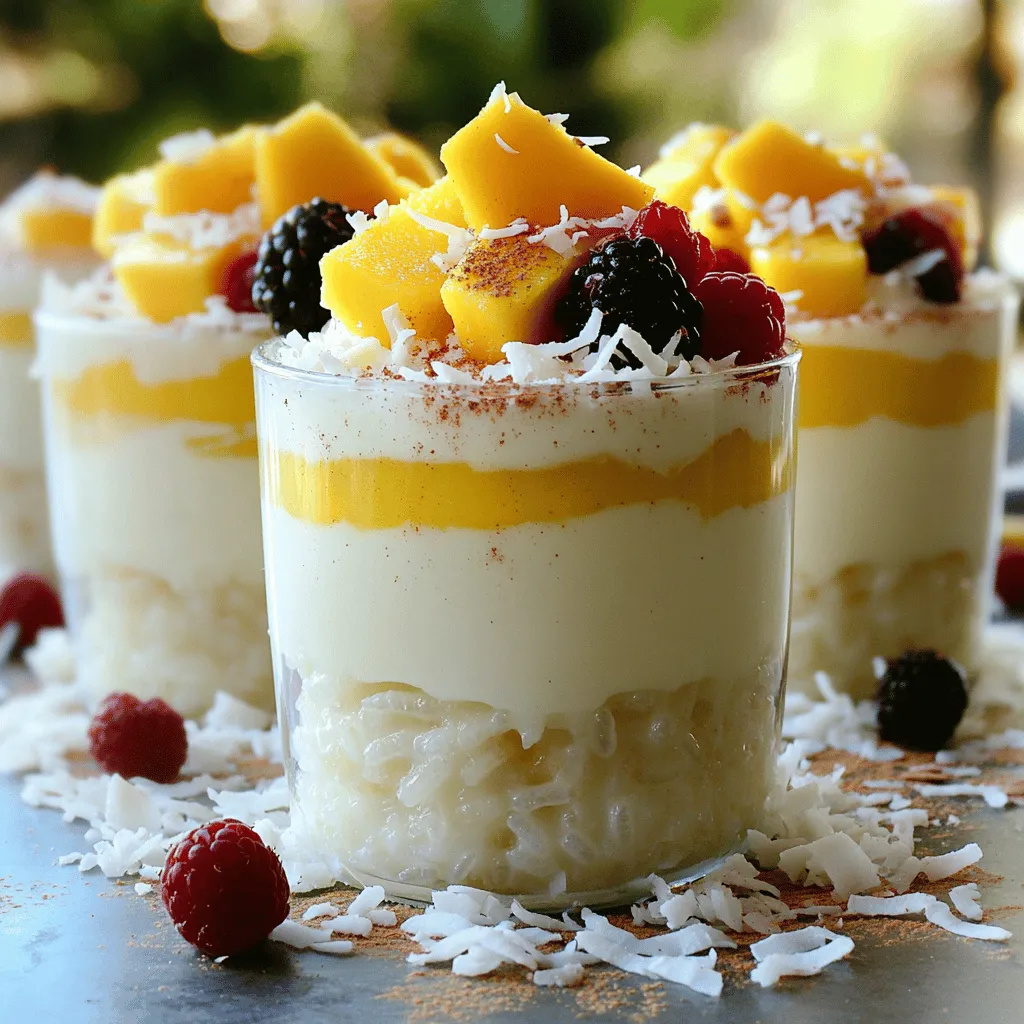
Coconut Rice Pudding Disney Copycat Delightful Recipe
Dive into the sweet world of Coconut Rice Pudding, inspired by Disney’s delightful treat! This creamy, coconut-infused dish is easy
Read more…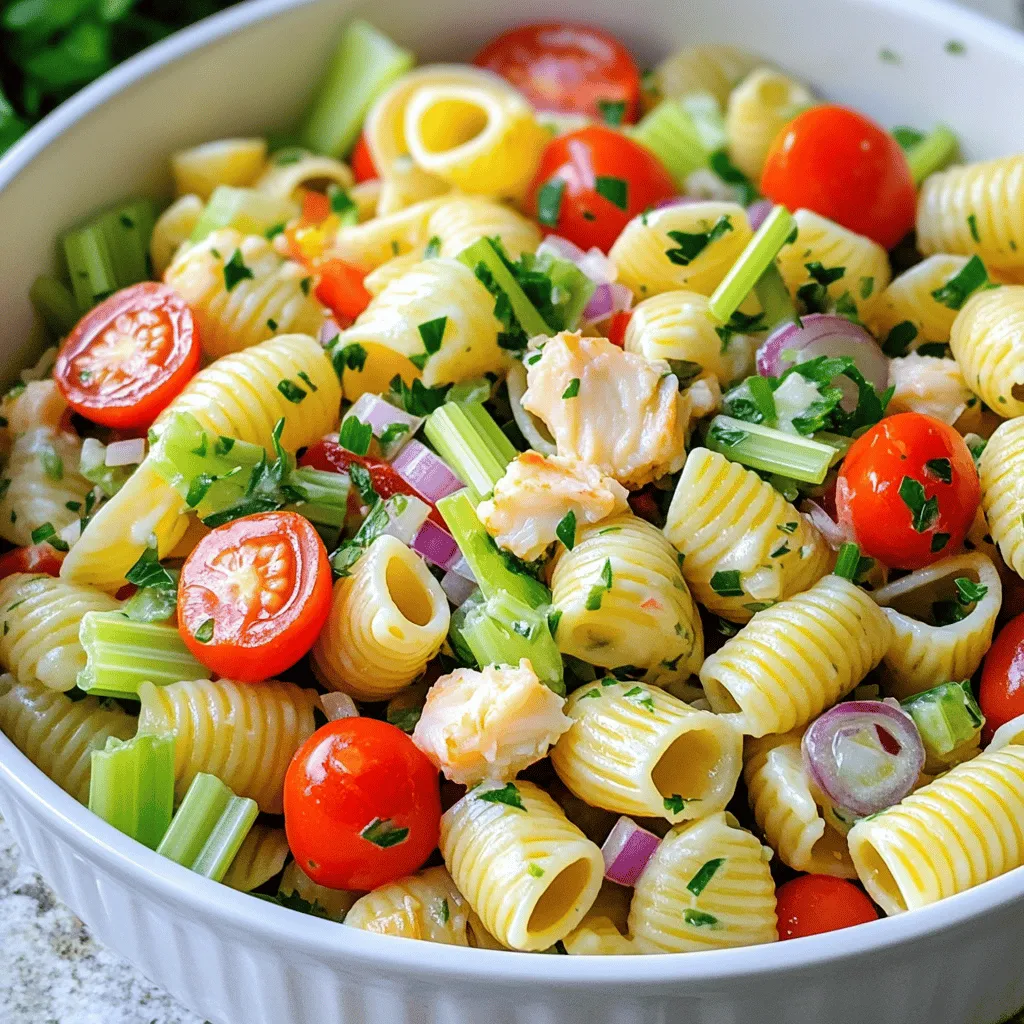
Super Easy Crab Pasta Salad Quick and Tasty Recipe
If you’re craving a quick and delicious meal, look no further! This Super Easy Crab Pasta Salad is the perfect
Read more…
Creamy Banana Dessert Easy and Delicious Treat
Craving a sweet treat that’s both easy to make and delicious? Look no further! This creamy banana dessert blends ripe
Read more…
Crab Stuffed Cheddar Bay Biscuit Savory Delight Recipe
If you love warm, cheesy biscuits, I have a treat for you! My Crab Stuffed Cheddar Bay Biscuit recipe combines
Read more…
No-Bake Orange Creamsicle Cheesecake Delight Recipe
Get ready to treat your taste buds with a delightful No-Bake Orange Creamsicle Cheesecake! This easy recipe combines creamy cheesecake
Read more…browse recipes


![To make Crunchy Chicken Caesar Wraps, you need fresh and tasty ingredients. Here’s what you will need: - 2 grilled chicken breasts, sliced - 4 large romaine lettuce leaves, washed and dried - 1 cup cherry tomatoes, halved - ½ cup grated Parmesan cheese - ½ cup Caesar dressing (store-bought or homemade) - 1 cup crispy whole grain croutons - 4 whole wheat tortillas - Salt and pepper to taste - Optional: Sliced black olives or capers for additional flavor These ingredients come together to create a meal that's not only delicious but also simple. The grilled chicken adds protein, while the romaine lettuce gives a nice crunch. Cherry tomatoes bring sweetness, and the croutons add that extra crispy texture. I recommend using fresh ingredients for the best flavors. You can also customize these wraps with your favorite add-ins. For the dressing, you can choose a store-bought option or make your own. Check out the Full Recipe for all the details on how to bring this tasty dish to your table! - First, combine the sliced chicken, cherry tomatoes, Parmesan cheese, and crispy croutons in a large bowl. - Next, drizzle the Caesar dressing over this mixture. Toss gently until all the ingredients are well coated. Season with salt and pepper to your taste. - Now, take four large romaine lettuce leaves and place them in the center of each tortilla. - Lay out the tortillas on a clean surface. Spoon the chicken Caesar mixture over the lettuce leaves evenly. - Fold in the sides of the tortilla. Then, roll it up tightly from the bottom to the top. This keeps all the tasty fillings inside. - To serve, use a sharp knife to cut the wraps diagonally. This makes them easier to eat and looks great on the plate. For the full recipe, check out the details above. Enjoy your delicious Crunchy Chicken Caesar Wraps! To make your Crunchy Chicken Caesar Wraps truly crispy, start with fresh, crispy croutons. They add a satisfying crunch that makes each bite fun. Also, consider adding an extra layer of romaine lettuce. This not only boosts the crunch but also gives a fresh feel to the wraps. To enhance flavor, try adding herbs and spices. Chopped basil or parsley can brighten up the dish. You can also sprinkle some black pepper or garlic powder for extra kick. For dressings, while Caesar is a classic, you might enjoy trying ranch or Greek yogurt dressing. Each option brings its own twist to the meal. Serving wraps creatively can make your meal special. Try cutting them into pinwheels or halves for a fun look. Arrange them on a platter and garnish with cherry tomatoes and a sprinkle of Parmesan cheese. For added color, place some fresh herbs around the wraps. You can even serve extra dressing on the side for dipping. These little touches make your meal not just tasty but also eye-catching. For the full recipe, check out the Crunchy Chicken Caesar Wraps details. {{image_2}} You can easily swap the grilled chicken in your Crunchy Chicken Caesar Wraps. Try using turkey or shrimp for a different taste. For a vegetarian twist, use black beans or chickpeas. Tofu is another great option for plant-based protein. Just make sure to season them well for flavor. You can make a homemade Caesar dressing for a fresh taste. Simply whisk together olive oil, lemon juice, minced garlic, Dijon mustard, and Parmesan. You can also explore other dressings. A ranch or yogurt-based dressing works great too. Experiment with flavors like chipotle or a light vinaigrette. Switch up the tortillas for variety. Use spinach or tomato tortillas for a colorful wrap. If you're not a fan of Parmesan cheese, try feta or mozzarella instead. For croutons, you can use nuts or seeds for crunch. These changes can add a unique touch to your wraps. For the full recipe, check the complete list of ingredients and instructions. Store your Crunchy Chicken Caesar Wraps in a cool place. Use airtight containers to keep them fresh. I like to wrap each wrap in plastic wrap first. Then, I place them in a container. This helps keep the wraps from getting soggy. Yes, you can freeze the wraps. To freeze, wrap each one tightly in plastic wrap. Then, place them in a freezer bag. When ready to eat, thaw in the fridge overnight. Reheat in a pan or microwave until warm. This keeps them tasty and crunchy. In the fridge, the wraps last about three days. Keep an eye out for any signs of spoilage. If the wraps smell off or look slimy, it's time to toss them. Always prioritize safety when storing food. Prep time is just 15 minutes. This quick time makes it easy to enjoy a tasty meal without much fuss. You can whip these wraps up in no time, making them perfect for busy days. Yes, you can make these wraps ahead of time. Prepare the chicken mix and store it in the fridge. Keep the tortillas separate until you are ready to eat. This helps keep everything fresh. Wraps taste best when eaten within a day or two. Just remember to store them in an airtight container. These wraps pair well with many sides. Consider serving them with: - Fresh fruit salad - Crunchy veggie sticks - Potato chips for a crunch - A light soup for a cozy meal These sides add variety and balance to your meal. To make these wraps gluten-free, use gluten-free tortillas. Many brands offer great options. You can also swap out croutons for gluten-free versions or even nuts for crunch. Always check labels to ensure all ingredients are gluten-free. This way, everyone can enjoy these tasty wraps! For the full recipe, check this link: [Full Recipe]. These Crunchy Chicken Caesar Wraps are simple to make and fun to eat. We covered the key ingredients, step-by-step prep, and tips for flavor and presentation. You learned about protein swaps and ways to store leftovers. Experiment with different dressings and sides to make this dish your own. Enjoy these wraps as a healthy meal choice any day!](https://lisadishes.com/wp-content/uploads/2025/06/db38e0ae-8a3a-4441-9f8e-4422269591d3.webp)
Crunchy Chicken Caesar Wraps Simple and Tasty Meal
Looking for a tasty and crunchy meal that’s quick to make? You’ve found it! My Crunchy Chicken Caesar Wraps combine juicy grilled chicken with…
My Latest Desserts

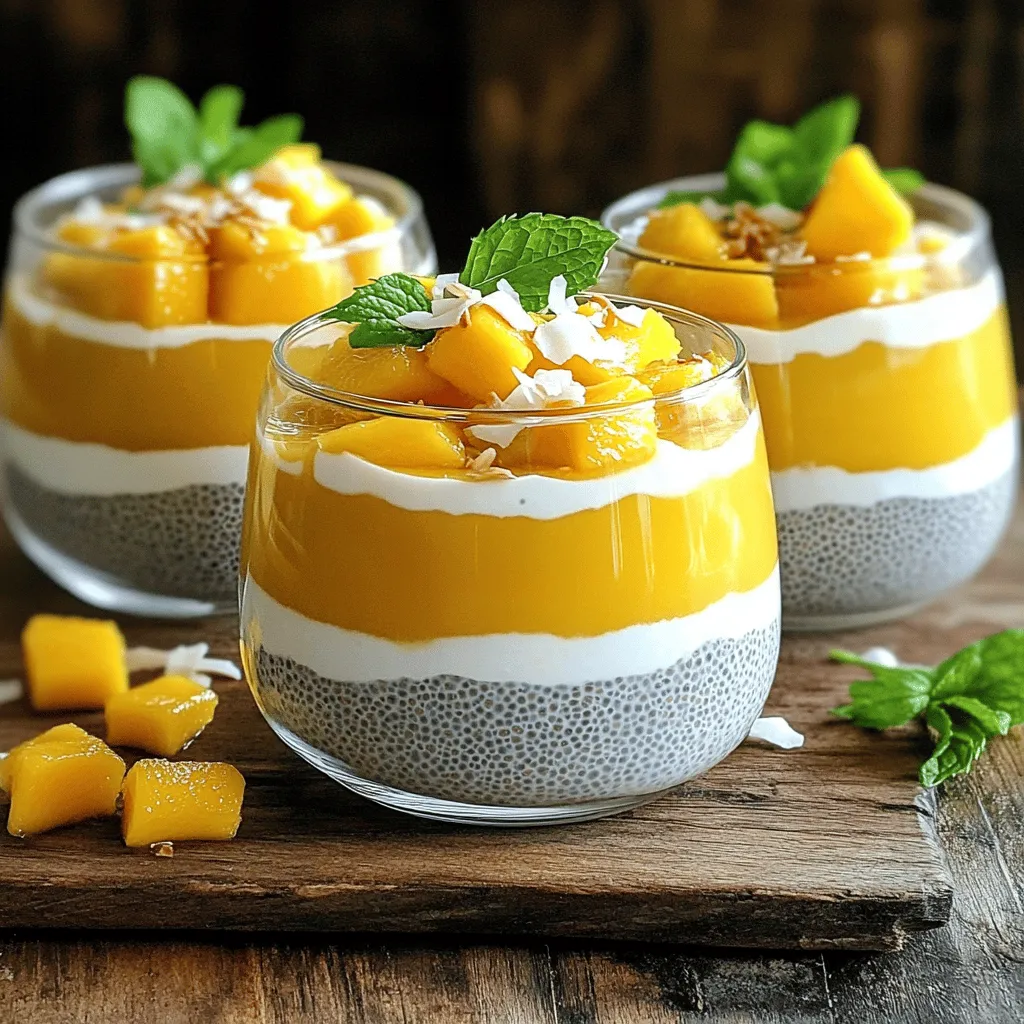
Mango Coconut Chia Pudding Delicious and Nutritious Treat
Are you ready to treat yourself to something truly delicious and nutritious? Mango Coconut Chia Pudding is the perfect way Read Full Recipe-
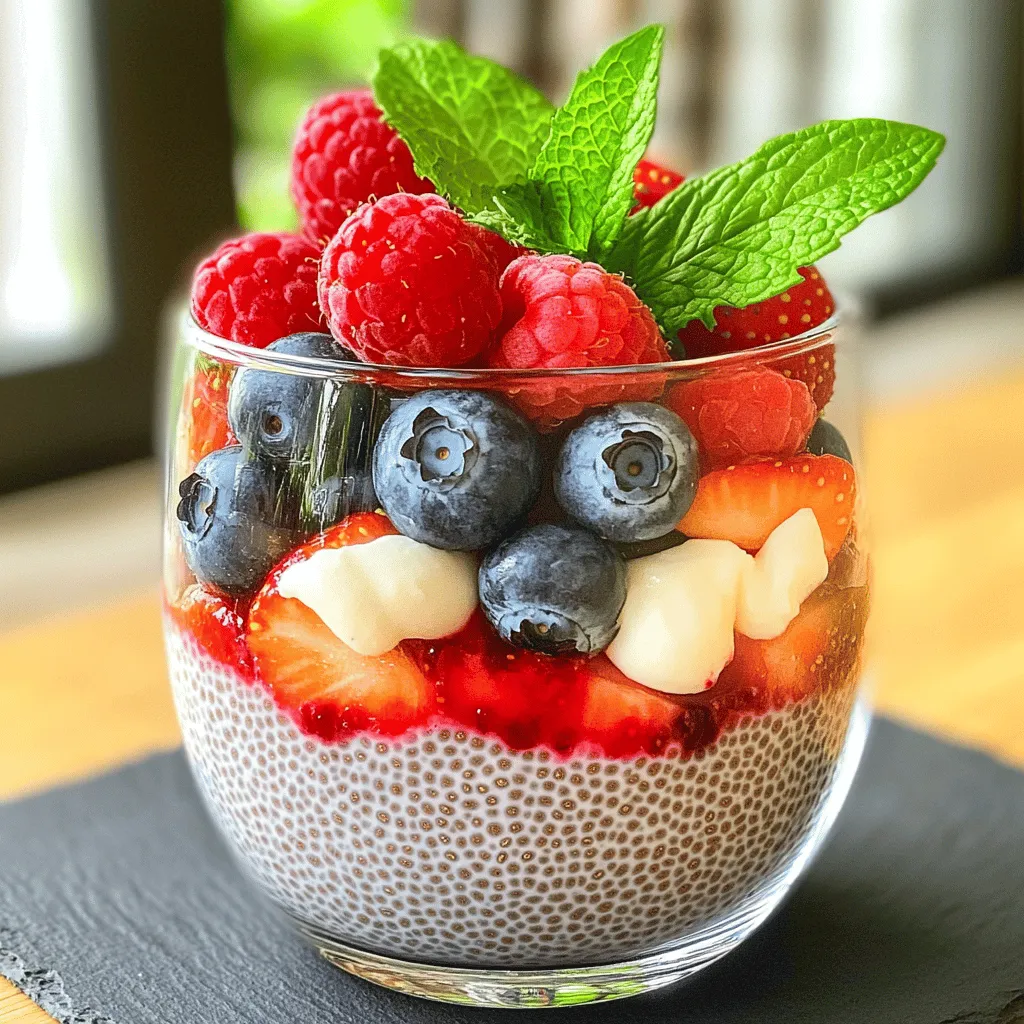
Berry Chia Pudding Simple and Healthy Delight
Berry Chia Pudding is a simple and healthy treat that packs a punch. With just a few easy ingredients, you Read Full Recipe -
Pumpkin Spice Energy Bites Tasty and Healthy Snack
Looking for a tasty and healthy snack to fuel your day? This Pumpkin Spice Energy Bites recipe is your answer! Read Full Recipe -
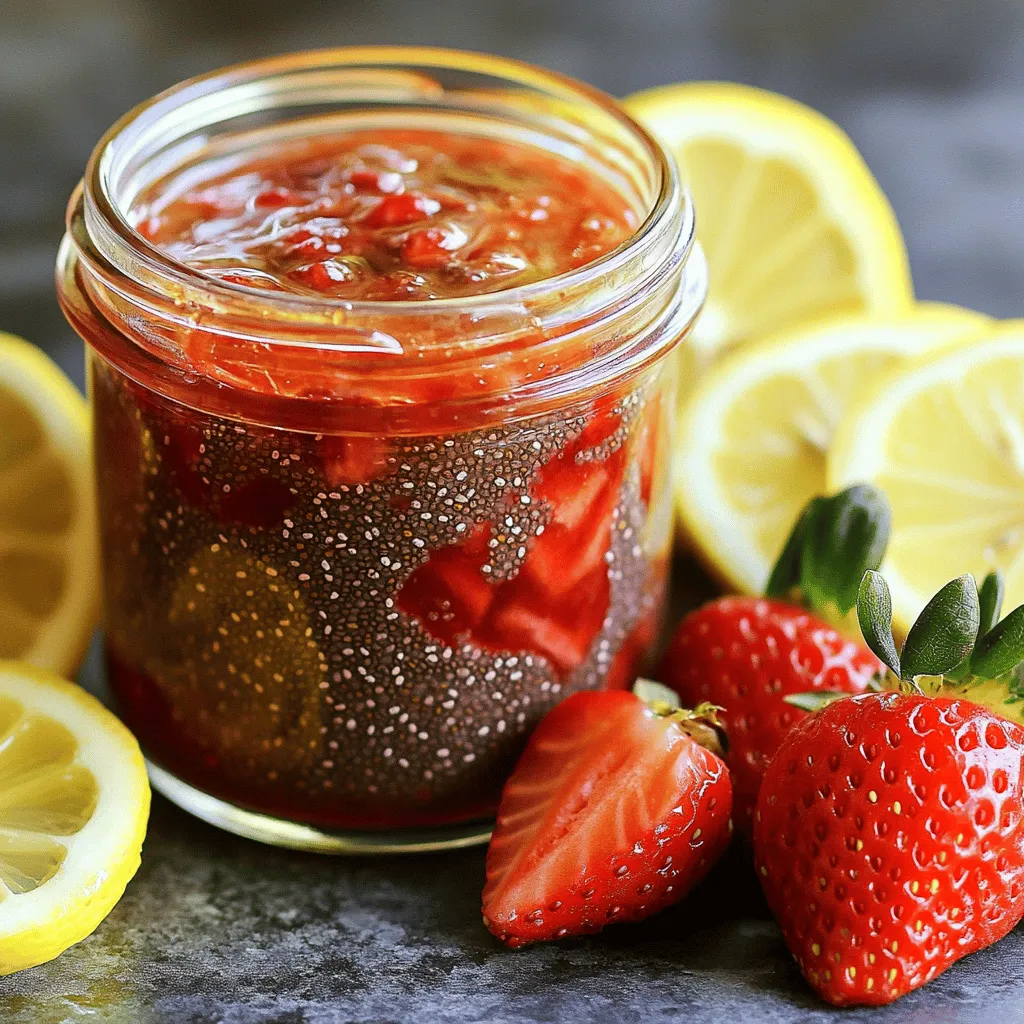
Strawberry Chia Seed Jam Tasty and Healthy Treat
If you’re craving a sweet treat that’s also good for you, I’ve got just the thing: Strawberry Chia Seed Jam! Read Full Recipe -
Pumpkin Spice Muffins Warm and Cozy Fall Treat
Fall is the perfect time for warm and cozy treats, and nothing says autumn like pumpkin spice muffins. These fluffy Read Full Recipe -
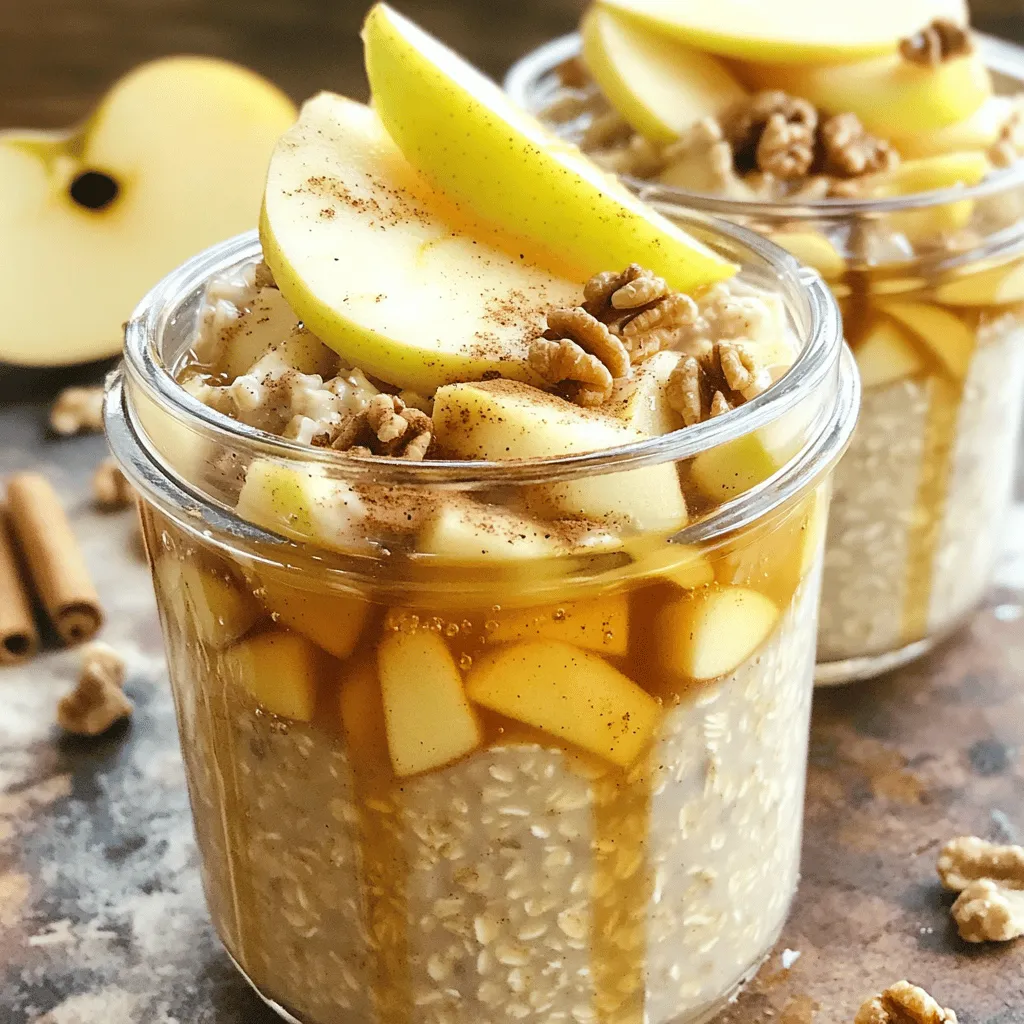
Apple Cinnamon Overnight Oats Healthy Breakfast Option
Looking for a quick and healthy breakfast? You’ve found it! Apple Cinnamon Overnight Oats are the perfect choice for busy Read Full Recipe -
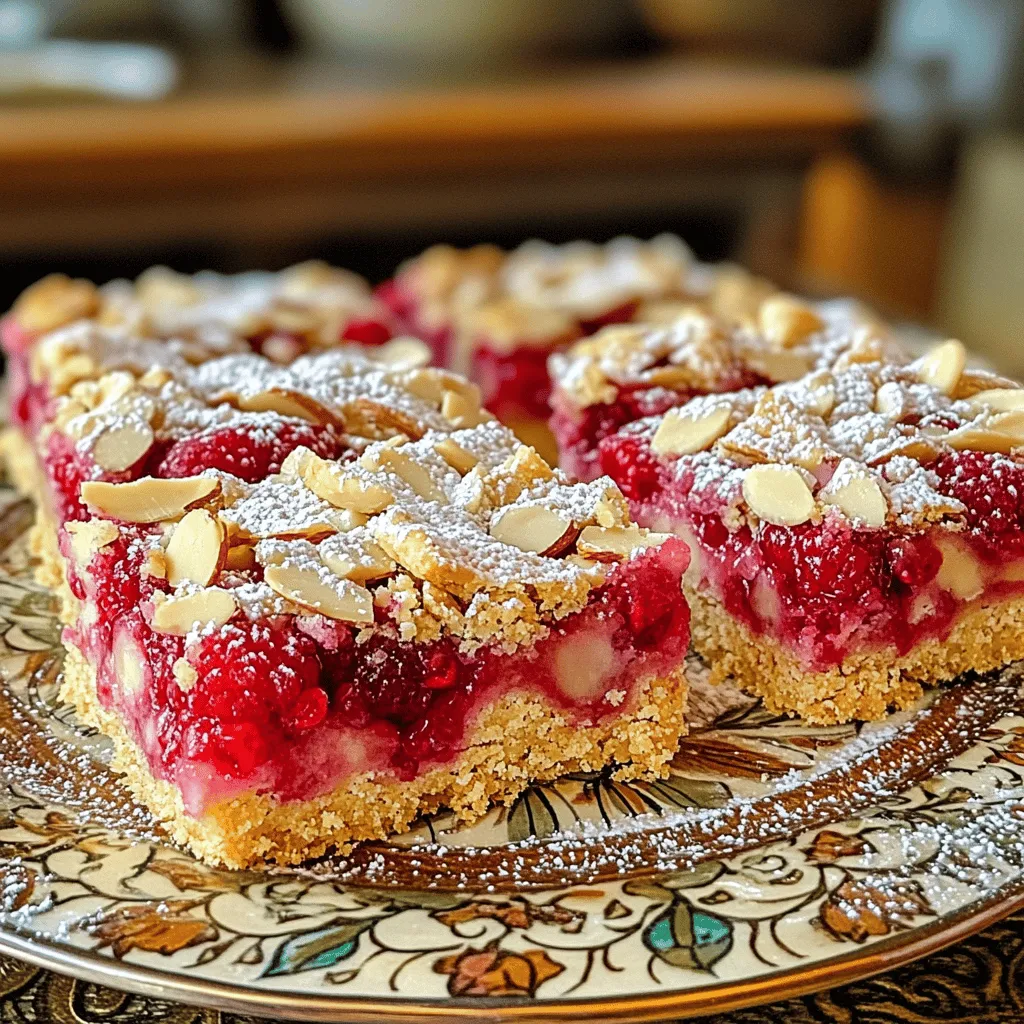
Raspberry Almond Shortbread Bars Simple and Tasty Treat
Looking for a sweet treat that’s easy to make and perfect for any occasion? Raspberry Almond Shortbread Bars are your Read Full Recipe -
Chocolate Covered Strawberry Pops Delightful Treats
Are you ready for a sweet treat? Chocolate Covered Strawberry Pops are delicious and fun to make. I’ll guide you Read Full Recipe -
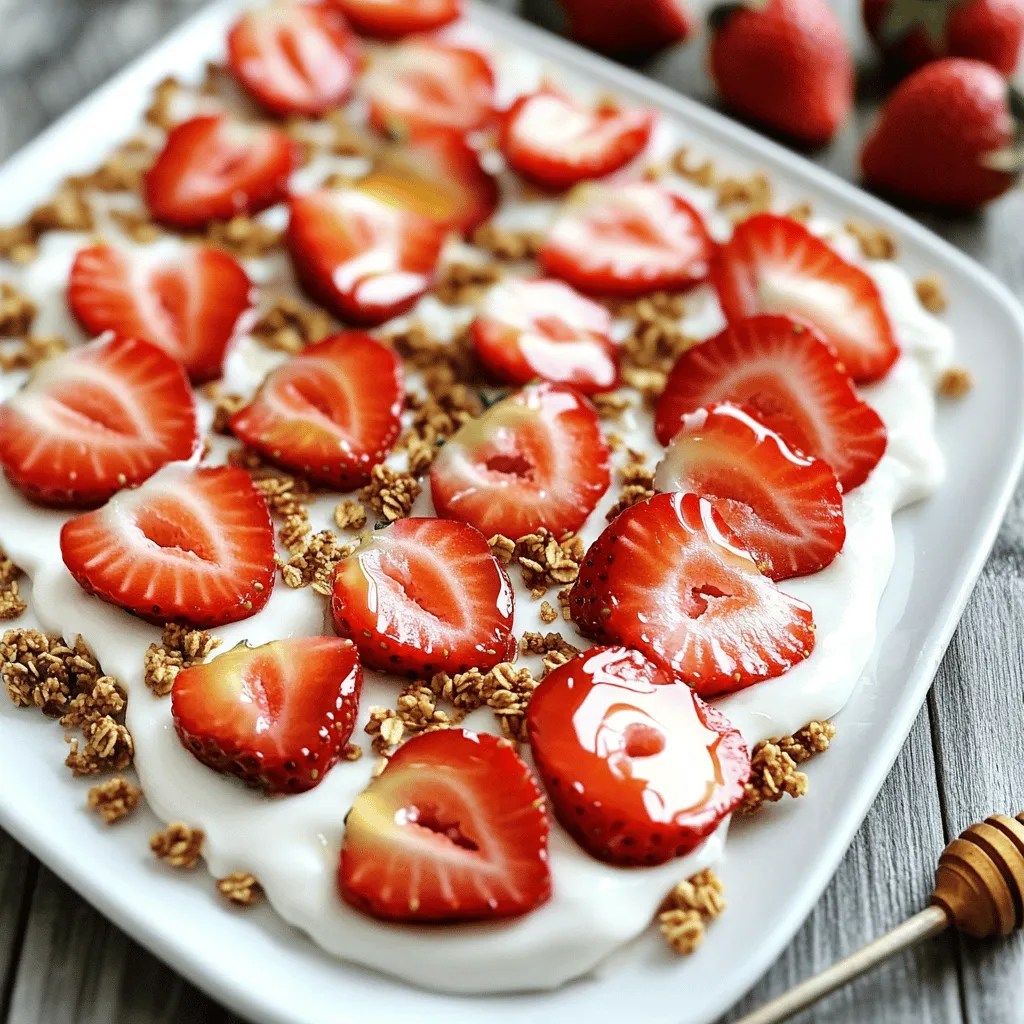
Fresh Strawberry Yogurt Bark Delicious and Easy Treat
Looking for a quick and tasty treat? Fresh Strawberry Yogurt Bark is your answer! This easy recipe combines creamy Greek Read Full Recipe -
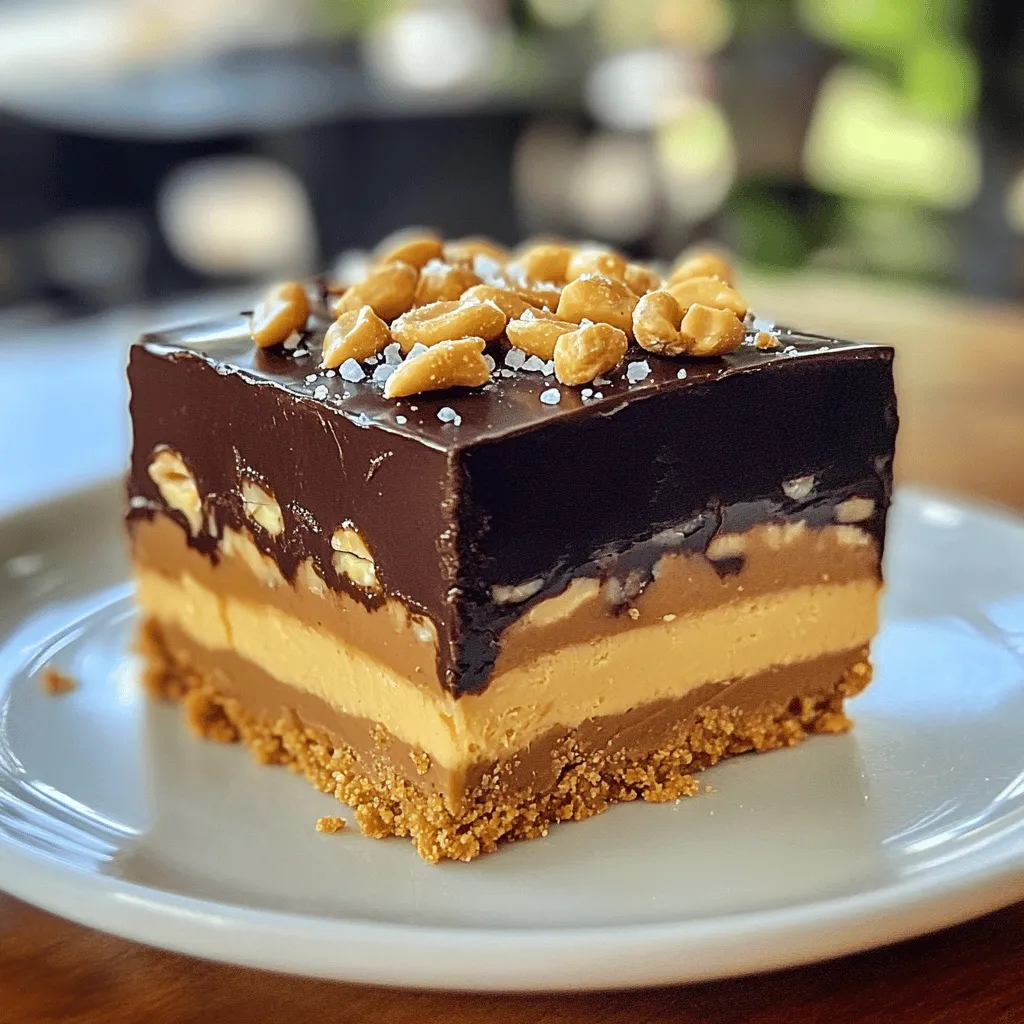
No-Bake Snickers Bars Simple and Decadent Treat
Indulge in a simple and delicious treat with my No-Bake Snickers Bars recipe! These bars come together fast and need Read Full Recipe -
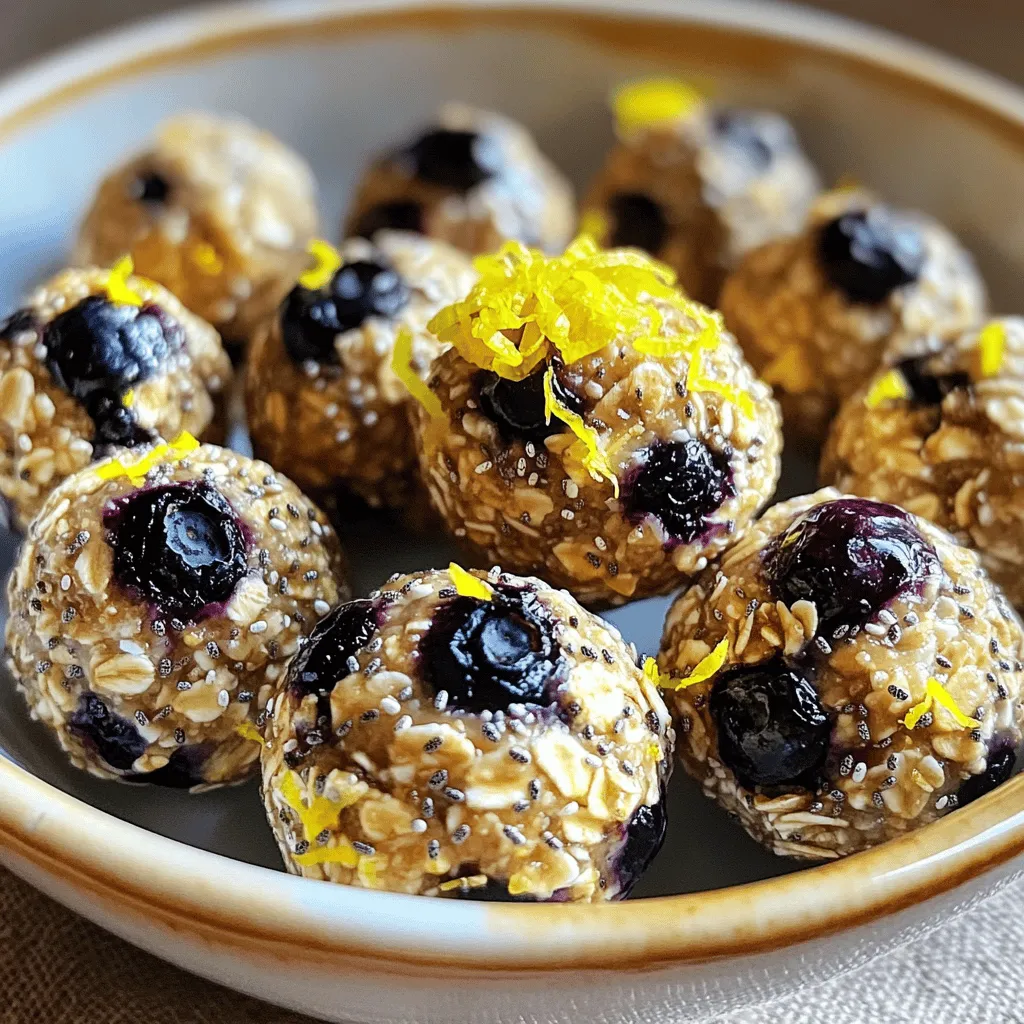
Lemon Blueberry Energy Bites Nourishing Snack Idea
Looking for a tasty, energy-packed snack? Try my Lemon Blueberry Energy Bites! These little balls are the perfect blend of Read Full Recipe -
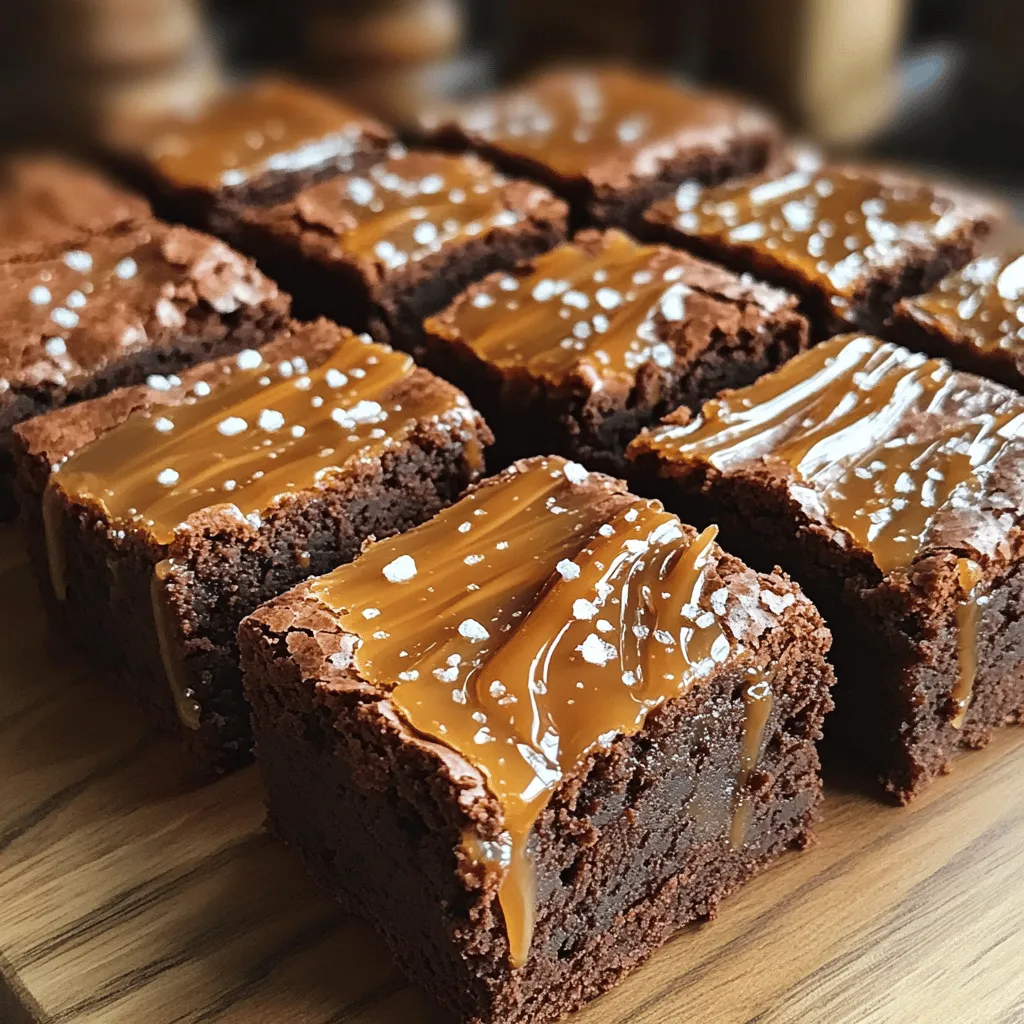
Fudgy Salted Caramel Brownies Rich and Indulgent Treat
Love brownies? Get ready to elevate your dessert game with these Fudgy Salted Caramel Brownies! They combine rich chocolate with Read Full Recipe


hey,
i’m !
I’m so happy you’re here!
Each recipe I share is a little piece of love from my kitchen. May they fill your heart and home with warmth. Let’s cook up something wonderful together.
![- 4 boneless, skinless chicken breasts - 1 cup heavy cream - 1/2 cup homemade or store-bought basil pesto - 1 cup cherry tomatoes, halved - 2 tablespoons olive oil - 3 cloves garlic, minced - 1/2 teaspoon red pepper flakes (optional) - Salt and pepper to taste - Fresh basil leaves for garnish - Grated Parmesan cheese for serving When I cook, I love using fresh, high-quality ingredients. Each item in this list plays a vital role in the dish. The chicken breasts stay moist and tender, while the cream and pesto create a rich, flavorful sauce. The sweet roasted tomatoes add a burst of flavor that complements the creaminess. If you're looking for alternatives to heavy cream, consider using coconut milk or cashew cream. Both options provide a creamy texture without dairy. For the pesto, you can try sun-dried tomato pesto or arugula pesto if you want a twist on the classic flavor. Some great herbs to pair with this dish include: - Thyme - Oregano - Parsley These herbs enhance the flavors in the creamy pesto chicken. They add a fresh taste that brightens the meal. You can sprinkle these herbs on top before serving to make your dish even more appealing. For the full recipe, including preparation and cooking steps, check out the [Full Recipe]. - Preheat your oven to 400°F (200°C). This helps roast the tomatoes perfectly. - On a baking sheet, toss halved cherry tomatoes with 1 tablespoon of olive oil, salt, and pepper. If you like a little heat, add red pepper flakes. Spread them out in a single layer. - Season the chicken breasts with salt and pepper. This simple step adds great flavor. - In a large skillet over medium-high heat, add 1 tablespoon of olive oil. Once hot, add the chicken. Cook for about 5-7 minutes on each side until golden brown. - Make sure the chicken is cooked through. The internal temperature should reach 165°F (74°C). - In the same skillet, lower the heat to medium. Add minced garlic and sauté for 1-2 minutes until fragrant. - Pour in 1 cup of heavy cream and 1/2 cup of basil pesto, stirring to combine. Let the sauce simmer for 5 minutes. This helps it thicken slightly. - If your sauce isn’t thick enough, let it simmer longer. It will become creamy and rich. - Return the seared chicken breasts to the skillet. Coat them well in the creamy pesto sauce. - Let the chicken simmer in the sauce for an additional 3-5 minutes. This allows the flavors to meld. - For serving, place a bed of roasted tomatoes on a plate. Top it with a creamy pesto chicken breast. Spoon more sauce over the chicken if you desire. - Finish with grated Parmesan cheese and fresh basil leaves for a beautiful touch. For complete details on all steps, check the Full Recipe. To achieve the ideal cream sauce, focus on the heat. Start on medium, and mix your heavy cream with basil pesto. Stir well to combine. Let it simmer for about five minutes. This helps thicken the sauce. If it feels too thin, cook it a bit longer. For flavor enhancers, consider adding a squeeze of lemon juice. It brightens the dish. You can also mix in a pinch of salt and pepper. This elevates the flavor. A sprinkle of grated Parmesan cheese can add depth too. To cook juicy chicken, always sear it in a hot pan. This creates a nice golden crust. Cook each side for about five to seven minutes. Avoid moving the chicken too much while it cooks. That way, it stays juicy inside. Common mistakes to avoid include overcooking the chicken. Use a meat thermometer. Aim for an internal temperature of 165°F. Also, don’t skip seasoning. A little salt and pepper make a big difference. Pair your creamy pesto chicken with roasted tomatoes. The sweet, tangy flavor complements the rich sauce. You can also serve it over pasta or rice. Both options soak up the sauce well. For presentation, use a white plate. It highlights the vibrant colors of the dish. Garnish with fresh basil leaves and a sprinkle of Parmesan cheese. This adds a touch of elegance and makes the dish pop. For the full recipe, check out the earlier section. Enjoy your cooking adventure! {{image_2}} You can make this dish lighter by using low-fat cream options. Look for options like half-and-half or coconut cream. These alternatives still add creaminess without too many calories. Adding extra vegetables is another way to boost nutrition. Consider bell peppers, spinach, or zucchini. These veggies add color and flavor while keeping it healthy. You can spice up your creamy pesto chicken with new seasonings. Try adding lemon zest for a fresh twist. Fresh herbs like thyme or oregano can also enhance the dish. If you enjoy heat, consider a spicy version. Adding more red pepper flakes or even jalapeños will kick up the flavor. You can swap the basil pesto for sun-dried tomato or arugula pesto for a different taste. You can change how you cook this dish for more variety. An Instant Pot makes it quick and easy. Simply follow the same steps but use the pressure setting for about 10 minutes. A slow cooker is another option. Cook the chicken on low for 6-8 hours for tender results. Grilling the chicken instead of searing gives it a smoky flavor. Just be sure to watch it carefully to avoid drying it out. For the full recipe, check out the [Full Recipe]. To keep your creamy pesto chicken fresh, store leftovers in an airtight container. Place the chicken and roasted tomatoes together for the best flavor. Refrigerate the dish within two hours of cooking. This will help prevent bacteria growth. If you made extra sauce, store it separately. This keeps the chicken from getting soggy. You can freeze creamy pesto chicken for later. Just make sure it cools before you freeze it. Place it in a freezer-safe container. Use it within three months for the best taste. When ready to eat, thaw it overnight in the fridge. This keeps it safe and tasty. Reheat your creamy pesto chicken in a skillet over low heat. This method keeps the sauce creamy. Stir it gently to avoid drying out the chicken. You can also use the microwave. Just cover the dish to keep moisture in. Heat in short bursts until warm, checking often. Enjoy your meal as if it was fresh from the oven! It takes about 15 minutes to prep and 30 minutes to cook. You can have this meal ready in just 45 minutes. This includes roasting the tomatoes and cooking the chicken. Yes, you can use store-bought pesto. It saves time and still tastes great. However, homemade pesto often has a fresher flavor. You can control the ingredients and adjust the taste to your liking with homemade. Several sides go well with this dish. Here are some ideas: - Garlic bread for a crunchy contrast. - A simple green salad to add freshness. - Roasted vegetables for extra nutrients. - Pasta to soak up the creamy sauce. Yes, you can make it dairy-free. Use coconut cream or cashew cream instead of heavy cream. For cheese, try nutritional yeast or a dairy-free cheese. These swaps keep the meal creamy and tasty without dairy. To add heat, include more red pepper flakes. You can also add diced jalapeños or a dash of hot sauce. Adjust according to your spice level preference for a personalized touch. This blog post guides you through making Creamy Pesto Chicken with Roasted Tomatoes. We covered ingredients, cooking steps, and variations. You learned about healthy swaps and how to store leftovers. Follow the tips to perfect your dish and impress your guests. Cooking can be simple and fun. Enjoy this recipe as a delicious and versatile option for any meal. With these insights, you can create great food every time!](https://lisadishes.com/wp-content/uploads/2025/04/5ab67477-361c-4734-9d33-c9a751d3a119-300x300.webp)


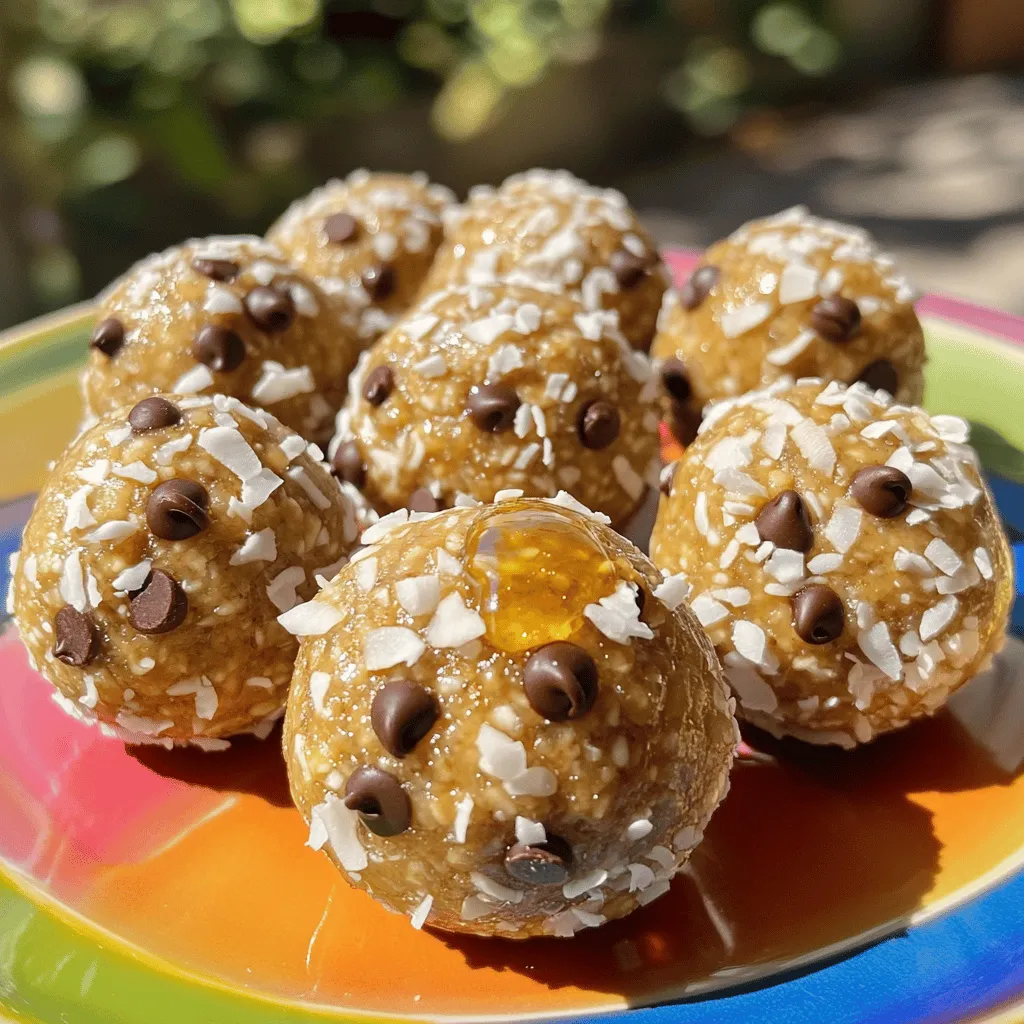
Peanut Butter Energy Balls Simple and Tasty Snack
Looking for a quick and tasty snack that packs a nutritious punch? Peanut butter energy balls are your answer! These delicious bites are easy…
My Latest Dinners
-
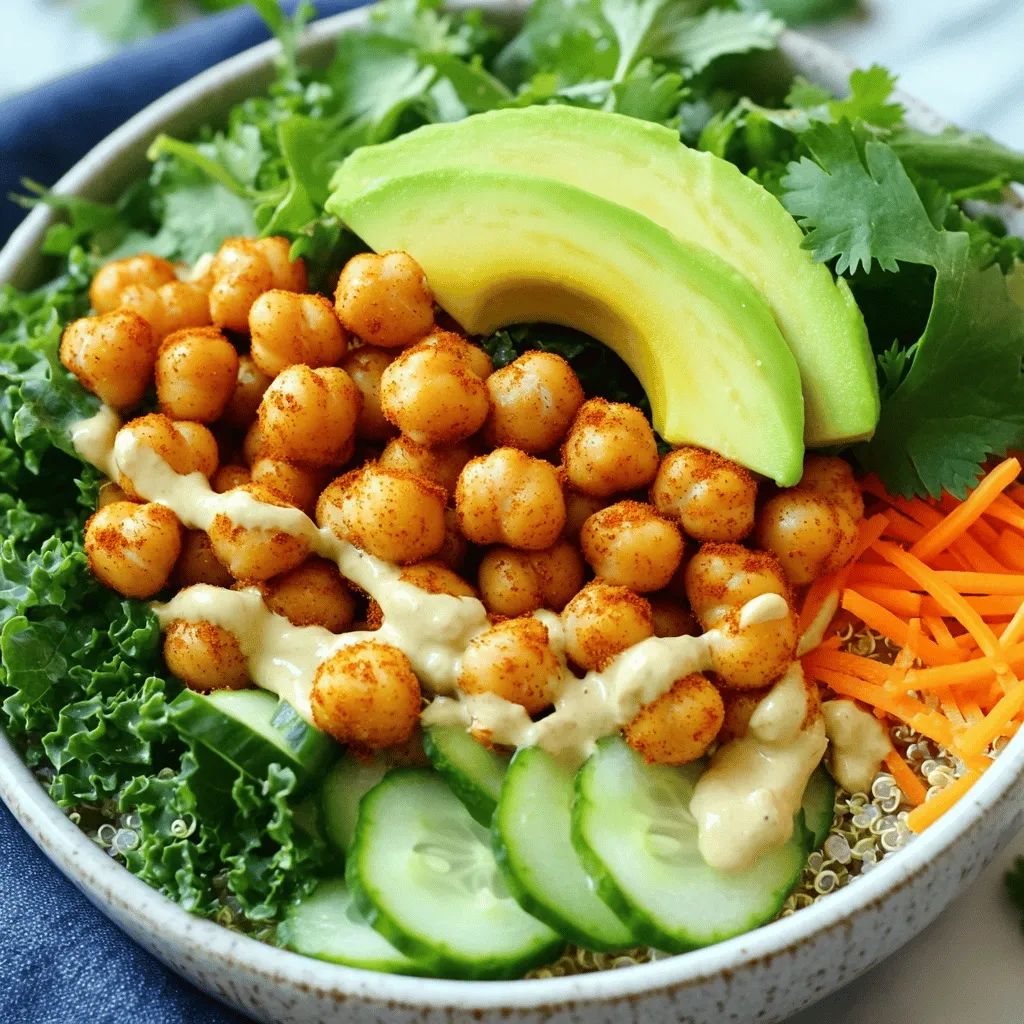
Crispy Chickpea Buddha Bowl Energizing and Nutritious
Looking for a delicious, energizing meal? Try my Crispy Chickpea Buddha Bowl! Packed with protein, fresh veggies, and a zesty Read Full Recipe -
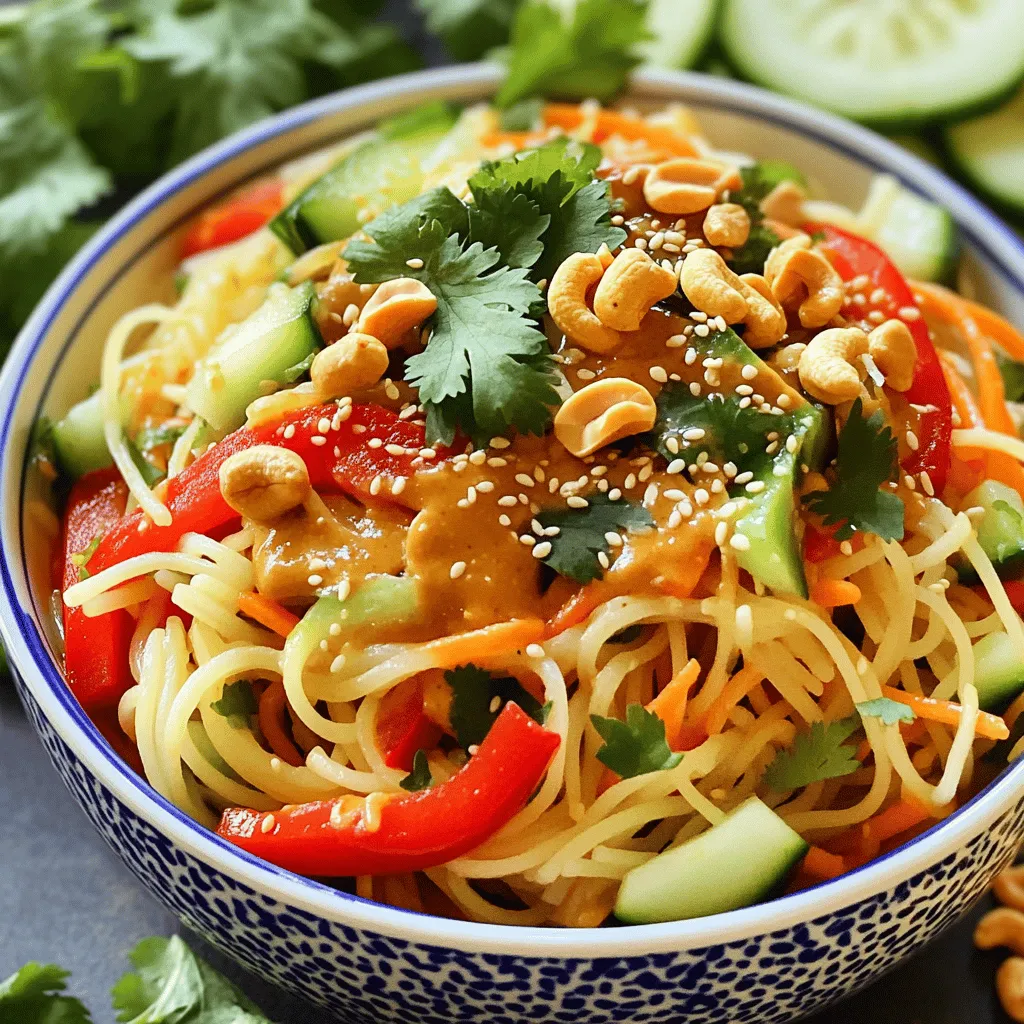
Spicy Cashew Noodle Salad Tasty and Simple Recipe
Are you ready to enjoy a tasty dish that packs a flavorful punch? My Spicy Cashew Noodle Salad is not Read Full Recipe -
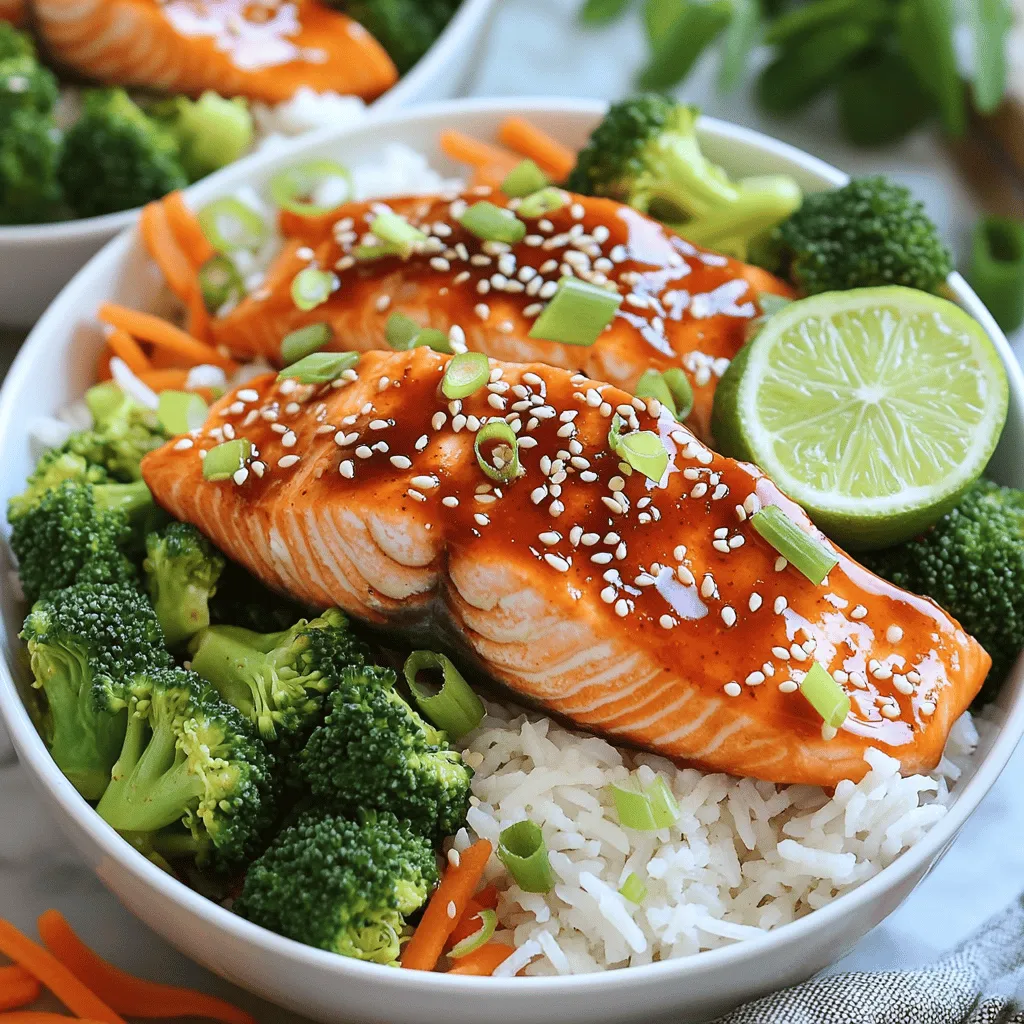
Sweet Chili Salmon Bowls Healthy and Flavorful Meal
Looking for a quick, healthy meal that’s bursting with flavor? Sweet Chili Salmon Bowls are the answer! I’ll walk you Read Full Recipe -
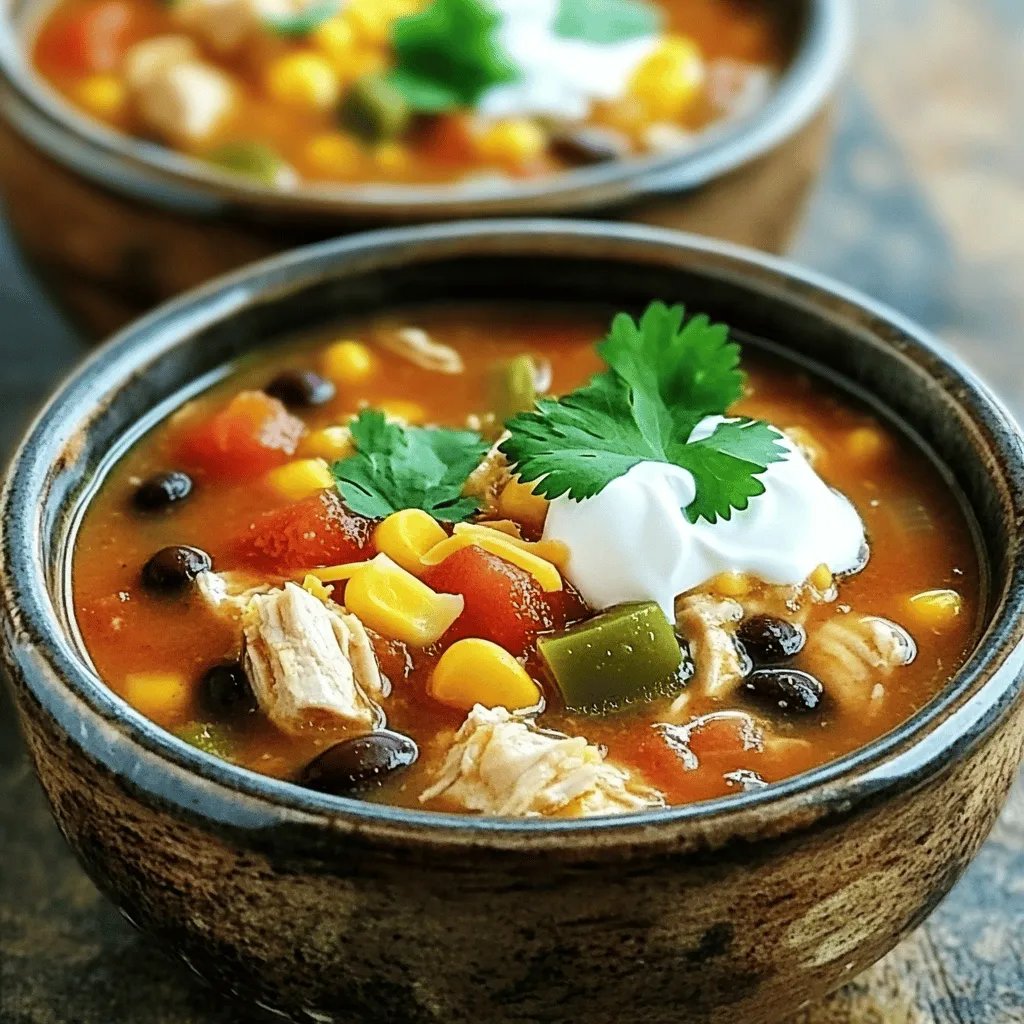
Chicken Taco Soup Flavorful and Simple Recipe Guide
Looking for a quick and tasty meal? I’ve got the perfect solution: Chicken Taco Soup! This flavor-packed recipe is easy Read Full Recipe -
Baked Lemon Garlic Tilapia Simple and Tasty Meal
Are you ready to whip up a meal that’s both simple and bursting with flavor? Baked Lemon Garlic Tilapia is Read Full Recipe -
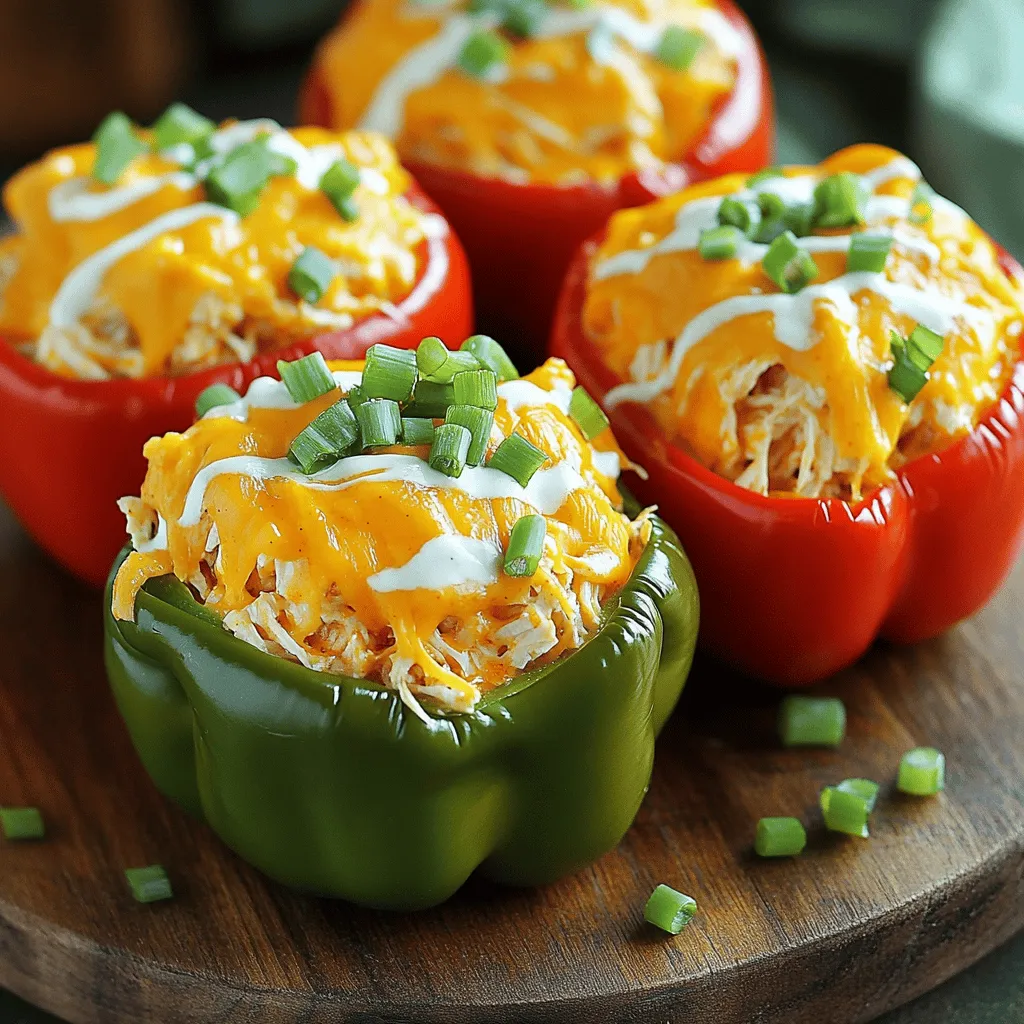
Buffalo Chicken Stuffed Peppers Tasty and Easy Recipe
Are you craving a meal that’s both tasty and easy to make? Look no further! This Buffalo Chicken Stuffed Peppers Read Full Recipe