WANT TO SAVE THIS RECIPE?
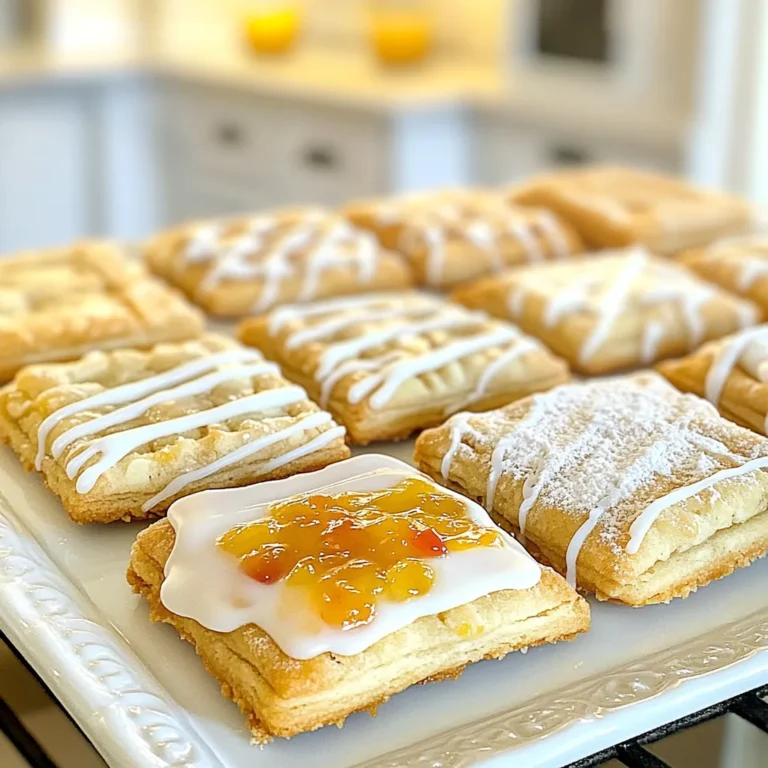
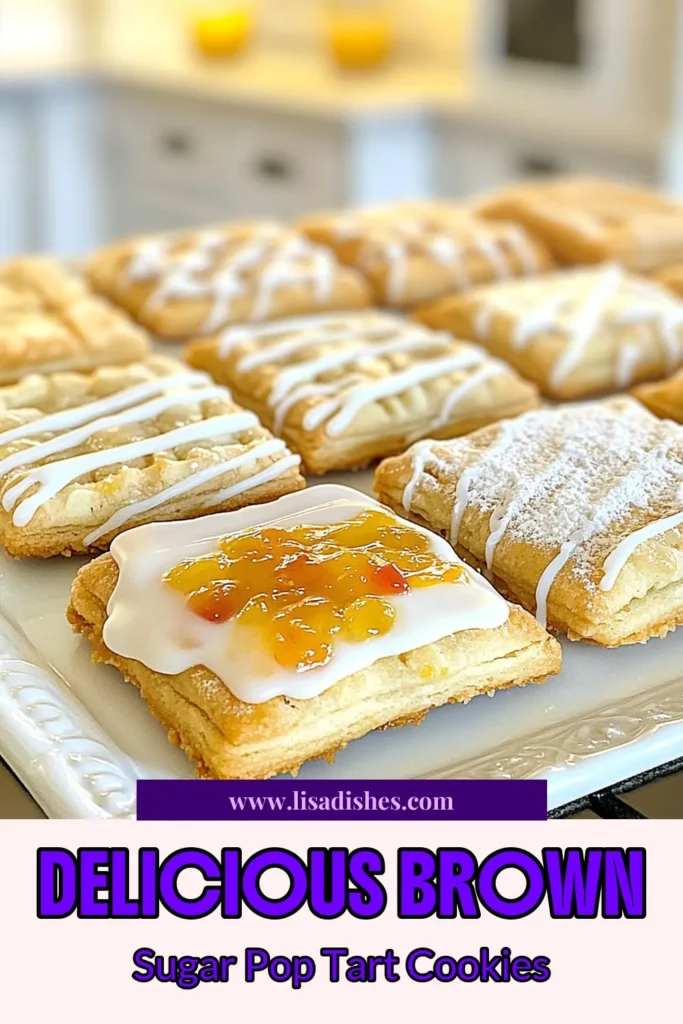
If you love cookies and nostalgic flavors, you’re in for a treat! Brown Sugar Pop Tart Cookies combine the warm taste of brown sugar with the fun of Pop Tarts. These cookies are easy to make, and they bring back sweet childhood memories. In this guide, I’ll share simple steps to create these irresistible treats at home. Let’s dive in and bake something special together!
Why I Love This Recipe
- Delicious Flavor Combination: The rich brown sugar paired with your choice of jam or chocolate creates a delightful treat that’s hard to resist.
- Fun to Make: This recipe allows for creativity, as you can customize the fillings to your liking, making baking a fun activity.
- Perfect for Sharing: With 12 cookies, these are great for gatherings, parties, or simply enjoying with family and friends.
- Easy and Quick: With a total time of just 1 hour, you can whip up a batch of delicious cookies in no time!
Ingredients
Main Ingredients
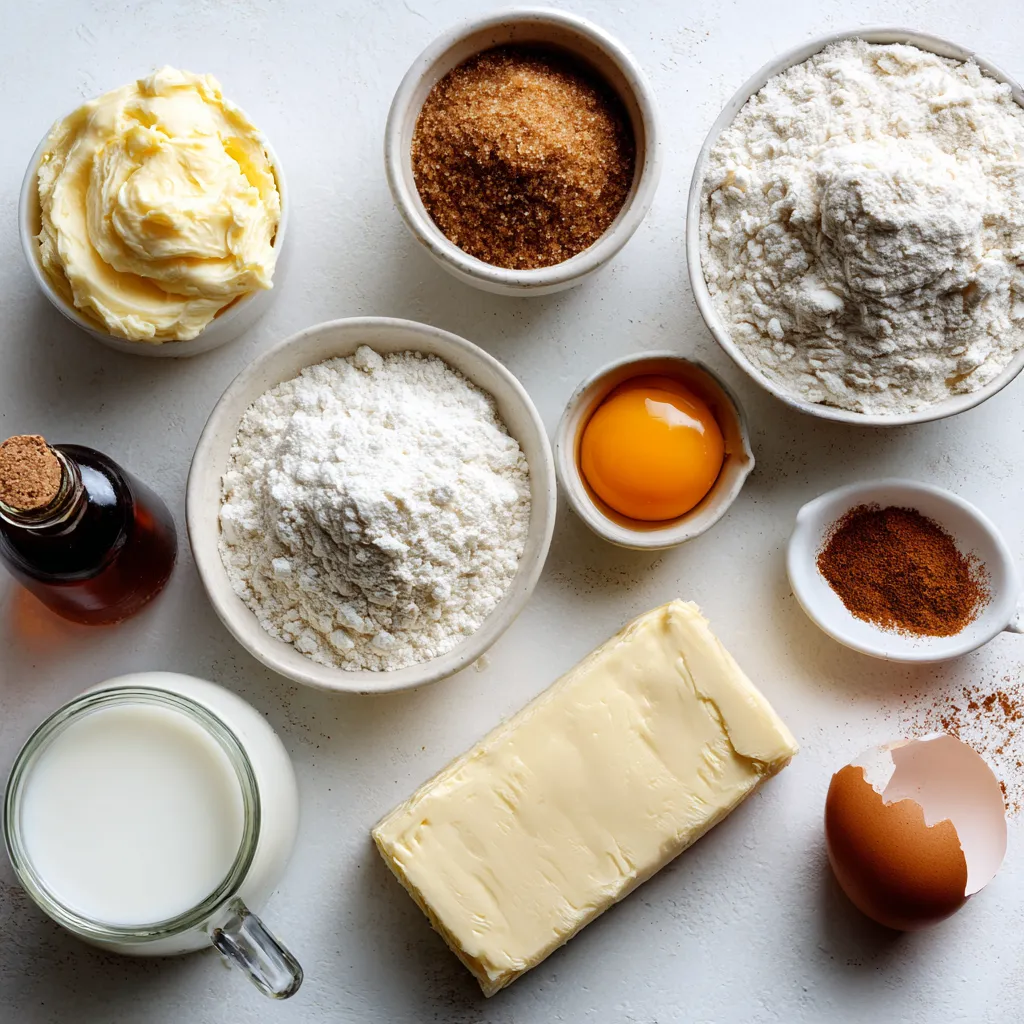
– 1 cup unsalted butter, softened
– 1 cup brown sugar, packed
– 2 cups all-purpose flour
– 1/2 teaspoon baking powder
– 1/4 teaspoon salt
The main ingredients are simple but full of flavor. Unsalted butter brings richness. Brown sugar adds depth and sweetness. All-purpose flour gives structure to the cookies. Baking powder helps them rise. Salt balances the sweetness for taste.
Additional Ingredients
– 1/2 teaspoon vanilla extract
– 1 large egg
– 1/2 cup powdered sugar (for icing)
– 2-3 tablespoons milk (for icing)
– 1/4 teaspoon cinnamon (optional, for extra flavor)
The additional ingredients make these cookies special. Vanilla extract adds warmth. The egg binds everything together. Powdered sugar and milk create a smooth icing. A touch of cinnamon gives an optional burst of flavor. This blend creates a delightful cookie.

Step-by-Step Instructions
Preparing the Dough
1. Start by creaming 1 cup of softened unsalted butter with 1 cup of packed brown sugar. Use a mixer to blend until the mix is creamy and smooth.
2. Next, add 1 large egg and 1/2 teaspoon of vanilla extract to the butter mix. Beat until well combined.
3. In a separate bowl, whisk together 2 cups of all-purpose flour, 1/2 teaspoon of baking powder, 1/4 teaspoon of salt, and optional 1/4 teaspoon of cinnamon. This mix gives the cookies a warm flavor.
Chilling and Rolling
1. Divide the dough into two equal parts. Flatten each half into a disk and wrap in plastic wrap. Chill them in the fridge for at least 30 minutes. This step is key for shaping.
2. After chilling, roll out one disk on a floured surface to about 1/8 inch thick. This thickness is just right for cookies.
3. Use a knife or pizza cutter to cut the dough into rectangles that are about 2×3 inches. This size is perfect for a handheld treat.
Assembling and Baking
1. Place half of the cookie rectangles on a lined baking sheet.
2. For fun, add your favorite jam or chocolate spread in the center of each rectangle. Don’t add too much, or they might spill out while baking.
3. Top each filled rectangle with another piece of dough. Press the edges with a fork to seal them well. Poke a few holes in the top to let steam escape.
4. Repeat this with all the dough and fillings. Preheat your oven to 350°F (175°C) and bake the cookies for 15-18 minutes. Look for lightly golden edges to know they are done.
Tips & Tricks
Perfecting the Dough
To make great cookies, you must avoid overmixing the dough. Overmixing makes the cookies tough. Mix just until the dry ingredients blend in. This keeps them soft and chewy.
Chilling the dough is vital, too. When you chill it for at least 30 minutes, the cookies hold their shape. This step also helps deepen the flavors. Wrap the dough in plastic wrap and pop it in the fridge.
Flavor Enhancements
You can use different fillings to make the cookies your own. Try fruits, jams, or even chocolate spreads. Each filling adds a unique taste. Mix and match to discover your favorites.
Icing is another key part. For the best icing, keep the consistency smooth. Start with powdered sugar and add milk slowly. You want it thick enough to stay on the cookies but thin enough to drizzle easily.
Baking Techniques
To ensure even baking, space the cookies well on the baking sheet. Leave enough room for them to rise. This helps them bake nicely without sticking together.
Know when your cookies are done by looking for a light golden edge. They may feel soft in the center but will firm up as they cool. A gentle press should leave a slight mark but not stick to your finger. Trust your senses; you’ll be a pro in no time!
Pro Tips
- Chill the Dough: Refrigerating the dough not only makes it easier to roll out but also helps the cookies maintain their shape while baking.
- Seal the Edges: Make sure to press the edges firmly with a fork to prevent any filling from leaking out during baking.
- Customize Fillings: Feel free to experiment with different jams, chocolate spreads, or even Nutella for a fun twist on the classic flavor.
- Perfect Icing: Adjust the consistency of your icing by adding more or less milk; it should be thick enough to drizzle but not runny.
Variations
Flavor Variations
You can make these cookies even more fun by using flavored Pop Tarts. Try strawberry or s’mores for a tasty twist. The flavor of the filling changes the whole cookie. You can also add spices like nutmeg or pumpkin spice for a warm, cozy taste. Just add a pinch to the dough for a new flavor.
Dietary Alternatives
If you need gluten-free options, swap the all-purpose flour with a gluten-free blend. Many blends work well in cookies. For a vegan version, replace the egg with a flaxseed egg or applesauce. Use vegan butter to keep the taste rich and smooth. These swaps keep the cookies tasty for everyone.
Seasonal Twists
You can change the filling to match the seasons. For holidays, use cranberry or eggnog-flavored filling. These flavors make great festive cookies. You can also create fun icing designs for special occasions. Use colors like red and green for Christmas or pastel shades for spring. These details make your cookies stand out.
Storage Info
Storing Cookies
To keep your Brown Sugar Pop Tart Cookies fresh, store them in an airtight container. This will help prevent them from drying out. You can also layer the cookies with parchment paper to avoid sticking. A glass jar or a plastic container works well for this. Make sure to keep them in a cool, dry place away from sunlight.
Freezing Instructions
If you want to save some cookies for later, freezing is a great option. First, let the cookies cool completely. Then, place them in a single layer on a baking sheet. Freeze them for about an hour. Once frozen, transfer the cookies to a freezer bag. Squeeze out excess air, then seal. To bake frozen cookies, preheat your oven to 350°F (175°C). Bake for an extra 2-3 minutes longer than the original time.
Shelf Life
When stored properly, your cookies can last up to a week at room temperature. If you freeze them, they can last for about three months. Check for signs of spoilage like a hard texture or off smell. If you notice these signs, it’s best to toss them. Enjoy your cookies while they are fresh!
FAQs
Can I use other types of sugar?
Yes, you can. If you don’t have brown sugar, use white sugar. Cookies will be less chewy but still tasty. You could also use coconut sugar. It gives a nice caramel flavor. Just keep the same amount as in the recipe.
How do I know when the cookies are baked?
Look for a golden edge. The center should not be too soft. A slight bounce when touched is a good sign. Let them cool on the baking sheet. This helps them firm up.
What can I use instead of Pop Tarts?
You can use jam, chocolate spread, or nut butter for the filling. If you want a different crust, use pie dough. This gives a flakier texture. You can be creative with flavors!
This blog post covered the essential steps to create delicious cookies. We explored the main and additional ingredients, guiding you from preparing the dough to baking. Key tips helped enhance flavor and ensure perfect texture. You learned about fun variations and how to store cookies effectively. Remember, making cookies is a simple joy. Whether you tweak flavors or try new fillings, have fun and get creative. Your kitchen is a place for sweet treats and happy moments. Enjoy every bite and share them with those you lov
Brown Sugar Pop Tart Cookies
Delicious cookies with a brown sugar base, perfect for a sweet treat.
Prep Time 30 minutes mins
Cook Time 18 minutes mins
Total Time 1 hour hr
Course Dessert
Cuisine American
Servings 12
Calories 150 kcal
- 1 cup unsalted butter, softened
- 1 cup brown sugar, packed
- 2 cups all-purpose flour
- 0.5 teaspoon baking powder
- 0.25 teaspoon salt
- 0.5 teaspoon vanilla extract
- 1 large egg
- 0.5 cup powdered sugar (for icing)
- 2 tablespoons milk (for icing)
- 0.25 teaspoon cinnamon (optional, for extra flavor)
In a large mixing bowl, beat the softened butter and brown sugar together until creamy and smooth.
Add the egg and vanilla extract to the butter mixture, and mix until fully incorporated.
In a separate bowl, whisk together the flour, baking powder, salt, and cinnamon (if using).
Gradually add the dry mixture into the wet ingredients, mixing until a soft dough forms. Do not overmix.
Divide the dough in half, flatten into disks, wrap in plastic wrap, and refrigerate for at least 30 minutes.
Preheat your oven to 350°F (175°C) and line a baking sheet with parchment paper.
Once chilled, roll out one disk of dough on a floured surface to about 1/8 inch thick. Cut the dough into rectangles (about 2x3 inches).
Place half of the rectangles on the prepared baking sheet.
For a fun twist, add your favorite jam or chocolate spread in the center of each rectangle.
Top with another rectangle, pressing the edges with a fork to seal. Poke a few holes in the top to allow steam to escape.
Repeat with the remaining dough and fillings. Bake for 15-18 minutes or until the edges are lightly golden.
Allow the cookies to cool completely on the baking sheet.
In a small bowl, mix the powdered sugar and milk until smooth to create the icing. Drizzle over the cooled cookies once they are set.
Feel free to use your favorite jam or chocolate spread for the filling.
Keyword cookies, dessert, pop tart
WANT TO SAVE THIS RECIPE?