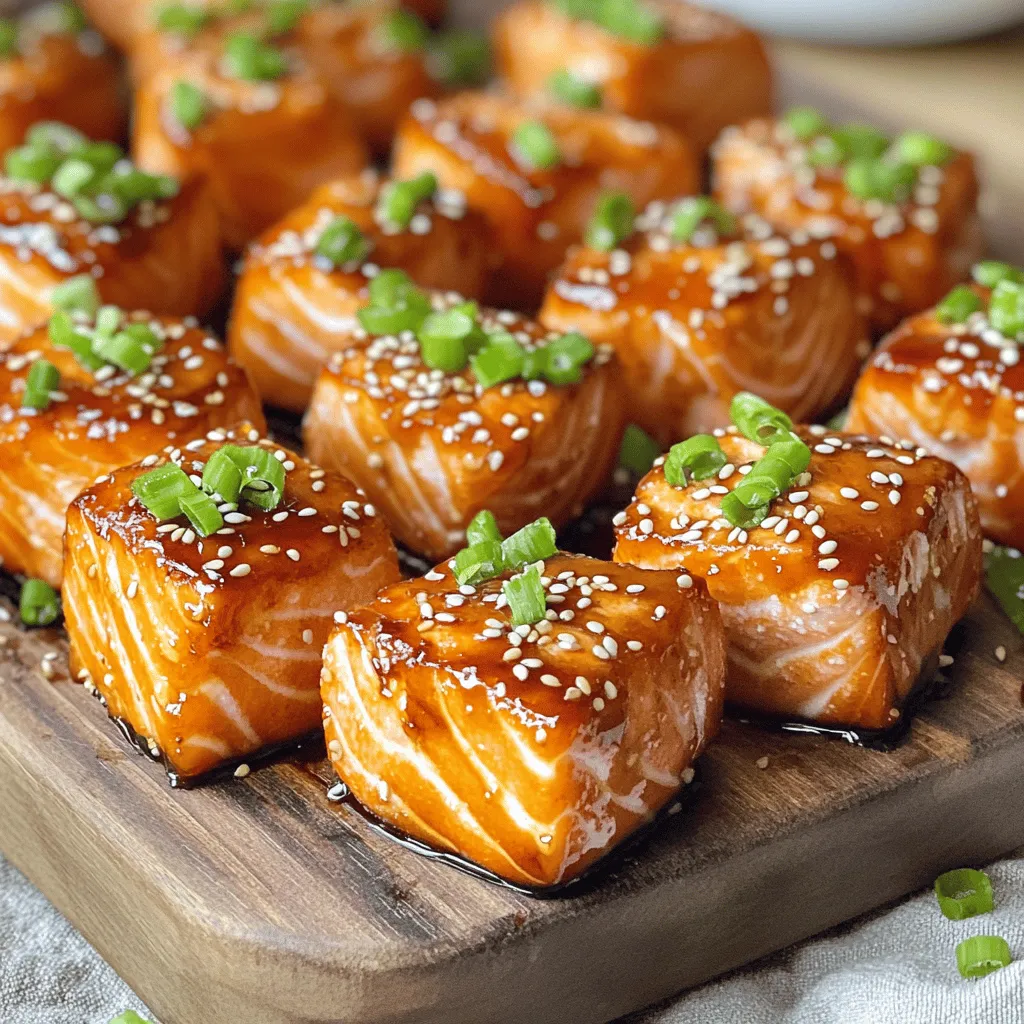
Savory Air Fryer Teriyaki Salmon Bites Recipe
If you love quick, tasty meals, you’ll adore these Air Fryer Teriyaki Salmon Bites! This recipe packs a flavor punch
If you love quick, tasty meals, you’ll adore these Air Fryer Teriyaki Salmon Bites! This recipe packs a flavor punch

Looking for a quick and tasty snack? You’re in the right place! My Herb Garlic Parmesan Breadsticks are simple to

If you crave a crunchy snack that’s both tasty and healthy, then you’ve come to the right place! These Parmesan
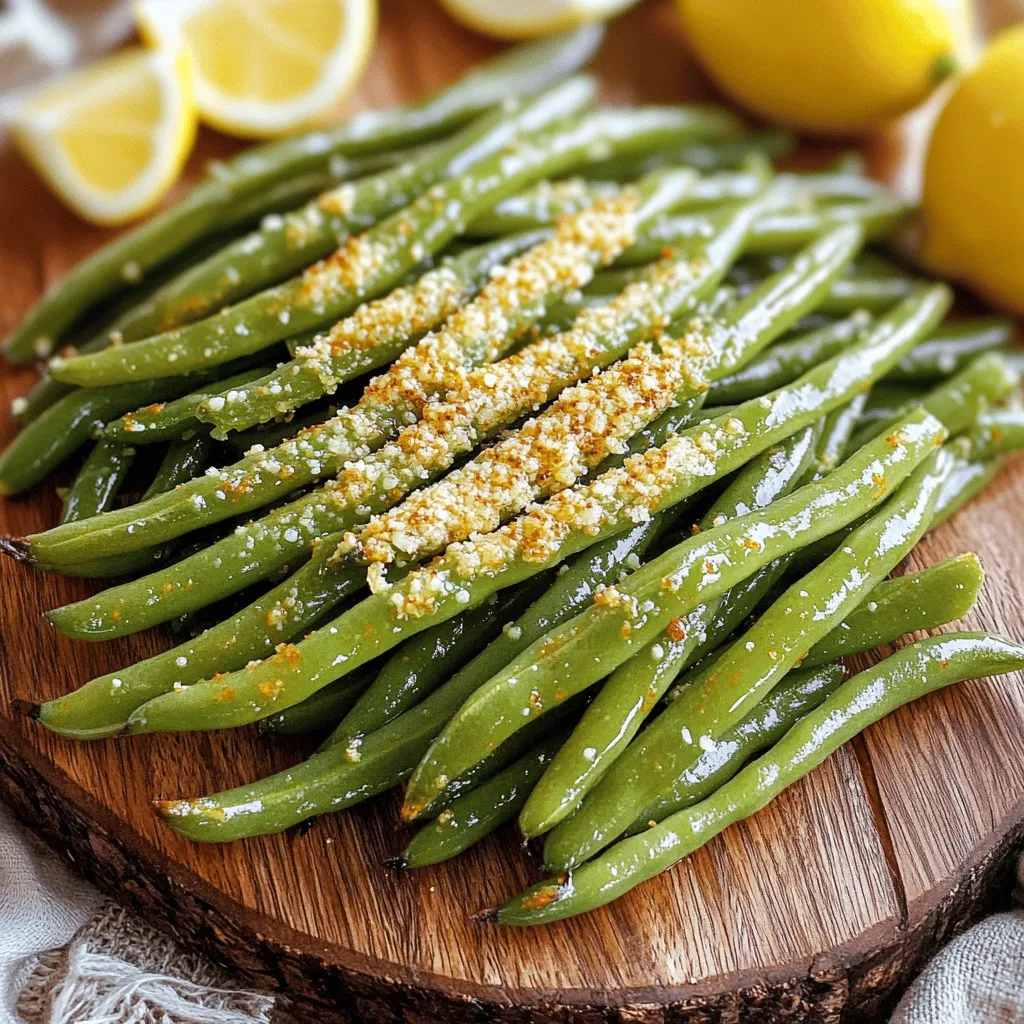
Looking for a quick and tasty side dish? Air Fryer Parmesan Green Beans are a game-changer! With a satisfying crunch
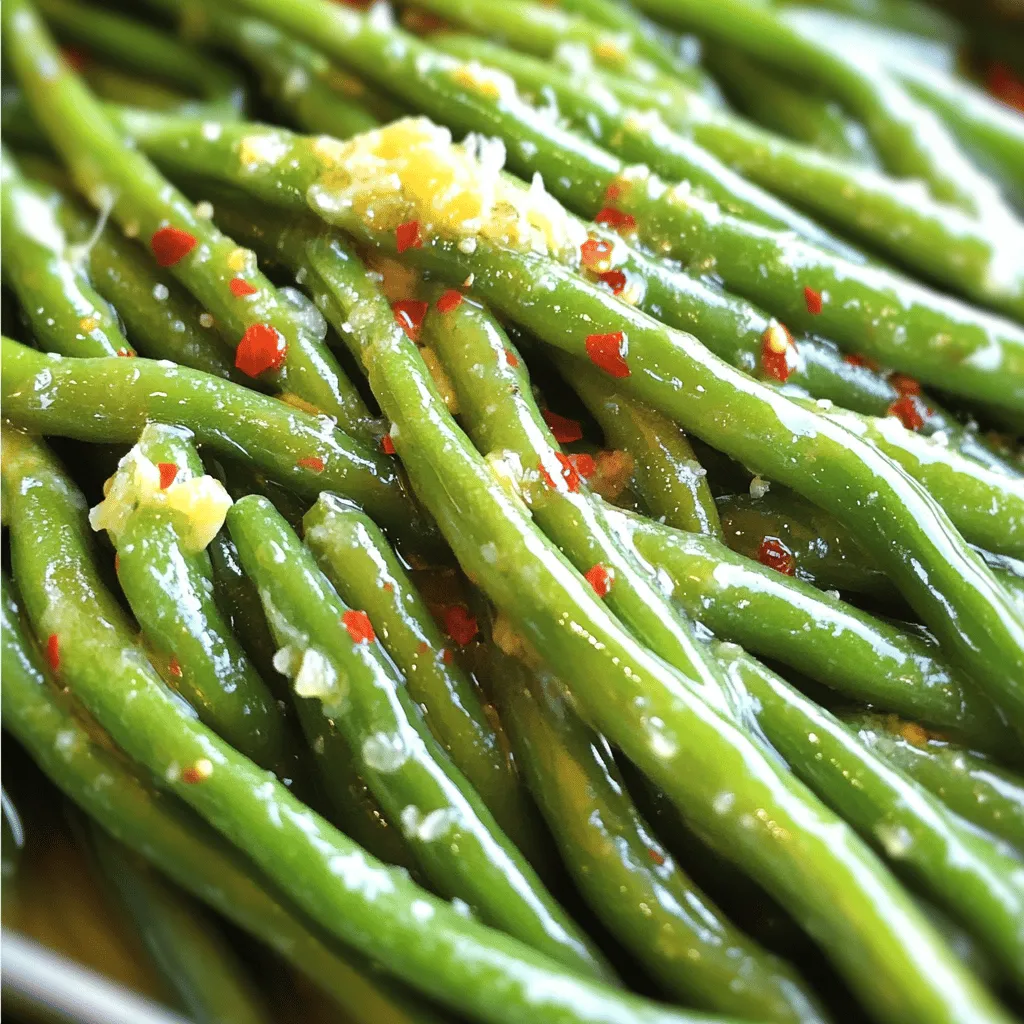
Looking for a quick and tasty side dish? Air Fryer Garlic Butter Green Beans are a winner! With just a
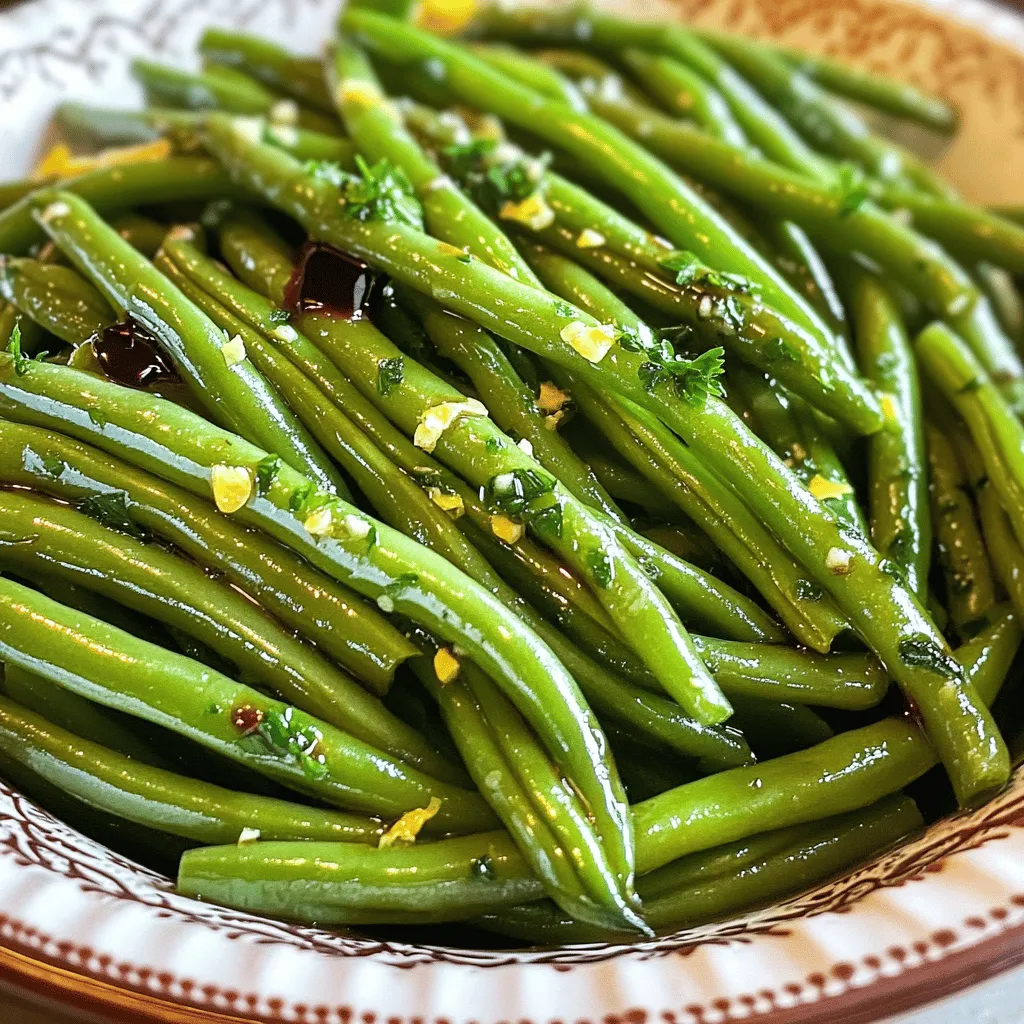
Looking for a quick side dish that’s both delicious and easy? You’ll love these Air Fryer Garlic Butter Green Beans!

Are you ready to make a mouthwatering snack that’s both crispy and tasty? In this article, I’ll show you how
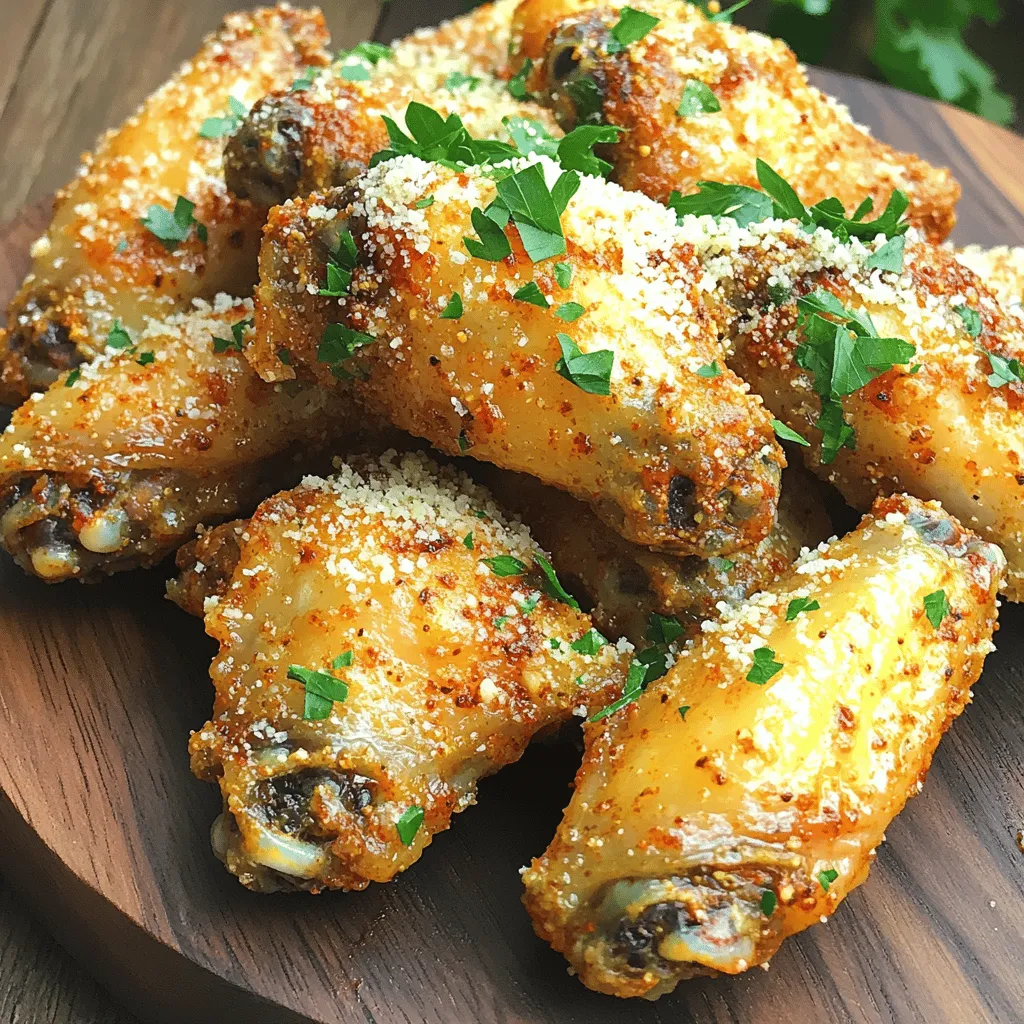
Are you ready to take your wing game to the next level? Air Fryer Spicy Garlic Parmesan Wings are a
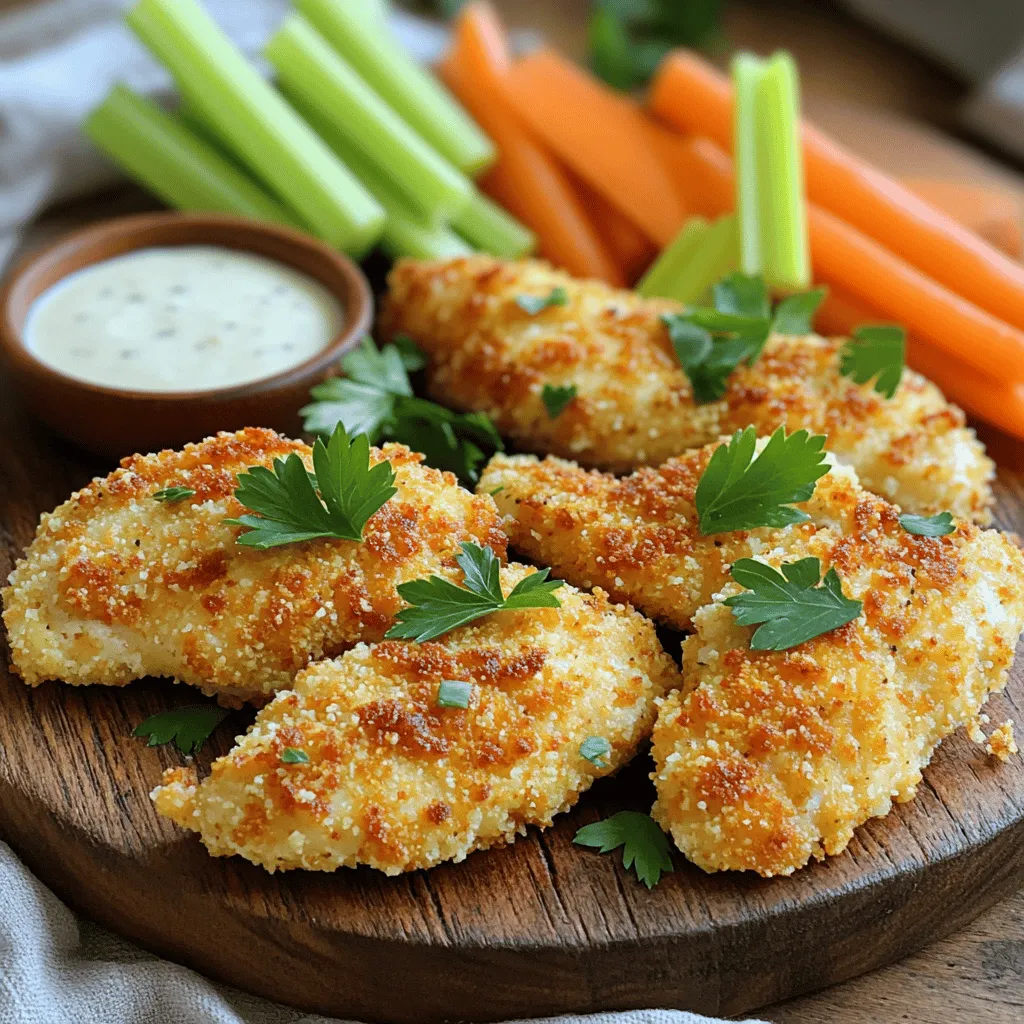
Looking for a quick and tasty meal? You’ve found it! My Air Fryer Crispy Ranch Chicken Tenders are sure to

Looking for a tasty side that’s easy to make? My Air Fryer Garlic Herb Potato Wedges are your answer! Crispy
