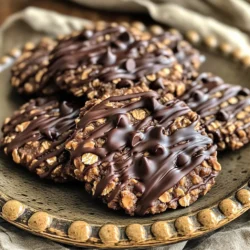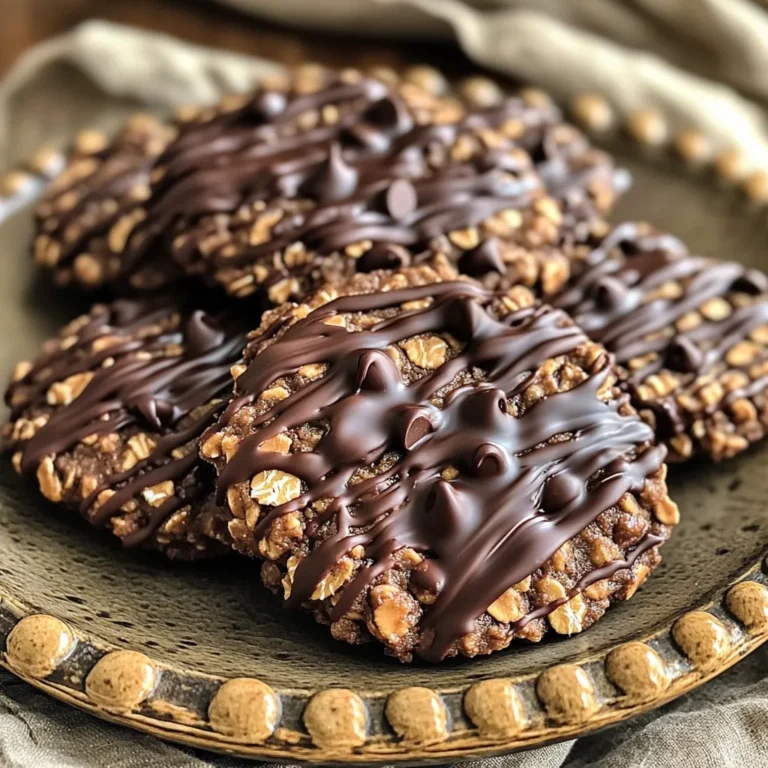
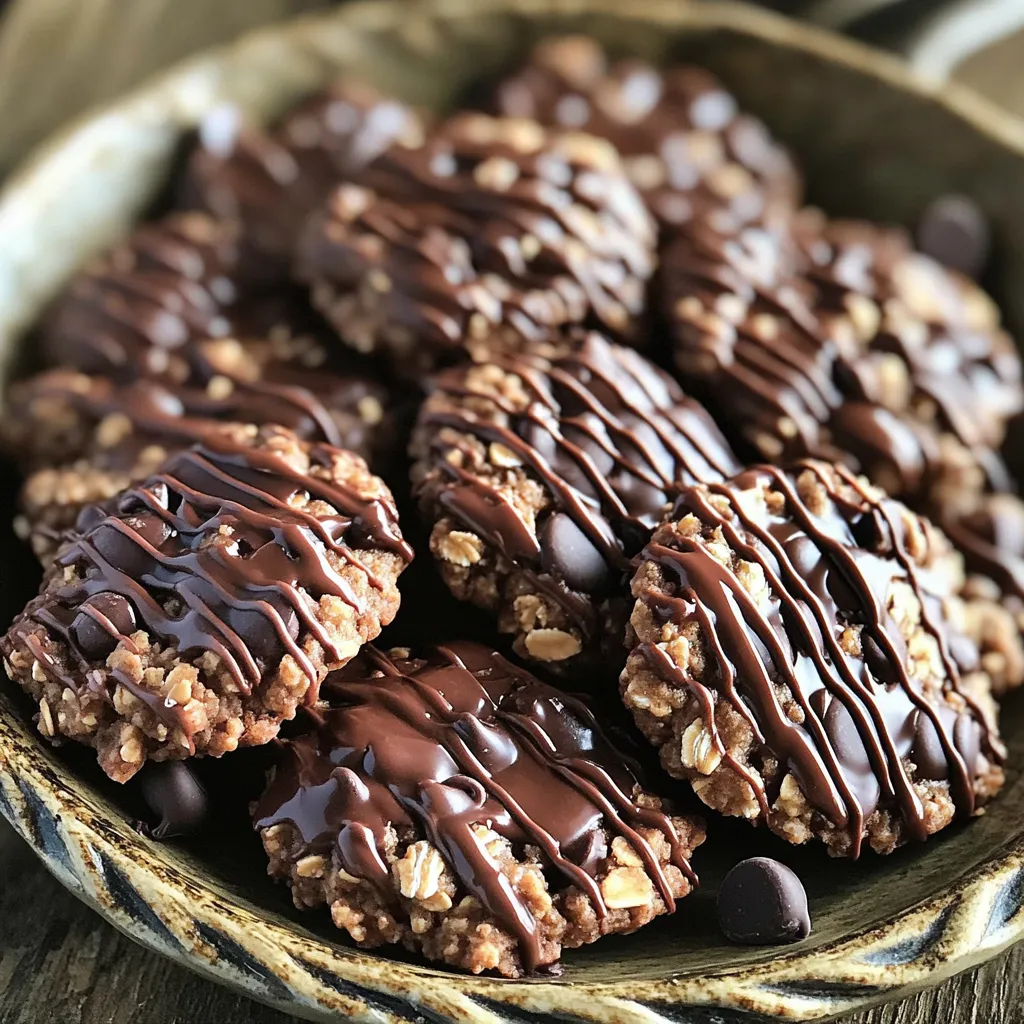
Are you ready to whip up something sweet, easy, and satisfying? My Chocolate Peanut Butter Oatmeal Cookies No Bake Delight is your go-to treat for any occasion. With simple ingredients like natural peanut butter, rolled oats, and dark chocolate chips, you can create a delicious snack without turning on the oven. Let’s dive into this delightful recipe that will please both kids and adults alike!
Ingredients
List of Ingredients
– 1 cup natural peanut butter
– 1/2 cup honey or maple syrup
– 1 teaspoon vanilla extract
– 2 cups rolled oats
– 1/2 cup dark chocolate chips
– 1/4 cup unsweetened cocoa powder
– 1/2 teaspoon sea salt
– Optional: 1/4 cup chopped nuts (such as walnuts or almonds)
These ingredients come together to create a tasty cookie. Each one plays a key role. Natural peanut butter gives a rich, creamy base. Honey or maple syrup adds sweetness and binds everything. Vanilla extract brings a warm flavor.
Rolled oats add texture and chewiness. Dark chocolate chips melt slightly, creating pockets of chocolate bliss. Cocoa powder gives a deep chocolate taste. Sea salt enhances all the flavors, making them pop.
If you want more crunch, add chopped nuts. Walnuts or almonds work well. They give a nice contrast to the chewy oats. This mix of flavors and textures makes these cookies special.
You can find these ingredients at your local store. Always choose high-quality items for the best taste. Fresh ingredients make a big difference in your cookies. Enjoy mixing these simple yet delicious ingredients!
Step-by-Step Instructions
Preparation Steps
1. Melt peanut butter mixture
In a medium saucepan, add 1 cup of natural peanut butter, 1/2 cup of honey or maple syrup, and 1 teaspoon of vanilla extract. Heat this over low heat. Stir it well until it melts, which takes about 2-3 minutes. Remove it from the heat once it’s smooth.
2. Combine oat mixture
Grab a large bowl and mix 2 cups of rolled oats, 1/2 cup of dark chocolate chips, 1/4 cup of cocoa powder, and 1/2 teaspoon of sea salt. Stir until all the dry ingredients blend together.
3. Mix wet and dry ingredients
Pour the warm peanut butter mixture over the oat mixture. Stir this well until everything combines. If you want a crunch, fold in 1/4 cup of chopped nuts like walnuts or almonds.
4. Form cookies on baking sheet
Line a baking sheet with parchment paper. Use a cookie scoop or a spoon to drop heaping tablespoons of the mix onto the sheet. Shape them into cookie mounds.
5. Refrigerate to set
Flatten each mound slightly with a fork or your fingers. Then place the baking sheet in the refrigerator for at least 30 minutes. This will help the cookies set.
Visual Aids
– For each step, take clear images. This helps you see how the mixture should look.
– Consider adding a video tutorial link that shows the whole process. Watching can make it easier to follow along.
Tips & Tricks
Ingredient Substitutes
– Alternatives for sweeteners: If you want a different sweet taste, try agave syrup or brown sugar. Both options work well in this recipe. They add sweetness without changing the flavor much.
– Nut-free options: If you need nut-free cookies, use sun butter instead of peanut butter. It gives a similar creamy texture and taste. You can also skip the nuts entirely for a simpler cookie.
Perfecting the Texture
– Adjusting oats and cocoa ratio: You can tweak the oats and cocoa powder to get your favorite texture. If you want a chewier cookie, add more oats. For a richer chocolate taste, increase the cocoa powder. Just remember to keep the balance right.
– Ensuring proper cooling time: Let the cookies chill in the fridge for at least 30 minutes. This step is key for the cookies to hold their shape. If you skip this, they may turn out too soft and crumbly.
Variations
Flavor Additions
You can make these cookies even more tasty. Try adding spices like cinnamon. Just a pinch gives warm flavor. It pairs well with chocolate and peanut butter.
You can also switch up the chocolate types. Use milk chocolate or white chocolate chips. This changes the taste and look of the cookies. Each chocolate adds its own sweet touch.
Dietary Modifications
These cookies can fit many diets. If you want a vegan option, swap honey for maple syrup. This makes them sweet and still yummy.
For a gluten-free version, choose gluten-free oats. This way, everyone can enjoy them. Just make sure the oats are certified gluten-free.
Storage Info
Best Practices for Storage
To keep your Chocolate Peanut Butter Oatmeal Cookies fresh, use an airtight container. This helps maintain their taste and texture. A glass or plastic container with a tight seal works well. Make sure to place a piece of parchment paper between layers if stacking. Store the cookies in the refrigerator to keep them firm and tasty.
Shelf Life
These cookies last up to one week in the fridge. After that, they may lose their great taste. Look for signs of spoilage, like an off smell or a change in texture. If they feel too soft or have a strange taste, it’s time to toss them out. Enjoy these cookies fresh for the best flavor!
FAQs
Common Questions
Can I freeze no-bake cookies?
Yes, you can freeze no-bake cookies. Place them in an airtight container. Layer parchment paper between cookies to prevent sticking. They will stay fresh for up to three months. Just thaw them in the fridge before enjoying.
What can I use instead of peanut butter?
If you need a substitute for peanut butter, try almond butter or sunflower seed butter. Both options work well and bring their unique flavors. You can also use tahini for a nut-free choice.
How do I know when the cookies are set?
You can tell the cookies are set when they feel firm to touch. They should not be sticky or soft. After chilling for 30 minutes, check them in the fridge. If they hold shape, they’re ready to eat!
No-bake cookies are simple to make with just a few ingredients. We covered natural peanut butter, oats, and dark chocolate chips. You now know how to combine and shape the cookies, plus tips for texture and storage.
For a personal touch, try different flavors or dietary options. Enjoy your cookies fresh or stored, and remember to check for spoilage. No-bake cookies are easy and fun to create, making them a great treat anytime.