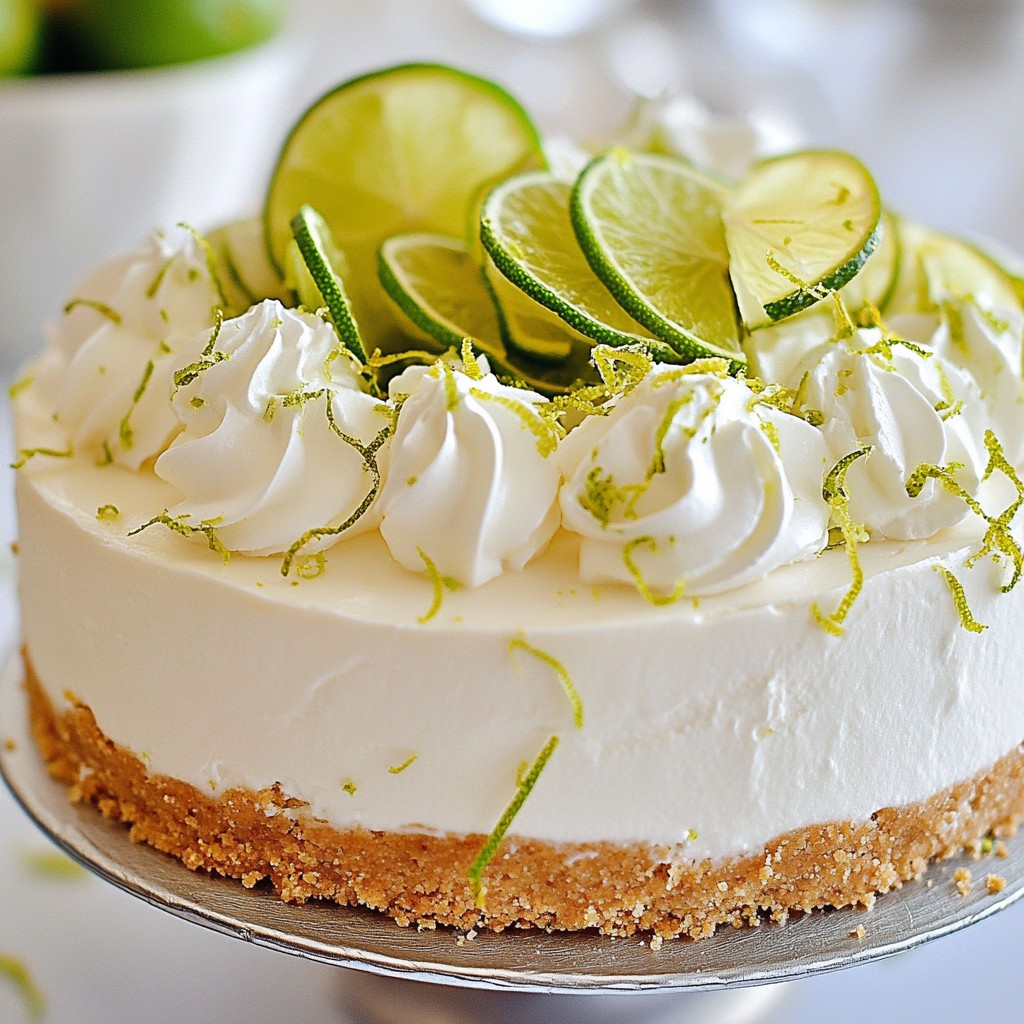
Ready to whip up a zesty treat? This No-Bake Key Lime Cheesecake is a fresh delight that brings summer right to your table. With a crisp crust and creamy filling, it’s the perfect blend of tangy and sweet. No baking means you can enjoy this tasty dessert with ease. Let’s dive into this fun recipe that’s perfect for any gathering or just a cozy night in!
Why I Love This Recipe
- Refreshing Flavor: This cheesecake brings a burst of zesty lime flavor that's perfect for warm weather or any time you crave something bright and tangy.
- No-Bake Convenience: With no baking required, this recipe is simple and stress-free, allowing you to enjoy a delicious dessert without the oven.
- Texture Perfection: The creamy filling combined with the crunchy graham cracker crust creates a delightful contrast that will keep you coming back for more.
- Customizable Toppings: Dress it up with fresh lime slices, zest, or even berries to make it your own and impress your guests with a beautiful presentation.
Ingredients
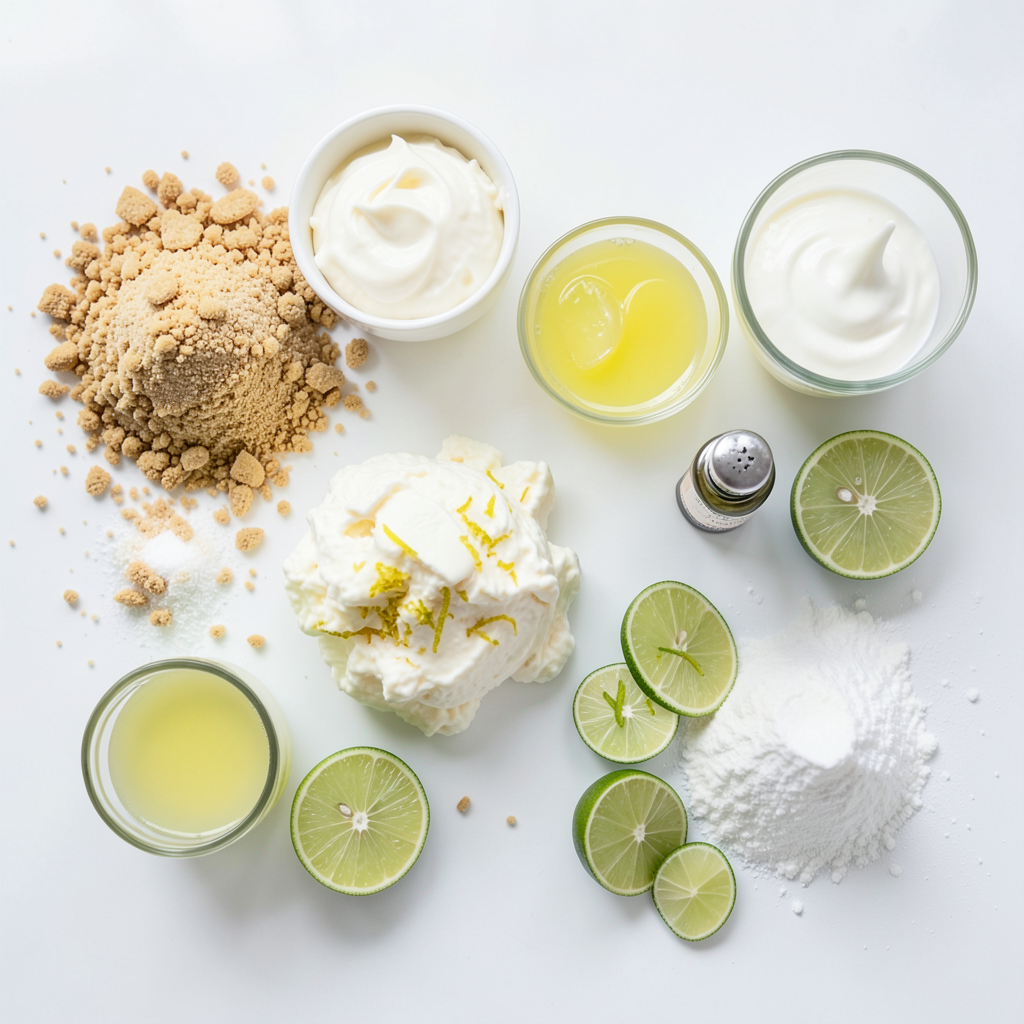
Here’s what you need for your Zesty No-Bake Key Lime Cheesecake. Gather these simple ingredients:
- 1 ½ cups graham cracker crumbs
- ½ cup unsalted butter, melted
- 2 tablespoons sugar
- 1 (8 oz) package cream cheese, softened
- 1 cup sweetened condensed milk
- ½ cup fresh key lime juice
- Zest of 2 key limes
- 1 teaspoon vanilla extract
- 1 cup heavy whipping cream
- 2 tablespoons powdered sugar
- Lime slices and zest for garnish
Each ingredient plays a role in making this cheesecake special. The graham cracker crumbs form a crunchy base. The melted butter helps bind the crust together. Sugar adds sweetness, balancing the tartness of the key limes.
Cream cheese gives the cheesecake its rich and creamy texture. Sweetened condensed milk adds sweetness and keeps the filling smooth. Fresh key lime juice and zest bring the zesty flavor that makes this dessert shine.
Vanilla extract rounds out the flavor profile, making it more aromatic. Heavy whipping cream is essential for a light and fluffy filling. The powdered sugar helps stabilize the whipped cream, ensuring it holds its shape.
Lastly, lime slices and zest make the perfect garnish. They add a pop of color and extra zing. Make sure to have these ingredients ready to create a delicious treat that everyone will love!
Step-by-Step Instructions
Preparing the Crust
- Combine 1 ½ cups graham cracker crumbs, ½ cup melted unsalted butter, and 2 tablespoons sugar in a bowl.
- Press this mixture into the bottom of a 9-inch springform pan. Use a measuring cup to pack it tightly.
- Place the pan in the refrigerator while you prepare the filling.
Making the Filling
- In a large bowl, beat 1 (8 oz) package of softened cream cheese with an electric mixer until smooth.
- Gradually add 1 cup of sweetened condensed milk, mixing until fully blended.
Flavoring the Filling
- Pour in ½ cup of fresh key lime juice, the zest of 2 key limes, and 1 teaspoon of vanilla extract.
- Mix until the filling is well combined and slightly fluffy.
Whipping the Cream
- In a separate bowl, whip 1 cup of heavy whipping cream until soft peaks form.
- Gradually add 2 tablespoons of powdered sugar and continue whipping until stiff peaks form.
Combining Mixtures
- Gently fold the whipped cream into the cream cheese mixture with a spatula.
- Be careful not to deflate the whipped cream as you mix.
Filling the Crust
- Pour the cheesecake filling onto the prepared crust. Smooth the top with a spatula.
- Cover the cheesecake with plastic wrap and refrigerate for at least 4 hours or overnight.
Tips & Tricks
Perfecting the Crust
- Use 1 ½ cups graham cracker crumbs.
- Mix with ½ cup melted butter and 2 tablespoons sugar.
- Press the mixture into a 9-inch springform pan tightly.
- Ensure an even layer for a stable base.
- Chill crust to allow it to firm up.
Achieving the Right Texture
- Start with softened cream cheese for easy mixing.
- Beat cream cheese until it is smooth and creamy.
- Mix in sweetened condensed milk gradually.
- For whipping cream, use cold heavy cream.
- Beat until soft peaks form, then add powdered sugar.
- Continue whipping until stiff peaks form for the lightest texture.
Garnishing for Presentation
- Use lime slices and zest for a fresh look.
- Place lime slices on top for color.
- Add zest on the sides for extra flair.
- Consider using whipped cream or mint leaves for added decoration.
- Get creative with toppings like crushed nuts or chocolate shavings.
Pro Tips
- Chill Your Tools: For a fluffier whipped cream, chill your mixing bowl and beaters in the refrigerator for about 15 minutes before whipping. This helps achieve better volume and stability.
- Perfect Lime Flavor: For the best taste, use fresh key limes if available. If not, regular limes work well too, but the flavor will be slightly different.
- Set Time: Allow the cheesecake to chill overnight for the best texture and flavor development. If you're in a hurry, a minimum of 4 hours will suffice, but longer is better.
- Garnishing Tips: For an appealing presentation, garnish with not only lime slices but also fresh mint leaves. It adds a pop of color and freshness to your cheesecake.
Variations
Different Fruit Flavorings
You can switch from key limes to regular limes. This change will give a similar taste. If you want to play with flavors, add lemon or orange juice. Each fruit brings a unique twist to this cheesecake. Try mixing different citrus for fun flavor combos.
Alternative Crust Options
Instead of graham crackers, use cookie crumbs. Chocolate or vanilla cookies work well here. For a gluten-free option, use crushed gluten-free cookies or nuts. This change gives your cheesecake a new texture and flavor.
Healthy Ingredient Swaps
Lighten the recipe by using low-fat cream cheese. You can also use low-fat whipped cream for a lighter filling. If you want fewer calories, swap sugar for a sugar substitute. This keeps it sweet without the extra calories. Enjoy your cheesecake without the guilt!
Storage Info
Refrigeration Tips
To keep your zesty no-bake key lime cheesecake fresh, store it in the fridge. First, cover the cheesecake tightly with plastic wrap. This prevents it from absorbing any odors. You can also use an airtight container if it fits. The cheesecake stays good for about 3 to 5 days.
Freezing Guidelines
Yes, you can freeze key lime cheesecake! Freezing is a great way to save leftovers for later. To freeze, slice the cheesecake into portions. Wrap each slice in plastic wrap, then place them in a freezer-safe bag. This keeps them safe from freezer burn.
When you're ready to enjoy a slice, take it out of the freezer. Place the cheesecake in the fridge to thaw overnight. It will taste just as fresh! Avoid thawing it at room temperature. This helps keep the texture creamy and delicious.
FAQs
What can I substitute for sweetened condensed milk?
You can use evaporated milk with extra sugar. Mix one cup of evaporated milk with ¾ cup of sugar. This gives a similar sweetness. You can also try coconut cream for a dairy-free option. This adds a nice flavor twist.
How long does it take for the cheesecake to set in the refrigerator?
The cheesecake needs at least four hours to set. For the best results, let it chill overnight. This time helps the flavors blend well and gives it a firmer texture.
Can I make this cheesecake in advance?
Yes, you can make it a day or two ahead. Just store it in the fridge, covered. It stays fresh and tasty, making it perfect for parties or gatherings.
Is it possible to make individual servings?
Absolutely! You can use small cups or jars for individual servings. Just layer the crust and filling in each container. This makes serving easy and fun!
What’s the best way to cut the cheesecake for serving?
To cut the cheesecake, use a hot knife. Dip the knife in hot water, then wipe it dry. This helps create clean slices without tearing the cheesecake. Enjoy the neat presentation!
You now have a full guide on making key lime cheesecake. From the simple ingredients to the easy steps, this treat is fun to prepare. Remember to chill it well for the best taste and texture. You can also explore variations to make it your own. Whether you're serving at a party or enjoying it at home, this cheesecake is sure to impress. Enjoy every creamy, tangy bite!