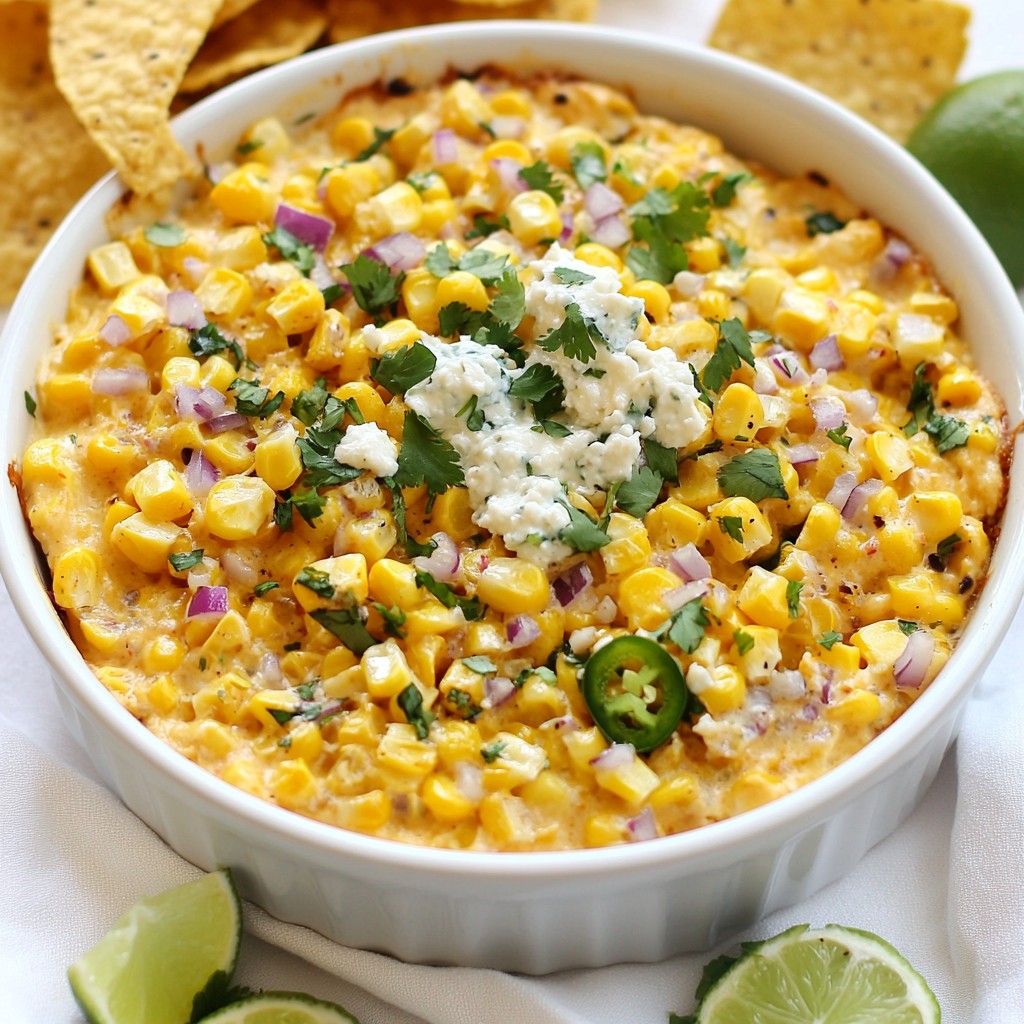
Cheesy Mexican Street Corn Dip Simple and Tasty Snack
A creamy and flavorful dip featuring corn, cheese, and spices, perfect for parties.
Starters and appetizers
A creamy and flavorful dip featuring corn, cheese, and spices, perfect for parties.
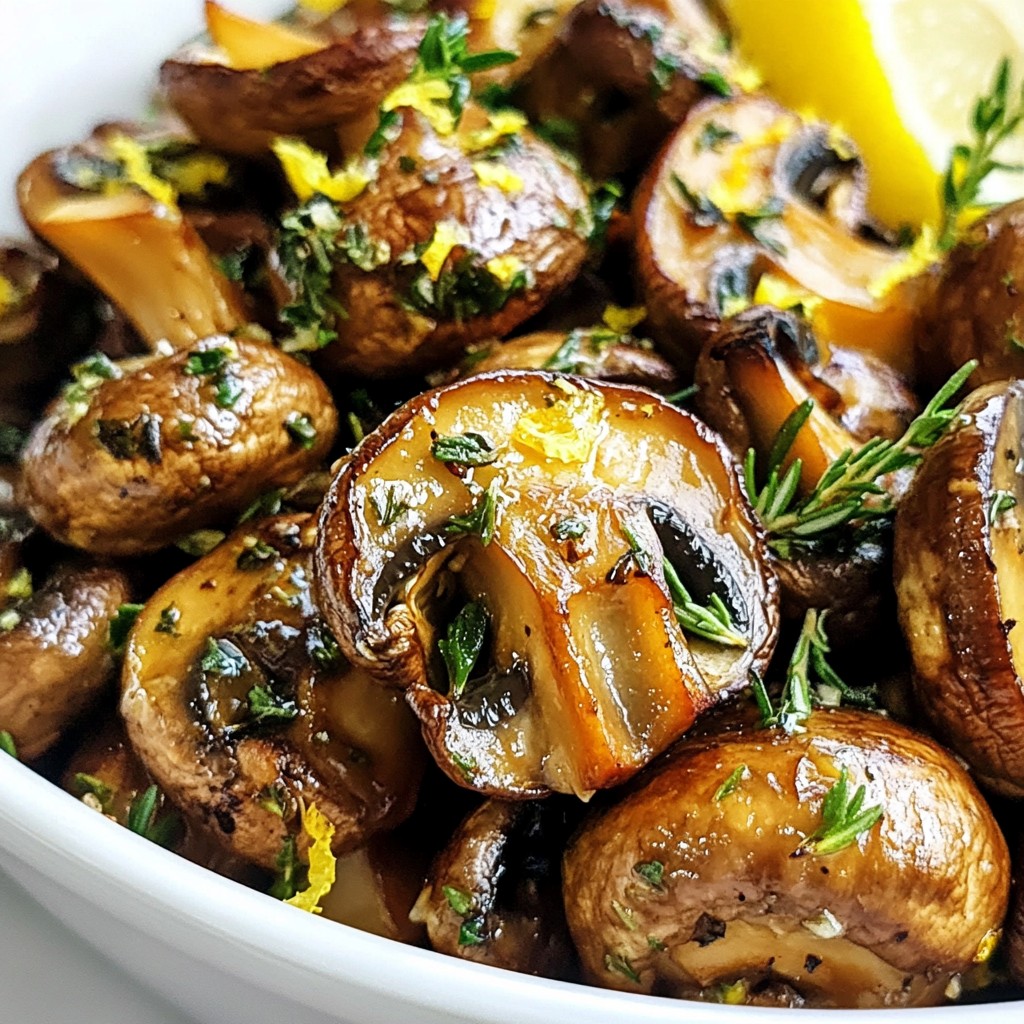
Delicious roasted mushrooms coated in garlic herb butter.
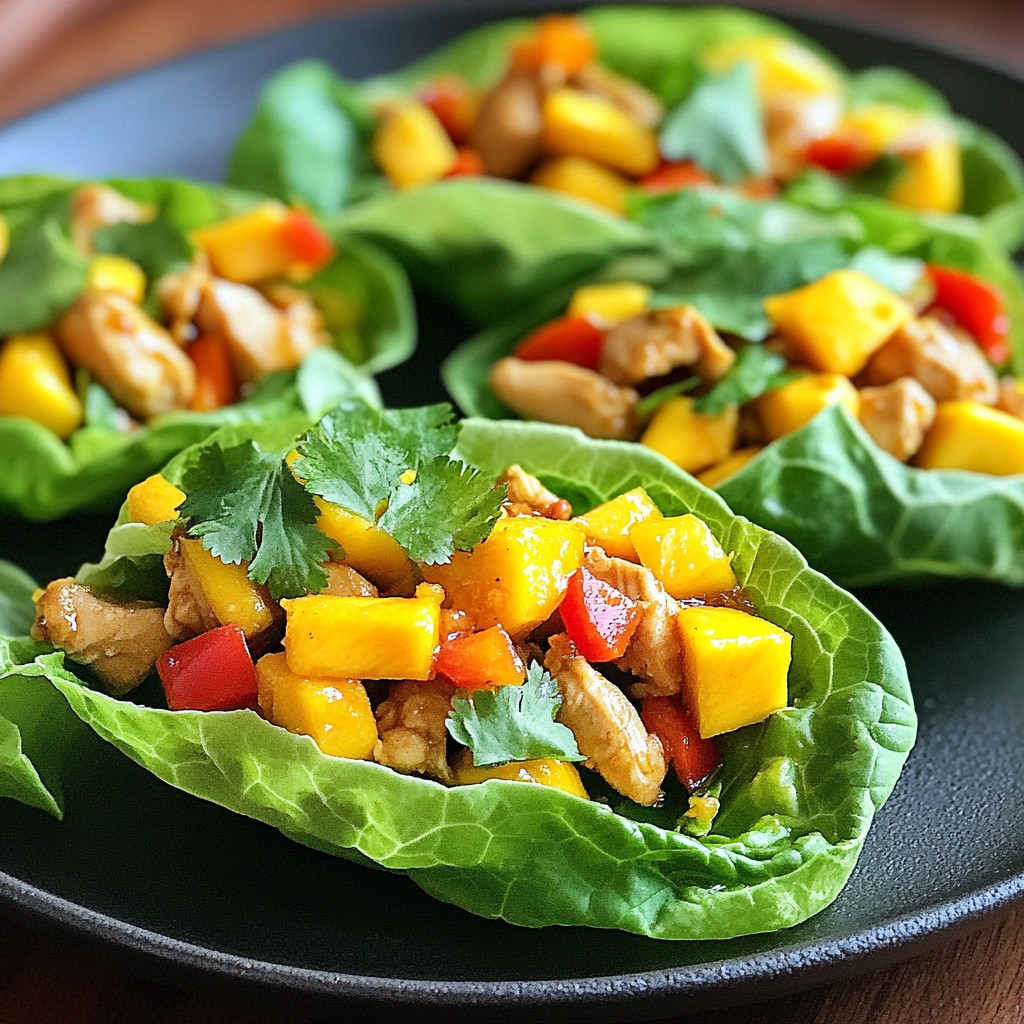
A refreshing and spicy dish featuring diced chicken, mango, and vegetables served in lettuce cups.
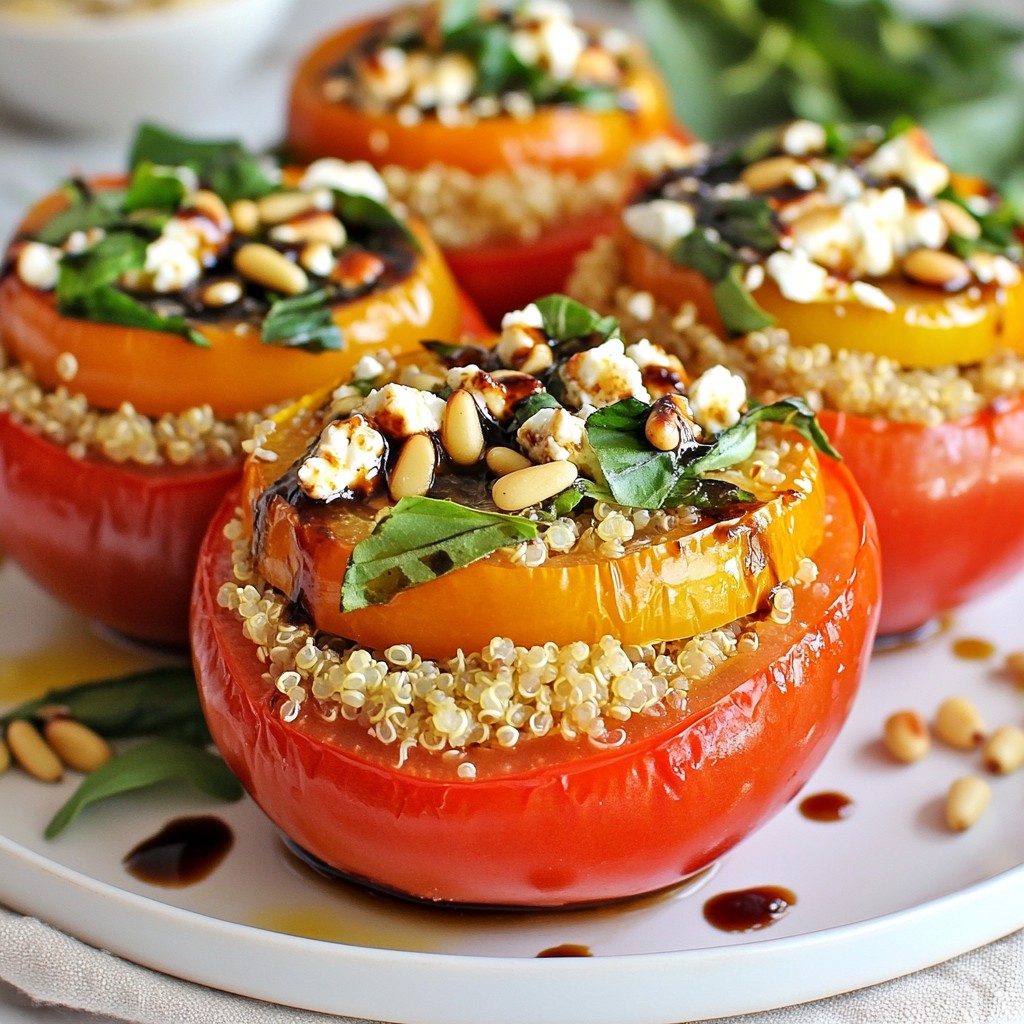
Delicious tomatoes filled with a savory quinoa mixture, perfect for a light meal or appetizer.
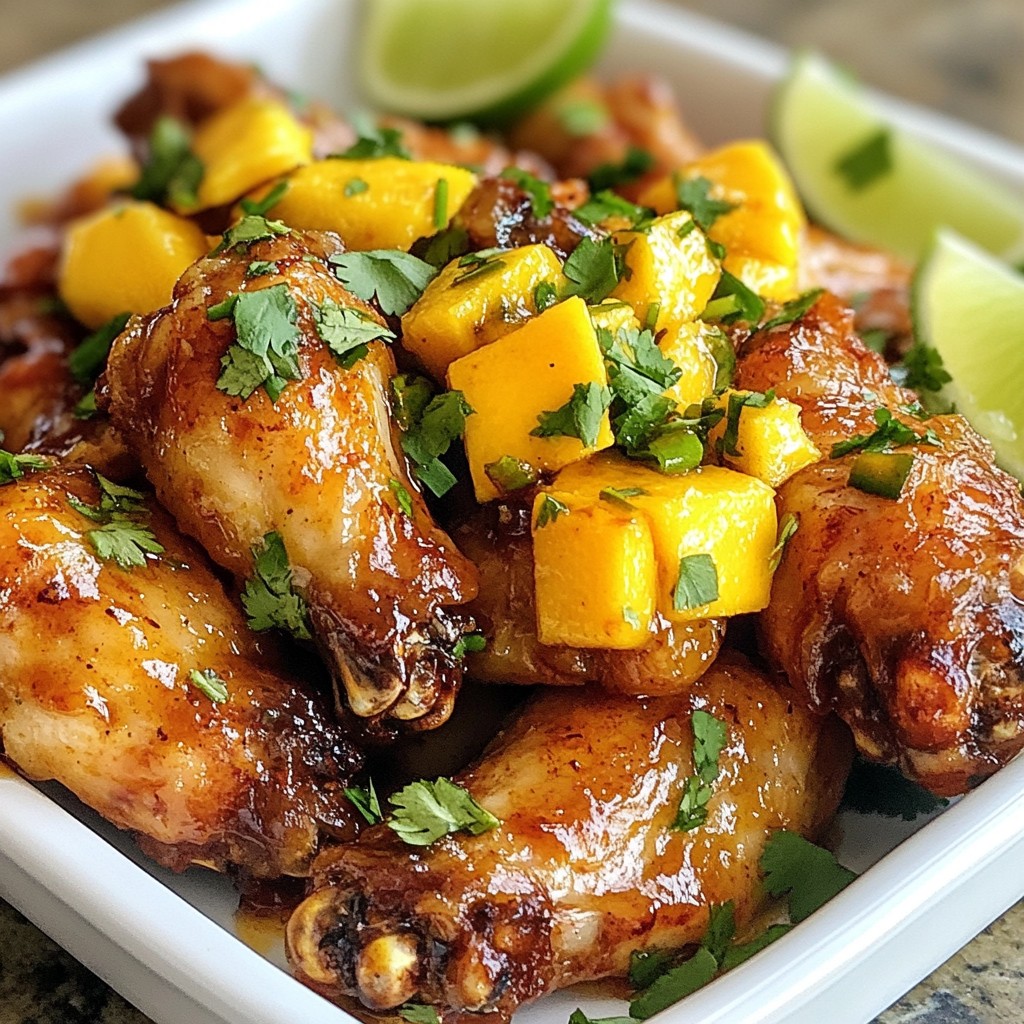
Spicy and sweet chicken wings marinated in a mango-habanero sauce.

Delicious stuffed mushrooms filled with a creamy garlic spinach mixture.
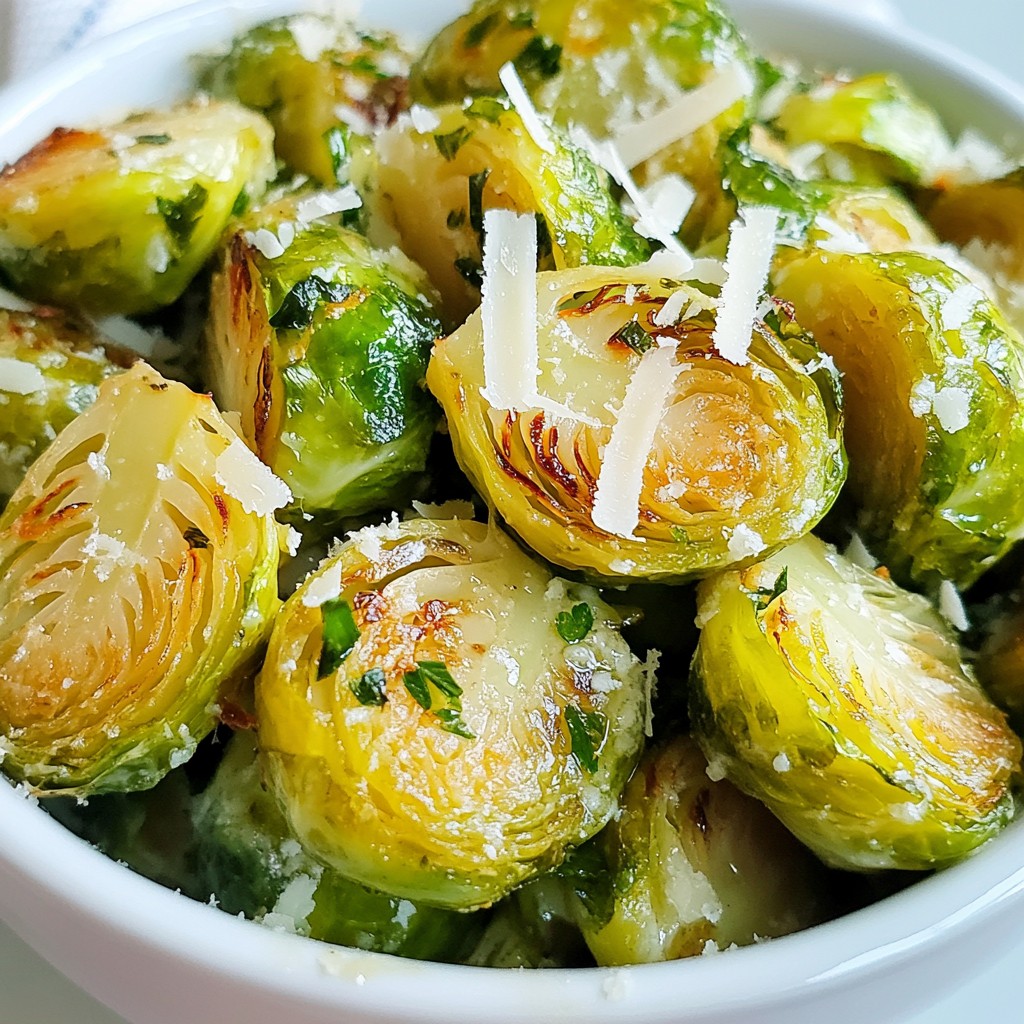
Deliciously roasted Brussels sprouts with garlic and Parmesan cheese, perfect as a side dish.
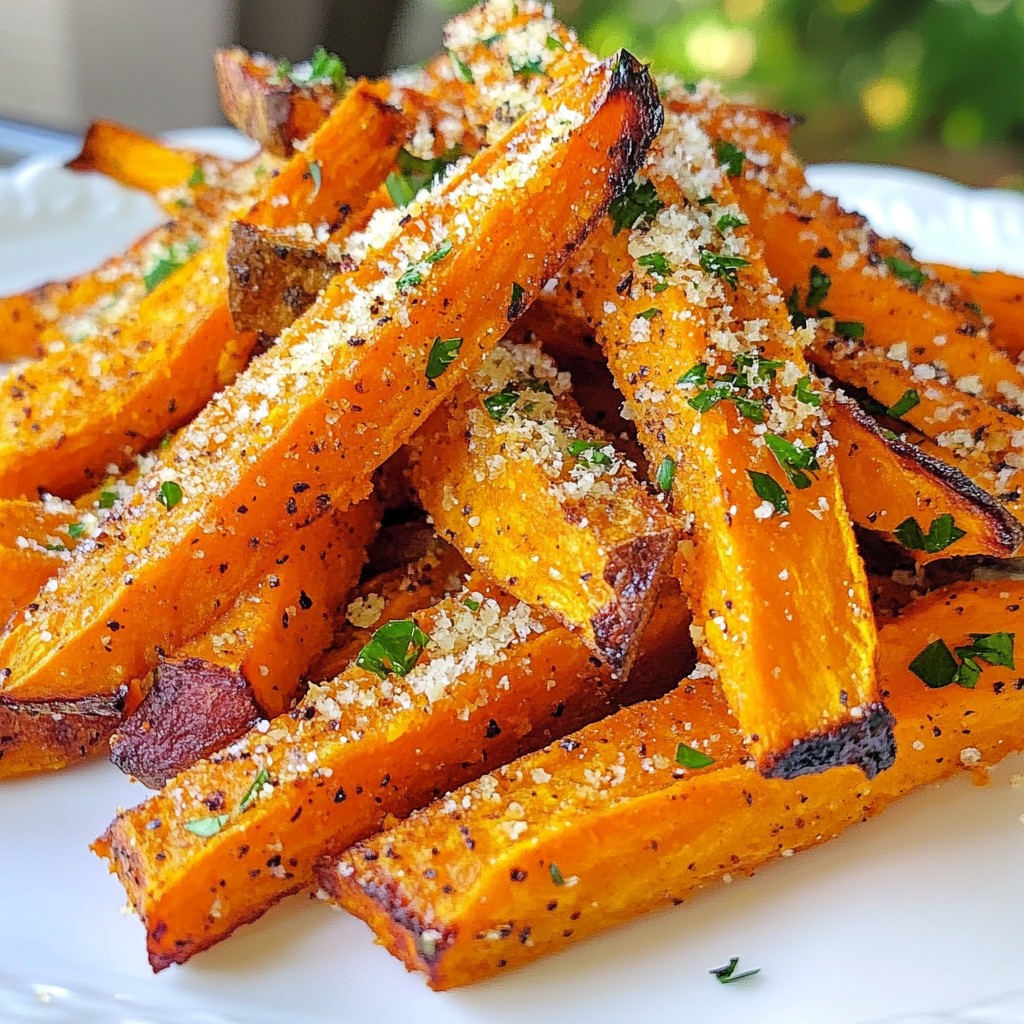
Crispy sweet potato fries tossed in garlic and Parmesan cheese.
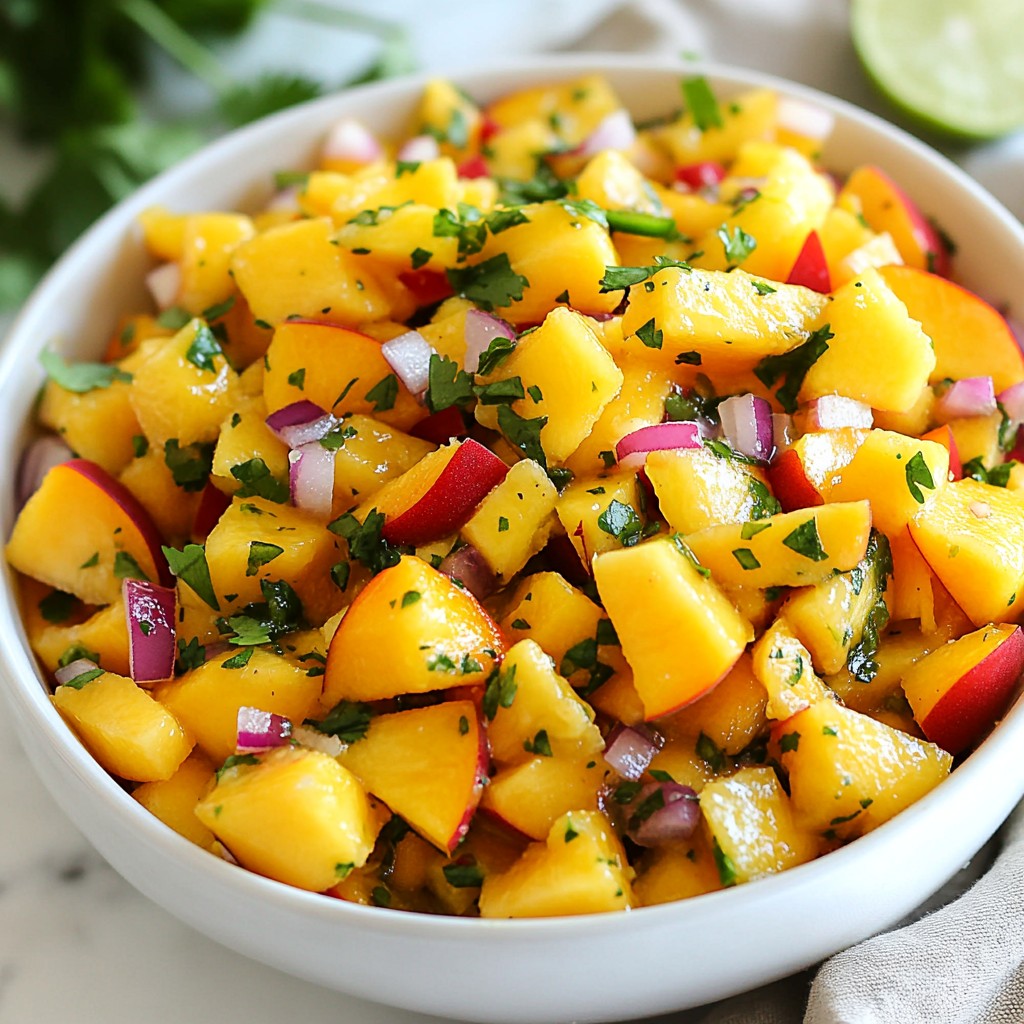
A refreshing and vibrant salsa combining ripe peaches and mango with a hint of spice.
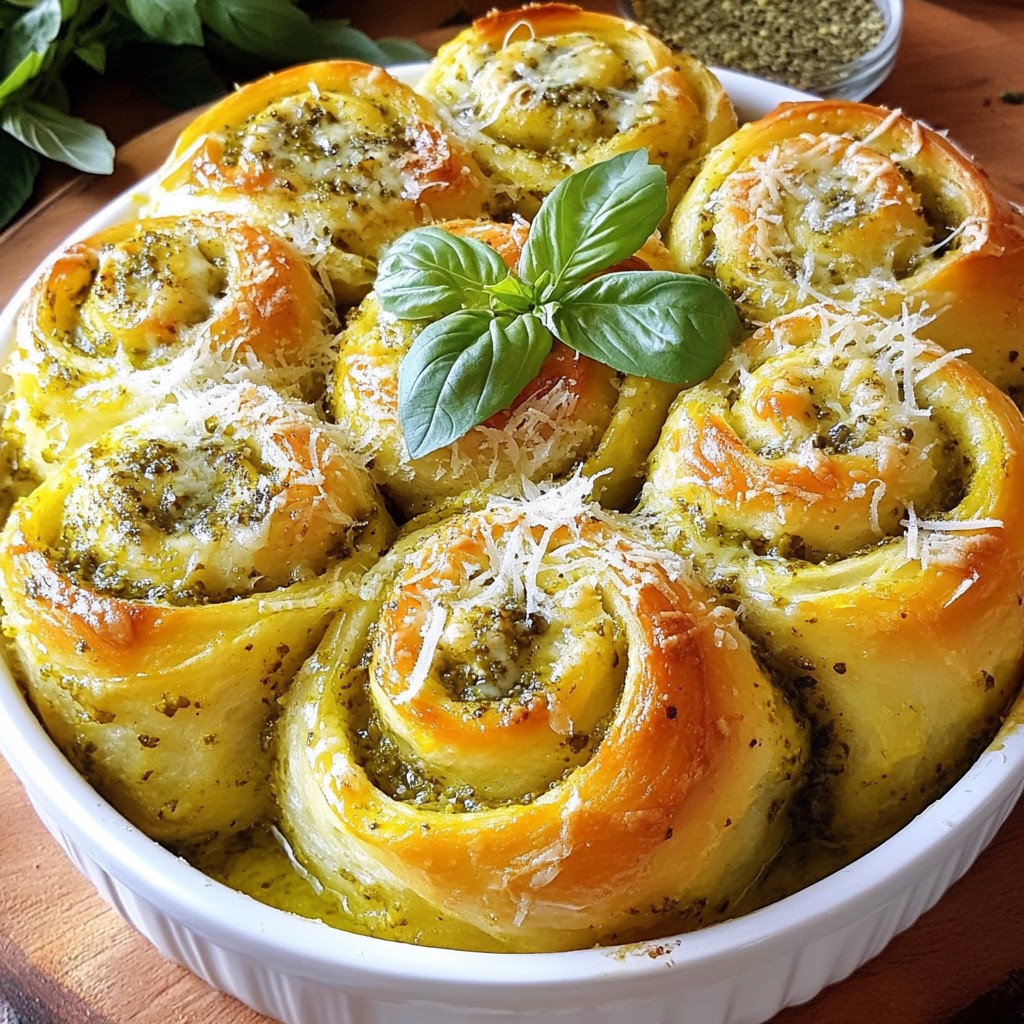
Deliciously cheesy and herbaceous pull-apart rolls perfect for sharing.

Delicious sliders filled with breaded chicken, marinara sauce, and melted cheese.
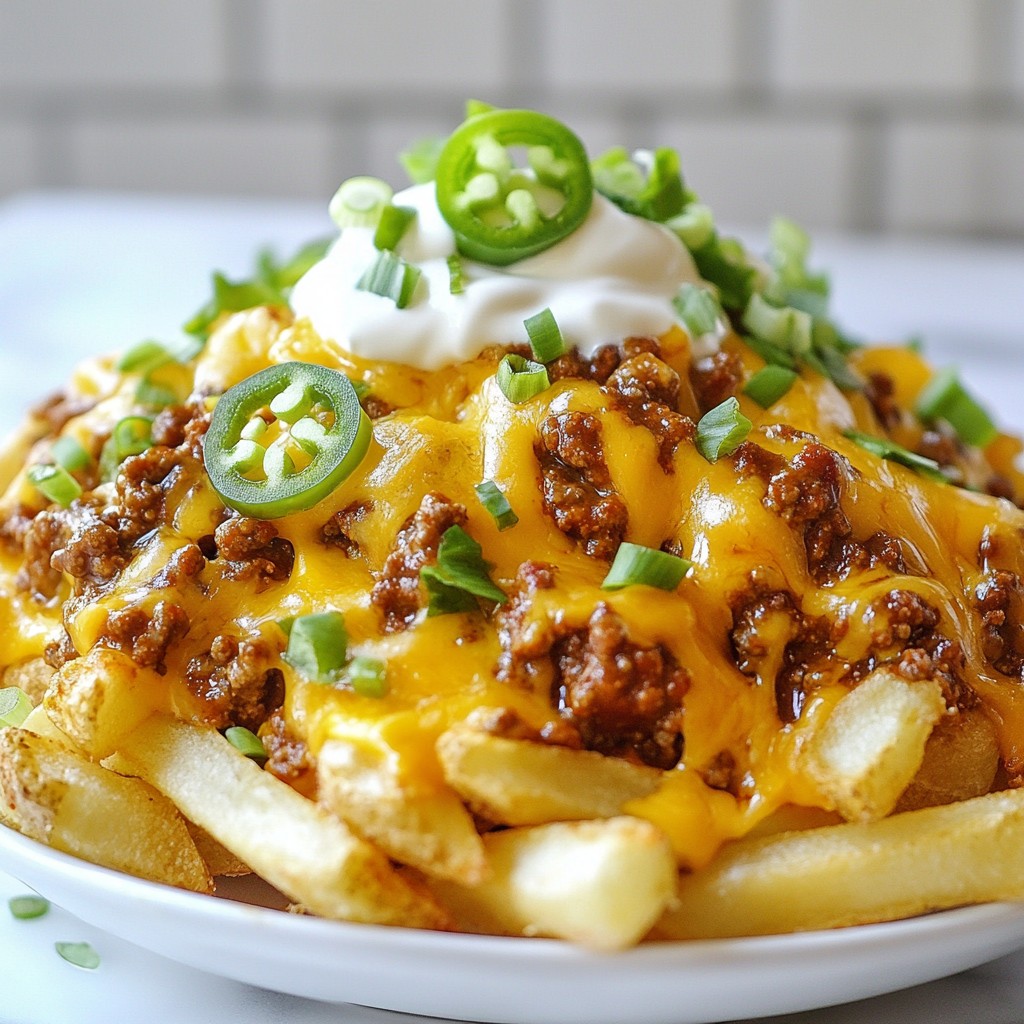
Crispy fries topped with chili, melted cheese, and vibrant toppings for a delicious explosion of flavors.