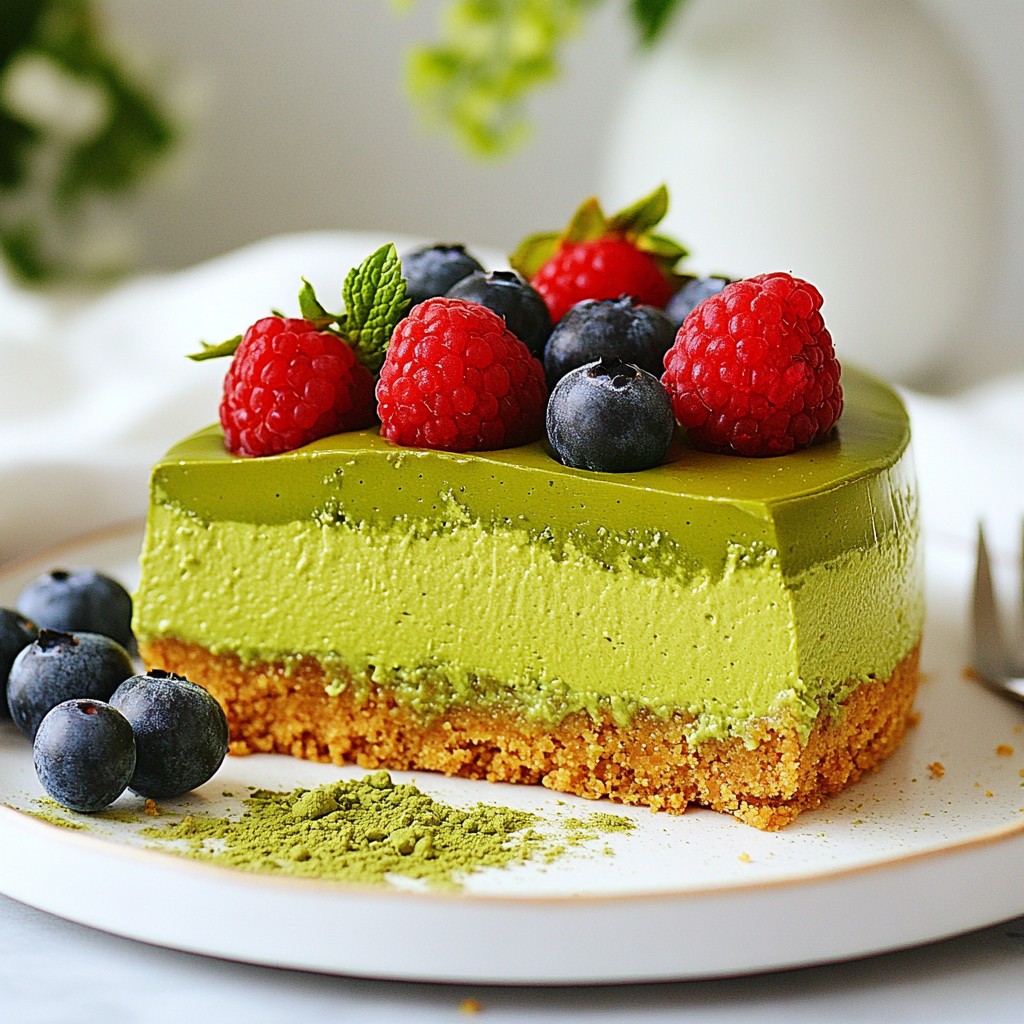
Craving a sweet treat that's both easy and delightful? This Velvety No-Bake Matcha Cheesecake is your answer! With its creamy filling and smooth crust, it’s perfect for any occasion. You don’t need baking skills or a lot of time to impress your friends and family. Join me as I guide you step-by-step to make this delicious dessert. Let’s dive into the ingredients and get started!
Why I Love This Recipe
- Decadent Flavor: This cheesecake combines the rich creaminess of traditional cheesecake with the unique, earthy taste of matcha, creating a truly indulgent dessert.
- No-Bake Convenience: Perfect for warm days or when you're short on time, this no-bake recipe simplifies the process while delivering a stunning result.
- Visually Stunning: The vibrant green color of matcha makes this cheesecake not just delicious but also a beautiful centerpiece for any gathering.
- Customizable Toppings: You can easily personalize this dessert with various toppings like fresh berries, which add flavor and a pop of color.
Ingredients
Key Ingredients for Velvety No-Bake Matcha Cheesecake
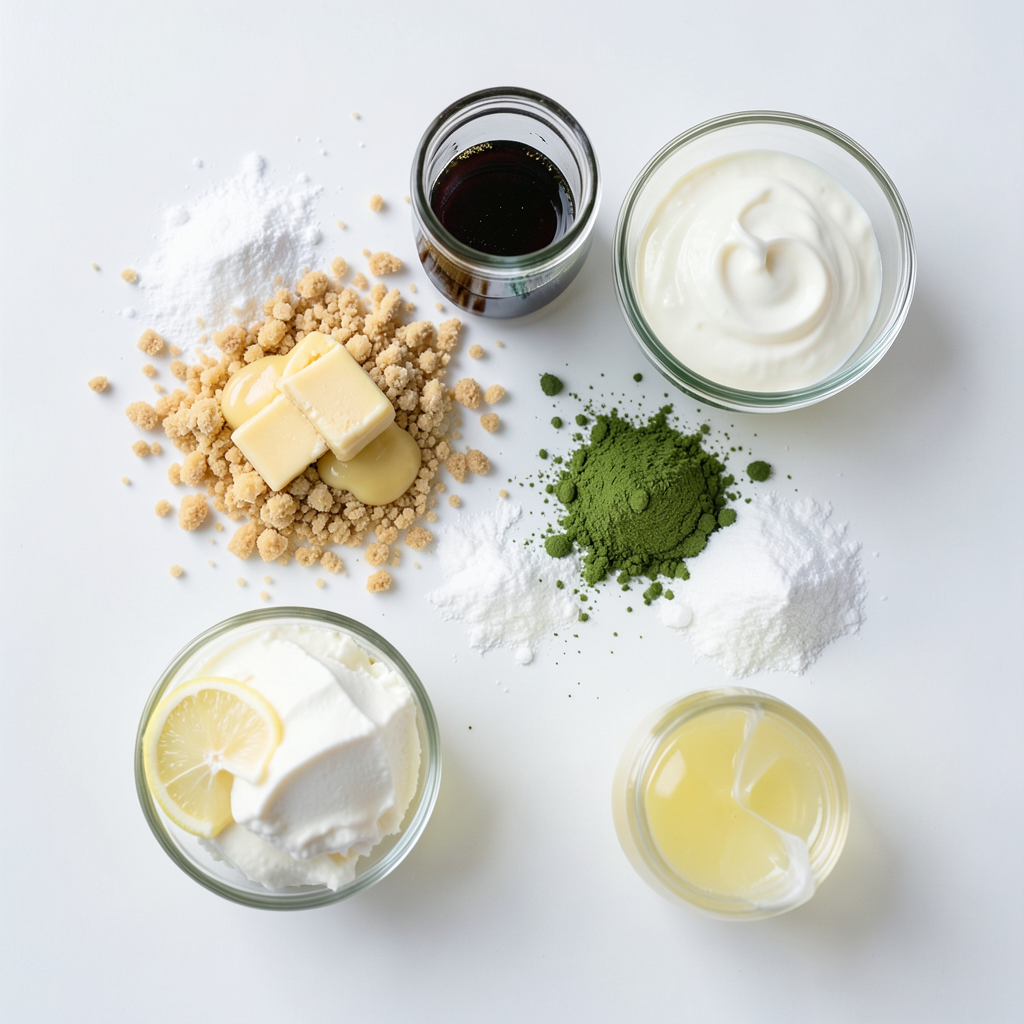
Creating a Velvety No-Bake Matcha Cheesecake starts with the right ingredients. Here’s what you need:
- 1 ½ cups graham cracker crumbs
- ½ cup unsalted butter, melted
- 2 tablespoons sugar
- 16 oz cream cheese, softened
- 1 cup powdered sugar
- 1 teaspoon vanilla extract
- 1 tablespoon matcha powder (plus extra for dusting)
- 1 cup heavy whipping cream
- 1 tablespoon lemon juice
- Fresh berries for garnish (optional)
Each ingredient plays a key role. The graham cracker crumbs form a buttery crust. Cream cheese adds richness to the filling. Matcha powder gives that unique green tea flavor.
Measurements and Substitutions
Getting the right measurements is vital for the best results. If you need a substitute, try these:
- Graham cracker crumbs: Use crushed cookies like Oreos or digestive biscuits.
- Unsalted butter: You can use coconut oil for a dairy-free option.
- Cream cheese: Vegan cream cheese works if you want a plant-based dessert.
- Heavy whipping cream: Substitute with coconut cream for a dairy-free version.
Make sure to adjust the sweetness if you change any ingredients. Each swap can change the taste and texture.
Optional Garnishes and Enhancements
For extra flair, consider these garnishes:
- Fresh berries: Berries like strawberries or raspberries add color and flavor.
- Matcha dusting: A light dusting of matcha adds a beautiful finish.
- Chocolate drizzle: A drizzle of melted dark chocolate gives a rich touch.
- Mint leaves: Fresh mint adds a nice pop of green and freshness.
These additions make your cheesecake not only tasty but also look stunning.
Step-by-Step Instructions
Preparing the Crust
To start, you need to make the crust. In a mixing bowl, combine 1 ½ cups of graham cracker crumbs, ½ cup melted unsalted butter, and 2 tablespoons of sugar. Mix these until the crumbs look like wet sand. This will help the crust stick together.
Next, press the crumb mixture firmly into the bottom of a 9-inch springform pan. Use the back of a measuring cup to pack it tightly. This step is important to make a sturdy base. Once done, place the pan in the refrigerator. Let it chill while you make the filling.
Making the Cheesecake Filling
Now, let’s make the cheesecake filling. In a large bowl, take 16 oz of softened cream cheese. Beat it with an electric mixer until it is smooth and creamy. This step ensures a nice texture. Then, add 1 cup of powdered sugar, 1 teaspoon of vanilla extract, and 1 tablespoon of matcha powder. Mix everything until fully combined and there are no lumps.
Next, take another bowl and whip 1 cup of heavy whipping cream. Whip it until stiff peaks form. This means the cream should hold its shape. Gently fold this whipped cream into the matcha mixture. Be careful not to deflate the whipped cream, as it adds air and lightness to the filling.
Finally, stir in 1 tablespoon of lemon juice. This will brighten the flavor and make the cheesecake taste fresh.
Assembling and Chilling the Cheesecake
It’s time to assemble! Remove the crust from the fridge. Pour the matcha filling over the crust. Use a spatula to smooth the top. This will create a nice, even layer. Cover the cheesecake with plastic wrap and refrigerate it for at least 4 hours, or overnight if you can wait.
Chilling is key here, as it helps the cheesecake set and firm up. Once it’s ready, carefully release the sides of the springform pan. You can dust the top with extra matcha powder and add fresh berries for a pop of color. Enjoy your delicious, velvety no-bake matcha cheesecake!
Tips & Tricks
Achieving a Smooth and Creamy Texture
To get that smooth texture in your cheesecake, start with soft cream cheese. Cold cream cheese will make lumps. Use an electric mixer to beat it well. This helps create a fluffy base. Add the powdered sugar slowly, mixing until smooth. When you fold in the whipped cream, do it gently. This keeps the lightness you want.
Common Mistakes to Avoid
Many people skip softening the cream cheese. This leads to clumps in your filling. Another mistake is overmixing after adding the whipped cream. This makes it dense. Be sure to chill the cheesecake long enough. If you don’t, it won’t set properly. Finally, don’t rush the crust. Press it down firmly for a nice base.
Tools and Equipment Recommendations
You need a few key tools for this cheesecake. A 9-inch springform pan is best for easy removal. Use a mixing bowl and electric mixer for the filling. A spatula helps smooth the top. A measuring cup is handy to pack the crust tightly. You may also want a whisk for whipping the cream. These tools make the process easier and more fun!
Pro Tips
- Choose Quality Matcha: For the best flavor and vibrant color, use high-quality culinary grade matcha powder.
- Chill for Best Results: Allow the cheesecake to set overnight in the refrigerator for a firmer texture and enhanced flavor.
- Whip Cream to Stiff Peaks: Ensure your whipped cream reaches stiff peaks for a light and airy cheesecake filling.
- Dust with Matcha Before Serving: For a beautiful presentation, dust the top with extra matcha powder just before serving.
Variations
Vegan No-Bake Matcha Cheesecake
You can make a vegan version of this matcha cheesecake. Use cashews instead of cream cheese. Soak cashews in water for a few hours. Blend them until smooth. Replace heavy cream with coconut cream. This keeps it rich and creamy. Use maple syrup instead of powdered sugar to sweeten. You will love how tasty it is!
Different Flavor Additions
You can change the flavor of your cheesecake easily. Try adding melted dark chocolate for a rich twist. Just mix it into the cream cheese before folding in the whipped cream. You can also add shredded coconut for a tropical vibe. Just mix it in after you combine the matcha powder. Experiment with flavors to find your favorite!
Crust Alternatives
If you want to change the crust, there are many options. You can use almond flour for a gluten-free option. Just mix it with melted coconut oil instead of butter. For a chocolatey taste, crush chocolate cookies for the crust. Both options add a different flavor and texture. Choose what you like best for your cheesecake!
Storage Info
How to Store the Cheesecake
To keep your Velvety No-Bake Matcha Cheesecake fresh, store it in the refrigerator. Place it in an airtight container or cover it with plastic wrap. This helps prevent it from drying out or absorbing other smells. Make sure the cheesecake is fully set before you store it. This will keep the texture smooth and creamy.
Freezing Instructions
You can freeze the cheesecake if you have leftovers. First, remove it from the springform pan. Then, wrap it tightly in plastic wrap. After that, place it in a freezer-safe bag or container. It’s best to freeze it for up to three months. When you're ready to enjoy it again, let it thaw in the fridge overnight before serving.
Shelf Life and Best Practices for Freshness
When stored properly, the cheesecake will last about one week in the fridge. For the best taste and texture, eat it within the first few days. Check for any signs of spoilage, like off smells or texture changes. Always remember to dust it with matcha powder before serving for that fresh look!
FAQs
How to make a no-bake cheesecake set properly?
To make a no-bake cheesecake set right, chilling is key. After you pour the filling into the crust, cover it with plastic wrap. Place it in the fridge for at least four hours or overnight. This helps the cream cheese firm up and gives it a nice texture. If you skip this step, your cheesecake may end up too soft.
Can I use different types of matcha?
Yes, you can use different types of matcha. Each type has its own flavor and color. Ceremonial matcha is bright and smooth, while culinary matcha is stronger and more earthy. Just remember, the better the matcha, the better your cheesecake will taste. If you want a stronger flavor, use more matcha.
How do I know when the cheesecake is set?
You can tell if the cheesecake is set by gently shaking the pan. If the center jiggles slightly but is firm around the edges, it's ready. You can also insert a toothpick into the center. If it comes out clean, the cheesecake is set. Once it's ready, you can remove it from the springform pan and enjoy your delicious creation!
You now have all you need to make a delicious no-bake matcha cheesecake. We covered key ingredients, measurements, and optional toppings. I shared the steps to prepare the crust and cheesecake filling. Tips helped ensure a smooth texture and avoid common mistakes. You can even explore variations like vegan options or different flavors. Lastly, I explained how to store your cheesecake for freshness. Enjoy your creation and impress others with your new skills!