Indulge in a rich, creamy experience with my Velvety No-Bake Chocolate Chip Cheesecake Delight! This easy recipe combines smooth cream cheese with sweet mini chocolate chips for a treat that melts in your mouth. Perfect for any occasion, it requires no baking and minimal effort. Grab your ingredients, and let’s create a dessert that will impress everyone at the table. Trust me—this cheesecake will be the star of the show!
Why I Love This Recipe
- Decadent Flavor: This cheesecake is rich and creamy, with a perfect balance of chocolate and cream cheese that melts in your mouth.
- No-Bake Convenience: No need to turn on the oven! This recipe is perfect for hot days or when you want a quick dessert.
- Customizable: Feel free to add your favorite toppings or mix-ins, such as nuts or different types of chocolate, to make it your own.
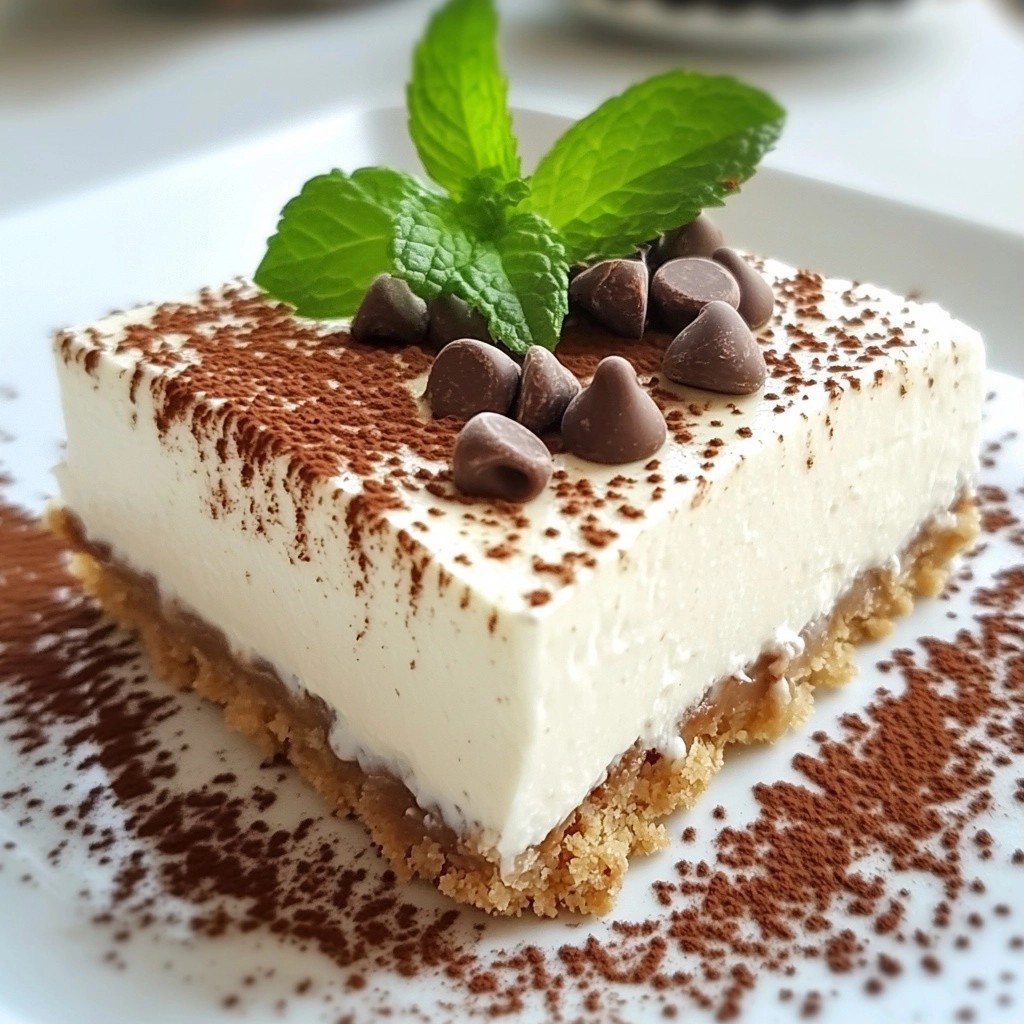
- Impressive Presentation: The beautiful layers of the cheesecake topped with cocoa powder and mint leaves will wow your guests!
Ingredients
Main Ingredients
- 1 ½ cups graham cracker crumbs
- ⅓ cup melted unsalted butter
- 3 cups cream cheese, softened
- 1 cup powdered sugar
- 1 teaspoon vanilla extract
- 1 cup heavy whipping cream
- ½ cup mini chocolate chips
- 2 tablespoons cocoa powder (for dusting)
- Fresh mint leaves (for garnish)
Optional Ingredients
- Additional chocolate chips for garnish
- Fresh berries for decoration
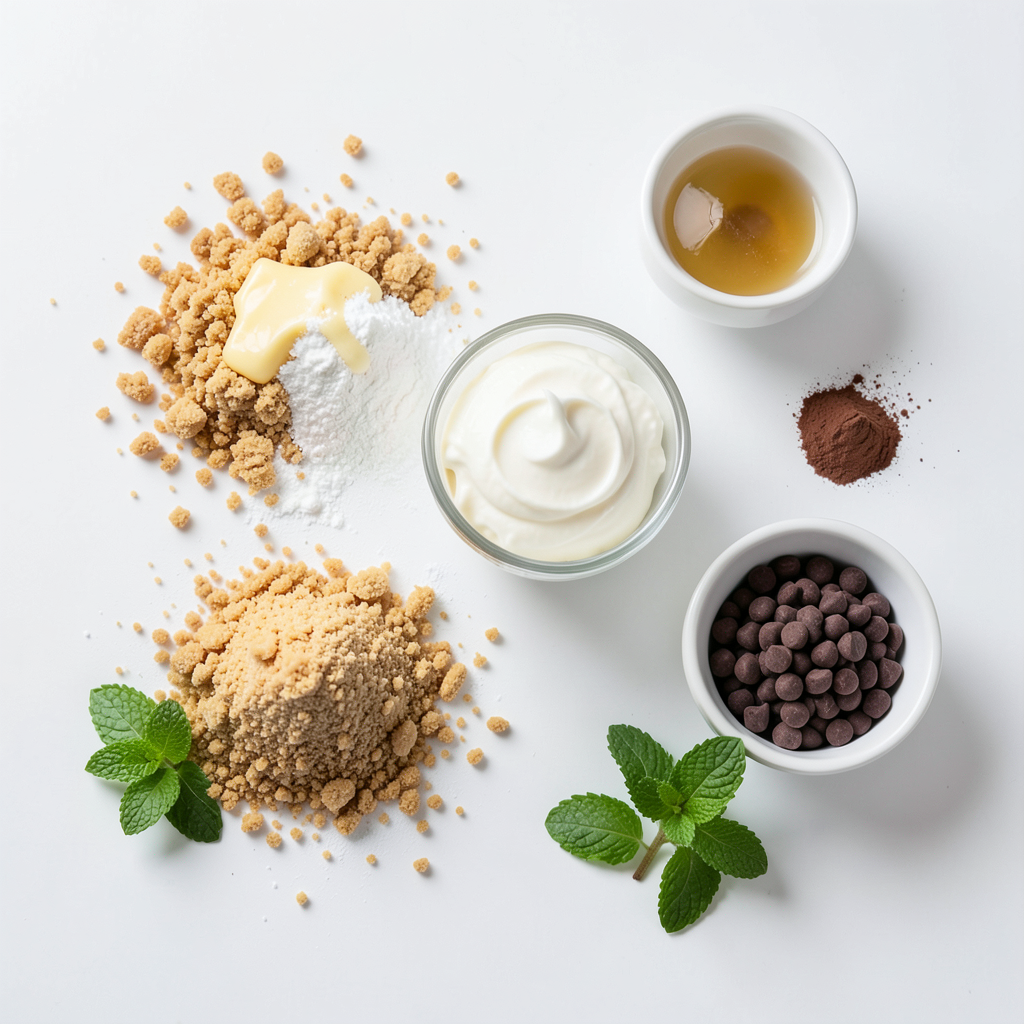
The main ingredients in this cheesecake create a rich and creamy dessert. The graham cracker crumbs make a tasty crust. The melted butter helps bind them together. Cream cheese adds a smooth texture and flavor. Powdered sugar sweetens the mix. Vanilla extract gives a hint of warmth. Heavy whipping cream adds lightness. Mini chocolate chips bring fun bursts of chocolate.
For decoration, you can keep it simple or get creative. Add more chocolate chips on top. Fresh berries also add a pop of color and flavor. Use these ingredients to make your cheesecake unique. Each choice enhances the overall taste. Enjoy exploring these options!
Step-by-Step Instructions
Preparing the Crust
To start, mix 1 ½ cups of graham cracker crumbs with ⅓ cup of melted unsalted butter. Use a fork to stir until the crumbs are well coated. Next, press this mixture firmly into the bottom of a 9-inch springform pan. This creates a nice base for our cheesecake. After that, chill the crust in the refrigerator while you prepare the filling. This helps it become firm and ready for the creamy layer on top.
Making the Cheesecake Filling
In a large mixing bowl, beat 3 cups of softened cream cheese with an electric mixer. You want it smooth and creamy. Gradually add 1 cup of powdered sugar and 1 teaspoon of vanilla extract. Keep mixing until everything is fluffy and well combined. In another bowl, whip 1 cup of heavy cream until stiff peaks form. This step is key for a light texture in the cheesecake.
Combining Ingredients
Now, gently fold the whipped cream into the cream cheese mixture. Use a spatula and be careful not to deflate the whipped cream. Once mixed, stir in ½ cup of mini chocolate chips. This adds fun bites of chocolate to each slice of cheesecake.
Assembling the Cheesecake
Pour the cheesecake filling over the chilled graham cracker crust. Use a spatula to smooth the top. Make sure it looks nice and even. Cover the pan with plastic wrap and chill in the refrigerator for at least 4 hours or until set. Once it’s firm, carefully remove the sides of the springform pan. Dust the top with 2 tablespoons of cocoa powder and garnish with fresh mint leaves. This adds a nice touch before serving.
Tips & Tricks
Achieving the Perfect Texture
To make your cheesecake creamy, use softened cream cheese. Cold cream cheese will not mix well. When you blend it, the texture will be lumpy. Leave the cream cheese out for 30 minutes before use. This small step goes a long way.
Folding whipped cream into the cream cheese mixture is key. Use a spatula to gently lift the whipped cream. This keeps the air in, making your cheesecake light. Avoid stirring too hard or too fast. You want to keep that fluffy texture.
Serving Suggestions
Chill your plates before serving. This keeps the cheesecake cold longer. A chilled plate adds a nice touch too. For garnish, use fresh mint leaves. They give a pop of color and flavor.
Pair your cheesecake with coffee or dessert wine. The rich taste of chocolate pairs well with these drinks. You can also add some extra chocolate chips on top for a sweet finish.
Common Mistakes to Avoid
One common mistake is not chilling the cheesecake long enough. It needs at least four hours to set. If you cut it too soon, it will fall apart. Be patient; it’s worth it!
Another mistake is overmixing the filling. Once you add the whipped cream, mix gently. If you beat it too much, the texture will change. You want a smooth cheesecake that holds its shape.
Pro Tips
- Chill Your Bowls: For an even fluffier whipped cream, chill your mixing bowl and beaters in the refrigerator before whipping.
- Use Room Temperature Ingredients: Make sure your cream cheese is at room temperature for easier blending, resulting in a smoother cheesecake batter.
- Don’t Overmix: When folding the whipped cream into the cream cheese mixture, be gentle to maintain the airiness of the whipped cream.
- Let It Set: For the best texture, allow the cheesecake to chill for a full 6 hours or overnight if possible, to ensure it sets perfectly.
Variations
Flavor Variations
You can add different extracts to change the taste. Almond extract gives a nutty twist. Orange extract adds a bright, fruity note. You can also swap out chocolate chips. Try chopped nuts for a crunchy texture. Dried fruit, like raisins or cherries, can add sweetness.
Healthier Alternatives
For a lighter version, use reduced-fat cream cheese. You can also pick a sweetener like stevia. This can cut down on sugar while keeping the taste. Instead of a graham cracker crust, try a nut crust. Use crushed almonds or pecans for a tasty base. This option adds healthy fats and flavor.
Dessert Pairings
Pair this cheesecake with other desserts. A scoop of vanilla ice cream goes well. Fresh fruit salad can add a refreshing touch. Drizzle chocolate or caramel sauce on top for extra flavor. These sauces enhance the cheesecake's richness and make it more fun.
Storage Info
Refrigeration Guidelines
Store your leftover cheesecake in the fridge. First, cover it tightly with plastic wrap or foil. This keeps it fresh and prevents other smells from affecting it. The cheesecake will stay fresh for up to five days. After that, you may notice a change in taste and texture.
Freezing Tips
If you want to save the cheesecake for later, freezing is a great option. Slice it first, then wrap each piece in plastic wrap. Place the wrapped slices in a freezer-safe container. This method helps preserve the taste and texture. You can freeze the cheesecake for up to two months.
When you’re ready to enjoy a slice, take it out of the freezer. Place it in the fridge for several hours or overnight to thaw. Avoid microwaving it, as this can ruin the creamy texture. After thawing, your cheesecake will be just as tasty as when you first made it.
FAQs
Can I use regular cream cheese instead of softened?
You should not use regular cream cheese. It needs to be soft. Softened cream cheese blends better. It makes your cheesecake smooth and creamy. To soften cream cheese, let it sit at room temp for 30 minutes. You can also microwave it for about 10 seconds. Just be careful not to melt it.
How can I make this cheesecake dairy-free?
To make a dairy-free cheesecake, swap cream cheese for a non-dairy version. Look for brands made from cashews or tofu. Use coconut cream instead of heavy cream. For the crust, use dairy-free butter or coconut oil. These swaps give a tasty treat without dairy.
What is the best way to slice a no-bake cheesecake?
For clean slices, use a sharp knife. Dip the knife in hot water before each cut. Wipe it clean after each slice. This method keeps the edges neat. You can also use a cake server to lift each slice easily.
Can I make this cheesecake ahead of time?
Yes, you can make this cheesecake ahead. Prepare it a day before your event. It keeps well in the fridge for up to five days. Just cover it tightly. This gives the flavors more time to blend, making it even tastier!
This no-bake cheesecake is a delightful treat. You learned the essential ingredients and step-by-step instructions. I shared tips for texture and serving ideas. Variations and storage advice help you get creative.
Remember, the key is to chill the cheesecake properly and avoid overmixing. Enjoy making this dessert for your friends and family. With these guidelines, you'll wow them every time. Make it your own and have fun!