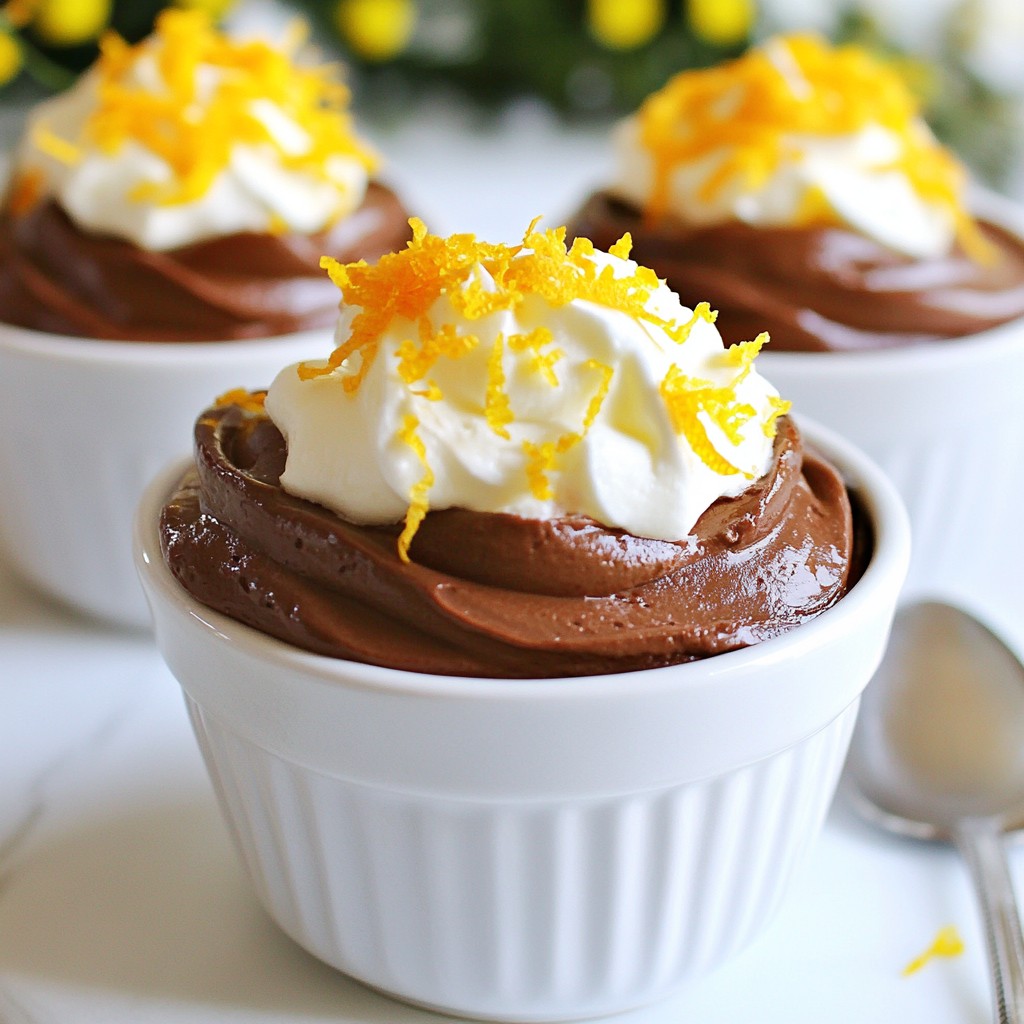
Indulging in a rich, creamy mousse sounds delightful, right? This Smooth No-Bake Orange Chocolate Mousse Delight brings together sweet orange and rich chocolate for a treat you won't forget. With simple ingredients and easy steps, anyone can whip this up in no time. I promise you’ll impress your friends and family with this no-bake dessert. Let’s dive into the recipe and create something wonderful together!
Why I Love This Recipe
- Decadent Flavor Fusion: This mousse perfectly combines rich dark chocolate with the bright and zesty flavor of fresh oranges, creating a delightful treat that tantalizes the taste buds.
- No-Bake Convenience: With no baking required, this recipe is quick and simple, making it an ideal dessert for those who want to whip up something special without the fuss.
- Healthy Ingredients: Using Greek yogurt and natural sweeteners like honey or maple syrup, this mousse offers a healthier alternative to traditional desserts without compromising on taste.
- Perfect for Any Occasion: This mousse is versatile enough to be served at dinner parties, picnics, or as a simple treat, making it a go-to dessert for any gathering.
Ingredients
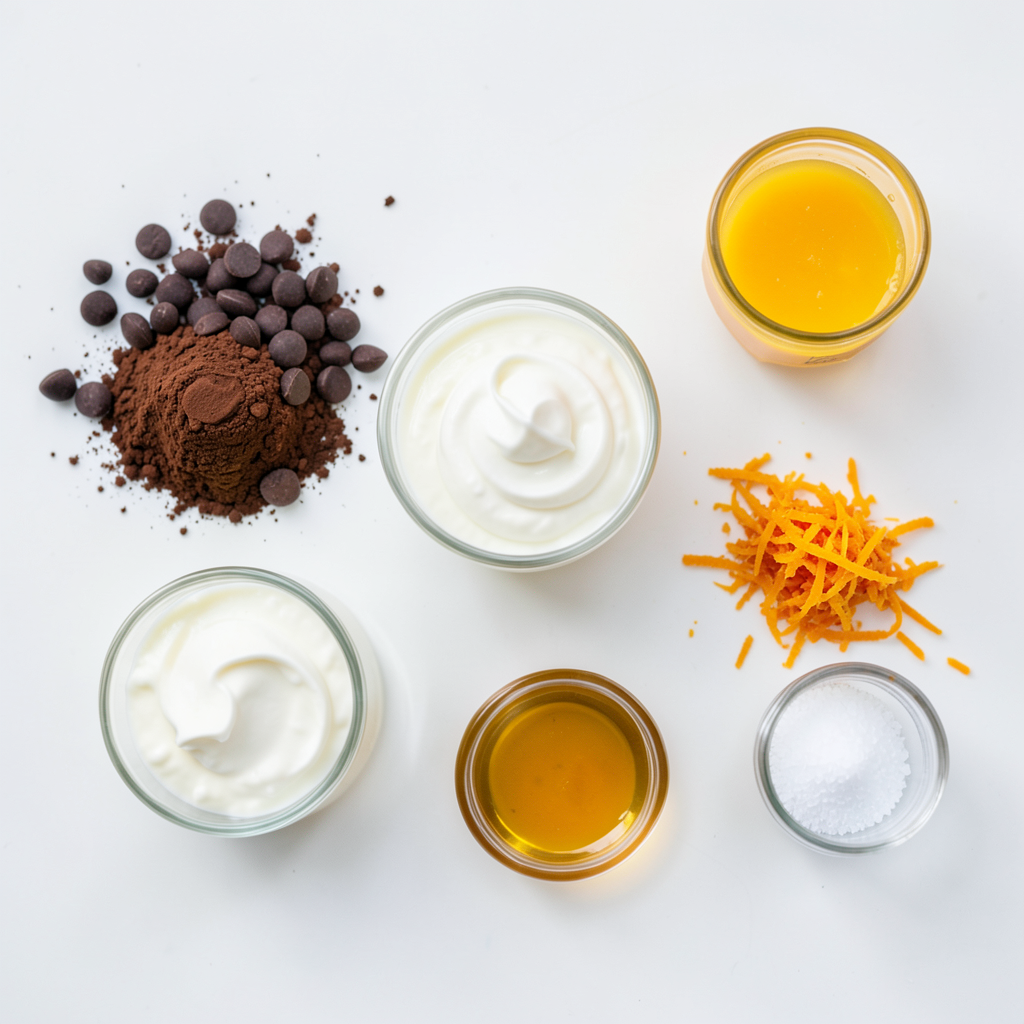
List of Ingredients
- 1 cup dark chocolate chips
- 2 tablespoons unsweetened cocoa powder
- 1/2 cup heavy cream
- 1/2 cup Greek yogurt
- 1/4 cup orange juice (freshly squeezed)
- Zest of 1 orange
- 1 tablespoon honey or maple syrup (optional)
- A pinch of salt
Ingredient Notes and Substitutions
Use quality dark chocolate chips for best flavor. If you prefer milk chocolate, feel free to swap it out. For a dairy-free option, use coconut cream instead of heavy cream. You can also replace Greek yogurt with dairy-free yogurt. If you need a sweeter mousse, add more honey or maple syrup. Freshly squeezed orange juice gives the best taste.
Importance of Fresh Ingredients
Fresh ingredients bring bright flavors to your mousse. Using fresh orange juice and zest makes a big difference. The zest adds a burst of citrus that lifts the chocolate. Fresh cream creates a light and airy texture, making your mousse smooth. Always opt for fresh over bottled when possible. It enhances not only the taste but also the overall experience.
Step-by-Step Instructions
Melting the Chocolate
Start by melting the dark chocolate chips. Place them in a microwave-safe bowl. Heat the chocolate in the microwave for 30 seconds at a time. Stir the chocolate after each interval. Keep heating until it is completely smooth. Let it cool a bit before using.
Preparing the Whipped Cream
Next, take a separate mixing bowl. Pour in the heavy cream. Use an electric mixer to whip the cream. Beat until soft peaks form. Stop before the cream becomes too stiff. This step is key for a light mousse.
Combining Ingredients
Now, grab another mixing bowl. Combine the Greek yogurt and melted chocolate. Stir them together until well mixed. Then, add the fresh orange juice and zest. Sprinkle in the cocoa powder and a pinch of salt. If you want extra sweetness, add honey or maple syrup. Mix everything until smooth. Finally, gently fold in the whipped cream. Do this in three parts. This keeps the mousse light and airy. Now, you’re ready to chill the mousse!
Tips & Tricks
Achieving the Perfect Texture
To get the right texture, you must fold the whipped cream gently. This keeps air in the mousse. If you mix too hard, it can become flat. Use a spatula to fold in three parts. Start with a small amount of whipped cream to lighten the chocolate mix. Then, add the rest carefully.
Sweetness Adjustments
Taste is key! The orange juice and zest add natural sweetness. You might want to add honey or maple syrup. Start with one tablespoon. Stir well, and taste again. If you like it sweeter, add a little more. Just remember, the dark chocolate adds some richness too.
Serving Suggestions
When it’s time to serve, think about garnishes. Additional orange zest can brighten the dish. You can also add a dollop of whipped cream. For a fun twist, try adding chocolate shavings on top. Serve in pretty cups for a nice touch. Enjoy every creamy, zesty bite!
Pro Tips
- Choose Quality Chocolate: Using high-quality dark chocolate will elevate the flavor of your mousse, making it richer and more decadent.
- Freshly Squeeze Your Oranges: For the best flavor, always use freshly squeezed orange juice instead of bottled, which can contain preservatives that alter the taste.
- Mind the Whipping: When whipping the cream, stop as soon as soft peaks form to avoid turning it into butter, which can affect the texture of your mousse.
- Chill for the Perfect Set: Allowing the mousse to chill for at least 2 hours is crucial for achieving the right consistency, so be patient before serving!
Variations
Adding Other Flavors (e.g., mint, vanilla)
You can switch things up with flavors. Mint adds a fresh twist. Just add a few drops of mint extract. Vanilla brings warmth and comfort. Use pure vanilla extract for the best taste. These flavors mix well with chocolate and orange. Feel free to experiment, as they can change the mood of the dish.
Dietary Adjustments (e.g., vegan, dairy-free)
You can make this mousse vegan and dairy-free. Replace heavy cream with coconut cream for rich texture. Use dairy-free yogurt instead of Greek yogurt. Instead of dark chocolate, pick vegan chocolate chips. Always check labels to ensure they meet your needs. This way, everyone can enjoy this treat!
Alternative Serving Ideas (e.g., parfaits, layer cakes)
You can serve this mousse in fun ways. Try parfaits by layering mousse with fruit or granola. This adds crunch and color. For a layer cake, spread mousse between cake layers. This makes a stunning dessert. You can also pipe it into cups for a fancy touch. Each serving looks beautiful and tastes amazing!
Storage Information
Best Storage Practices
To keep your mousse fresh, cover each cup with plastic wrap. This helps avoid drying out. You can also use airtight containers for better results. Place the mousse in the fridge right after you make it.
Shelf Life of the Mousse
Your mousse will stay fresh for about three days in the fridge. After that, it may lose its texture and flavor. Always check for signs of spoilage, like off smells or color changes.
Freezing Instructions
You can freeze this mousse if you want to save some for later. Use freezer-safe containers and leave some space for expansion. When you're ready to enjoy it, let it thaw in the fridge overnight before serving. It may lose some creaminess, but the taste will still be great!
FAQs
How long does the mousse take to set?
The mousse takes at least 2 hours to set. This time helps it firm up and develop its smooth texture. If you want a firmer mousse, let it chill longer.
Can I make this mousse ahead of time?
Yes, you can make this mousse a day in advance. Store it in the fridge until you are ready to serve. This makes it a great dessert for parties or gatherings.
What can I use instead of Greek yogurt?
You can use regular yogurt or sour cream instead of Greek yogurt. Both options will give a creamy texture. If you want a dairy-free option, try coconut yogurt.
How do I prevent the mousse from becoming grainy?
To avoid grainy mousse, ensure the chocolate is fully melted and smooth. Mix the chocolate and yogurt carefully. Fold in the whipped cream gently to keep the lightness.
Can I use milk chocolate instead of dark chocolate?
Yes, you can use milk chocolate if you prefer a sweeter taste. Just keep in mind that the mousse will be less rich. Adjust the cocoa powder to balance the flavors.
You learned about the key ingredients for mousse, including the importance of freshness. We discussed step-by-step instructions for creating rich flavors and perfect texture. I shared tips for sweetness and serving ideas to suit your taste. You can explore variations for dietary needs and storage tips to keep it fresh. Understanding these points helps you make a great mousse every time. Enjoy experimenting with your new knowledge and treat yourself and your friends!