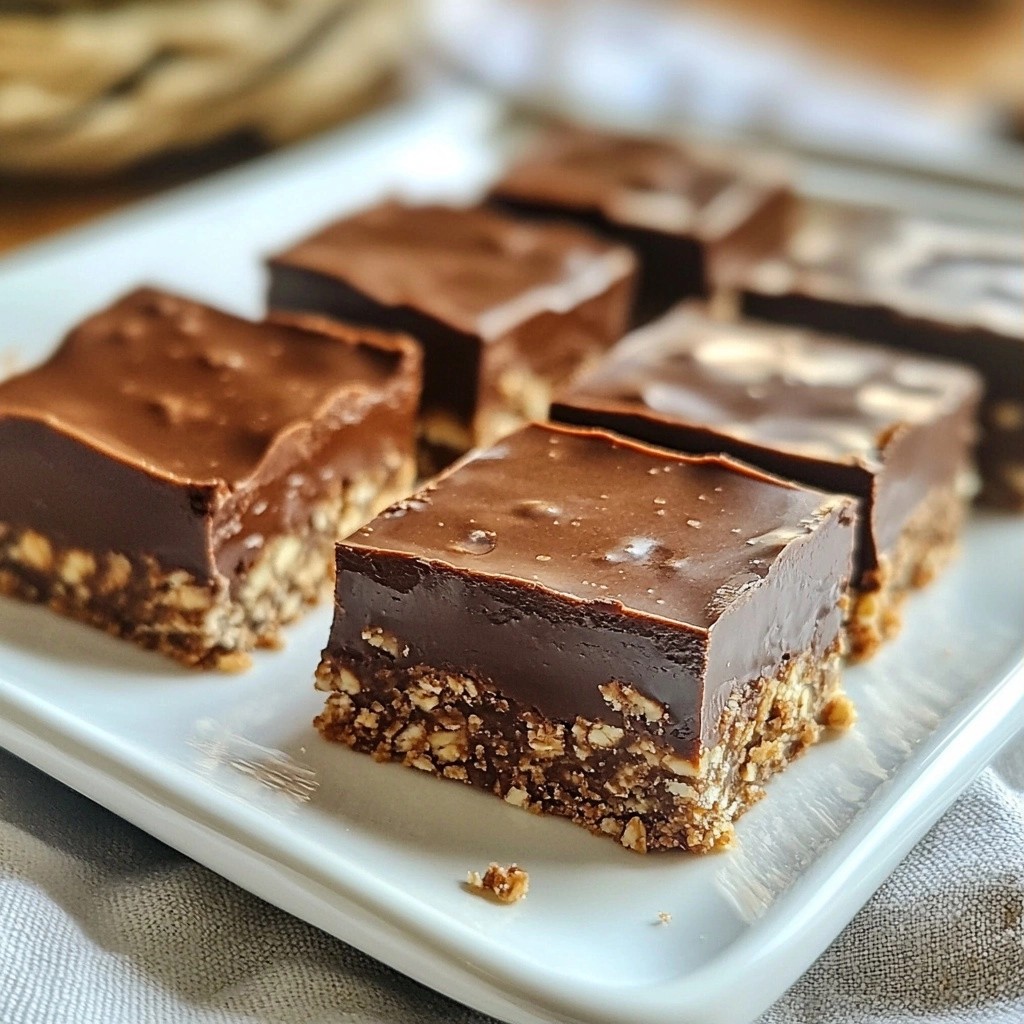
Looking for a quick and tasty treat? You’ll love these Smooth No-Bake Chocolate Espresso Bars! Perfect for busy days or cozy nights, these bars blend rich chocolate with bold espresso for a delightful flavor. I’ll walk you through every step, from gathering simple ingredients to serving the final product. Whether you’re a baking pro or a kitchen novice, this recipe is for you. Let’s dive in and make something sweet!
Why I Love This Recipe
- Healthier Indulgence: These bars are made with wholesome ingredients, providing a guilt-free treat that satisfies your sweet tooth.
- No-Bake Convenience: With no baking required, these bars are easy to whip up in no time, perfect for busy days.
- Rich Flavor Combination: The pairing of chocolate and espresso creates a decadent flavor profile that coffee lovers will adore.
- Customizable Treat: You can easily swap ingredients to suit your taste, such as using different nuts or sweeteners.
Ingredients
Main Ingredients
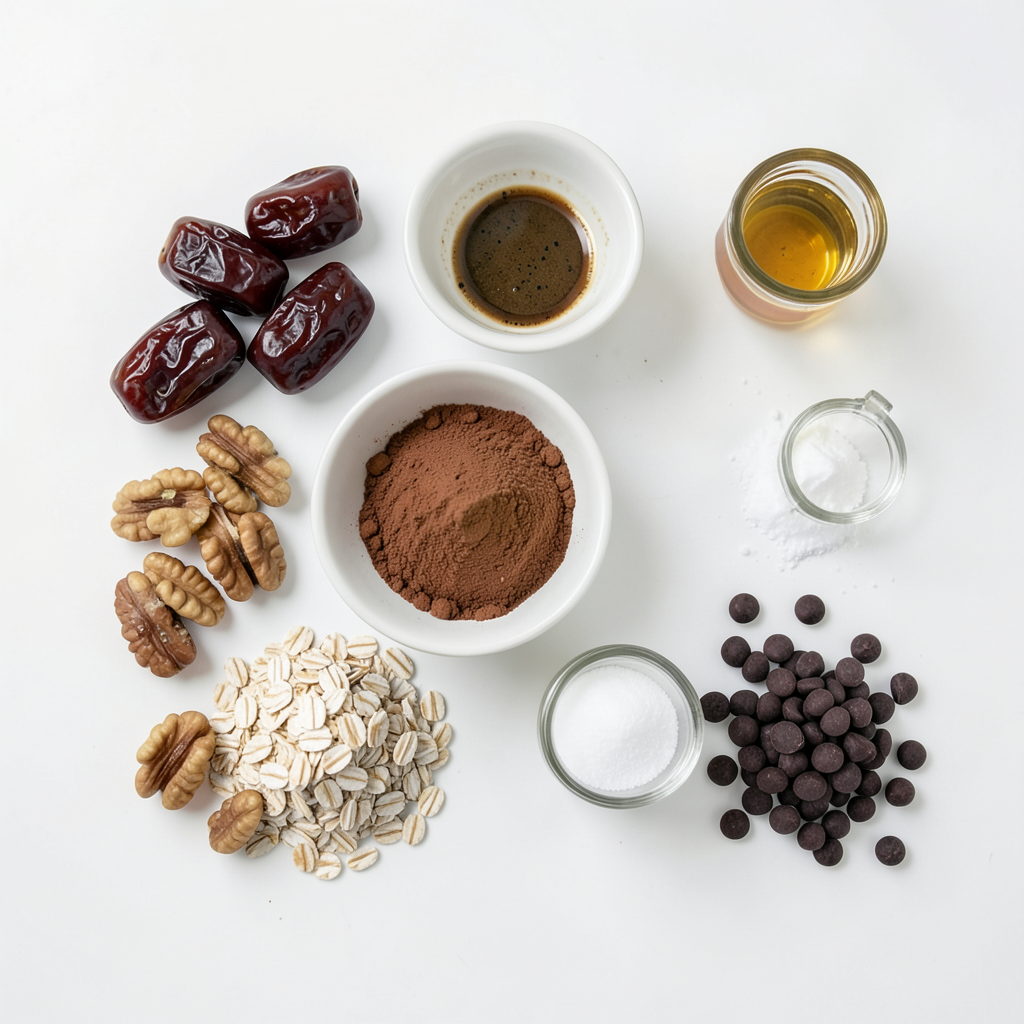
To make Smooth No-Bake Chocolate Espresso Bars, gather these key items:
- 1 ½ cups dates, pitted
- 1 cup raw walnuts
- ½ cup rolled oats
- 2 tablespoons cocoa powder
- 2 tablespoons brewed espresso (cooled)
- 1 tablespoon maple syrup
- ½ teaspoon vanilla extract
- Pinch of salt
- ½ cup dark chocolate chips (dairy-free if desired)
- 2 tablespoons coconut oil
These ingredients work together to create a sweet and rich flavor. The dates give natural sweetness, while the espresso adds a deep, bold taste.
Optional Add-ins
You can take these bars to the next level with some optional add-ins:
- Chopped nuts (like almonds or pecans)
- Shredded coconut
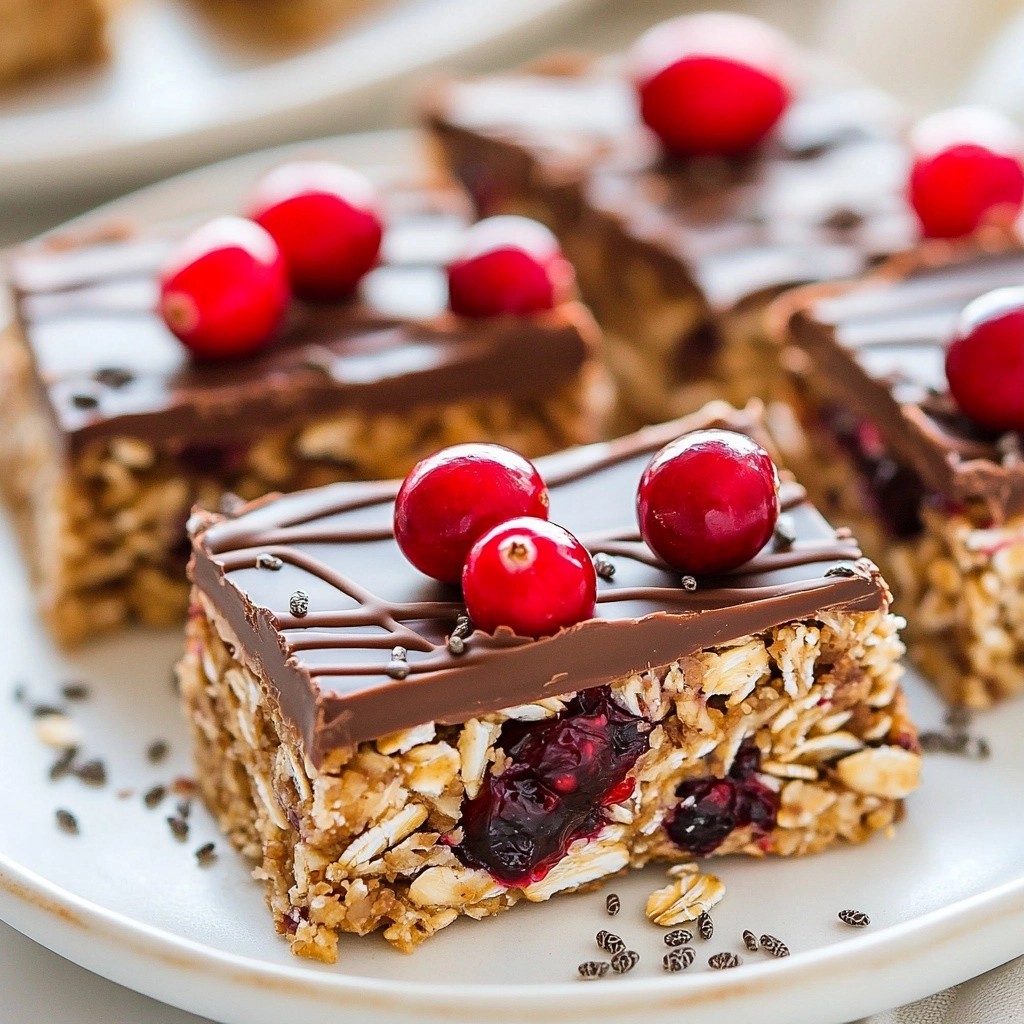
- Dried fruit (such as cranberries or cherries)
- A dash of cinnamon
These add-ins offer extra textures and flavors. They let you customize the bars to your taste.
Equipment Needed
To prepare these bars, you will need some simple equipment:
- Food processor
- 8x8 inch square baking dish
- Parchment paper
- Microwave-safe bowl
- Spatula
Having the right tools makes the process easy and fun. You’ll enjoy making these bars as much as you love eating them!
Step-by-Step Instructions
Preparation of Base Mixture
First, gather your ingredients. You will need dates, walnuts, oats, cocoa powder, espresso, maple syrup, vanilla extract, and a pinch of salt. Place all these in a food processor. Blend them until they mix well. The mixture should look crumbly but stick together when pressed. This step is key. It gives the bars their rich base.
Next, line an 8x8 inch baking dish with parchment paper. Leave some paper hanging over the edges. This helps you lift the bars out later. Now, transfer your mixture into the dish. Press it down firmly. Use a spatula or your hands for an even layer. Make sure it is compacted well.
Melting the Chocolate
Now it's time to melt the chocolate. Take a microwave-safe bowl and add dark chocolate chips and coconut oil. Heat this in the microwave for 30 seconds. After that, stir the mixture. Repeat this process until the chocolate is smooth and glossy. Be careful not to overheat it.
Assembling the Bars
Once the chocolate is melted, pour it over the pressed mixture in the baking dish. Use a spatula to spread the chocolate evenly. This creates a nice top layer. Now, place the whole dish in the fridge. Let it chill for at least 2 hours or until set.
When the bars are firm, lift them out using the parchment paper. Cut them into squares or rectangles. Enjoy your smooth no-bake chocolate espresso bars!
Tips & Tricks
Achieving the Perfect Texture
To get the right texture, use soft dates. If your dates are dry, soak them in warm water for ten minutes. This helps them blend well. When mixing, stop once the mix forms a ball. If it crumbles too much, add a bit of water or more maple syrup. Press the mixture firmly into the dish. This step shapes the bars and keeps them from falling apart.
Enhancing Flavor with Variations
You can change the flavor in fun ways. Add a pinch of cinnamon for warmth. Try swapping the vanilla with almond extract for a nutty twist. If you love coconut, mix in some shredded coconut. For a fruity touch, add dried cherries or cranberries. Each change makes the bars unique and tasty.
Serving Suggestions
These bars shine when served right. Cut them into squares or rectangles. You can dust them with cocoa powder or sprinkle cocoa nibs on top. For a treat, pair the bars with a hot cup of espresso. This pairing enhances the rich chocolate and coffee flavors. Serve them at parties or as a snack; everyone will love them!
Pro Tips
- Use Fresh Espresso: For the best flavor, always use freshly brewed espresso. It enhances the chocolate and adds a rich coffee aroma to the bars.
- Chill the Bars Thoroughly: Ensure the bars are chilled for at least 2 hours to achieve the perfect texture. This helps them set well and makes cutting easier.
- Experiment with Nuts: Feel free to substitute walnuts with your favorite nuts, such as almonds or pecans, for a different flavor profile.
- Storage Tips: Store the bars in an airtight container in the refrigerator for up to a week, or freeze them for longer shelf life.
Variations
Substitutes for Dates
If you want to switch out dates, try using figs or prunes instead. Both have natural sugars that help bind the bars. They also add a nice sweetness. You can also use maple syrup or agave nectar for a different taste. Just remember, the texture might change a bit.
Nut-Free Options
For nut-free bars, swap walnuts with sunflower seeds or pumpkin seeds. These seeds give a nice crunch and flavor. You can also try using rolled oats as a base. This keeps the bars chewy and satisfying. Just check that your oats are gluten-free if needed.
Flavor Pairings
You can play with flavors to make these bars unique. Add a pinch of cinnamon or a splash of almond extract for a warm kick. Want something fruity? Mix in dried cherries or raspberries for a burst of flavor. Dark chocolate pairs well with sea salt, so sprinkle some on top for a sweet and salty treat.
Storage Info
Best Storage Practices
To keep your Smooth No-Bake Chocolate Espresso Bars fresh, store them in an airtight container. This will help prevent them from drying out. Place parchment paper between layers to avoid sticking. Keep the bars in the fridge, where they will stay cool and firm. If you plan to enjoy them later, this method works best.
Freezing Instructions
You can freeze these bars for longer storage. First, cut them into squares. Then, wrap each piece in plastic wrap. Place the wrapped bars in a freezer-safe bag or container. Label the bag with the date. When you want to enjoy a bar, just take it out and let it thaw in the fridge for a few hours.
Shelf Life of Bars
These bars can last up to one week in the fridge. If frozen, they can last for about three months. Just remember, the longer they sit, the more they may lose their fresh taste. For best flavor, try to eat them within a month of freezing. Enjoy these bars as a treat anytime!
FAQs
Can I use other nuts instead of walnuts?
Yes, you can use other nuts. Almonds, pecans, or cashews work well. Just make sure to chop them roughly before adding to the food processor. Each nut gives a different flavor and texture. Almonds add crunch, while pecans bring a sweet taste. Feel free to mix and match for fun!
How can I make these bars vegan?
To make these bars vegan, ensure the dark chocolate chips are dairy-free. Most brands offer vegan options. You can also replace the maple syrup with agave nectar. This keeps the sweetness and flavor intact. Just double-check any other ingredients for animal products. Enjoy guilt-free!
What can I substitute for espresso?
If you do not have espresso, use strong brewed coffee. Brew the coffee and let it cool. You can also use instant coffee mixed with hot water. This gives a similar rich flavor. Some people even like using strong tea. Experiment to find your favorite!
Now you can make delicious bars with ease. We covered ingredients, step-by-step instructions, and handy tips. Now, experiment with flavors and variations. Whether you prefer nut-free options or want to enhance the texture, there’s a way for you. Store them right, and they will last. Enjoy every bite! These bars are fun to make and share. Your culinary skills will impress your friends and family. Happy bar-making!