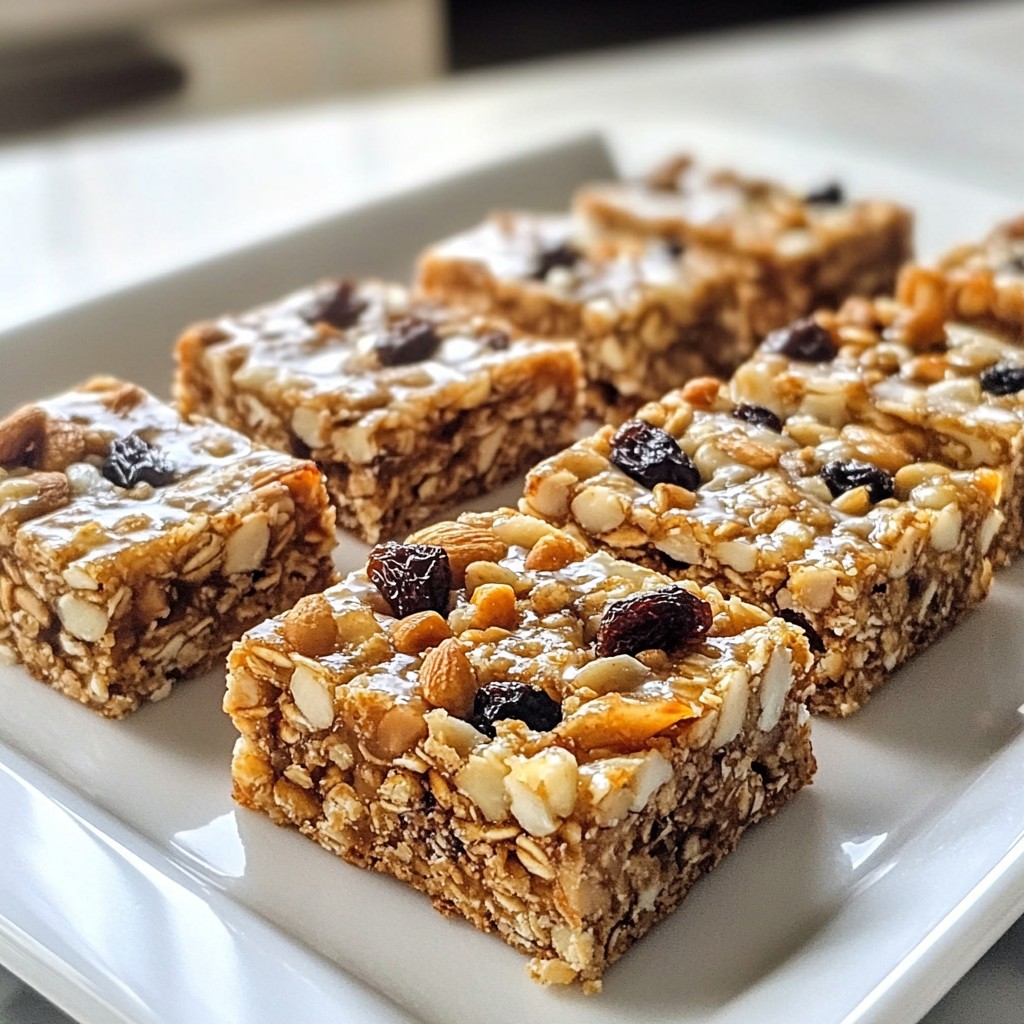
Are you looking for a quick energy boost that’s also tasty? Today, I’ll show you how to make Simple No-Bake Trail Mix Snack Bars. These bars are easy to whip up with just a few ingredients, perfect for busy days. You can customize them to fit your taste and nutrition needs. Let’s dive into this simple, fun recipe that will fuel your day!
Why I Love This Recipe
- Healthy Ingredients: This recipe uses wholesome ingredients like oats, nuts, and dried fruits, making it a nutritious snack option.
- No Baking Required: Perfect for busy days, these bars come together quickly without the need for baking.
- Customizable: You can easily swap ingredients to suit your taste or dietary preferences, such as using different nut butters or fruits.
- Great for Meal Prep: These bars can be made ahead of time and stored in the fridge, providing a convenient snack throughout the week.
Ingredients
Essential Ingredients for Snack Bars
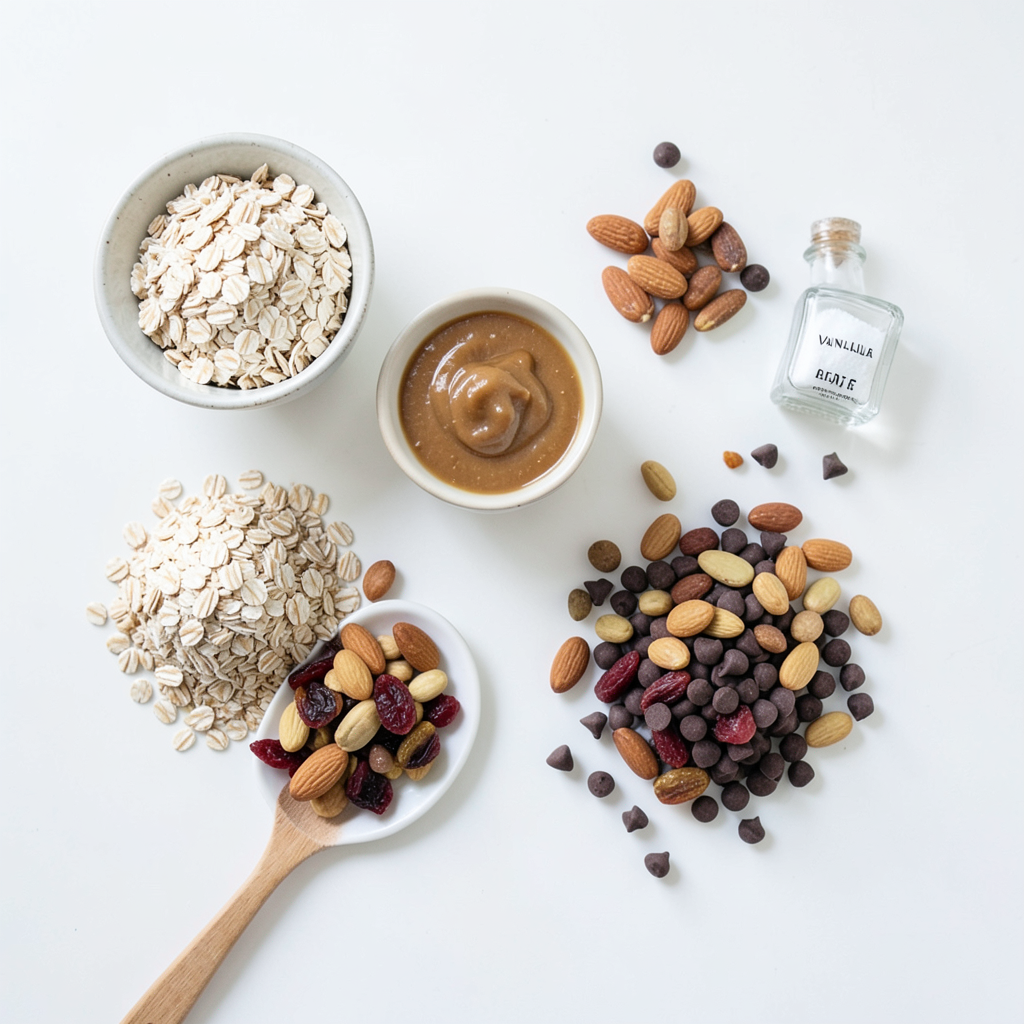
To make these tasty snack bars, gather these key ingredients:
- 1 cup rolled oats
- 1/2 cup nut butter (almond, peanut, or cashew)
- 1/4 cup honey or maple syrup
- 1/2 cup mixed nuts (almonds, walnuts, cashews)
- 1/2 cup dried fruit (raisins, cranberries, or apricots)
- 1/4 cup mini chocolate chips (optional)
- 1 teaspoon vanilla extract
- Pinch of salt
These ingredients work together to create a chewy and satisfying snack. The rolled oats serve as the base, giving the bars a hearty texture. Nut butter adds creaminess and healthy fats. Honey or maple syrup sweetens the mix, while nuts and dried fruit add crunch and flavor.
Optional Add-ins for Customization
Feel free to get creative with your bars! Here are some fun add-ins:
- Seeds like chia, flax, or pumpkin seeds
- Coconut flakes for a tropical twist
- Spices like cinnamon or nutmeg for warmth
- Different nut butters like sunflower seed for nut-free options
These add-ins let you tailor the bars to your taste. You can mix and match based on what you like. Add a little more sweetness or crunch as you see fit!
Nutritional Benefits of Ingredients
Each ingredient brings something healthy to the table:
- Rolled oats provide fiber, which helps you feel full longer.
- Nut butter gives you protein and healthy fats for energy.
- Honey or maple syrup adds natural sweetness with some vitamins.
- Mixed nuts supply proteins, healthy fats, and minerals.
- Dried fruit offers natural sugars and antioxidants.
Together, these ingredients create a balance of energy and nutrients. They can fuel your day, whether you're hiking or just need a snack. Enjoy your health boost with every bite!
Step-by-Step Instructions
Preparation of Base Mixture
Start by gathering your ingredients. In a large mixing bowl, add 1 cup of rolled oats and a pinch of salt. This base gives your bars texture and a hearty feel. Mix them well so the salt spreads evenly. This step is crucial for flavor.
Combining Nut Butter and Sweetener
Next, take 1/2 cup of your favorite nut butter. You can use almond, peanut, or cashew. Place it in a small saucepan. Add in 1/4 cup of honey or maple syrup. Heat this mixture over low heat. Stir it constantly until it blends well. This step makes it easy to pour over the oats. When it’s smooth, remove it from heat. Stir in 1 teaspoon of vanilla extract for extra flavor.
Assembling and Setting the Bars
Now, pour the warmed nut butter mixture over your oats. Mix them until every oat is coated. Then, add 1/2 cup of mixed nuts and 1/2 cup of dried fruit. If you like, throw in 1/4 cup of mini chocolate chips. Stir until everything is spread out evenly.
Line an 8x8 inch baking dish with parchment paper or lightly grease it. Transfer your mixture into the dish. Press it down firmly with a spatula or your hands. This ensures the bars hold their shape. Next, refrigerate for at least 1 hour. Once set, lift the mixture out using the parchment paper. Finally, cut it into bars or squares. Store them in an airtight container in the fridge for up to a week.
Tips & Tricks
Perfecting the Texture of Snack Bars
To get the right texture, use fresh oats. Old oats can make your bars dry. The nut butter must be creamy. If it’s too thick, warm it a bit more. Press the mixture firmly into the dish. This helps the bars hold together better. Let them chill for at least an hour. This time helps them set properly.
Troubleshooting Common Issues
If your bars are too crumbly, your mixture might be dry. Add more nut butter or honey. If they are too sticky, you may have added too much sweetener. In that case, mix in more oats or nuts to balance it out. If the bars crumble when cutting, press them down harder next time. Also, ensure they are fully chilled before cutting.
Enhancing Flavor with Spices
Spices can boost the flavor of your bars. Try adding cinnamon or nutmeg for warmth. A pinch of sea salt can enhance sweetness, too. If you want a little heat, add a dash of cayenne pepper. Experiment with different spice blends to find your favorite. This small change can make a big difference in taste.
Pro Tips
- Use Fresh Ingredients: Always opt for fresh nuts and dried fruits for the best flavor and texture in your snack bars.
- Customize Your Mix: Feel free to swap out the nuts and dried fruits according to your preference or what you have on hand.
- Press Firmly: Make sure to press the mixture firmly into the baking dish to ensure that the bars hold together once set.
- Storage Tips: Keep the bars in an airtight container in the fridge to maintain freshness and prevent them from becoming too soft.
Variations
Different Nut Butter Options
You can use many nut butters in these snack bars. Almond butter adds a creamy texture and a mild taste. Peanut butter gives a classic flavor that most love. Cashew butter is rich and smooth. Each option changes the taste and feel of the bars. If you want a unique twist, try sunflower seed butter. It’s nut-free and perfect for schools.
Substitutions for Dried Fruits
Dried fruits bring sweetness and chewiness. You can use raisins, cranberries, or apricots for this recipe. If you have other dried fruits, give them a try! Dried cherries or figs work well too. You can even mix different dried fruits for more flavor. Just chop them into smaller pieces for easy biting.
Making It Vegan-Friendly
To make these bars vegan, use maple syrup instead of honey. Both sweeteners work well, but maple syrup fits a vegan diet. Most nut butters are already vegan, but always check the label. You can also add seeds like pumpkin or sunflower seeds for extra crunch. This way, you keep the bars tasty and plant-based!
Storage Info
Best Practices for Storing Snack Bars
To keep your snack bars fresh, store them in an airtight container. Place the bars in the fridge for best results. This helps to maintain their texture and flavor. If you plan to eat them within a week, this method works great. For longer storage, consider freezing them.
How to Freeze for Later
To freeze your snack bars, wrap each bar in plastic wrap. Place the wrapped bars in a freezer-safe bag or container. Be sure to label the bag with the date. They can last up to three months in the freezer. When you’re ready to eat, let them thaw in the fridge overnight.
Signs of Freshness or Spoilage
Check your snack bars for any signs of spoilage. If they smell off or have a strange texture, it’s best to toss them. Fresh bars should be firm but not hard. Look for any discoloration in the nuts or dried fruit. If you notice these changes, it’s time to make a new batch.
FAQs
Can I make these bars without nuts?
Yes, you can make these bars without nuts. Just replace the nut butter with sunflower seed butter. This keeps the bars creamy. You can also skip the mixed nuts. Instead, add more dried fruit or seeds. Pumpkin seeds or sunflower seeds work well. These swaps keep the snack bars tasty and nutritious.
How long do no-bake snack bars last?
No-bake snack bars last about one week in the fridge. Store them in an airtight container. If you want them to last longer, you can freeze them. They will stay good for up to three months in the freezer. Just remember to wrap them well. This prevents freezer burn and keeps them fresh.
Can I add protein powder to this recipe?
Yes, you can add protein powder to these bars. Use about 1/4 cup of your favorite protein powder. Mix it into the oats before adding the wet ingredients. This boosts the protein. It makes the bars even more filling and great for energy. Just be mindful of the powder's flavor. It may change the taste slightly.
Snack bars can be fun and easy to make. We covered essential ingredients and optional add-ins for your bars. You learned to prepare the base and blend nut butter with sweeteners. Tips helped perfect texture and flavor. Variations showed you can swap ingredients for your needs, even making them vegan. Finally, proper storage ensures freshness for longer.
Now, it's time to try making your own snack bars. Enjoy the creativity and tasty rewards!