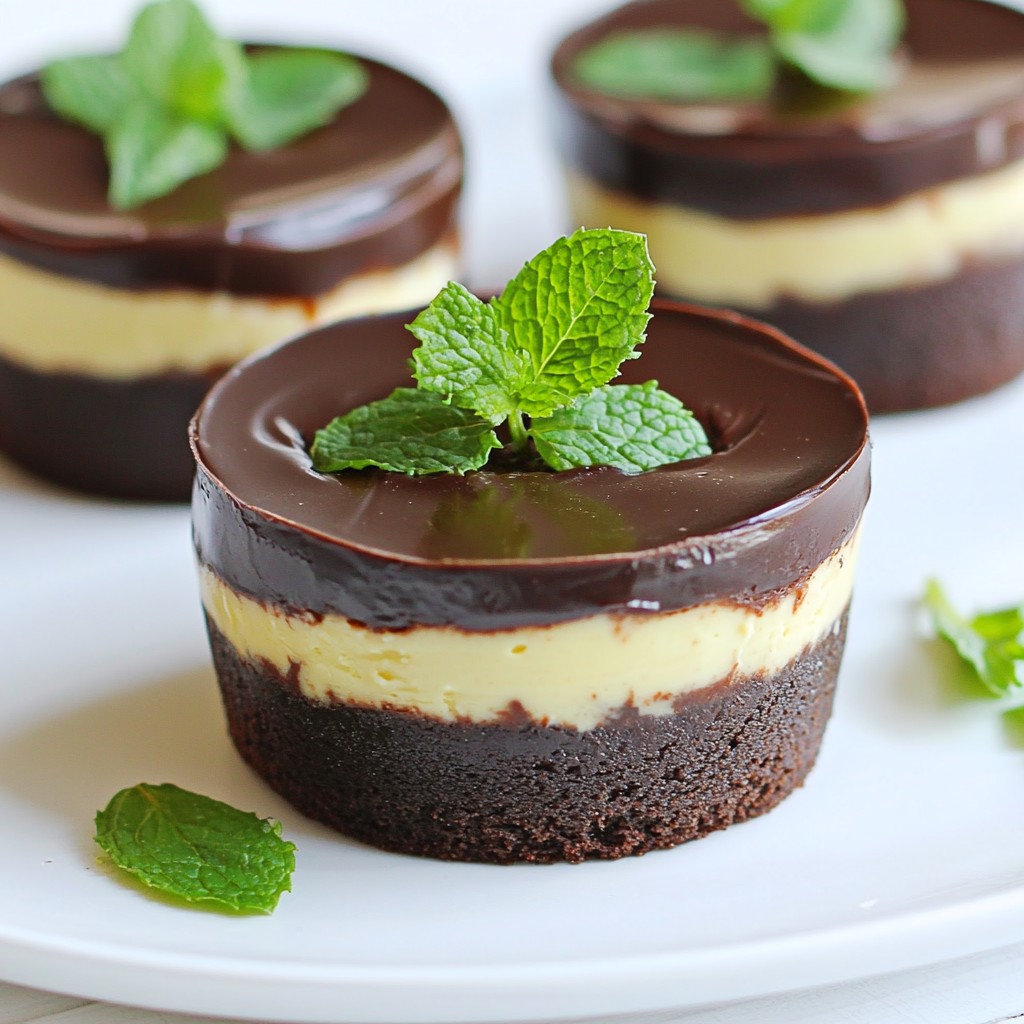
Craving something sweet? Try these Silky No-Bake Chocolate Mint Cups! This easy dessert is perfect for anyone who loves rich chocolate and refreshing mint. I’ll guide you through each simple step, with clear tips to help you achieve that dreamy texture. Whether you want to impress guests or treat yourself, you can whip these up in no time. Ready to get started? Let’s dive into this delicious recipe!
Why I Love This Recipe
- Deliciously Minty Flavor: The combination of rich chocolate and refreshing mint creates a perfect balance that is both indulgent and invigorating.
- No-Bake Convenience: This recipe is simple and doesn’t require any baking, making it a quick treat to whip up anytime you crave something sweet.
- Healthy Ingredients: Using almond flour, maple syrup, and coconut oil ensures that these cups are not only tasty but also made with wholesome ingredients.
- Customizable Treat: Feel free to adjust the sweetness or add your favorite toppings, making these chocolate mint cups a versatile dessert for any occasion.
Ingredients
List of Ingredients
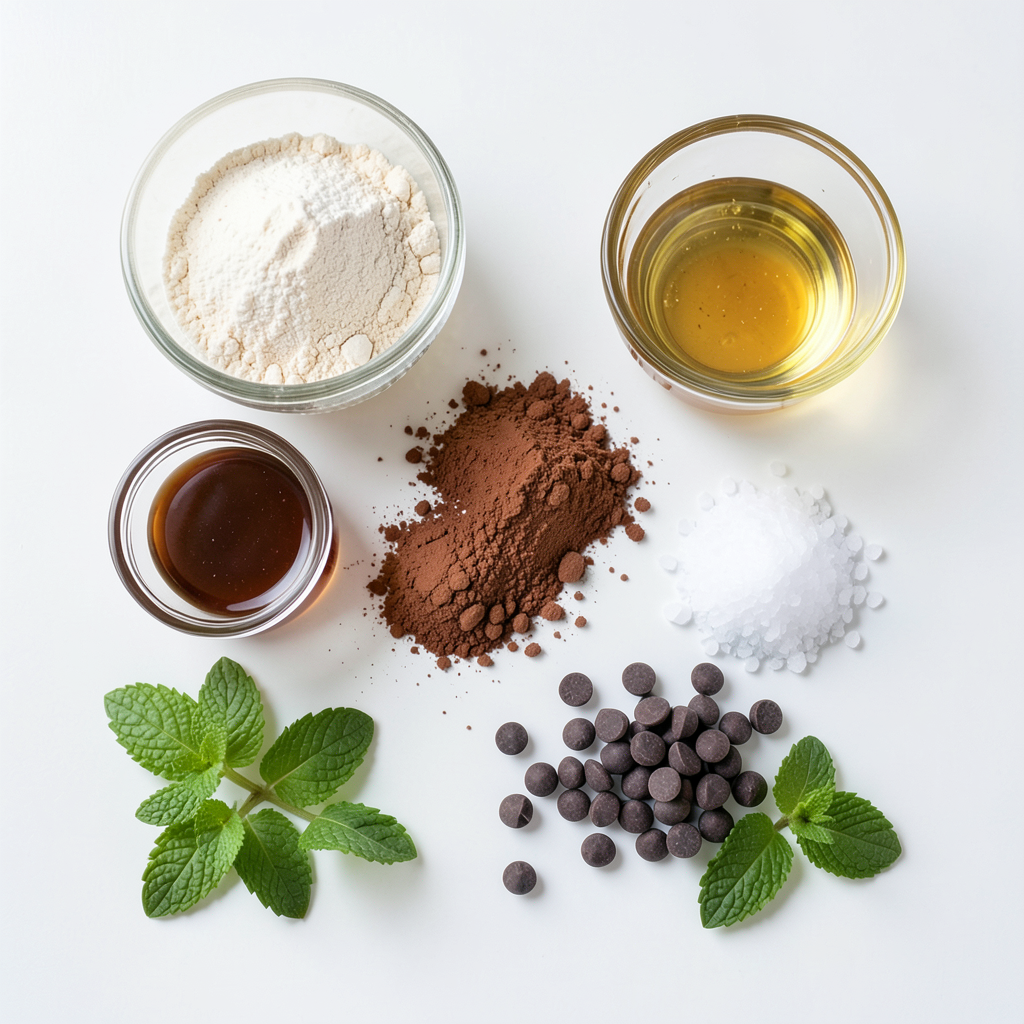
To create Silky No-Bake Chocolate Mint Cups, you need the following ingredients:
- 1 cup almond flour
- 1/4 cup cocoa powder
- 1/4 cup maple syrup
- 1/4 cup coconut oil (melted)
- 1/2 teaspoon peppermint extract
- 1/4 teaspoon sea salt
- 1 cup dark chocolate chips (dairy-free if desired)
- Fresh mint leaves for garnish (optional)
Measurement Tips
When measuring ingredients, use dry measuring cups for flour and cocoa. Scoop the almond flour lightly and level it with a knife. For liquids, like maple syrup and coconut oil, use a liquid measuring cup. Always check that your chocolate chips are packed well for accurate measuring.
Ingredient Substitutions
If you can't find almond flour, use finely ground oats or sunflower seed flour. For cocoa powder, any unsweetened cocoa will work. If you want a different sweetener, try honey or agave syrup. You can substitute coconut oil with melted butter if not dairy-free. For a minty twist, you can use other extracts like vanilla.
Step-by-Step Instructions
Preparation Overview
To make Silky No-Bake Chocolate Mint Cups, gather all your ingredients. You will need almond flour, cocoa powder, maple syrup, melted coconut oil, peppermint extract, sea salt, dark chocolate chips, and mint leaves for garnish. This recipe takes about 15 minutes to prep and 30 minutes to chill.
Detailed Cooking Steps
1. First, combine the almond flour, cocoa powder, maple syrup, melted coconut oil, peppermint extract, and sea salt in a mixing bowl. Stir until smooth.
2. Next, line a muffin tray with cupcake liners or silicone molds. This will help with easy removal later.
3. Spoon the chocolate mint mixture into the liners. Fill each about halfway and press down firmly.
4. Now, melt the dark chocolate chips. Use a microwave-safe bowl and heat them in 30-second intervals. Stir each time until fully melted and smooth.
5. Pour the melted chocolate over the mint mixture in each cup. Fill them to the top, then smooth the surface with a spoon.
6. Place the muffin tray in the fridge. Let the cups set for at least 30 minutes, or until the chocolate is firm.
7. Once set, gently peel away the cupcake liners or unmold the chocolate cups.
8. If you like, garnish with fresh mint leaves before serving. Enjoy them chilled or at room temperature.
Tips for Melting Chocolate
To melt chocolate well, use a microwave-safe bowl. Make sure to heat in short bursts. Stir often to avoid burning. If you have a double boiler, that works great too. Just keep the water at a simmer, not boiling. Stir until the chocolate is smooth and shiny. This ensures a silky texture that pairs well with the mint cups.
Tips & Tricks
How to Achieve a Silky Texture
To get a smooth and silky texture in your chocolate mint cups, use melted coconut oil. Mix it well with the almond flour and cocoa powder. This oil adds richness and helps bind everything. Also, make sure to melt your dark chocolate slowly. Stir it every 30 seconds to avoid burning. A gentle heat keeps it glossy.
Storing and Serving Suggestions
Store your chocolate mint cups in an airtight container. Keep them in the fridge for the best taste. They stay fresh for up to one week. When serving, take them out a few minutes before eating. This helps soften the chocolate a bit. If you want to impress guests, add a fresh mint leaf on top for a pop of color.
Enhancing Flavor Combinations
You can add more flavor to your cups! Try adding a pinch of sea salt on top of the chocolate. This brings out the sweet and minty taste. You could also swap peppermint extract for orange or almond extract. Each option gives a new twist to the recipe. Feel free to experiment and find your favorite combination!
Pro Tips
- Use High-Quality Chocolate: The flavor of your chocolate mint cups greatly depends on the chocolate you use. Opt for high-quality dark chocolate for the best taste.
- Chill the Coconut Oil: If your coconut oil is too warm, it can affect the consistency of the mixture. Chill it slightly before mixing to ensure a smooth blend.
- Experiment with Flavors: While peppermint is classic, try adding a few drops of orange or almond extract for a unique flavor twist in your chocolate cups.
- Store Properly: Keep your chocolate mint cups in an airtight container in the fridge to maintain their texture and freshness for longer.
Variations
Alternative Flavor Profiles
You can change the flavor of these cups. Try adding almond extract instead of peppermint. This creates a sweet, nutty taste. You can also mix in orange zest for a citrus twist. Chocolate and orange pair well together. For a spicier kick, add a pinch of cinnamon. Each new flavor brings a fun twist to your dessert.
Dietary Adjustments (Vegan, Gluten-Free)
Making these cups vegan is easy. Use maple syrup as a sweetener. Choose dairy-free dark chocolate chips. Check the labels to ensure they are vegan. For a gluten-free option, use almond flour as your base. This recipe is already gluten-free, making it a great choice for many diets.
Custom Toppings and Garnishes
You can dress up your chocolate mint cups with toppings. Crushed nuts add a nice crunch. Try using walnuts or pecans for a rich flavor. You can also sprinkle sea salt on top to enhance the chocolate taste. For a fun touch, add colorful sprinkles. Fresh mint leaves make a lovely garnish too. Choose the toppings you like best to make each cup unique.
Storage Info
Best Storage Practices
To keep your silky no-bake chocolate mint cups fresh, store them in an airtight container. Place parchment paper between layers if you stack them. This will help prevent sticking and keep them looking nice. Keep the container in the fridge to maintain the cups' creamy texture.
Shelf Life of Chocolate Mint Cups
These chocolate mint cups last about one week in the fridge. If you store them properly, they will remain tasty and fresh. Always check for any changes in smell or texture before eating them. If they look or smell off, it’s best to toss them.
Freezing Instructions
You can freeze these delightful cups for longer storage. Wrap each cup in plastic wrap or foil. Then, place them in a freezer-safe container. They can last up to three months in the freezer. When you want to enjoy them, thaw them in the fridge overnight. This way, they stay smooth and creamy.
FAQs
What is the best way to melt chocolate?
The best way to melt chocolate is in a microwave. Use a microwave-safe bowl. Heat the chocolate chips in short bursts of 30 seconds. Stir between each burst. This helps prevent burning. You can also use a double boiler. Place a heat-safe bowl over a pot of simmering water. Stir the chocolate as it melts. Both methods keep the chocolate smooth and shiny.
Can I use a different sweetener?
Yes, you can use a different sweetener. Honey or agave nectar works well. You can also try stevia or erythritol. These sweeteners can change the taste a bit. Make sure to adjust the amount to your liking. Each sweetener has a different sweetness level. Always taste as you go to get the best flavor.
How do I prevent the cups from sticking to the liners?
To prevent sticking, use high-quality liners. Silicone molds work great for this recipe. They allow for easy removal. If using paper liners, lightly spray them with cooking oil. This helps the cups slide out smoothly. Make sure to let them cool completely before removing. This gives the chocolate time to set and helps keep its shape.
In this article, we explored the key ingredients and steps for making chocolate mint cups. We discussed measurement tips, ingredient substitutions, and how to achieve a silky texture. You learned about variations for different diets and enhancing flavors. Finally, I shared the best storage practices and answered common questions.
By following these tips, you can create delicious treats with ease. Happy cooking!