Craving something sweet and salty? Get ready to make Salted Caramel Rice Krispie Treats! This twist on a classic will have your taste buds dancing. With just a few simple ingredients, you’ll create treats that are gooey and crunchy. Plus, I’ll share tips and tricks to make them perfect every time. Dive in for step-by-step guidance, fun variations, and storage tips. You won’t want to miss this delicious recipe!
Ingredients
List of Ingredients
– 6 cups Rice Krispies cereal
– 1 cup mini marshmallows
– 1 cup peanut butter (smooth or crunchy)
– 1 cup unsalted butter (2 sticks)
– 1 cup granulated sugar
– 1/2 cup brown sugar, packed
– 1 teaspoon vanilla extract
– 1 teaspoon sea salt (plus extra for garnish)
Ingredient Substitutions
You might want to change some ingredients. Here are a few ideas:
– For a vegan option, use coconut oil in place of butter. Swap regular marshmallows for vegan ones.
– If you need gluten-free treats, look for gluten-free Rice Krispies. They taste just as good!
– You can use sunflower seed butter or soy nut butter instead of peanut butter for nut-free treats.
These swaps keep the fun and flavor intact while meeting dietary needs. Enjoy the process of making your treats!
Step-by-Step Instructions
Preparing the Caramel Mixture
To start, gather a large saucepan and place it on medium heat. First, melt one cup of unsalted butter. Once the butter is melted, add one cup of granulated sugar and half a cup of packed brown sugar. Stir this mixture continuously until it starts to boil lightly. This step is key for a smooth caramel.
Next, reduce the heat to low. Carefully mix in one cup of mini marshmallows and one cup of peanut butter. Stir until the mix is fully melted and smooth. This should take about 2-3 minutes. The marshmallows and peanut butter give the caramel its rich, gooey texture.
Mixing and Incorporating Rice Krispies
Now, it’s time to fold in the Rice Krispies. You will need six cups of Rice Krispies cereal for this step. Gently add the cereal to the caramel mixture. Make sure to fold it in carefully. This helps to coat each piece evenly without crushing them. An even coating ensures that every bite is packed with flavor.
Setting and Cutting the Treats
Before pouring the mixture, grease a 9×13 inch baking dish. You can use cooking spray or some butter to prevent sticking. Pour the Rice Krispie mixture into the dish. Spread it evenly using a spatula or your greased hands. Press down firmly to compact the mixture well.
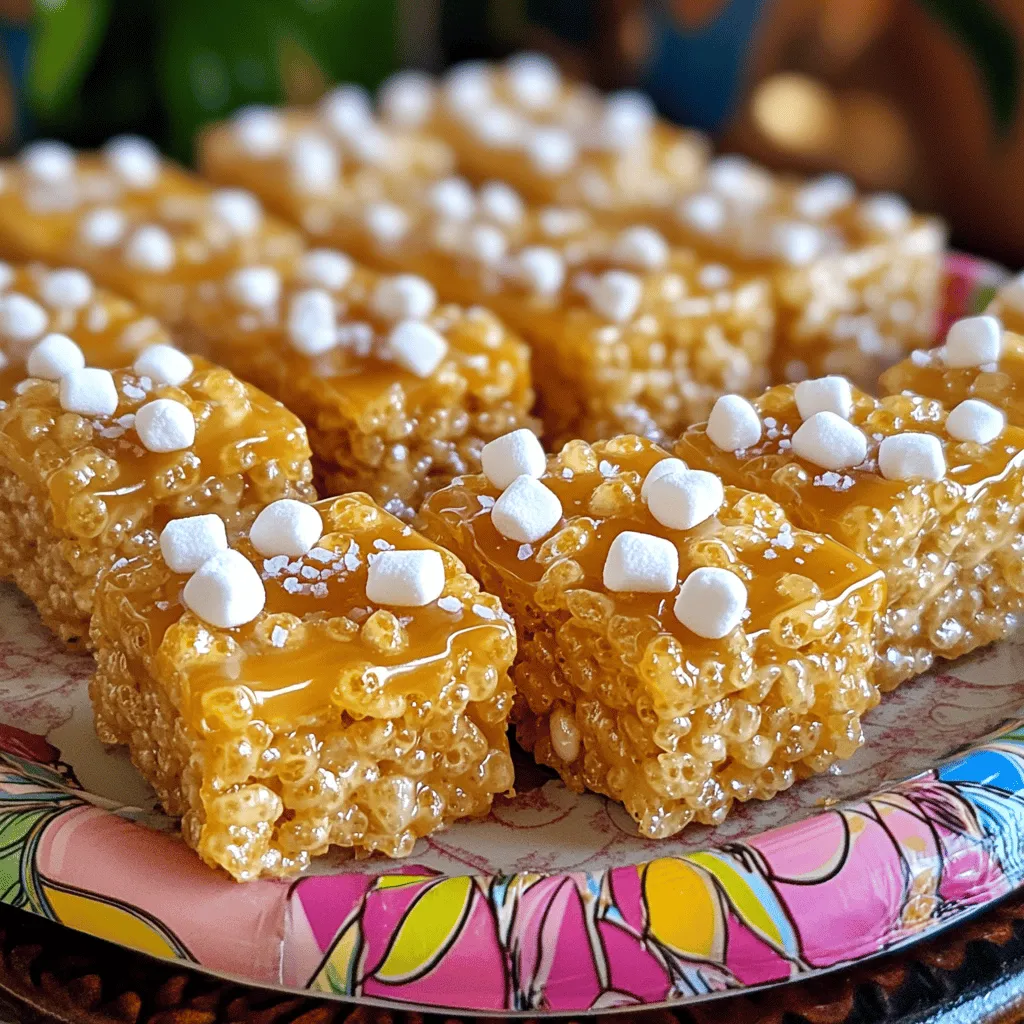
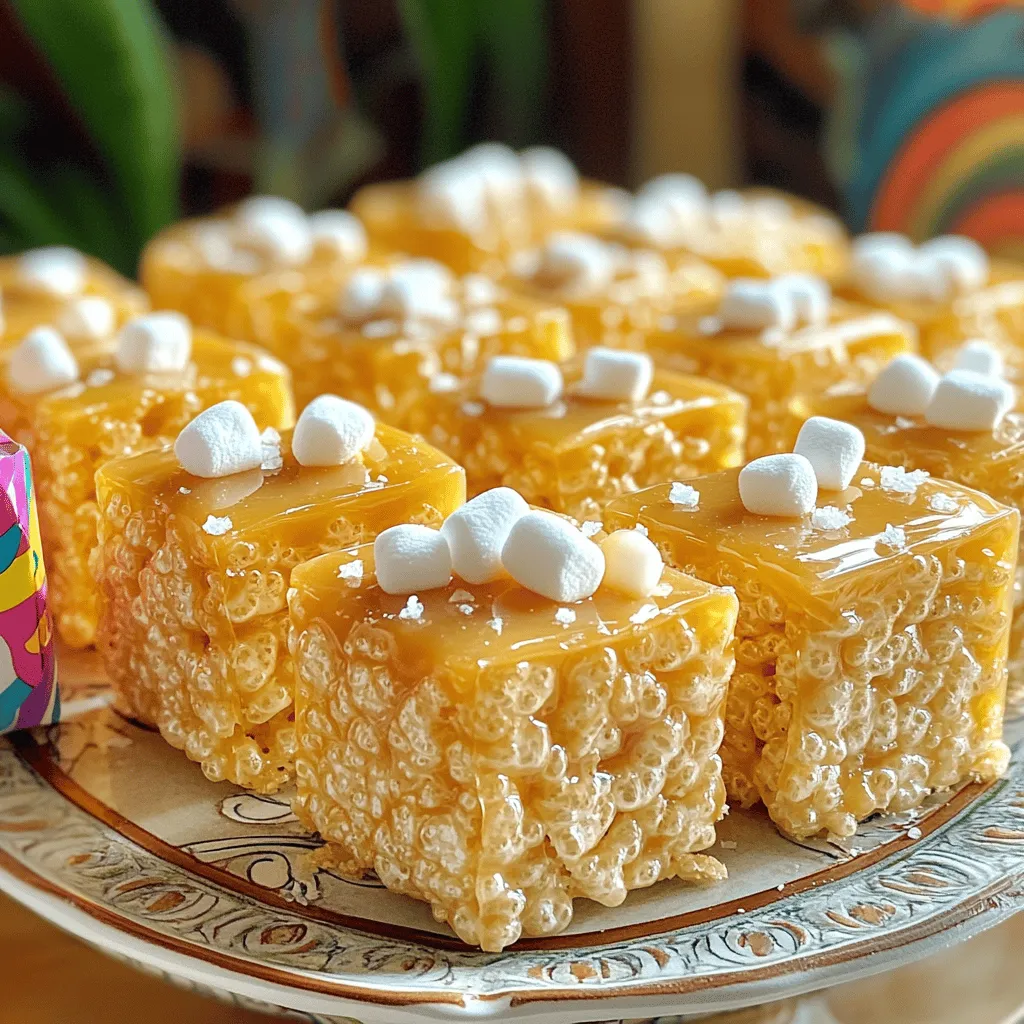
After pressing, allow the treats to cool at room temperature for at least 30 minutes. Once set, cut them into squares or rectangles. For a special touch, sprinkle a small pinch of sea salt over the top before serving. This enhances the salted caramel flavor and makes them even more delicious.
Tips & Tricks
Achieving the Perfect Texture
To avoid overly sticky treats, use a non-stick saucepan. Melt the butter slowly on low heat. Stir in the sugars until they dissolve completely. Once you add the marshmallows and peanut butter, make sure to stir gently. This keeps the mixture smooth and creamy.
After mixing in the Rice Krispies, press the mixture into your baking dish firmly. Use your hands or a spatula to compact the mixture without crushing the cereal. This helps create a nice, chewy texture that holds together well.
Flavor Enhancements
For extra flavor, try adding toppings. You can drizzle melted chocolate on top. Or, sprinkle crushed nuts for a crunchy bite. A dash of cinnamon or a swirl of peanut butter can add a unique twist.
Using different types of salt can enhance the taste. Flaky sea salt offers a nice crunch. Try smoked salt for a deeper flavor. Each type brings its own unique taste to your treats.
Equipment Recommendations
Choosing the right saucepan makes a big difference. A heavy-bottomed saucepan prevents burning. It ensures even heating for melting butter and sugar.
Use a sturdy spatula for mixing. A silicone spatula works best for scraping the sides of the pan. Measuring cups are important for accuracy. They help you get the right amount of each ingredient.It offers detailed steps and suggestions for perfecting your Salted Caramel Rice Krispie Treats.
Variations
Different Flavor Combinations
You can easily change the flavor of your salted caramel rice Krispie treats. Adding chocolate chips gives them a rich twist. I love using semi-sweet chips for balance. You can also mix in nuts for crunch. Walnuts or pecans work well.
Another fun idea is to add spices. A dash of cinnamon gives warmth. Nutmeg adds a cozy holiday feel. Just a pinch can transform the taste.
Dietary Accommodations
Not everyone can enjoy the same treats. For a low-sugar option, use a sugar substitute. This way, you can still enjoy the sweetness without the extra sugar.
If you have allergies, try nut-free options. Use sunflower seed butter instead of peanut butter. You can also find dairy-free marshmallows. These swaps make your treats safe and delicious for everyone.
Seasonal Additions
Seasonal flavors can make your treats even more special. For fall, add a bit of pumpkin spice. In summer, try mixing in dried fruit for a fruity twist.
You can also make holiday-themed treats. For Halloween, add orange and black sprinkles. At Christmas, use festive colors like red and green. These ideas make your treats fun for any occasion.Enjoy your baking!
Storage Info
How to Store Rice Krispie Treats
To keep your salted caramel rice Krispie treats fresh, use airtight containers. Glass or plastic containers work well. Make sure the treats are cool before sealing the container. This prevents moisture build-up, which can make them soggy.
Keep the treats at room temperature. They can stay fresh for up to three days. If you want them to last longer, avoid cutting them into squares until you’re ready to eat. This helps keep their shape and texture.
To stop the treats from becoming stale, try these tips:
– Place a slice of bread in the container.
– The bread adds moisture and keeps the treats soft.
– Avoid using wax paper between layers, as it can stick.
Freezing Instructions
You can freeze salted caramel rice Krispie treats for a longer storage option. First, let them cool completely. Then, wrap each treat in plastic wrap. After wrapping, place them in a freezer-safe bag or container.
When freezing, the treats can last for up to three months. To thaw, move them to the fridge overnight. If you’re in a hurry, you can let them sit at room temperature for about 30 minutes.
When ready to enjoy, do not refreeze them after thawing. This keeps the texture nice and chewy.
FAQs
How long do Salted Caramel Rice Krispie Treats last?
Salted Caramel Rice Krispie Treats last about 2-3 days at room temperature. Keep them in an airtight container. If you store them in the fridge, they can last up to a week. Just remember, the treats might get a bit firmer when cold.
Can I make these treats ahead of time?
Yes, you can make these treats a day or two ahead. This is great for parties or events. Just store them in an airtight container. They will still taste amazing when you serve them.
What to do if the mixture is too sticky?
If the mixture is sticky, you can try these tips. First, let the mixture cool a bit before mixing in the Rice Krispies. This can help reduce stickiness. Second, use a greased spatula or your hands to avoid sticking. If it’s still too sticky, add a bit more Rice Krispies. This will help balance the texture.This will guide you through making these delicious treats step by step.
You’ve learned how to make delicious Salted Caramel Rice Krispie Treats. We covered ingredients, easy steps, and tips for the right texture. You can customize these treats for diet needs or special occasions. Remember to store them well for lasting freshness. I hope you feel ready to create your own tasty snacks. Enjoy your cooking!