Indulge your sweet tooth without the oven! My Rich No-Bake Triple Chocolate Fudge is a chocolate lover’s dream. With layers of creamy semi-sweet, milk, and white chocolate, each bite bursts with flavor. You’ll need simple ingredients like chocolate chips, condensed milk, and butter. Quick, easy, and oh-so-delicious, this treat is perfect for any occasion. Ready to satisfy your cravings? Let’s get started!
Why I Love This Recipe
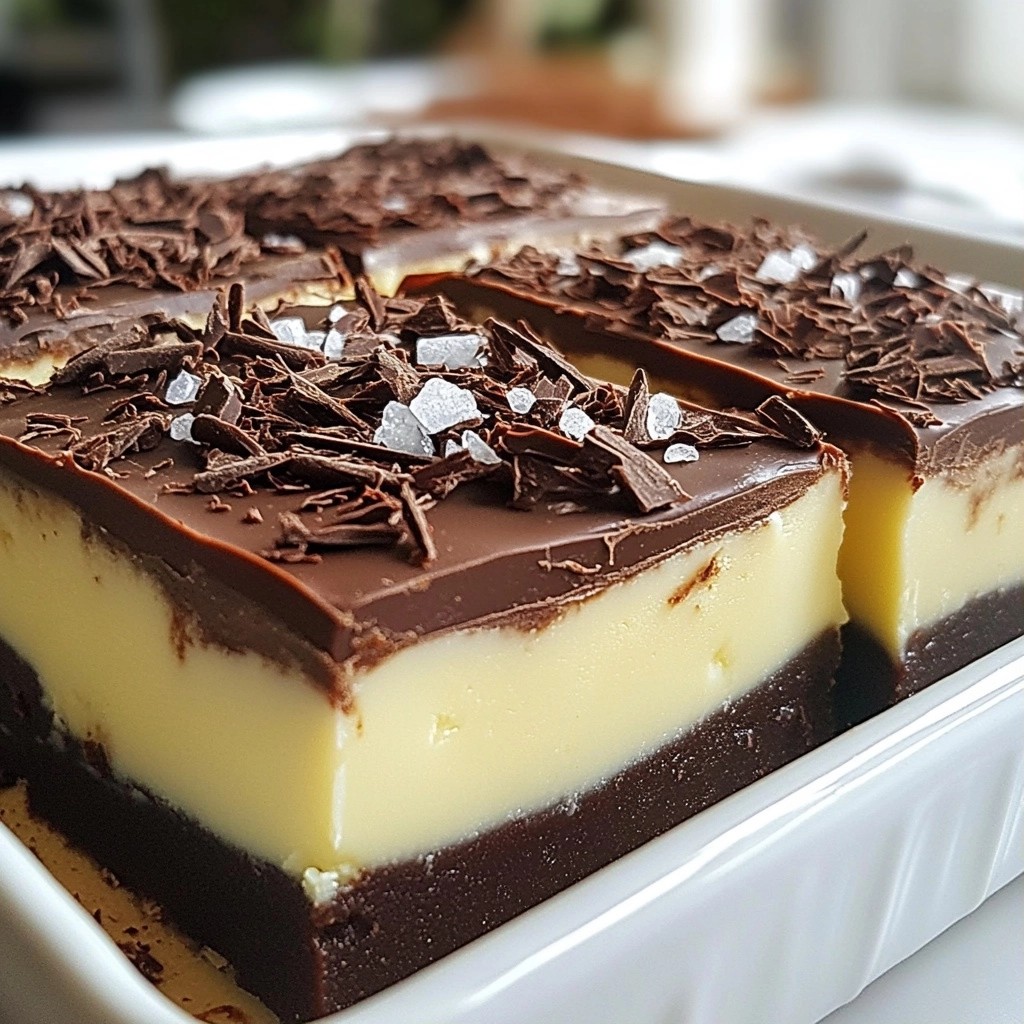
- Decadent Layers: This fudge features three different types of chocolate, creating a rich and indulgent flavor experience in every bite.
- No-Bake Convenience: Skip the oven! This recipe is quick and easy, perfect for those hot days when you want a sweet treat without the heat.
- Customizable Toppings: With options like sea salt flakes or crushed nuts, you can personalize it to your taste and make it even more special.
- Perfect for Sharing: Cut into squares and serve at parties or gatherings, this fudge is sure to impress and delight your friends and family.
Ingredients
List of Required Ingredients
- 1 cup semi-sweet chocolate chips
- 1 cup milk chocolate chips
- 1 cup white chocolate chips
- 1 can (14 oz) sweetened condensed milk
- 1/2 cup unsalted butter
- 1 teaspoon vanilla extract
- 1/4 cup cocoa powder
- Pinch of salt
Optional Toppings
- Sea salt flakes
- Chocolate shavings
- Crushed nuts
To make my rich no-bake triple chocolate fudge, you need just a few simple items. Each type of chocolate adds a unique taste and texture. The semi-sweet chocolate gives a nice balance, while the milk chocolate adds creaminess. The white chocolate adds a sweet touch that softens the flavors.
Sweetened condensed milk brings everything together. It makes the fudge smooth and creamy. Unsalted butter adds richness. The vanilla extract gives a warm flavor, while cocoa powder deepens the chocolate taste. A pinch of salt helps all the flavors pop!
You can also use toppings for extra flair. Sea salt flakes add a nice contrast to the sweet fudge. Chocolate shavings look fancy and taste great. Crushed nuts bring crunch and extra flavor.
Gather all these ingredients, and you are ready to create a delightful treat that everyone will love!

Step-by-Step Instructions
Preparing the Baking Pan
To start, take an 8x8 inch square baking pan. You need to line it with parchment paper. Leave some overhang on the sides. This helps when you lift the fudge out later.
Melting the Chocolate Mixture
Next, grab a medium saucepan. Set it over low heat. Add these items to the pan:
- 1 cup semi-sweet chocolate chips
- 1 cup milk chocolate chips
- 1/2 cup white chocolate chips
- 1/2 cup unsalted butter
- 1 can (14 oz) sweetened condensed milk
Stir this mixture gently. Keep stirring until it melts and becomes smooth. This step is key for a creamy fudge.
Flavoring and Layering
Once melted, take the pan off the heat. Now, add these ingredients:
- 1 teaspoon vanilla extract
- 1/4 cup cocoa powder
- A pinch of salt
Stir well until everything mixes together.
Now, pour half of the fudge mixture into the lined pan. Use a spatula to smooth it out evenly. Next, melt the other half cup of white chocolate chips. You can do this in the microwave or over a double boiler. Spread this melted white chocolate over the first fudge layer.
Finally, pour the rest of the fudge mixture on top. Smooth it out again. Place the pan in the fridge. Let it chill for at least four hours. This makes the fudge firm and ready to cut.
Tips & Tricks
Achieving the Perfect Texture
To melt chocolate without burning, use low heat. Stir often to avoid hot spots. You can also use a double boiler. This method gently heats the chocolate. For a creamy consistency, add unsalted butter and sweetened condensed milk. These ingredients help create that rich, smooth fudge you crave.
Best Practices for Layering
For even layer distribution, pour the fudge slowly. Use a spatula to spread it out evenly. Start with half the fudge in the pan, then add the white chocolate layer. After that, pour the remaining fudge on top. Timing is key here; melt and pour each layer while they are still warm.
Customizing the Fudge
You can change the flavor by adding extracts. Try peppermint or almond for a twist. For mix-ins, consider crushed nuts or mini marshmallows. You can also use different chocolate types, like dark chocolate. Top your fudge with sea salt flakes or chocolate shavings. These add a nice touch and crunch!
Pro Tips
- Use High-Quality Chocolate: The flavor of your fudge will greatly depend on the quality of the chocolate you use. Opt for premium brands for a richer taste.
- Don’t Overheat the Mixture: Melt the chocolate and butter over low heat to prevent burning. Stir continuously to ensure even melting.
- Chill for Perfect Texture: Allow the fudge to chill for at least 4 hours. This ensures a firm texture that’s easy to cut into squares.
- Customize Your Toppings: Feel free to get creative with toppings! Try crushed cookies, toffee bits, or different nuts for added texture and flavor.
Variations
Flavor Enhancements
You can add more flavor to your fudge. A few drops of peppermint or almond extract can make a big difference. These flavors pair well with chocolate. You can also try using different types of chocolate. Swap in dark chocolate for a richer taste, or use flavored chocolate for fun twists.
Dietary Adjustments
If you need gluten-free fudge, this recipe is already safe. Just check the labels on your chocolate chips. For a dairy-free or vegan version, replace the butter with coconut oil. Use dairy-free chocolate chips instead of regular ones. This way, everyone can enjoy a delicious treat.
Seasonal Themes
Make your fudge special for holidays. Top it with festive sprinkles or colors. For example, use red and green for Christmas or pastel colors for Easter. You can also change the shape by using cookie cutters. This adds a fun element for parties or special events.
Storage Info
How to Store Leftover Fudge
To keep your fudge fresh, use an airtight container. Place the fudge in a single layer. If you stack pieces, put parchment paper between them. This method helps prevent sticking.
You can store leftover fudge in the fridge. It stays good for about two weeks. For long-term storage, freeze the fudge. Wrap it tightly in plastic wrap and then foil. This way, it lasts for up to three months.
Shelf Life
To get the best taste, eat the fudge within two weeks. Look for signs of spoilage. If the fudge smells off or has a dull color, it’s time to toss it. Fresh fudge has a rich chocolate smell and a shiny surface.
Keep it cool and dry. Avoid heat and moisture to maximize freshness. If you follow these tips, your fudge will stay tasty and delicious!
FAQs
How long does the fudge need to set?
The fudge needs to chill for at least 4 hours. This time helps it firm up. If you skip this step, the fudge may be too soft to cut. Chilling gives it the right texture for slicing.
Can I freeze the fudge?
Yes, you can freeze the fudge. Wrap it tightly in plastic wrap or foil. Place it in an airtight container. This helps keep it fresh. To thaw, take it out and let it sit at room temperature. Enjoy it straight from the fridge or after thawing.
What can I use if I don't have a square pan?
If you lack a square pan, use a round or rectangular pan. Just line it with parchment paper as well. You can also use muffin tins for smaller servings. Adjust the chill time based on the thickness of the fudge.
This blog post covered all you need to know about making fudge. We explored key ingredients, step-by-step instructions, and tips for the best texture. I also shared fun variations and ideas for storage.
Making fudge is simple and enjoyable. You can customize it to fit your tastes. With practice, you will create rich, tasty treats every time. Enjoy sharing your delicious fudge with friends and family!