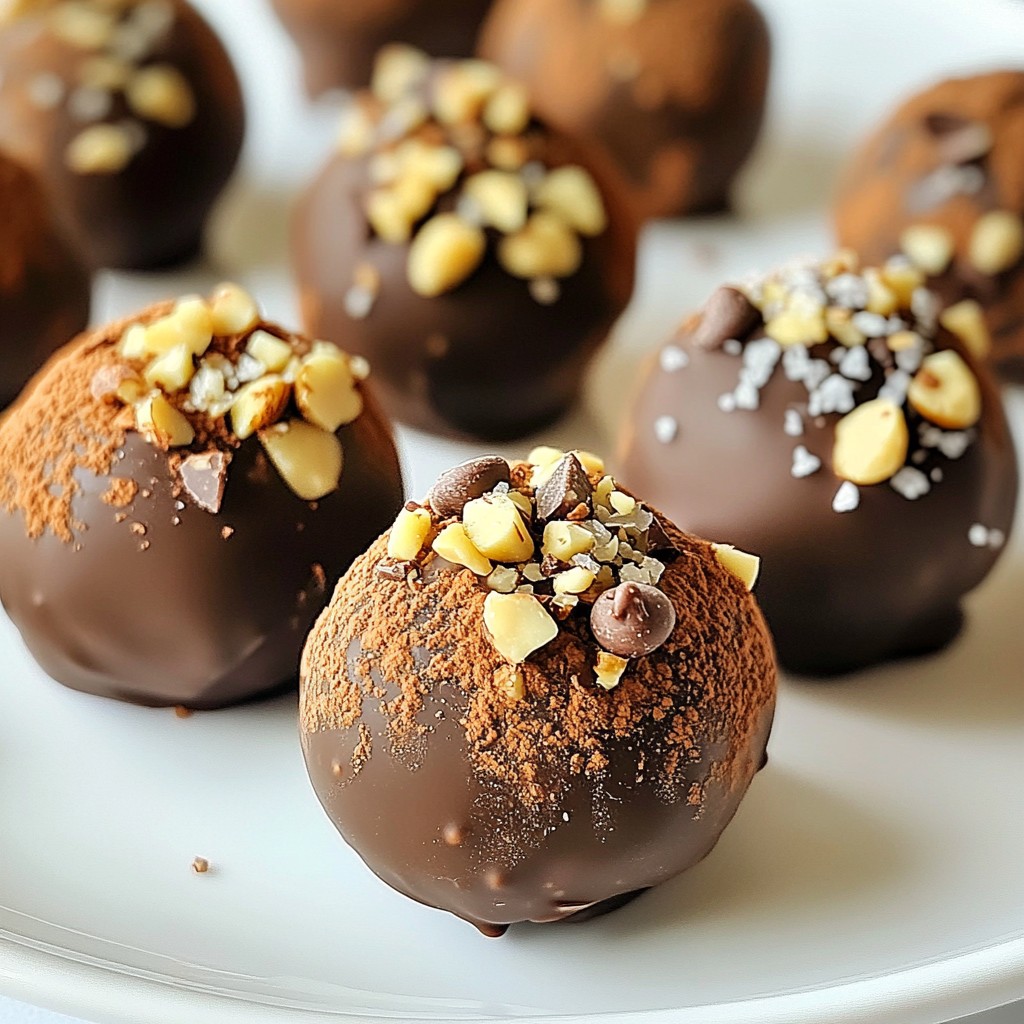
Indulge your sweet tooth with my Rich No-Bake Double Chocolate Chip Truffles Delight! These little bites of heaven are easy and require no baking. You’ll love how simple ingredients transform into creamy, chocolatey goodness. Whether you are a kitchen newbie or a seasoned pro, I’ll guide you step by step. Get ready to impress your friends and family with these dreamy truffles that everyone will crave!
Why I Love This Recipe
- Decadent Flavor: The rich combination of dark chocolate and sweetened condensed milk creates a deeply satisfying truffle experience.
- No Baking Required: This recipe is perfect for those who want to indulge in chocolate without the hassle of baking.
- Customizable Toppings: With options like nuts, sprinkles, and coconut flakes, you can personalize each truffle to suit your taste.
- Perfect for Gifting: These truffles make an elegant and thoughtful homemade gift for friends and family.
Ingredients
List of Required Ingredients
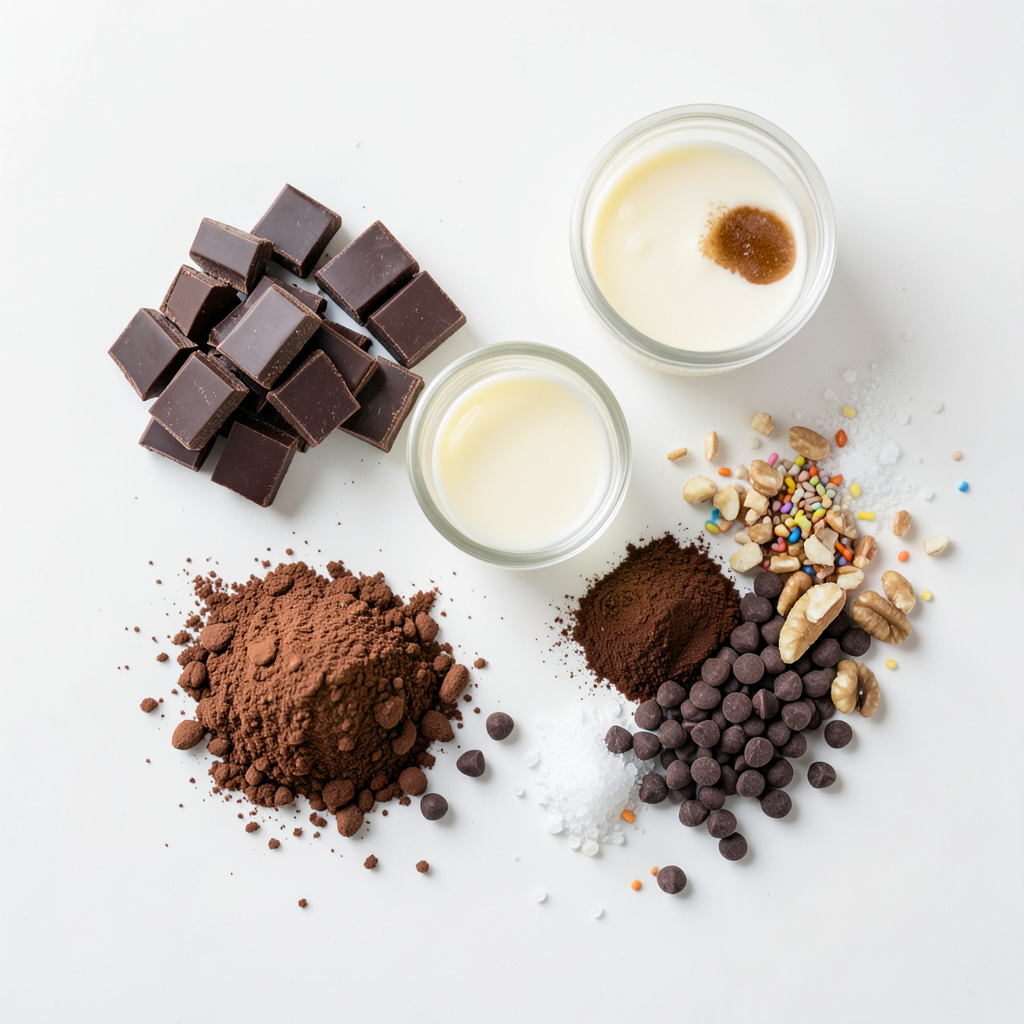
To make these rich no-bake double chocolate chip truffles, you need:
- 8 oz dark chocolate (semi-sweet or bittersweet), chopped
- ½ cup sweetened condensed milk
- 1 teaspoon vanilla extract
- ¼ cup unsweetened cocoa powder
- ½ cup mini chocolate chips
- Pinch of sea salt
Optional Toppings for Customization
You can personalize your truffles with these fun toppings:
- Chopped nuts
- Sprinkles
- Coconut flakes
These add extra flavor and texture. Choose what you like best!
Ingredient Substitutions
If you need swaps, here are some ideas:
- Use milk chocolate if you prefer a sweeter taste.
- Swap sweetened condensed milk for coconut milk for a dairy-free option.
- Try flavored extracts like almond or mint for a twist.
These substitutions keep the truffles tasty while catering to your needs. Enjoy creating your perfect truffle!
Step-by-Step Instructions
How to Melt Chocolate for Truffles
To start, you need to melt the chocolate. Take 8 ounces of dark chocolate and chop it into small pieces. Place the chopped chocolate in a heatproof bowl along with ½ cup of sweetened condensed milk. Set this bowl over a pot of simmering water. This is called the double boiler method. Stir gently until the chocolate melts completely. You want a smooth mixture without lumps.
Mixing and Cooling the Chocolate Mixture
Once the chocolate melts, take it off the heat. Add 1 teaspoon of vanilla extract and a pinch of sea salt. Stir well to mix everything together. Next, fold in ½ cup of mini chocolate chips. Make sure they are evenly spread in the mixture. Now, let the mixture cool slightly. Then, put it in the fridge for about 30 minutes. This helps it firm up, making it easier to handle later.
Forming and Coating the Truffles
After chilling, it’s time to form the truffles. Use a melon baller or small cookie scoop to scoop out the chocolate mix. Roll each scoop into a ball using your hands. Now, let’s coat them! You can roll the truffles in unsweetened cocoa powder, chopped nuts, or sprinkles. Choose what you like best. Finally, place the coated truffles on a baking sheet with parchment paper. Chill them again for at least 30 minutes so they set. Now, they’re ready to enjoy!
Tips & Tricks
Achieving the Perfect Texture
To get the best texture for your truffles, melting chocolate correctly is key. Use a double boiler to melt the chocolate with sweetened condensed milk. This method helps keep the heat gentle. Stir until smooth. After mixing in the mini chocolate chips, let the mixture chill until firm. It should not be too soft or too hard.
Storing and Handling Chocolate
Store chocolate in a cool, dry place. Keep it away from heat and moisture. If you have leftover truffles, place them in an airtight container. This helps maintain their taste and texture. Always let the truffles sit at room temperature for a few minutes before serving. This helps enhance their flavor.
Suggestions for Presentation and Serving
Presentation can make your truffles look fancy. Place them in a decorative box or a clear jar. You can tie a ribbon around it for a special touch. Serve the truffles on a nice plate with some cocoa powder or nuts sprinkled around them. This adds a nice visual appeal and makes them perfect for sharing.
Pro Tips
- Use Quality Chocolate: The flavor of your truffles largely depends on the quality of chocolate you use. Opt for high-quality dark chocolate for a richer taste.
- Chill for Best Consistency: Ensure the chocolate mixture is chilled long enough to harden properly. This will make rolling the truffles much easier.
- Experiment with Flavors: Don’t hesitate to add flavor variations such as orange zest, peppermint extract, or espresso powder for a unique twist on your truffles.
- Presentation Matters: For a stunning presentation, consider using decorative cupcake liners or placing truffles in a beautiful gift box to impress your guests or gift recipients.
Variations
Flavor Additions and Swaps
You can play with flavors in your truffles. Try adding a few drops of peppermint extract for a minty twist. You can also mix in orange zest for a citrusy kick. For a spiced flavor, add a pinch of cinnamon or nutmeg. If you like coffee, a teaspoon of espresso powder can add depth. Just remember to keep the balance right for the best taste.
Alternative Coating Options
The coating is just as fun as the truffles themselves. Instead of cocoa powder, try rolling them in crushed nuts for a crunch. Chopped pistachios or almonds add color and flavor. You can also use sprinkles to make them festive. For a tropical touch, roll them in shredded coconut. Each coating gives a new look and taste to your treats.
Dietary Variations (Vegan, Gluten-Free)
Making these truffles vegan is easy. Swap the sweetened condensed milk for coconut cream or any plant-based milk. Use dairy-free chocolate to keep it vegan. For a gluten-free option, all ingredients are naturally gluten-free. Just check the labels on any toppings to ensure they're safe. With these swaps, everyone can enjoy these rich delights!
Storage Info
Best Practices for Storage
To keep your truffles fresh, store them in an airtight container. This prevents moisture and odors from ruining your treats. Place parchment paper between layers if stacking them. Keep the container in a cool, dark place. Avoid areas near heat sources or sunlight.
Shelf Life of No-Bake Chocolate Truffles
These rich truffles can last up to two weeks in the fridge. However, they taste best within the first week. If you notice any changes in texture or smell, it’s time to toss them. Always check for any signs of spoilage.
Freezing Truffles for Later Use
You can freeze truffles for up to three months. Place them in a single layer on a baking sheet and freeze until solid. Then, move them to an airtight container. When you want to enjoy them, thaw them in the fridge overnight. Avoid thawing at room temperature to keep the texture smooth.
FAQs
How do I make truffles creamier?
To make your truffles creamier, add more sweetened condensed milk. This will help create a smooth texture. You can also try using heavy cream as a substitute for some of the condensed milk. The extra fat creates a richer, creamier taste. Make sure to mix it well with the chocolate.
Can I use milk chocolate instead of dark chocolate?
Yes, you can use milk chocolate instead of dark chocolate. Milk chocolate will make your truffles sweeter and less intense. If you prefer a milder flavor, this swap works great. Keep in mind that the texture might change slightly, but they will still taste delicious.
How long can I keep the truffles in the fridge?
You can keep the truffles in the fridge for up to two weeks. Store them in an airtight container to keep them fresh. If you want to enjoy them later, you can freeze them for up to three months. Just make sure to thaw them in the fridge before serving for the best texture.
You learned how to make delicious no-bake chocolate truffles. We covered key ingredients, step-by-step instructions, and helpful tips. You can customize your truffles with various flavors and toppings. Storage tricks will help keep them fresh for longer. Whether you want creamy truffles or dietary options, you have the tools you need. Making these treats can be fun and simple. Enjoy creating your own unique versions!