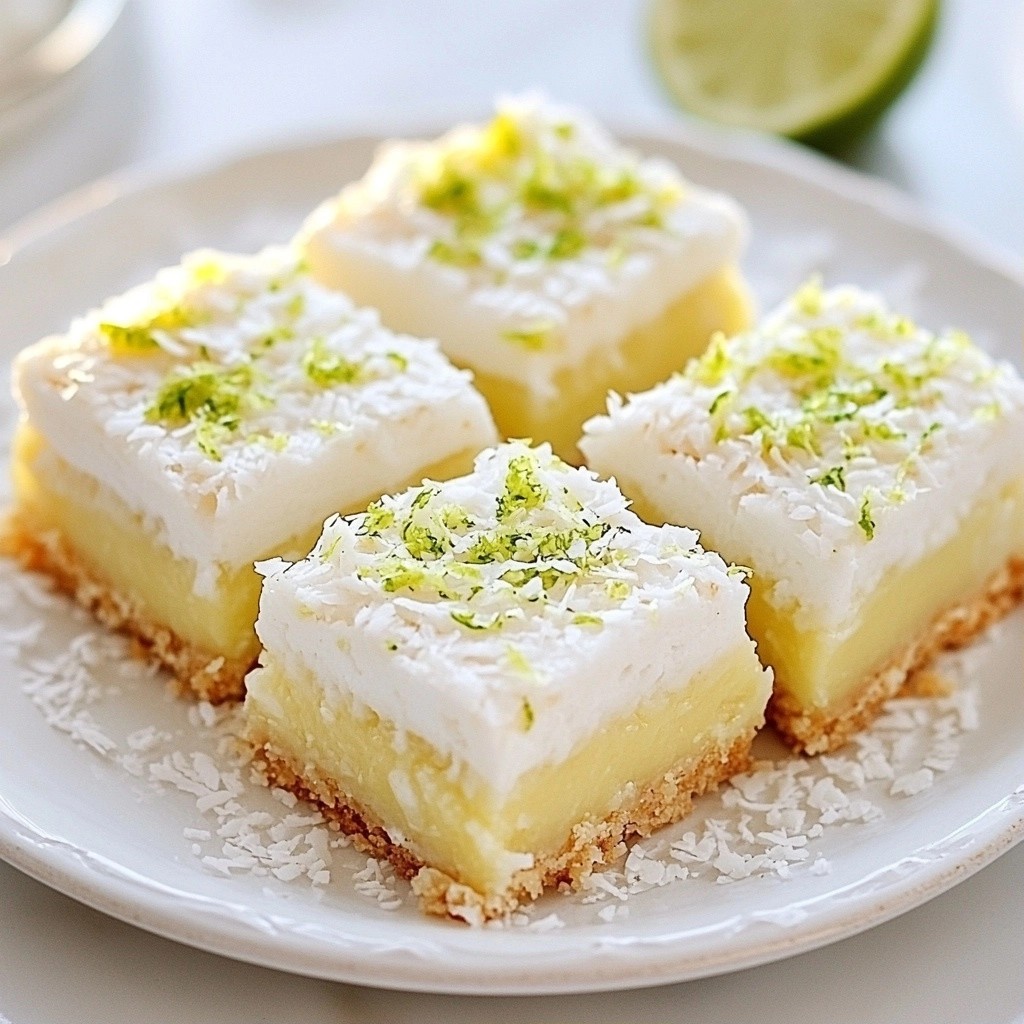
Looking for a sweet treat that's quick and easy? Try my Quick No-Bake Lime Coconut Bars! These bars are bright, tasty, and require no baking skills. With just a few simple ingredients, you can whip up a refreshing dessert that your friends and family will love. I'll guide you through each step, plus share tips and fun variations. Let’s make something delicious together!
Why I Love This Recipe
- Refreshing Flavor: The combination of coconut and lime creates a tropical taste that brightens up any day.
- Easy to Make: With just a few simple ingredients and steps, these bars come together quickly, perfect for a last-minute treat.
- Healthy Ingredients: Made with wholesome ingredients like almond flour and maple syrup, these bars are a guilt-free dessert option.
- Perfect for Sharing: Cut into squares, these bars are great for parties or gatherings, making it easy to share the deliciousness!
Ingredients
Key Ingredients
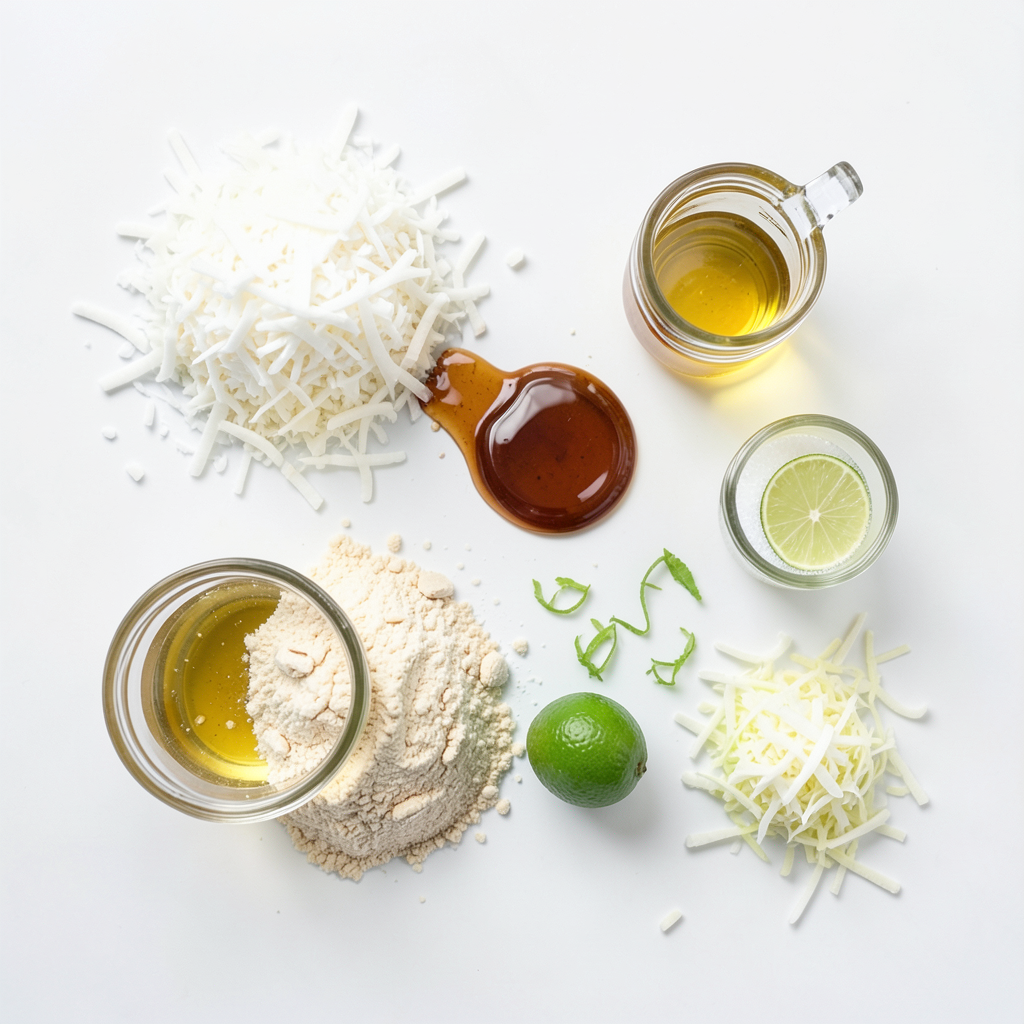
- 1 cup shredded unsweetened coconut
- 1 cup almond flour
- 1/2 cup maple syrup
- 1/4 cup coconut oil, melted
- Zest of 2 limes
- 1/4 cup fresh lime juice
- 1/4 teaspoon sea salt
- 1 teaspoon vanilla extract
These ingredients create a perfect balance of sweet and tangy. The shredded coconut gives a chewy texture, while the almond flour adds a nice base. Maple syrup sweetens the bars naturally, and coconut oil keeps them moist. Lime zest and juice bring a fresh, zesty flavor that makes each bite refreshing.
Optional Ingredients
- Extra shredded coconut for topping
Adding extra shredded coconut on top is a fun twist. It enhances the coconut flavor and makes the bars look lovely. You can skip this if you prefer a cleaner look.
Benefits of Ingredients
- Shredded Unsweetened Coconut: High in fiber and healthy fats.
- Almond Flour: Low in carbs and rich in protein.
- Maple Syrup: A natural sweetener, it adds antioxidants.
- Coconut Oil: Good for heart health and boosts energy.
- Lime Juice: Packed with vitamin C, it adds brightness.
- Sea Salt: Enhances flavor and helps balance sweetness.
- Vanilla Extract: Adds depth and warmth to the flavor.
These ingredients not only taste great but also offer health benefits. The bars are a great treat for anyone looking for a tasty, healthy dessert. Enjoy making these no-bake lime coconut bars!
Step-by-Step Instructions
Preparation Steps
Start by gathering your ingredients. You need shredded coconut, almond flour, and maple syrup. Also, grab coconut oil, lime zest, lime juice, sea salt, and vanilla extract. Mixing these items is key.
1. In a medium bowl, mix the shredded coconut and almond flour. Stir them until they are well combined.
2. Now, add the melted coconut oil and maple syrup. Then, mix in the lime zest and lime juice.
3. Add the sea salt and vanilla extract. This helps add flavor. Stir until the mixture feels sticky.
Assembly Process
Next, prepare your baking dish. Line an 8-inch square dish with parchment paper. Leave some paper hanging over the sides. This will make it easy to lift out the bars.
1. Press the coconut-lime mixture into the bottom of the lined dish. Use your hands or a measuring cup to pack it tightly.
2. If you want, sprinkle extra shredded coconut on top. Press it down gently into the mixture.
Tips for Best Results
For the best bars, let them chill for at least 2 hours. This helps them become firm. If you want to cut nice squares, use a sharp knife.
- Keep the bars in the fridge for fresh taste.
- If you want a sweeter flavor, add more maple syrup.
- Experiment with different toppings, like nuts or seeds.
These simple steps will help you make quick no-bake lime coconut bars that taste amazing!
Tips & Tricks
How to Store Leftovers
To store leftovers, keep the bars in an airtight container. Place parchment paper between layers to avoid sticking. They stay fresh in the fridge for up to a week. If you want to keep them longer, freeze them. Just wrap each bar in plastic wrap and place them in a freezer bag.
Common Mistakes to Avoid
One common mistake is not pressing the mixture firmly enough. This can lead to crumbly bars. Make sure to use your hands or a measuring cup to pack the mix tightly into the dish. Another mistake is skipping the chilling time. The bars need time to firm up. Don’t rush this step!
Serving Suggestions
These bars are great on their own, but you can get creative! Serve them with fresh fruit like berries or mango slices for extra flavor. You can also drizzle a bit of melted dark chocolate on top for a sweet touch. For a fun twist, try adding a dollop of whipped coconut cream!
Pro Tips
- Chill for Best Texture: For the best texture, make sure to refrigerate the bars for the full 2 hours. This helps them set properly and makes them easier to cut.
- Use Fresh Ingredients: Always use fresh lime juice and zest for a brighter, more vibrant flavor in your bliss bars.
- Experiment with Toppings: Feel free to get creative with toppings! Add nuts, seeds, or a drizzle of dark chocolate for a delicious twist.
- Storage Tips: Store the bars in an airtight container in the refrigerator for up to a week. They can also be frozen for longer storage.
Variations
Flavor Modifications
You can change the flavor of these bars easily. Try adding a bit of lemon zest for a sharper taste. You can also use orange juice instead of lime juice. This gives a sweet and tangy twist. For a richer flavor, mix in some cocoa powder. Just a tablespoon can add a chocolatey hint.
Dietary Substitutions
Need a nut-free option? Use sunflower seed flour instead of almond flour. This keeps the texture the same. If you want a sugar-free treat, swap maple syrup for a sugar-free sweetener. Just make sure it measures like syrup. For a gluten-free version, check your almond flour. Most brands are gluten-free, but it’s always good to confirm.
Creative Serving Ideas
Serve these bars with a dollop of whipped coconut cream. It adds a nice touch of creaminess. You can also top them with fresh berries. Strawberries or blueberries work great for color and flavor. Cut the bars into fun shapes using cookie cutters for kids. This makes them more appealing and fun to eat!
Storage Info
Refrigeration Guidelines
To keep your lime coconut bars fresh, store them in the fridge. Place the bars in an airtight container. This helps them stay moist and tasty. I recommend using parchment paper between layers if you stack them. They will be good for up to a week in the fridge.
Freezing Instructions
You can freeze these bars for a longer shelf life. First, cut them into squares. Wrap each square in plastic wrap. Then, place them in a freezer-safe bag or container. They will keep well for about three months in the freezer. When you're ready to eat, thaw them in the fridge overnight.
Shelf Life
These lime coconut bars have a great shelf life. In the fridge, they last for about one week. If you freeze them, they last for about three months. Always check for any signs of spoilage before eating. Enjoy your sweet treat without worry!
FAQs
Can I use sweetened coconut?
Yes, you can use sweetened coconut if you prefer. It adds extra sweetness to your bars. Just keep in mind that it will make the bars sweeter than the original recipe. You might want to reduce the maple syrup a bit. This way, you can balance the flavor.
How do I make it vegan?
This recipe is already vegan-friendly! It uses almond flour, coconut oil, and maple syrup. All these ingredients are plant-based. If you want to customize it further, ensure your vanilla extract is pure and vegan. You can also add more fruits or nuts for added flavor.
What are some serving ideas?
These bars are great on their own. You can serve them chilled or at room temp. For a fun twist, try adding fresh fruit on top, like slices of lime or berries. You could also pair them with a scoop of coconut ice cream for a yummy dessert. Enjoy them as a snack or a sweet treat after meals!
This blog post covered the key ingredients, steps, and tips for your dish. You learned how to prepare and assemble it for the best results. We also discussed storage options and variations for different diets.
Remember to avoid common mistakes and think of creative serving ideas. Use this knowledge to make your cooking fun and easy. Enjoy your dish, and don't be afraid to experiment!