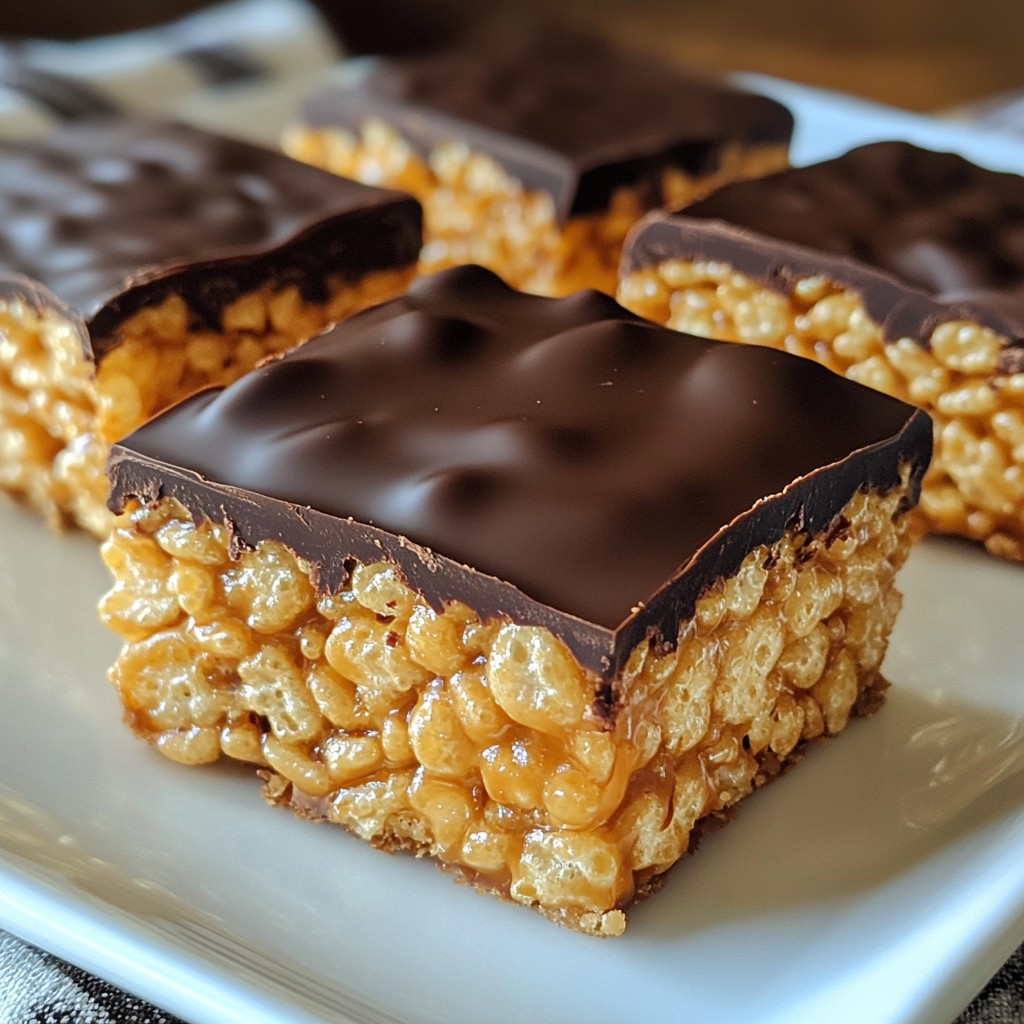
Indulge in a sweet treat that brings joy in every bite! My Peanut Butter Chocolate Rice Krispie Treats are simple to make and bursting with flavor. With just a few easy steps, you can whip up a delicious dessert that everyone will love. Join me as we dive into this fun recipe that combines creamy peanut butter and rich chocolate. Let’s get started on this delightful snack!
Why I Love This Recipe
- Easy to Make: With just a few simple ingredients and steps, these treats come together quickly, making them perfect for last-minute snacks or desserts.
- Deliciously Decadent: The combination of peanut butter and chocolate creates a rich, satisfying flavor that appeals to both kids and adults alike.
- Customizable: You can easily switch up the ingredients, like using different nut butters or adding nuts and dried fruits for extra texture and flavor.
- Perfect for Sharing: These Rice Krispie treats are great for parties, gatherings, or just as a sweet treat to share with friends and family.
Ingredients
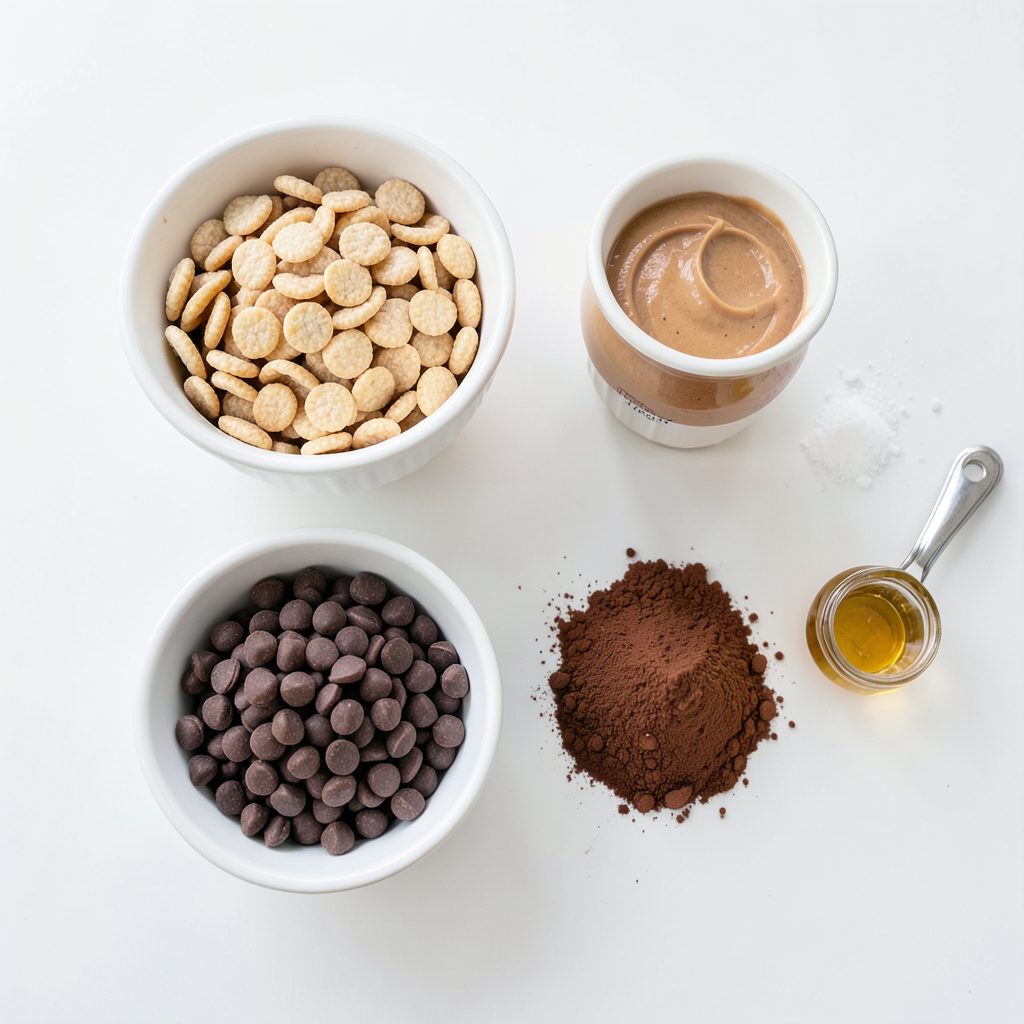
To make Peanut Butter Chocolate Rice Krispie Treats, you need some simple ingredients. Each one plays a key role in creating tasty treats that are both chewy and crunchy. Here’s what you’ll need:
- 4 cups Rice Krispies cereal
- 1 cup creamy peanut butter
- 1 cup chocolate chips (milk or dark)
- 1/2 cup unsweetened cocoa powder
- 1/2 cup honey or maple syrup
- 1 tsp vanilla extract
- A pinch of salt
Using these ingredients, you can craft a delightful snack that both kids and adults will love. The Rice Krispies give a fun crunch, while the peanut butter adds creaminess. The chocolate chips melt perfectly into the mix, creating sweet pockets of flavor. Honey or maple syrup sweetens the treat and helps bind the ingredients together. Cocoa powder brings a rich chocolate taste that elevates the overall flavor. A pinch of salt balances the sweetness and makes each bite even better.
Step-by-Step Instructions
Preparation of the Pan
First, grab a 9x13-inch baking dish. Grease it lightly with oil or line it with parchment paper. This step helps you lift out the treats later with ease.
Melting the Mixture
Next, take a medium saucepan. Set it on low heat. Add 1 cup of creamy peanut butter, 1/2 cup of honey or maple syrup, and 1/2 cup of cocoa powder. Mix in a pinch of salt. Stir slowly until everything melts into a smooth mix. Once it’s well-mixed, remove it from the heat. Don’t forget to add 1 teaspoon of vanilla extract for flavor.
Mixing in the Cereal
Now, grab a large mixing bowl. Pour the melted mix over 4 cups of Rice Krispies cereal in the bowl. Use a spatula to gently fold the cereal into the mix. Make sure all the cereal gets covered.
Adding the Chocolate Chips
It’s time to add in the fun part! Toss in 1 cup of chocolate chips. Stir gently to mix them in without breaking them. You want those tasty bites to stay whole for the best texture.
Transferring to the Baking Dish
Now, pour the mix into your prepared baking dish. Use a spatula or your clean hands to press it down firmly. Make sure it’s even with no gaps. This helps the treats hold together well.
Cooling and Slicing
Allow the mixture to cool. You can set it at room temperature for about 1-2 hours. If you want to speed things up, pop it in the fridge for about 30 minutes. Once set, slice the treats into squares or rectangles. Enjoy your tasty creation!
Tips & Tricks
Ensuring Even Coating
To coat the cereal evenly, start by melting the peanut butter and cocoa mixture slowly. Stir well to keep it smooth. Pour this over the Rice Krispies in a large bowl. Use a spatula to gently fold the cereal into the mixture. This way, all pieces get a good coating. Avoid smashing the cereal while mixing.
Alternative Sweeteners
If you want to switch up the sweetness, you can use maple syrup or agave nectar instead of honey. Both work well and add a unique flavor.
Variations for Different Flavors
You can play with flavors by adding ingredients like shredded coconut or chopped nuts. Want a fun twist? Try adding peanut butter chips along with the chocolate chips. For a minty flavor, add a few drops of mint extract. Each variation keeps the treat fun and exciting!
Pro Tips
- Use Natural Peanut Butter: For a creamier texture, choose natural peanut butter without added sugars or oils. It blends smoothly and enhances flavors.
- Experiment with Cocoa: Adjust the cocoa powder to your taste preference. More cocoa will intensify the chocolate flavor, while less will keep the treats sweeter.
- Mix-In Variations: Feel free to add nuts, seeds, or dried fruits for added texture and nutrition. Just keep the overall mixture balanced.
- Storing Tips: Store the treats in an airtight container at room temperature for up to a week, or refrigerate them for longer freshness.
Variations
Nut-Free Options
If you want a nut-free treat, use sunbutter instead of peanut butter. Sunbutter has a similar taste and texture. You can also try soy nut butter, which works well. Both options provide a nice flavor while keeping it safe for those with nut allergies.
Adding Different Mix-Ins
You can make these treats more fun by adding mix-ins. Try mini marshmallows or dried fruits like raisins or cranberries. You can even add shredded coconut for a tropical twist. Just mix these in when you add the chocolate chips. This makes each bite unique and exciting!
Vegan Adaptations
To make a vegan version, swap honey for maple syrup. Use dairy-free chocolate chips to keep it plant-based. Check labels to ensure all ingredients are vegan-friendly. These small changes make the treats just as tasty without using animal products.
Storage Info
How to Store Leftovers
After enjoying your Peanut Butter Chocolate Rice Krispie Treats, store leftovers in an airtight container. This keeps them fresh and tasty. Place a piece of parchment paper between layers to avoid sticking. They stay best at room temperature for up to three days.
Freezing Instructions
To freeze your treats, cut them into squares first. Wrap each piece tightly in plastic wrap. Then, place them in a freezer-safe bag or container. They can stay frozen for up to three months. When ready to eat, thaw them in the fridge for a few hours.
Shelf Life Tips
These treats remain fresh for a short time. For the best taste, eat them within a week. If they start to feel dry or hard, it's time to toss them. To keep them soft, remember to store them properly and in the right conditions.
FAQs
Can I use crunchy peanut butter?
Yes, you can use crunchy peanut butter. It adds texture and a nice crunch. Just remember, the treats may be less smooth.
How long do these treats last?
These treats can last up to a week. Store them in an airtight container. You can keep them at room temperature or in the fridge.
Can I substitute cocoa powder?
You can substitute cocoa powder with carob powder. This gives a different taste but still keeps it delicious. Just use the same amount.
What's the best way to cut these treats?
The best way to cut these treats is to use a sharp knife. Make sure to let them cool fully. Clean the knife after each cut for neat squares.
Can I make these gluten-free?
Yes, you can make these treats gluten-free. Just ensure your Rice Krispies are labeled gluten-free. This ensures everyone can enjoy them!
You learned how to make delicious treats with simple ingredients. We covered preparation, mixing, and cooling steps. I shared tips for even coating and various flavor options. You also found storage methods to keep your treats fresh.
Now, you can enjoy these sweet snacks anytime. Get creative with flavors and enjoy sharing with friends and family. Happy cooking!