

Latest & Greatest
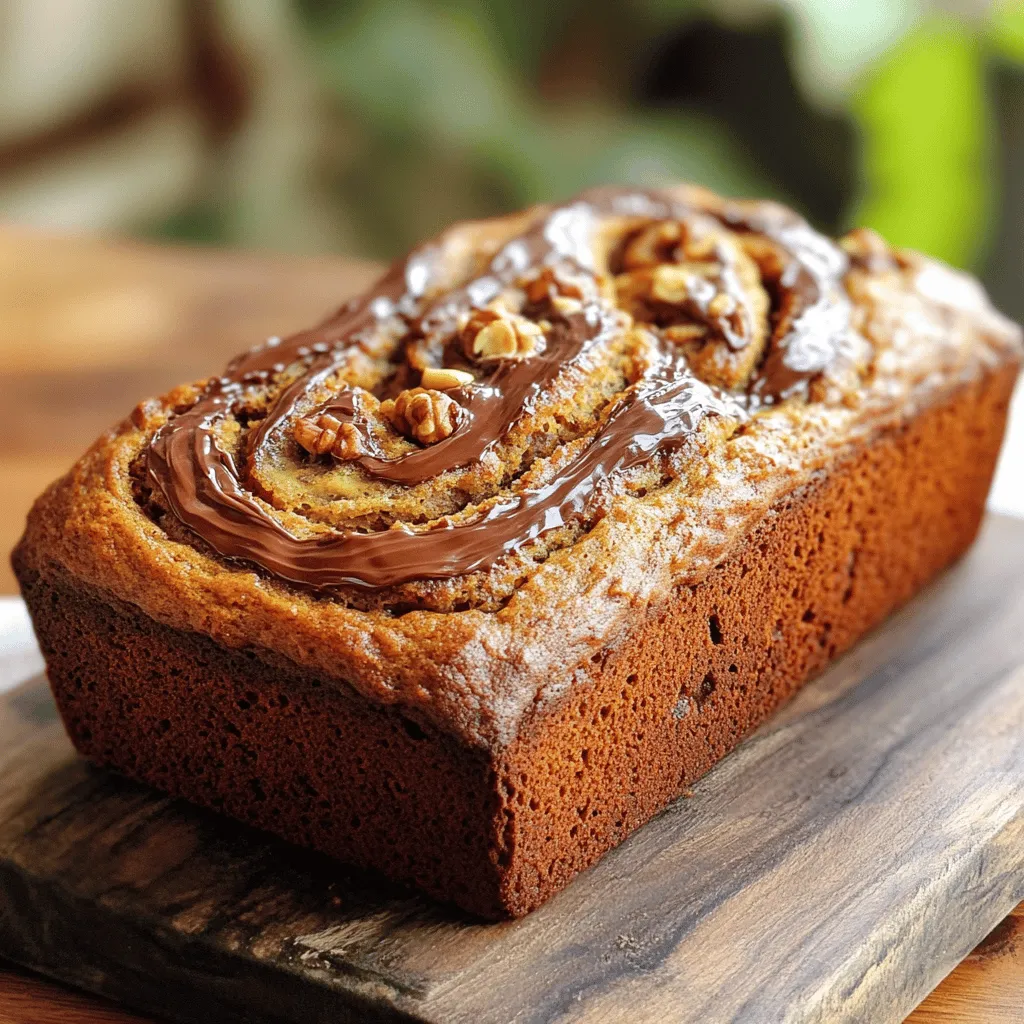
Nutella Banana Bread Delightful and Moist Recipe
Are you ready to elevate your banana bread game? My Nutella Banana Bread recipe is both delightful and moist, making it the perfect treat for any…
Read more…
Creamy Cajun Chicken Pasta Flavorful Dinner Delight
Are you ready to impress at dinnertime? My Creamy Cajun Chicken Pasta is a flavorful delight you won’t want to miss! Bursting with spices and rich…
Read more…
Homemade Salsa Verde Flavorful and Fresh Recipe
Are you ready to elevate your salsa game? Homemade salsa verde is fresh, vibrant, and packed with flavor. With a few simple ingredients, you can create…
Read more…
Lemon Garlic Roasted Asparagus Savory and Fresh Dish
Ready to elevate your veggies? This Lemon Garlic Roasted Asparagus is fresh, zesty, and oh-so-savory. In this blog, I’ll walk you through the simple steps to…
Read more…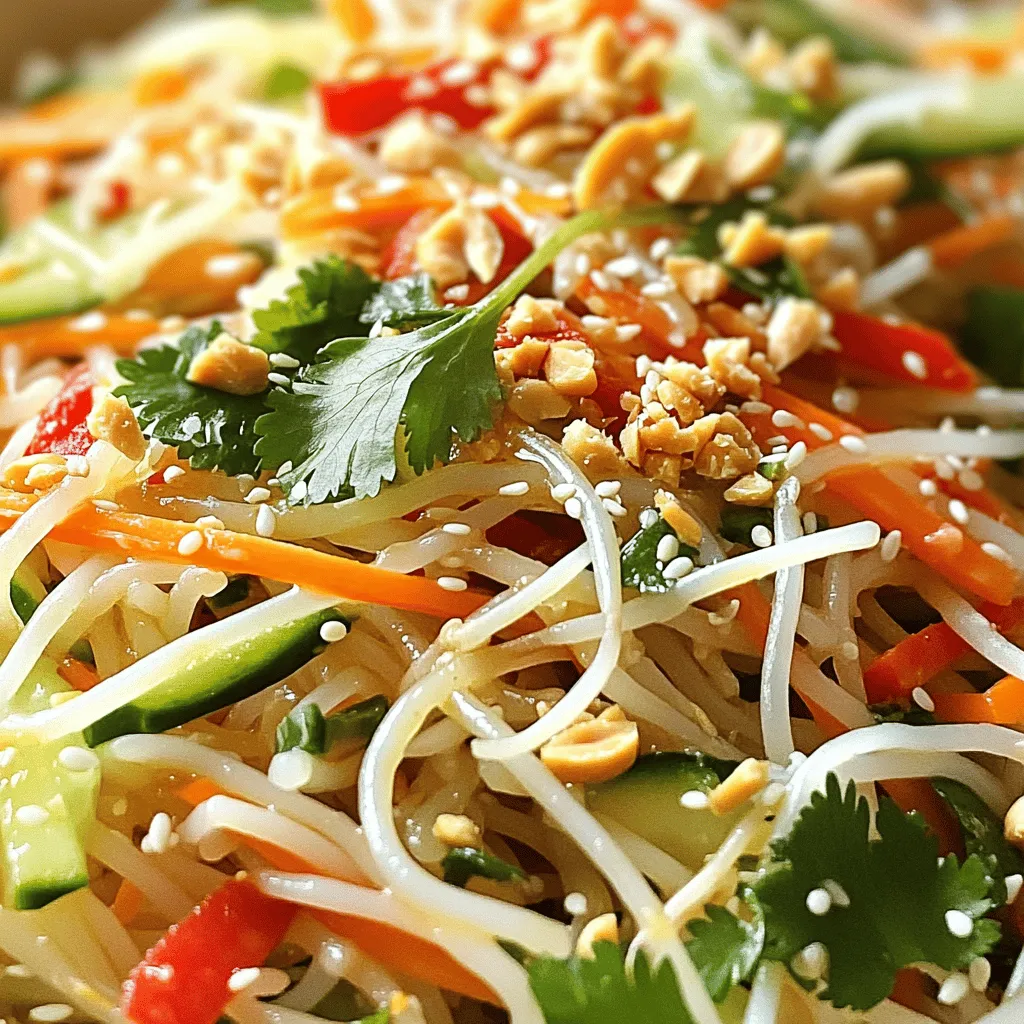
Spicy Thai Noodle Salad Flavorful and Refreshing Dish
Looking for a dish that’s bursting with flavor and freshness? This Spicy Thai Noodle Salad hits the spot! Packed with vibrant ingredients, it’s a fun and…
Read more…
Chocolate Chip Banana Bread Easy and Delicious Recipe
Welcome to the sweetest part of your day! In this post, I’ll share my easy and delicious Chocolate Chip Banana Bread recipe. It’s simple enough for…
Read more…
Savory Instant Pot Chicken Tikka Masala Recipe
Looking for a quick and tasty dinner? My Savory Instant Pot Chicken Tikka Masala is here to save the day! This dish combines rich spices and…
Read more…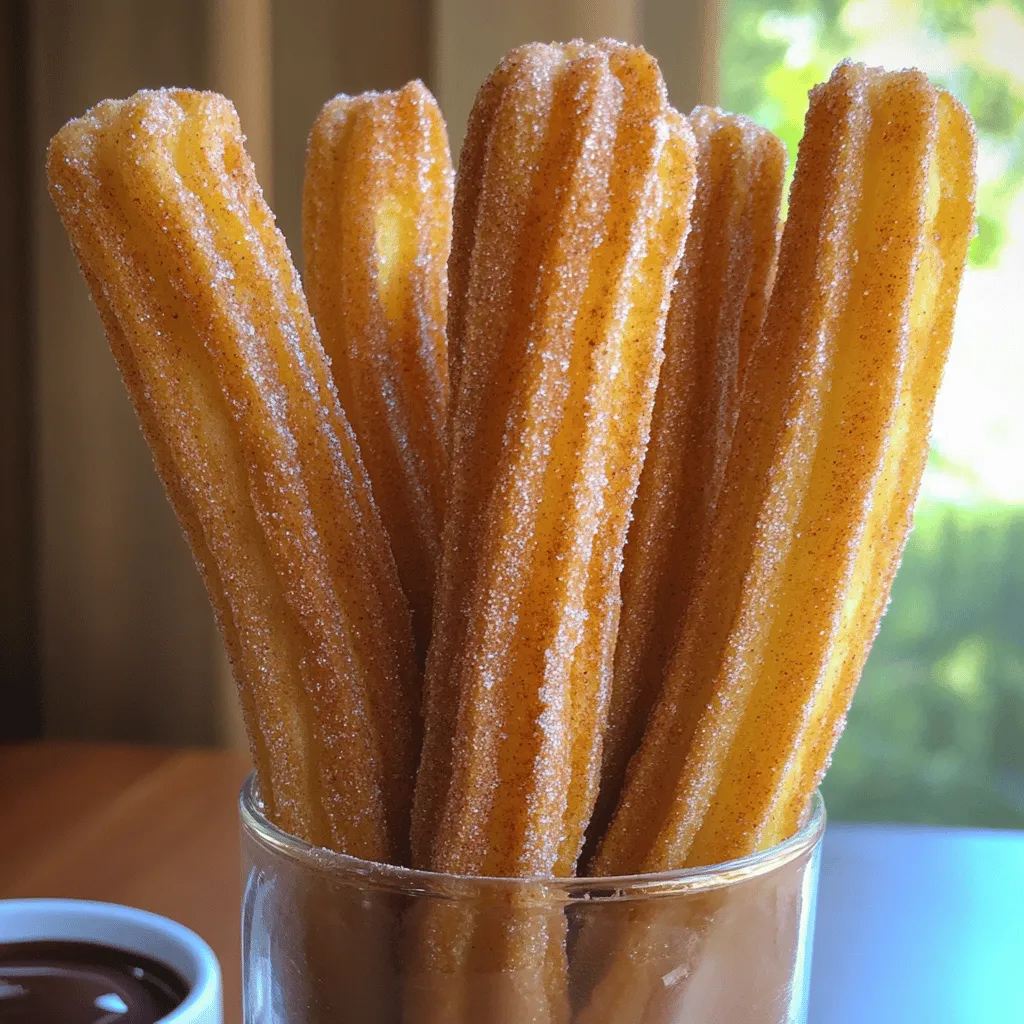
Cinnamon Sugar Churros Irresistible and Easy Recipe
Cinnamon sugar churros are a treat that combines crispy exteriors with soft, warm centers. If you’ve ever wanted to make these sweet snacks at home, you’re…
Read more…browse recipes


Crispy Bang Bang Salmon Bites Easy and Flavorful Dish
Looking for a quick and tasty way to enjoy salmon? My Crispy Bang Bang Salmon Bites are the answer! They combine fresh salmon with…
My Latest Desserts

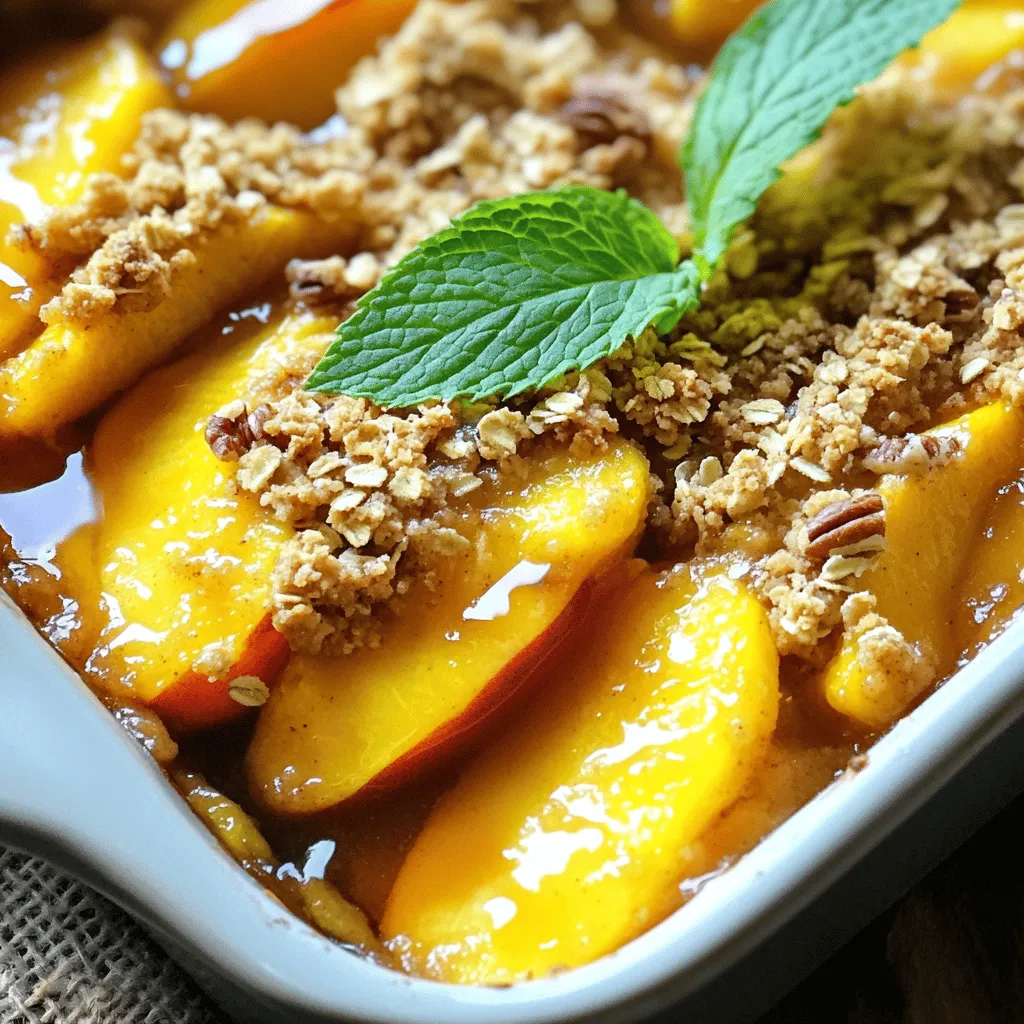
Peach Crisp with Oat Topping Simple Comfort Food
If you’re craving a dessert that combines juicy peaches with a crunchy oat topping, you’re in the right place! My Peach Crisp with Oat Topping is a warm and comforting... Read Full Recipe-
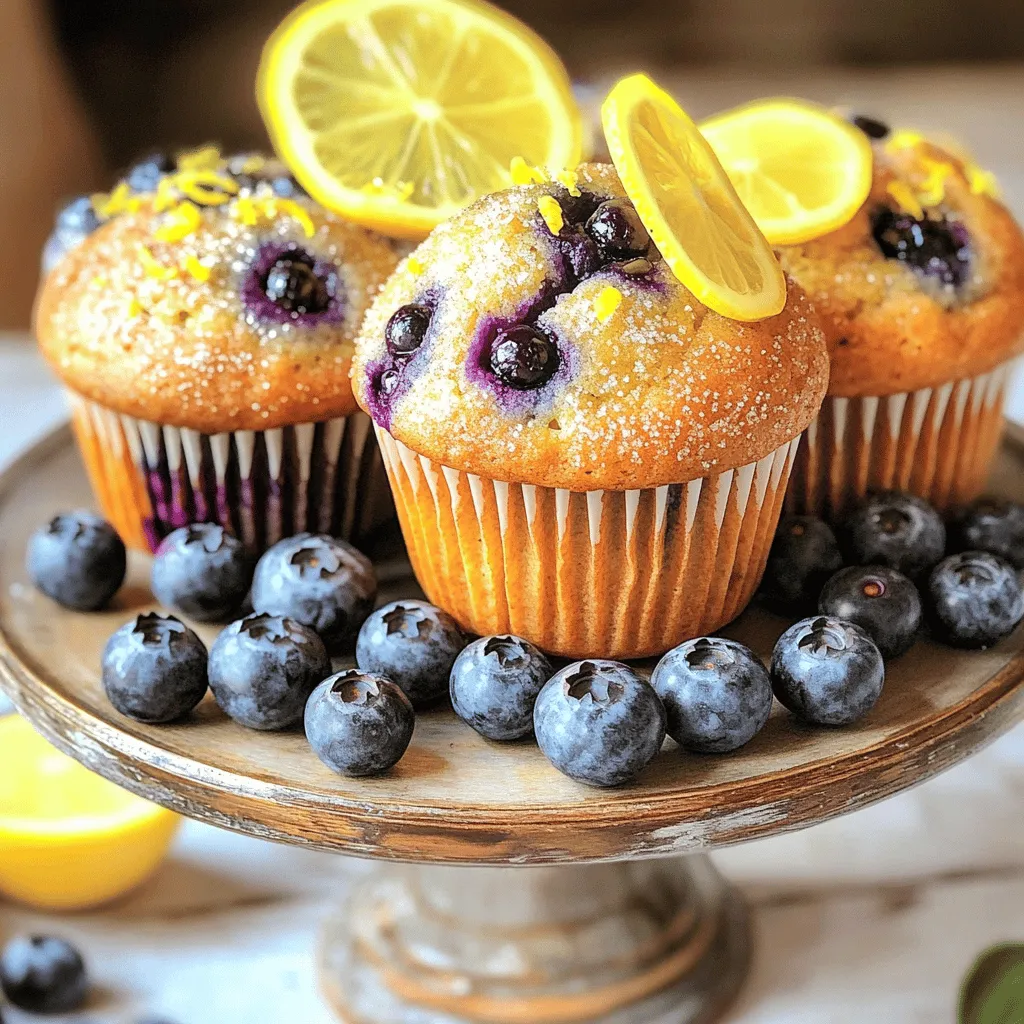
Lemon Blueberry Muffins Fresh and Flavorful Treat
Looking for a fresh and tasty treat? My Lemon Blueberry Muffins are just what you need! Bursting with zesty lemon and sweet blueberries, these muffins are perfect for breakfast or... Read Full Recipe -
Apple Cinnamon Overnight Oats Tasty and Simple Recipe
Start your mornings right with a delicious bowl of Apple Cinnamon Overnight Oats! This simple recipe combines wholesome ingredients to give you a quick, easy breakfast. You’ll only need a... Read Full Recipe -
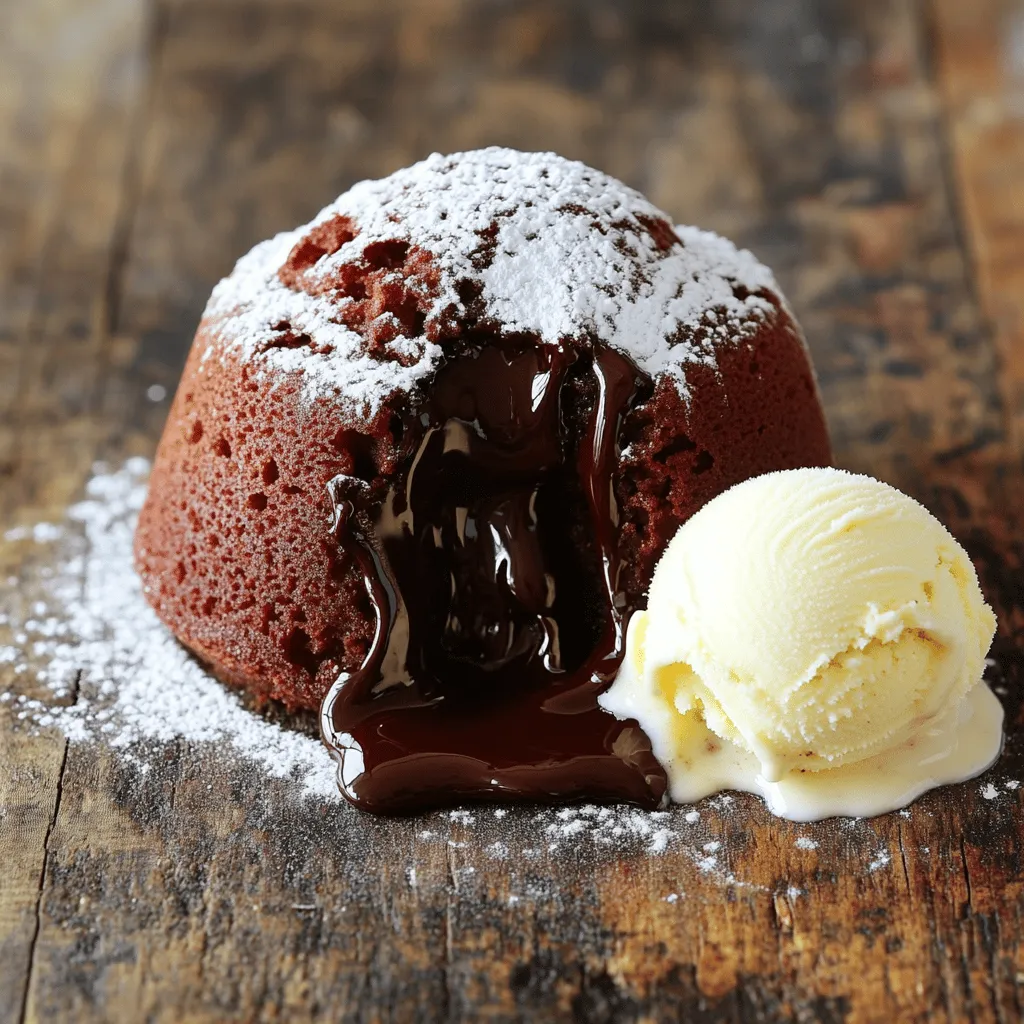
Easiest Chocolate Lava Cake Quick and Delicious Treat
Craving a sweet treat that impresses without complicated steps? You’ll love this Easiest Chocolate Lava Cake recipe! This dessert is quick to make and packed with gooey chocolate goodness. With... Read Full Recipe -
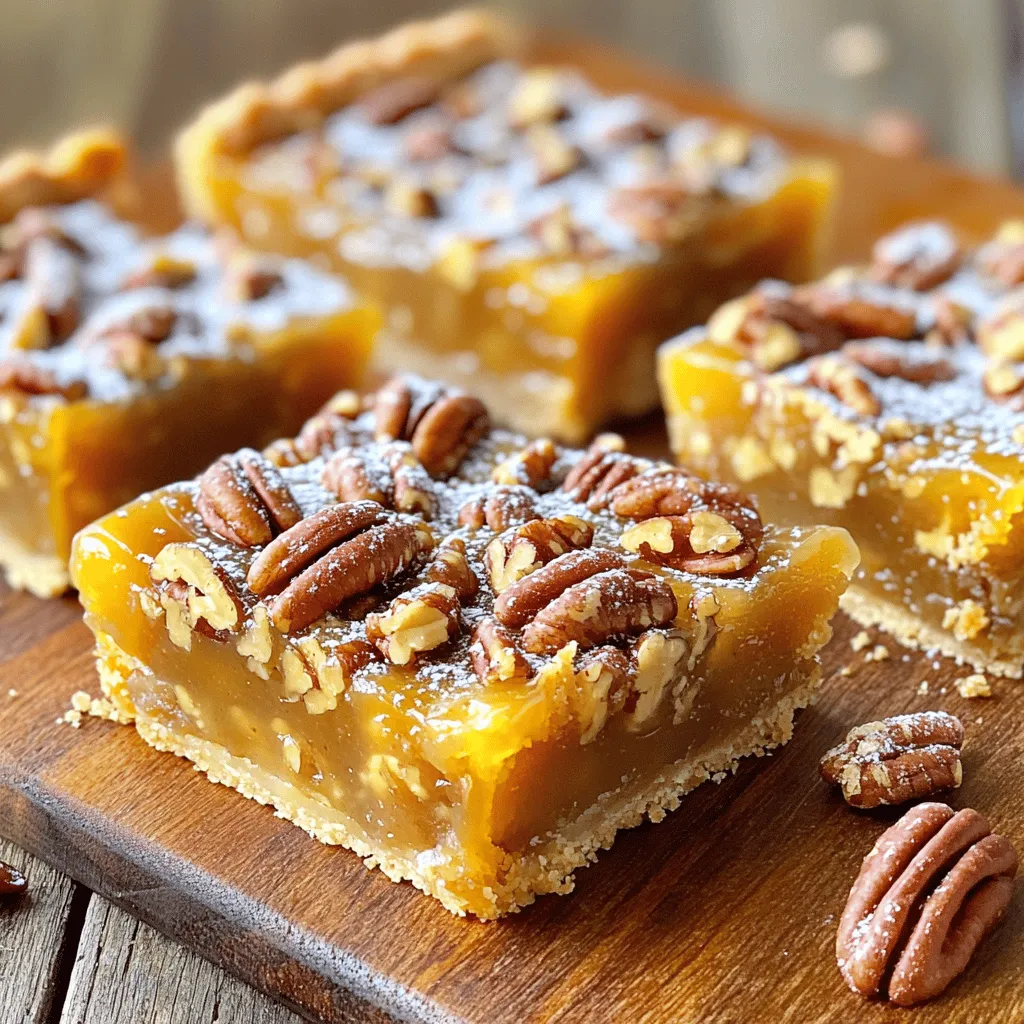
Maple Pecan Pie Bars Delightful Dessert Treat
Are you ready to indulge in a delightful dessert? These Maple Pecan Pie Bars are a sweet twist on a classic favorite! With crunchy pecans and rich maple flavor, every... Read Full Recipe -
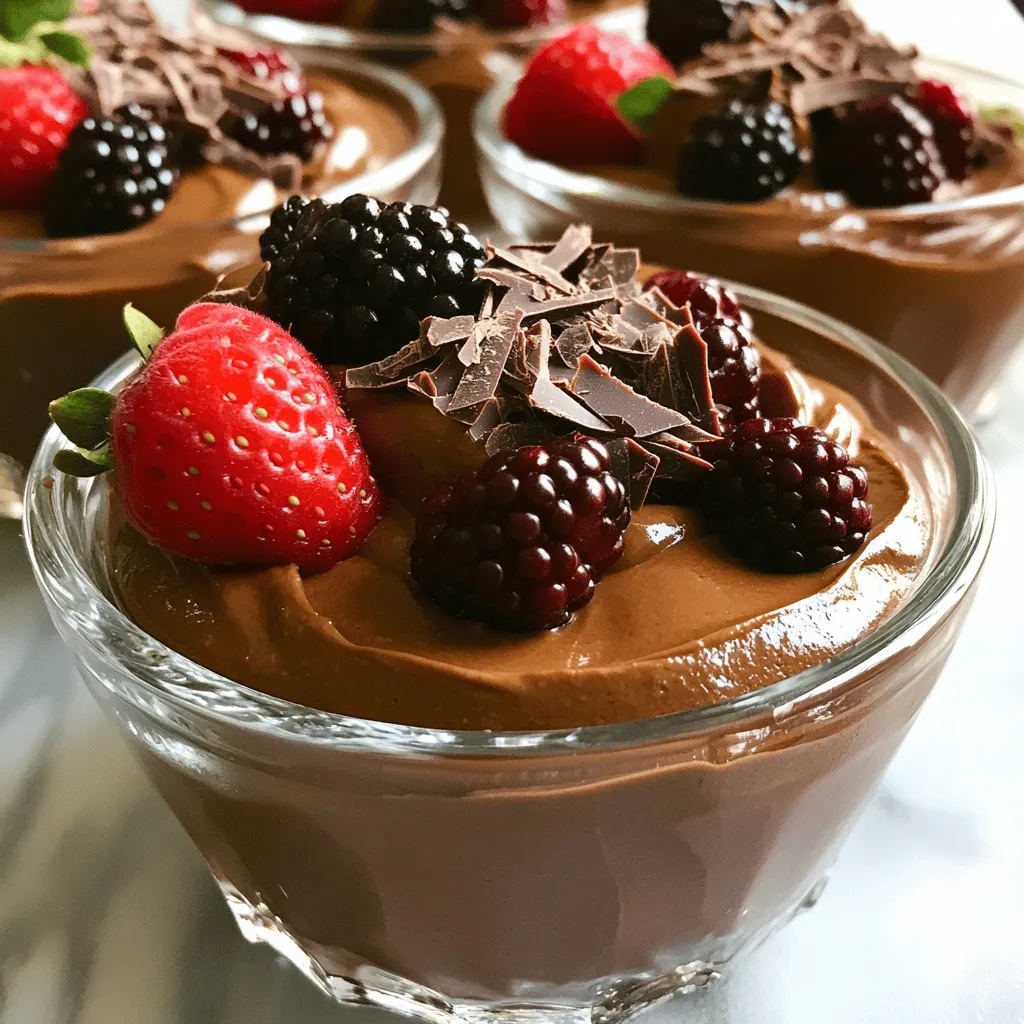
Vegan Chocolate Avocado Mousse Rich and Creamy Delight
If you crave a dessert that’s both rich and healthy, you’re in the right place. This Vegan Chocolate Avocado Mousse combines ripe avocados, unsweetened cocoa powder, and a touch of... Read Full Recipe -
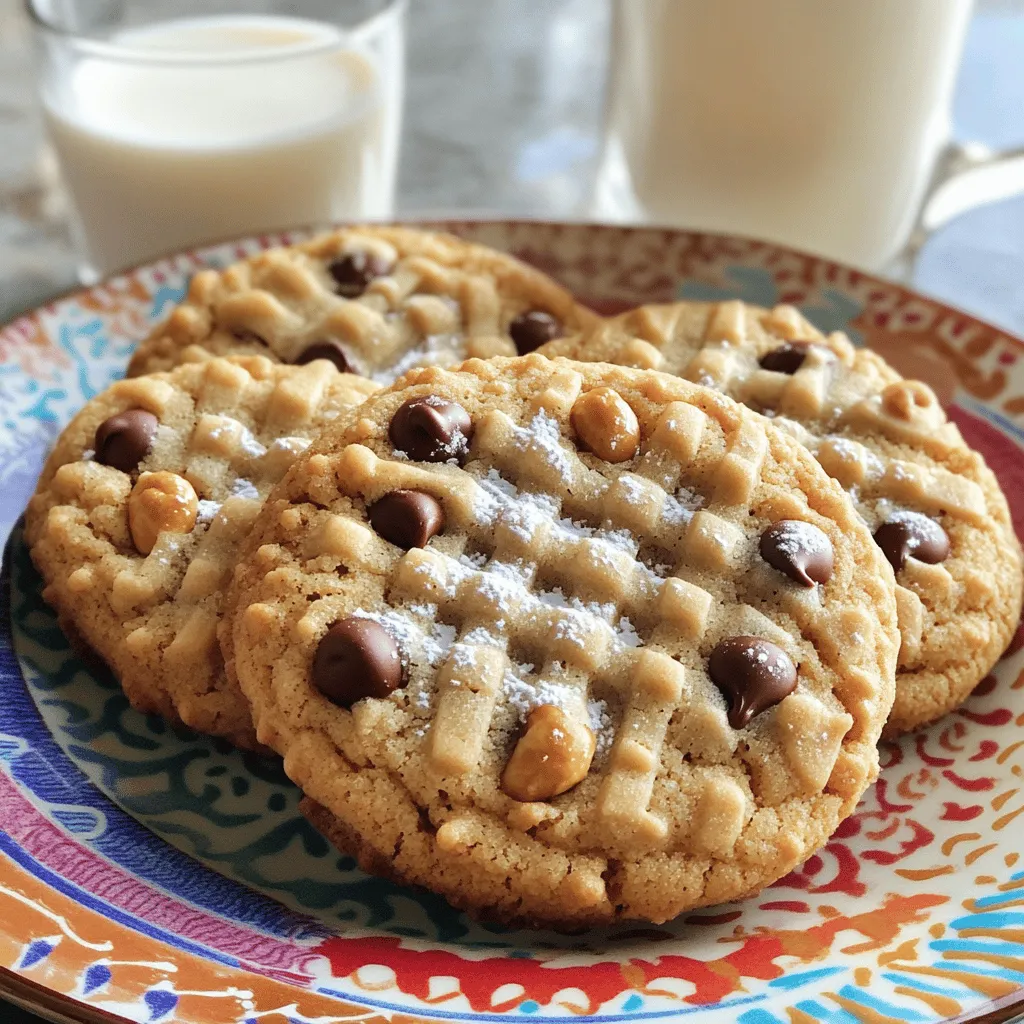
Peanut Butter Chocolate Chip Cookies Simple and Sweet
If you love the rich taste of peanut butter and the sweetness of chocolate, you’re in for a treat! This blog post will guide you through making simple and sweet... Read Full Recipe -
No-Bake Strawberry Shortcake Quick and Simple Delight
Are you craving a sweet treat that’s easy and delicious? Look no further! My No-Bake Strawberry Shortcake is a quick and simple delight, perfect for any occasion. With just a... Read Full Recipe -
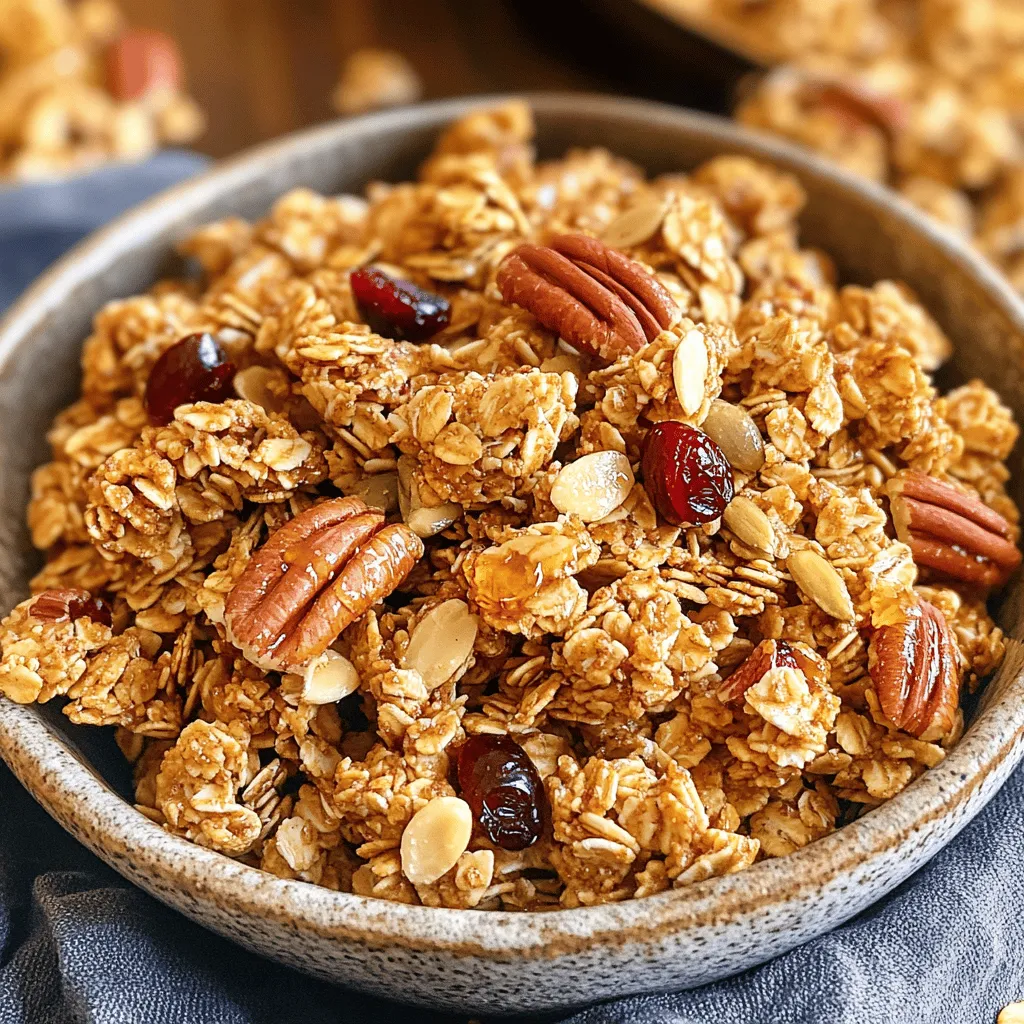
Maple Pecan Granola Crunchy and Healthy Snack
Looking for a tasty yet healthy snack? You’ll love my Maple Pecan Granola! This crunchy treat is simple to make and packed with flavor. With a few key ingredients and... Read Full Recipe -
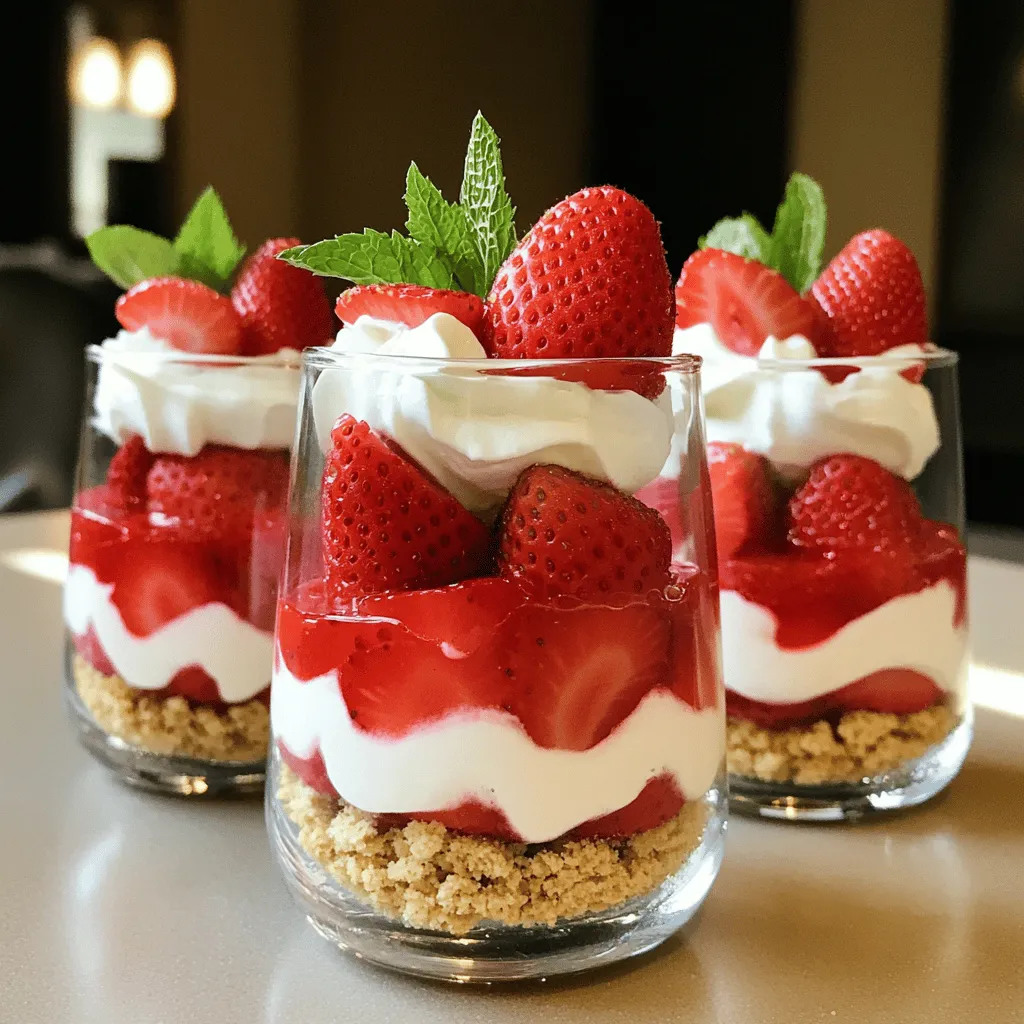
Strawberry Shortcake Trifle Delightful Layered Treat
Are you ready to impress your friends with a strawberry shortcake trifle? This delightful layered treat combines juicy strawberries, fluffy whipped cream, and soft cake for pure indulgence. It’s a... Read Full Recipe


My Latest Recipes

hey,
i’m !
I’m so happy you’re here!
Each recipe I share is a little piece of love from my kitchen. May they fill your heart and home with warmth. Let’s cook up something wonderful together.


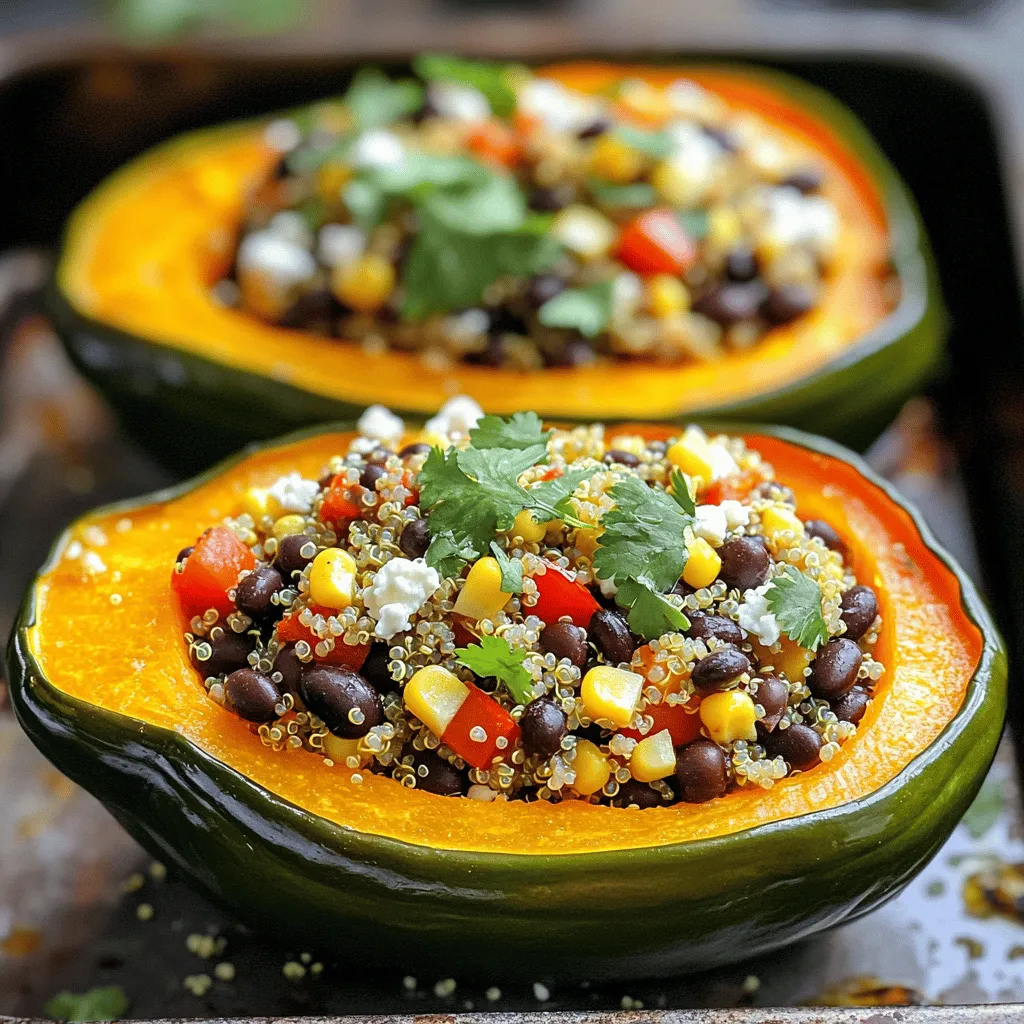
Vegetarian Stuffed Acorn Squash Flavorful Holiday Dish
Looking for a festive dish that wows your guests? Try my flavorful vegetarian stuffed acorn squash. This dish combines hearty quinoa, black beans, and…