

Latest & Greatest
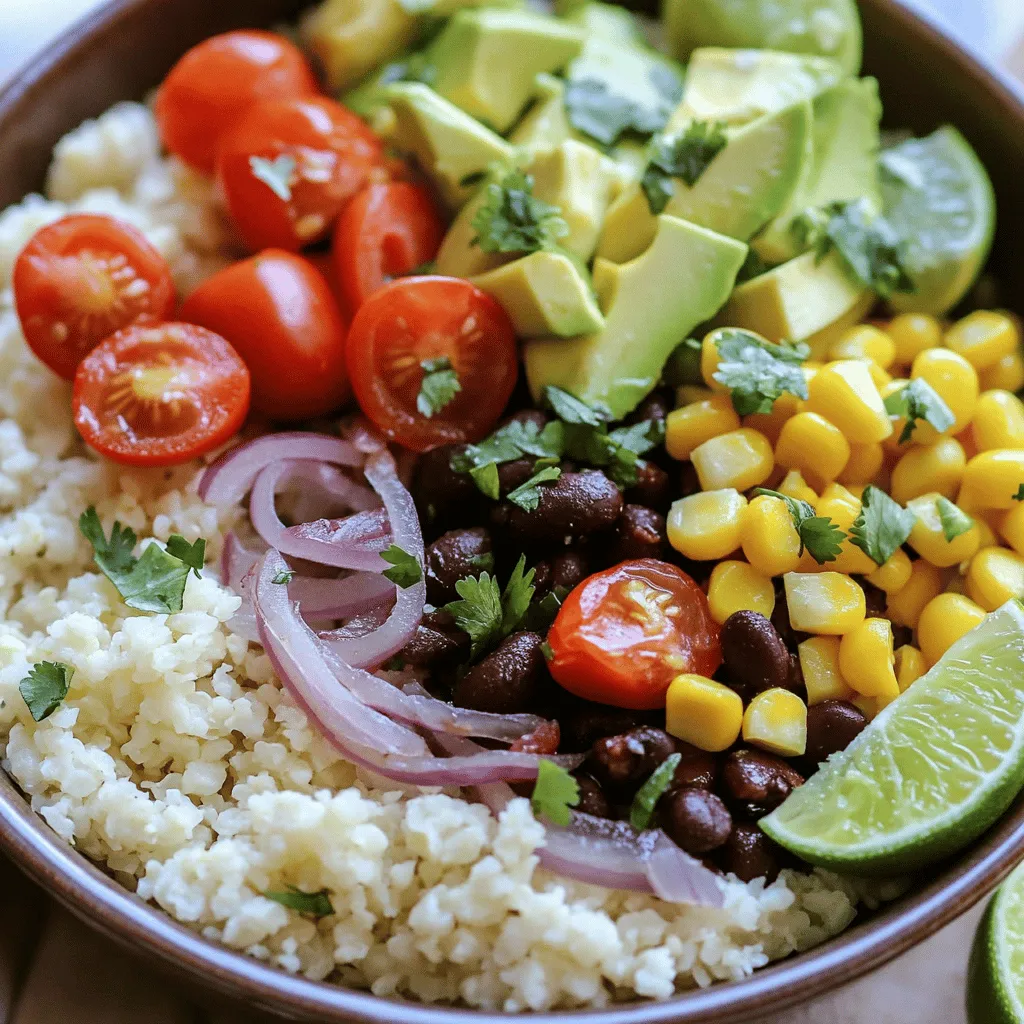
Cauliflower Rice Bowl Flavorful and Nutritious Meal
Looking for a healthy and tasty meal? A cauliflower rice bowl might be your answer. This dish is packed with
Read more…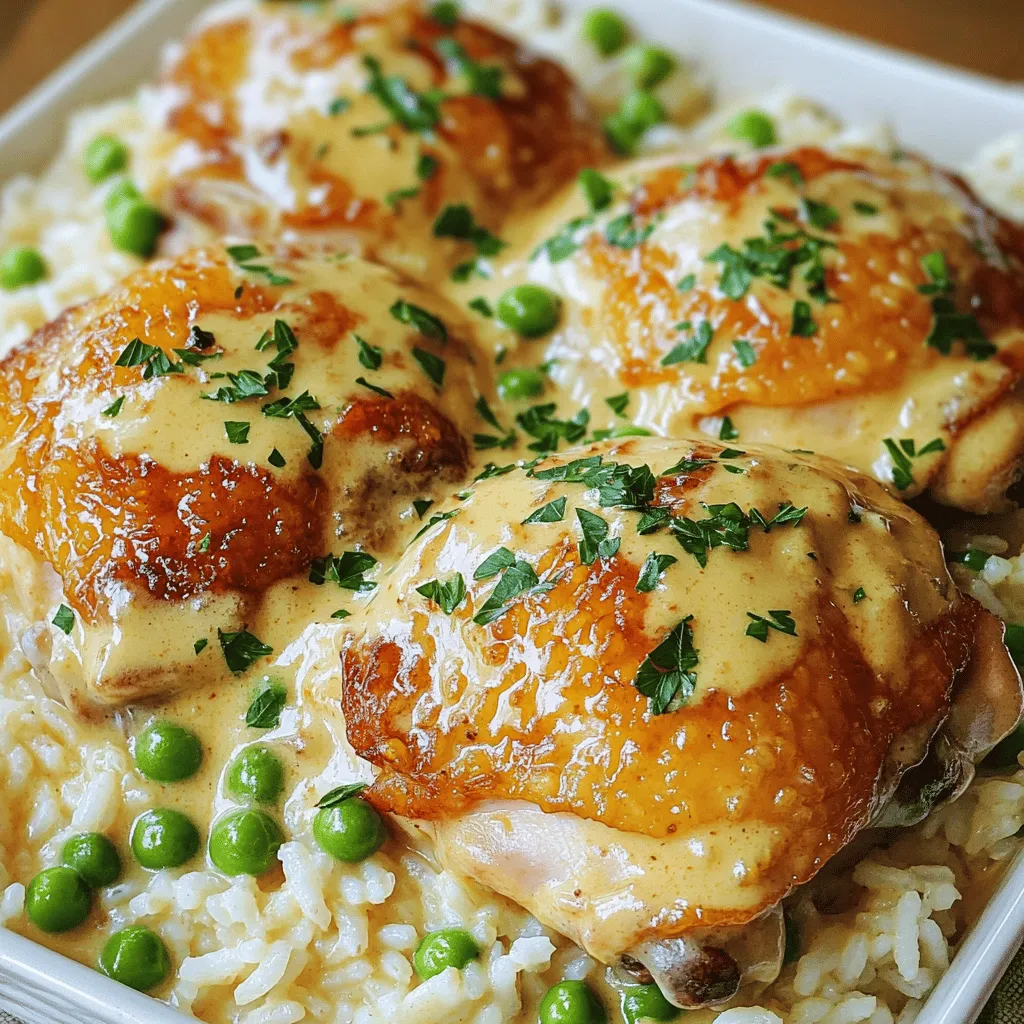
Creamy Smothered Chicken and Rice Cozy Comfort Meal
If you’re craving a warm and filling meal, you’ve come to the right place! This Creamy Smothered Chicken and Rice
Read more…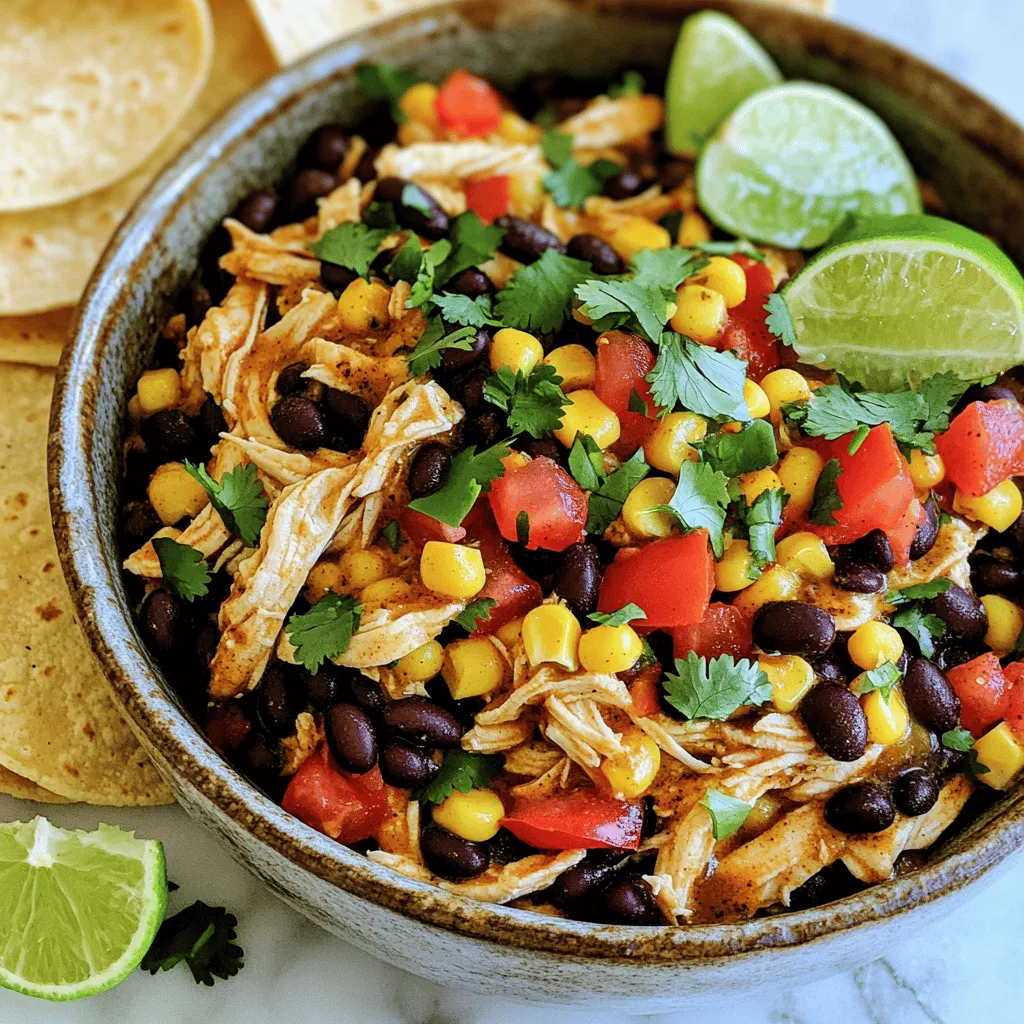
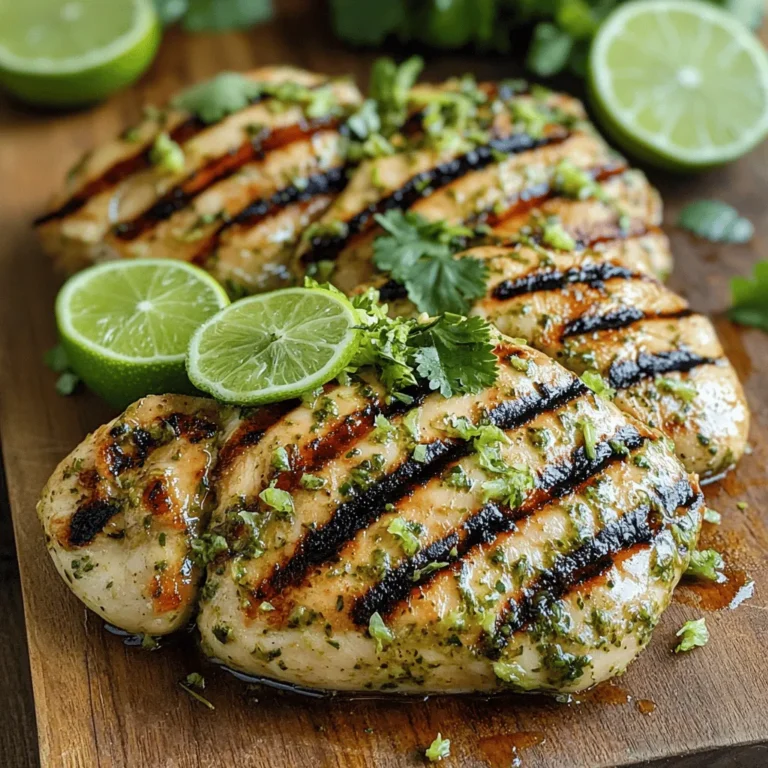
Crockpot Mexican Chicken Flavorful and Easy Dish
Are you ready for a meal that’s both simple and packed with flavor? This Crockpot Mexican Chicken recipe is your
Read more…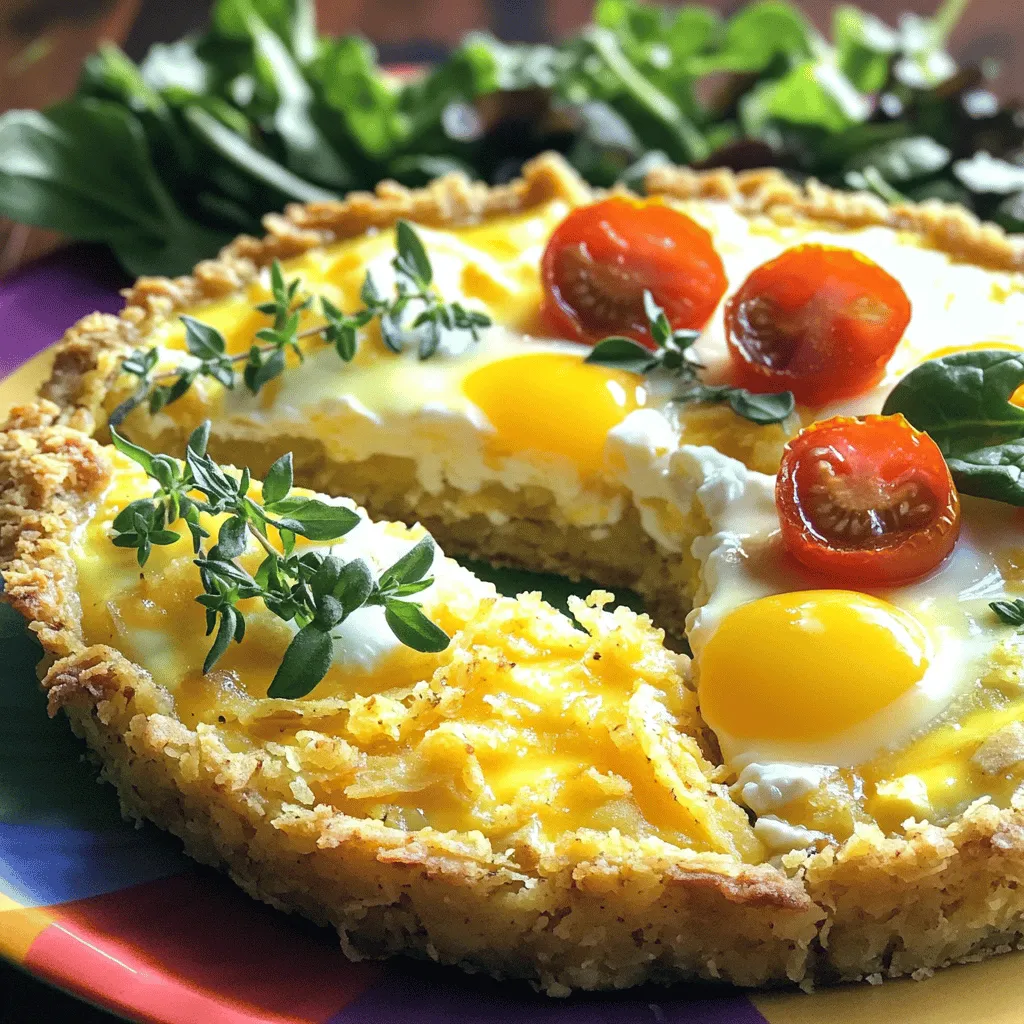
Spring Hash Brown Crust Quiche Savory and Simple Dish
Get ready to brighten your brunch with my Spring Hash Brown Crust Quiche! This dish is not just savory and
Read more…browse recipes


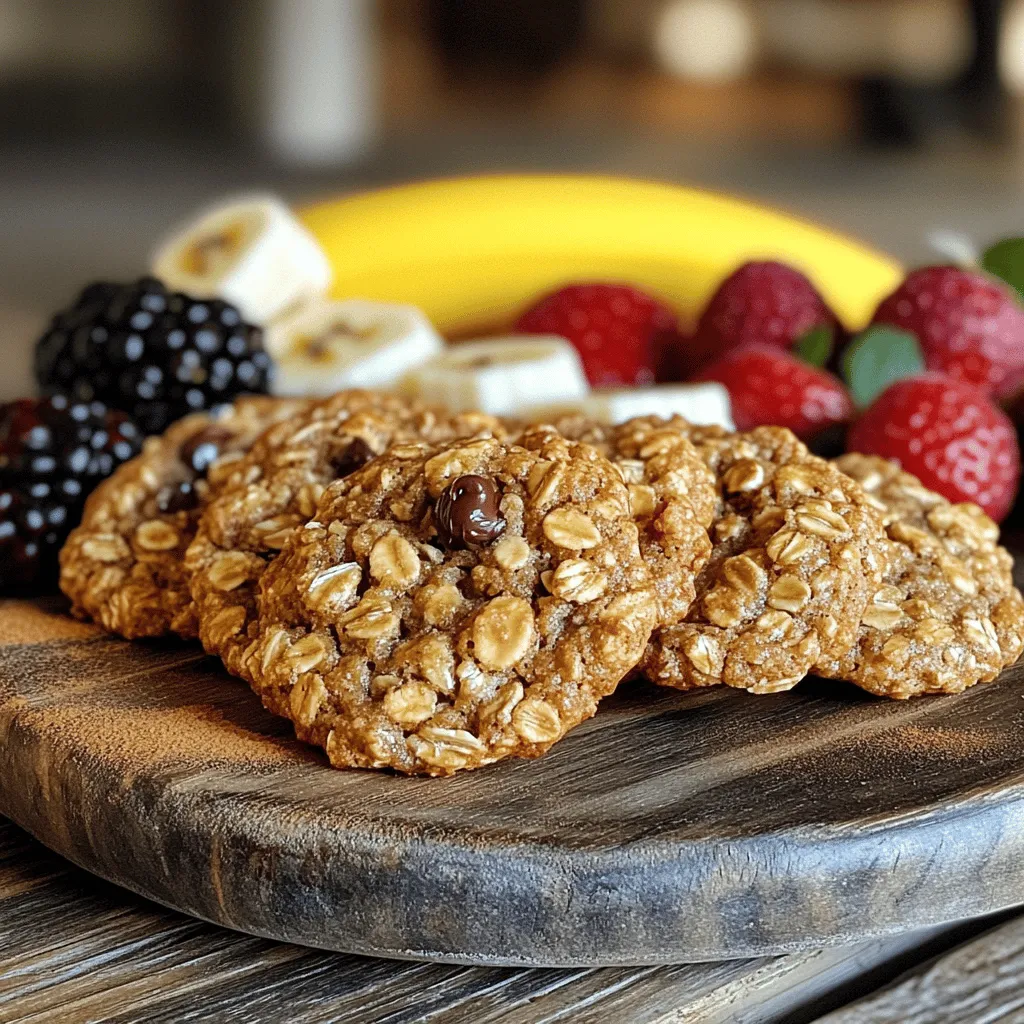
Healthy Oatmeal Breakfast Cookies Simple and Tasty Recipe
Looking for a tasty way to kick-start your day? You’re in the right place! These Healthy Oatmeal Breakfast Cookies are simple to make and…
My Latest Desserts

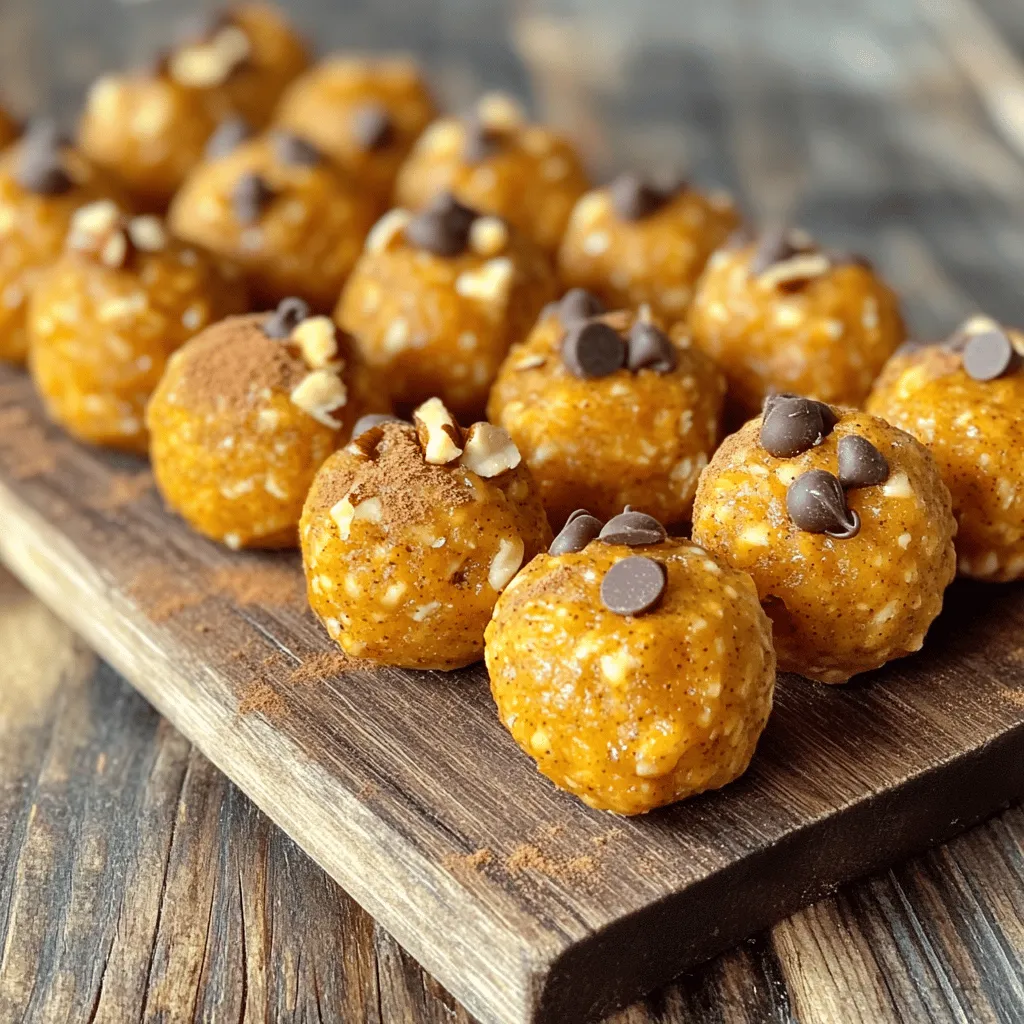
Pumpkin Spice Energy Bites Tasty and Healthy Snack
Looking for a tasty and healthy snack to fuel your day? This Pumpkin Spice Energy Bites recipe is your answer! Read Full Recipe-
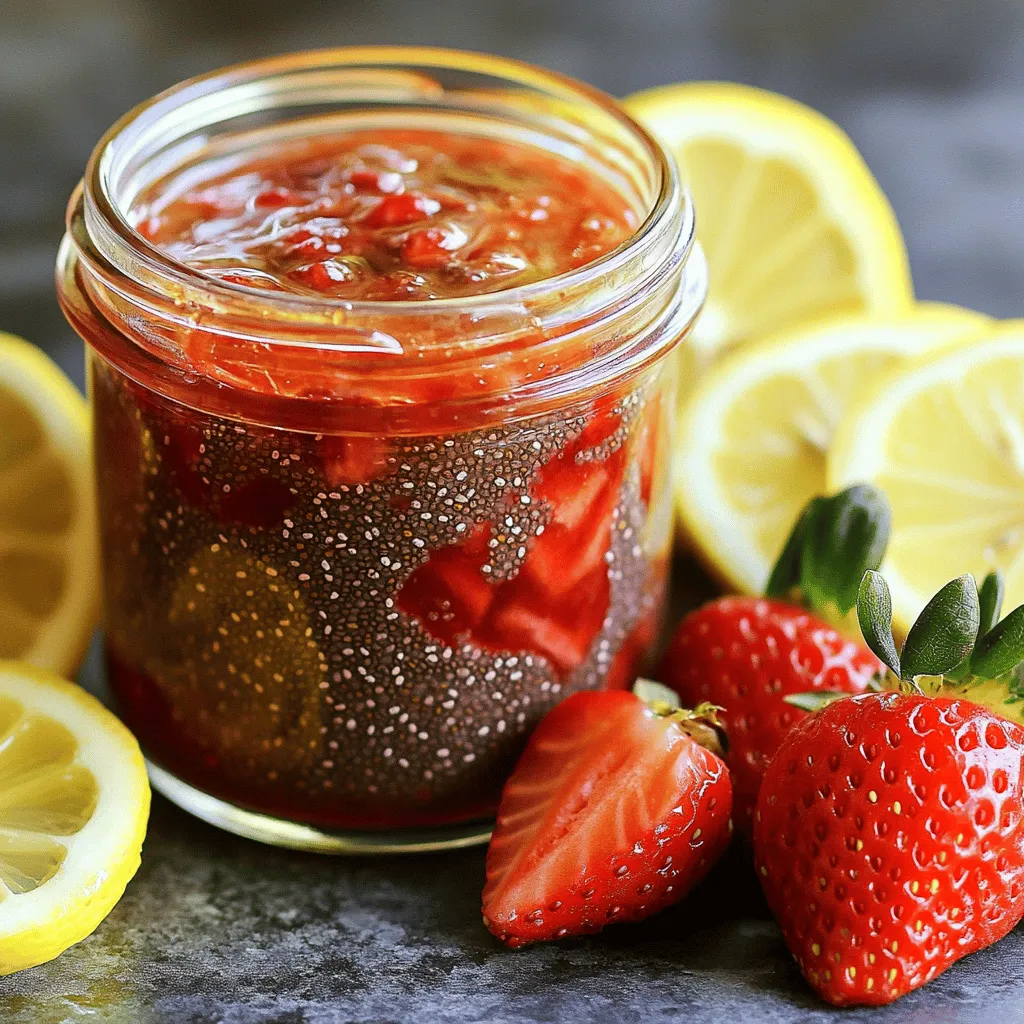
Strawberry Chia Seed Jam Tasty and Healthy Treat
If you’re craving a sweet treat that’s also good for you, I’ve got just the thing: Strawberry Chia Seed Jam! Read Full Recipe -
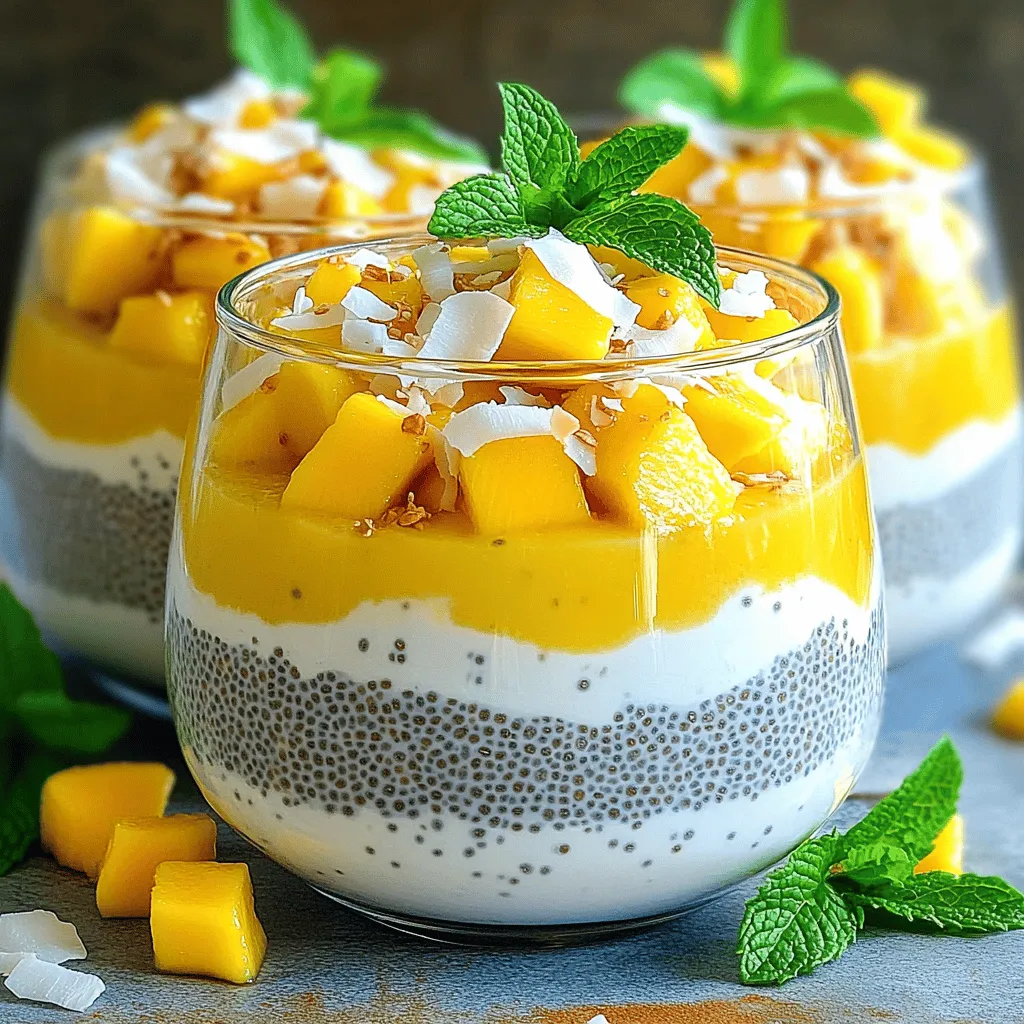
Mango Coconut Chia Pudding Healthy and Easy Recipe
Are you ready to indulge in a delicious, healthy treat? Mango Coconut Chia Pudding is simple to make and packed Read Full Recipe -
Pumpkin Spice Muffins Warm and Cozy Fall Treat
Fall is the perfect time for warm and cozy treats, and nothing says autumn like pumpkin spice muffins. These fluffy Read Full Recipe -
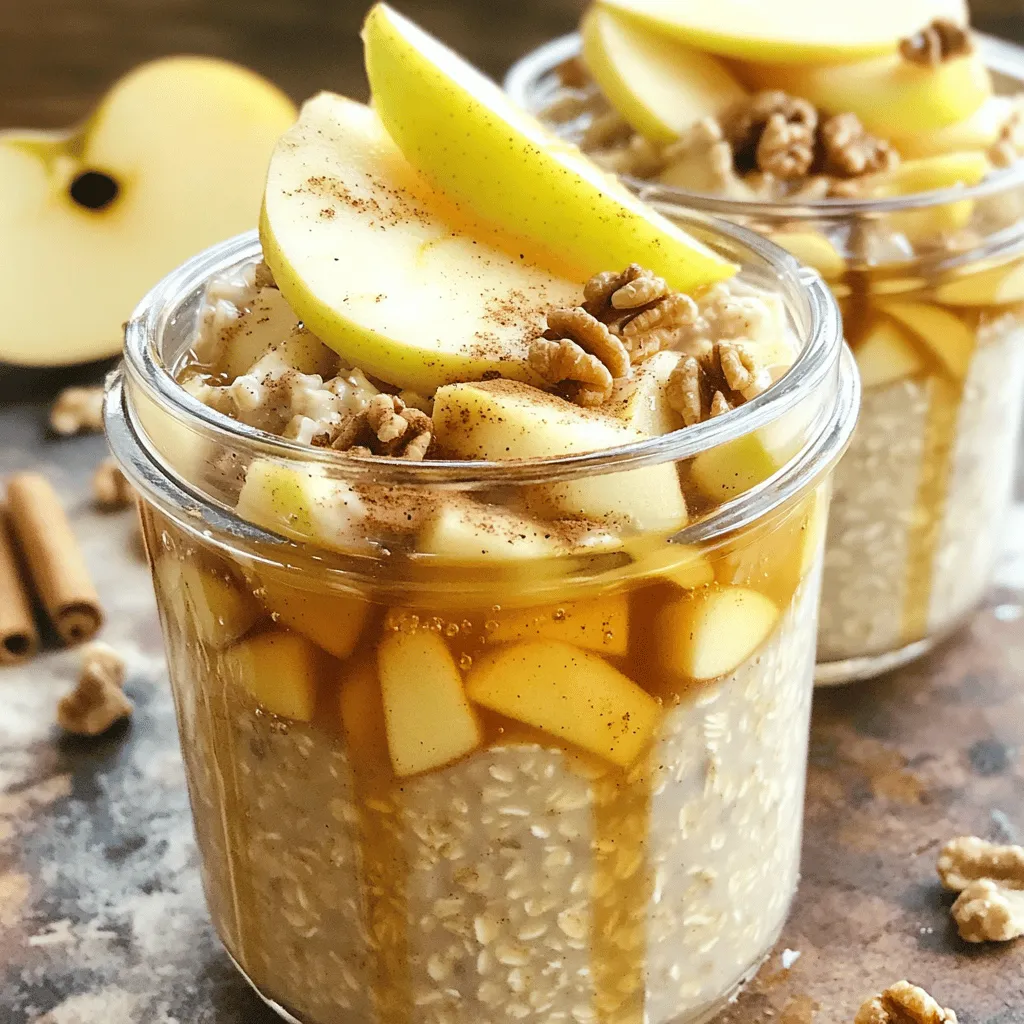
Apple Cinnamon Overnight Oats Healthy Breakfast Option
Looking for a quick and healthy breakfast? You’ve found it! Apple Cinnamon Overnight Oats are the perfect choice for busy Read Full Recipe -
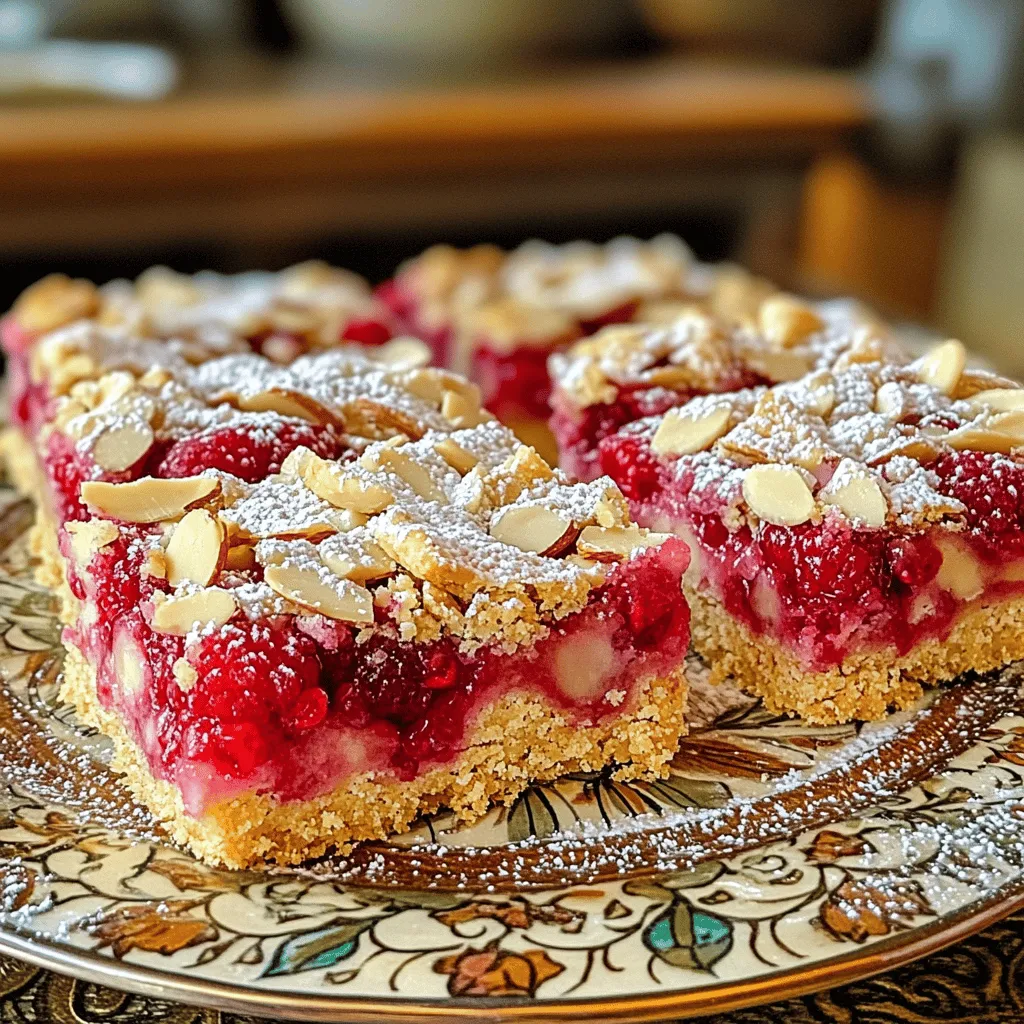
Raspberry Almond Shortbread Bars Simple and Tasty Treat
Looking for a sweet treat that’s easy to make and perfect for any occasion? Raspberry Almond Shortbread Bars are your Read Full Recipe -
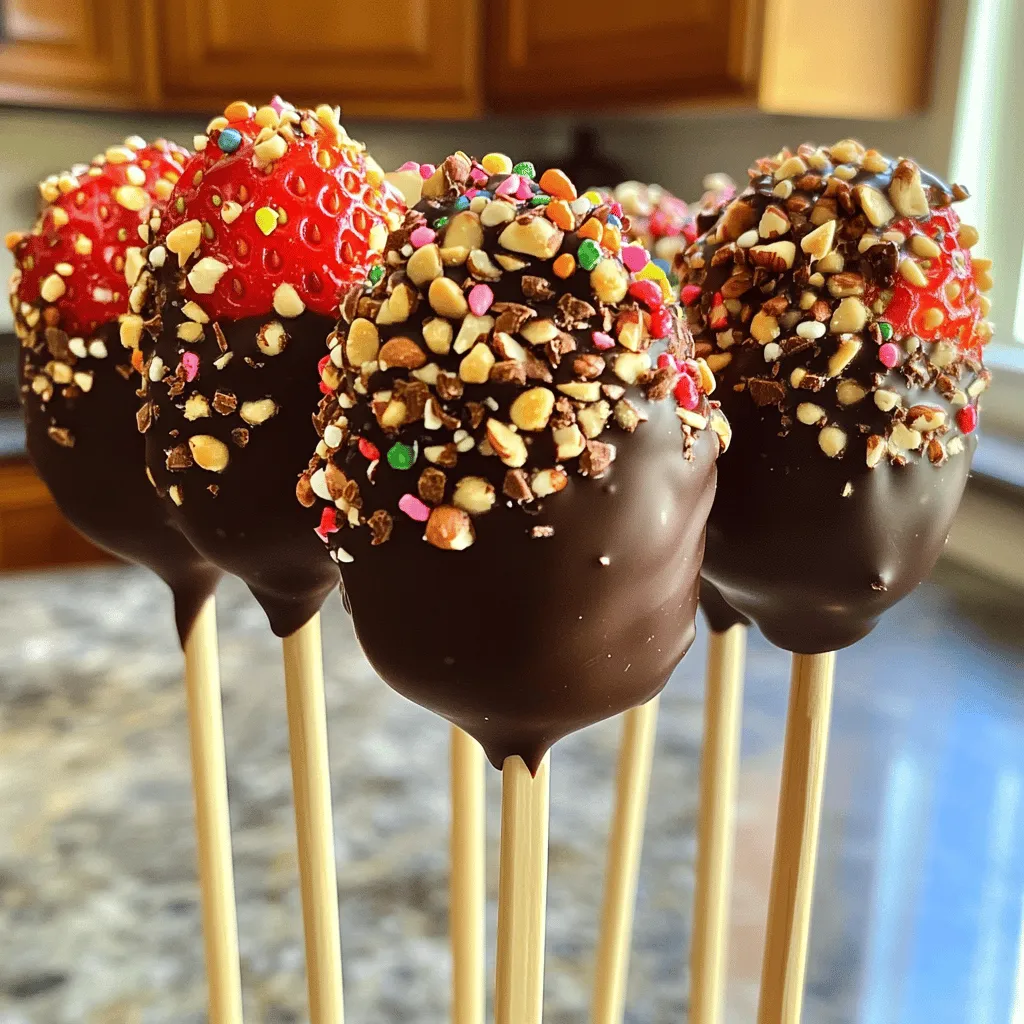
Chocolate Covered Strawberry Pops Delightful Treats
Are you ready for a sweet treat? Chocolate Covered Strawberry Pops are delicious and fun to make. I’ll guide you Read Full Recipe -
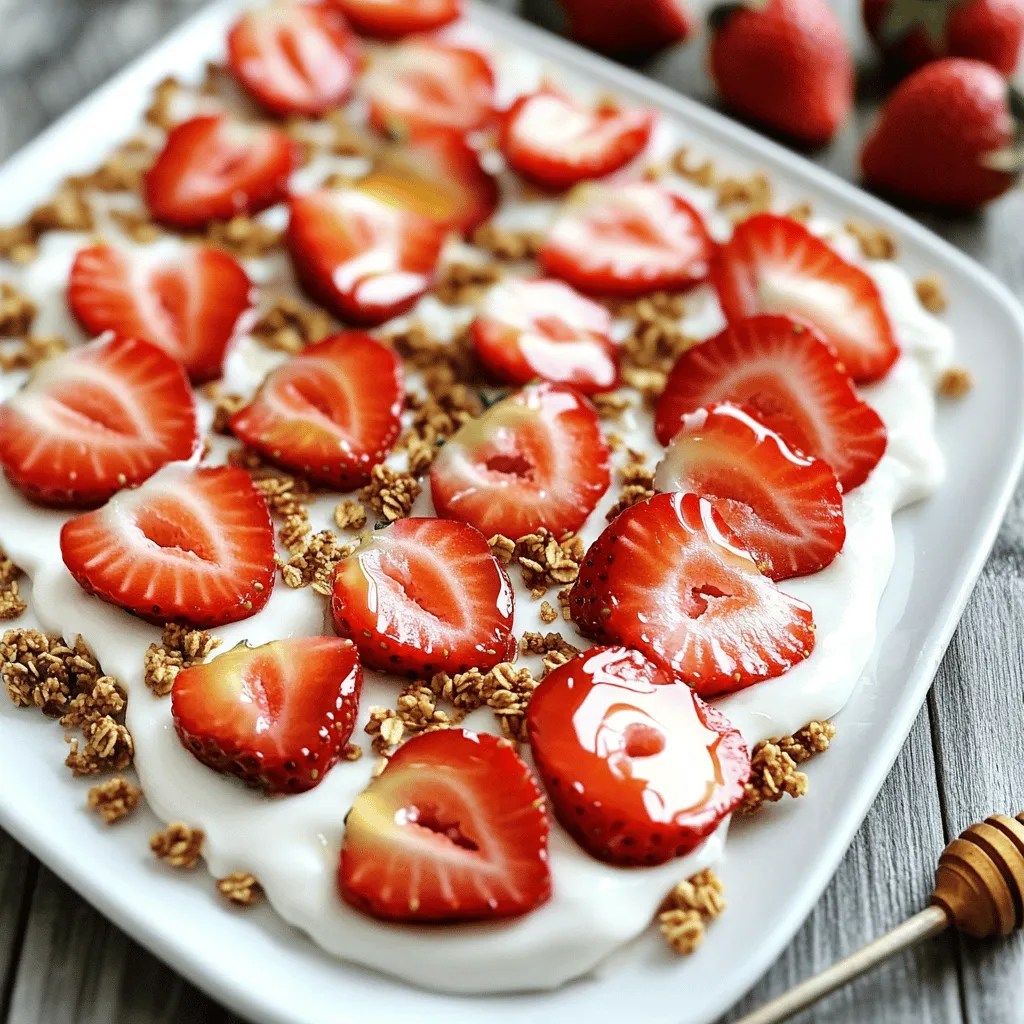
Fresh Strawberry Yogurt Bark Delicious and Easy Treat
Looking for a quick and tasty treat? Fresh Strawberry Yogurt Bark is your answer! This easy recipe combines creamy Greek Read Full Recipe -
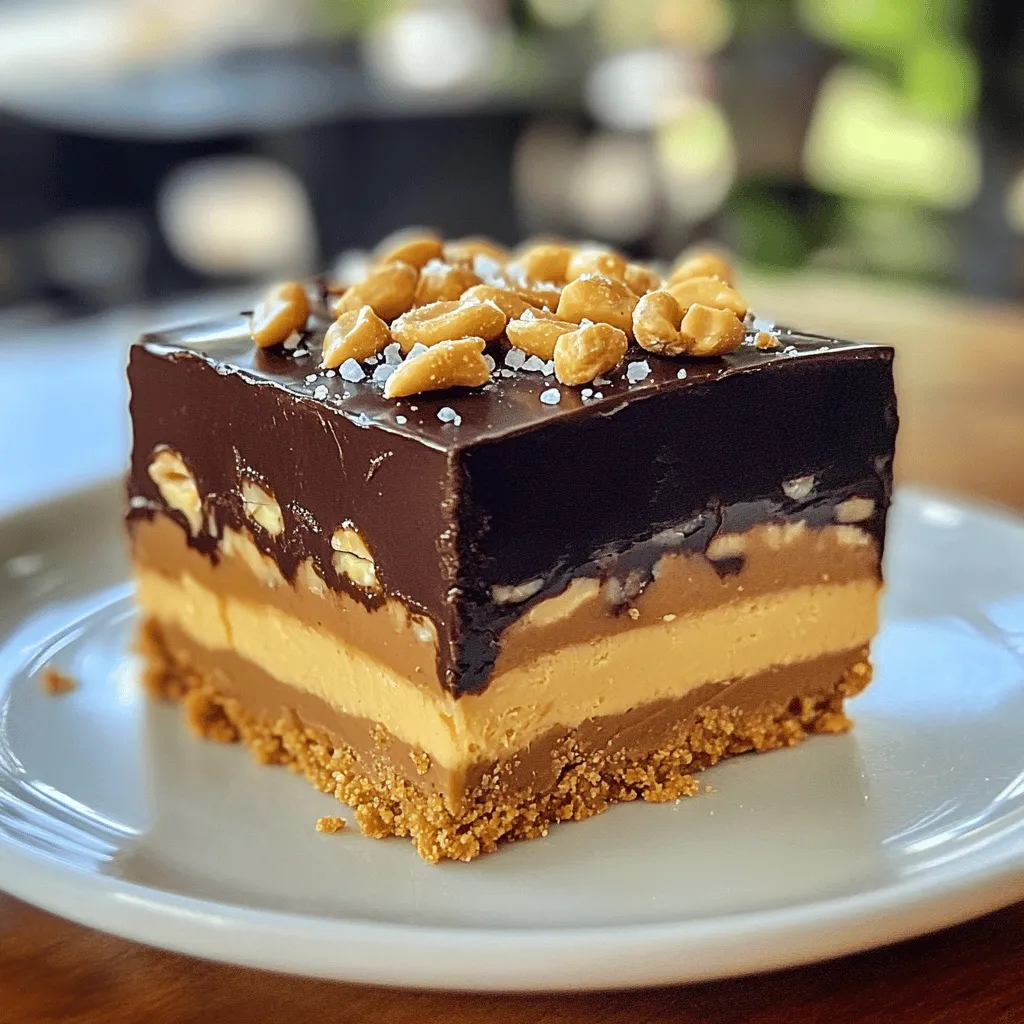
No-Bake Snickers Bars Simple and Decadent Treat
Indulge in a simple and delicious treat with my No-Bake Snickers Bars recipe! These bars come together fast and need Read Full Recipe -
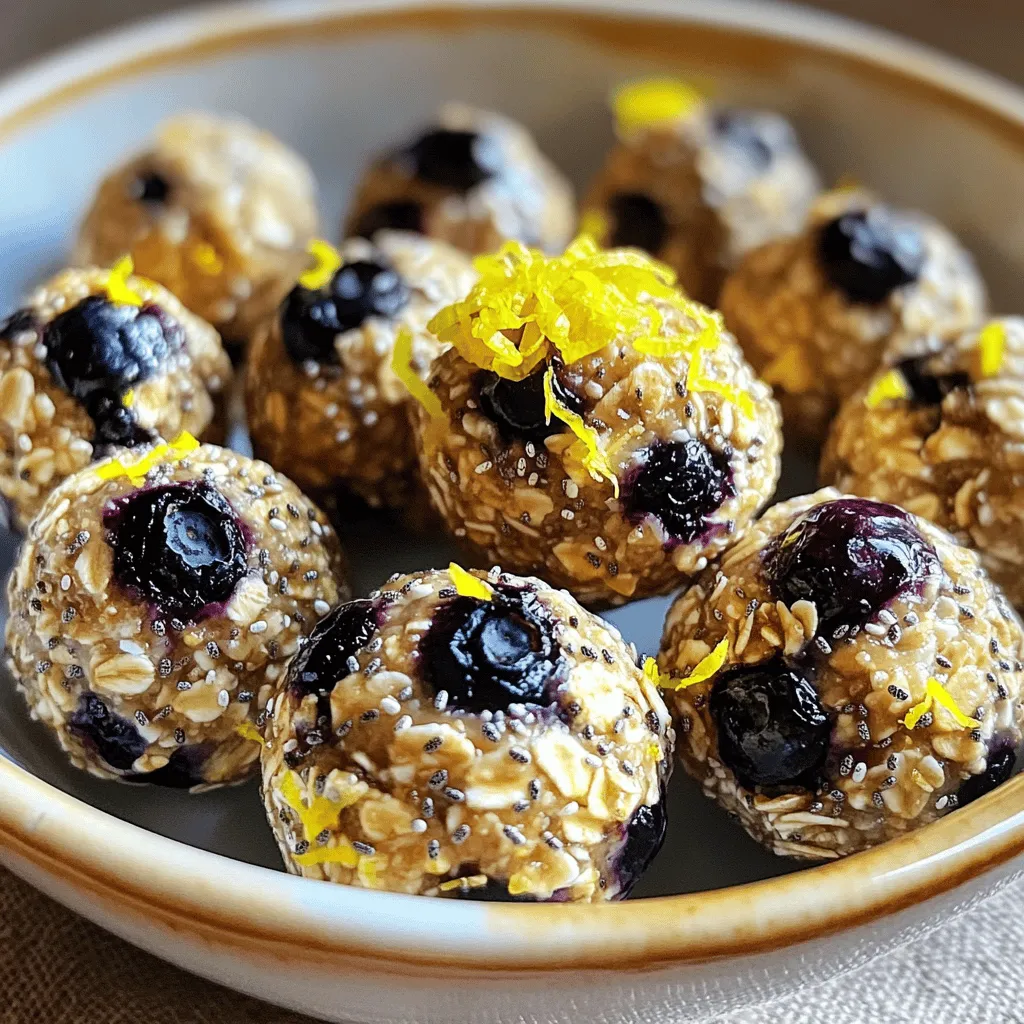
Lemon Blueberry Energy Bites Nourishing Snack Idea
Looking for a tasty, energy-packed snack? Try my Lemon Blueberry Energy Bites! These little balls are the perfect blend of Read Full Recipe

My Latest Recipes

hey,
i’m !
I’m so happy you’re here!
Each recipe I share is a little piece of love from my kitchen. May they fill your heart and home with warmth. Let’s cook up something wonderful together.


![To make these delicious crab stuffed cheddar bay biscuits, gather the following items: - 2 cups all-purpose flour - 1 tablespoon baking powder - 1/2 teaspoon garlic powder - 1/2 teaspoon onion powder - 1 teaspoon salt - 1/4 teaspoon cayenne pepper (optional) - 1/2 cup cold unsalted butter, cubed - 1 cup shredded sharp cheddar cheese - 3/4 cup whole milk - 1 cup lump crab meat, picked over for shells - 2 tablespoons cream cheese, softened - 1 tablespoon fresh parsley, chopped - 1 tablespoon lemon juice - 1/4 teaspoon paprika for garnish (optional) You can change some ingredients to fit your taste. Here are some easy swaps: - Flour: Use whole wheat flour for a nuttier flavor. - Butter: Replace cold butter with a dairy-free alternative for a vegan option. - Cheese: Swap sharp cheddar for mozzarella for a milder taste. - Crab Meat: Use shrimp or lobster if crab is not available. - Cream Cheese: Substitute with Greek yogurt for a lighter filling. When choosing crab meat, freshness is key. Follow these tips: - Look for Color: Fresh crab meat should be a bright white or off-white color. - Smell Test: It should smell like the ocean, not fishy. - Check for Shells: Ensure there are no hard shell pieces mixed in. - Buy Local: If possible, buy from local markets or seafood shops to ensure quality. These tips help you find the best ingredients for this crab stuffed cheddar bay biscuit recipe. For the full recipe, check the details above. Start by preheating your oven to 425°F (220°C). This step is key for that perfect golden finish. Line a baking sheet with parchment paper. This helps prevent sticking and makes cleaning easier later. In a large bowl, add the dry ingredients: 2 cups all-purpose flour, 1 tablespoon baking powder, 1/2 teaspoon garlic powder, 1/2 teaspoon onion powder, 1 teaspoon salt, and 1/4 teaspoon cayenne pepper if you want some heat. Mix these well. Next, add 1/2 cup of cold, cubed unsalted butter. Use your fingers or a pastry cutter to blend it until the mix looks like coarse crumbs. Stir in 1 cup of shredded sharp cheddar cheese. Then, slowly add 3/4 cup of whole milk. Mix just until it combines, but don’t overdo it. The dough should remain a bit lumpy. In another bowl, mix 1 cup of lump crab meat, 2 tablespoons of softened cream cheese, 1 tablespoon of chopped fresh parsley, and 1 tablespoon of lemon juice. Be gentle when mixing. You want to keep those nice crab lumps intact. This filling packs a lot of flavor. For each biscuit, take about 1/4 cup of dough and flatten it in your hand. Put a tablespoon of crab filling in the middle. Fold the dough around the filling and seal it carefully. Roll it into a ball and place it on the baking sheet. Repeat this step until all the dough and filling are used. If you like, sprinkle some paprika on top for a pop of color. Bake in the preheated oven for 15-18 minutes. They are ready when they turn a lovely golden brown. Trust me, serving these warm is the best way to enjoy them. If you want the full recipe, don't forget to check it out! If your biscuits don't rise, check your baking powder. It should be fresh. If they are too dry, add a bit more milk next time. If they turn out tough, mix the dough gently. Overmixing makes them dense. To boost flavor, add more spices. You can try smoked paprika or Old Bay seasoning. Fresh herbs like dill or chives also add zest. If you want a kick, mix in some diced jalapeños. Serve these biscuits warm with a side of garlic butter. They pair well with a light salad or a bowl of soup. You can also enjoy them as a snack with a cold drink. For extra flair, garnish with chopped parsley before serving. For the full recipe, check out the Crab Stuffed Cheddar Bay Biscuits section above! {{image_2}} You can switch up the cheese in these biscuits. While sharp cheddar shines, other cheeses work well too. Try mozzarella for a stretchier texture. Aged gouda offers a nutty taste. For a rich option, use cream cheese mixed into the dough. You can even blend different cheeses for a unique twist! If you like heat, add some spice! Try mixing in diced jalapeños or a splash of hot sauce into the crab filling. For a kick without the extra heat, you can increase the cayenne pepper in the dough. This gives the biscuits a nice warmth that pairs well with the crab. Want to skip the crab? You can create a veggie version! Use sautéed mushrooms, spinach, and cream cheese as a filling. Another option is roasted bell peppers and ricotta. These flavors mix nicely with the cheesy biscuit dough. This way, everyone can enjoy a tasty biscuit! For the complete recipe, check out the [Full Recipe]. To keep your crab stuffed cheddar bay biscuits fresh, let them cool first. Place them in an airtight container. Store them in the fridge for up to three days. If you want to keep them longer, freezing is a great option. When you are ready to enjoy your leftovers, preheat your oven to 350°F (175°C). Place the biscuits on a baking sheet. Heat them for about 10 minutes or until warm. This helps keep the biscuits soft and delicious. You can also use the microwave, but they may not be as good. To freeze the biscuits, wrap each one tightly in plastic wrap. Place them in a freezer bag, removing as much air as possible. They can be frozen for up to three months. When you want to eat them, thaw in the fridge overnight. Then reheat as mentioned above. This way, you can enjoy your crab stuffed cheddar bay biscuits anytime! For the full recipe, check the earlier sections. You can serve these biscuits with a fresh salad. A light Caesar salad works well. You might also enjoy them with a bowl of creamy soup, like clam chowder. If you want something fun, try dipping them in garlic butter. The rich flavor pairs great with the crab. Look for a golden brown color on top. The edges should be firm but soft. If you tap the bottom, it should sound hollow. Use a toothpick to check the center; it should come out clean. Yes, you can! Make the dough and chill it in the fridge. You can store it for up to 24 hours. When you’re ready, shape and bake as usual. This saves time on a busy day. You can find tasty recipes online. Websites like food blogs or cooking sites have great options. You can also check cookbooks focused on seafood or Southern cooking for similar recipes. For this specific recipe, check the Full Recipe. The key is to handle the dough gently. Over-mixing will make them dense. Cold butter is also important; it creates steam while baking. This steam helps the biscuits rise and stay light. Use a light hand when shaping, and you’ll have fluffy biscuits! In this post, we explored the key ingredients for crab stuffed cheddar bay biscuits. You learned about ingredient substitutions and how to choose fresh crab meat. I detailed step-by-step instructions for making the dough and stuffing. You got tips for troubleshooting and adding flavors. We also looked at fun variations and smart storage tips. Try these biscuits at your next gathering. They are sure to impress!](https://lisadishes.com/wp-content/uploads/2025/05/57418f16-6579-42ca-b33c-82f5f41c401b-300x300.webp)

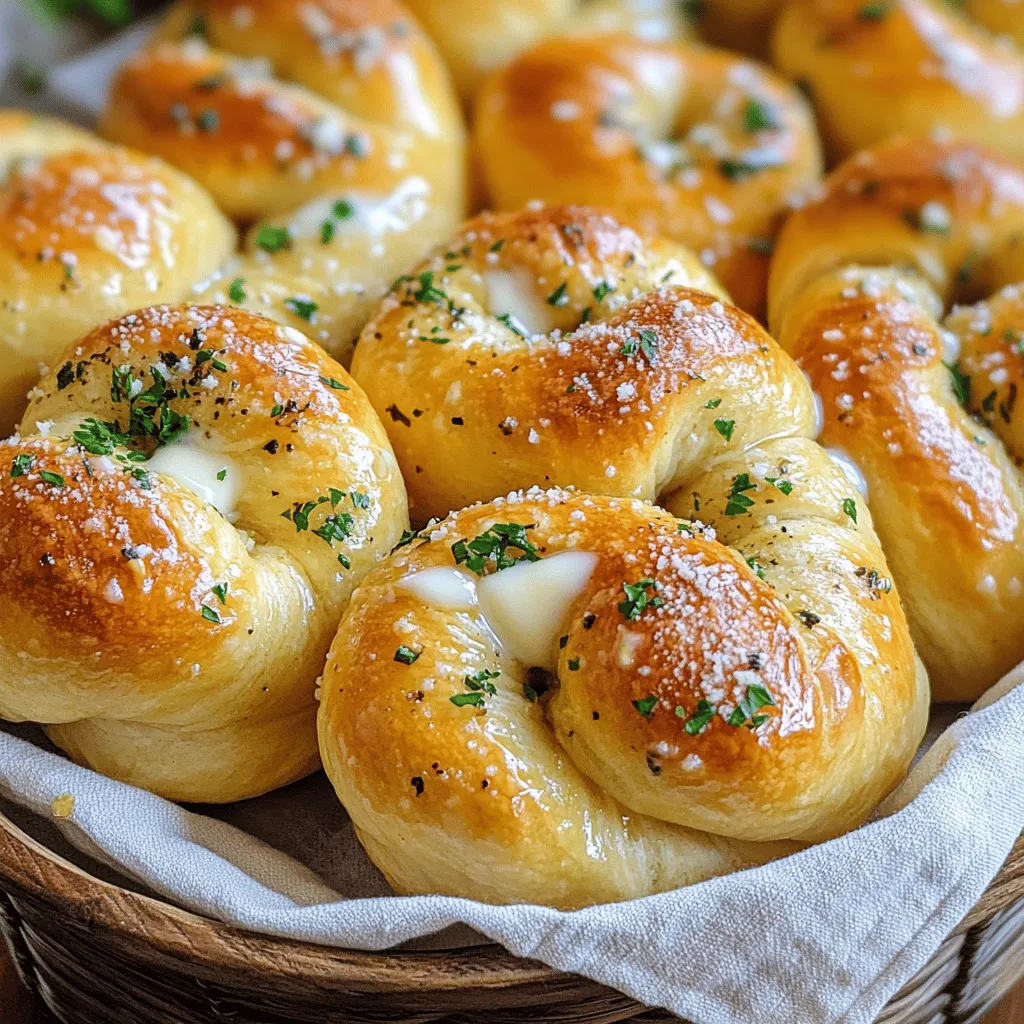
Garlic Knots That Will Satisfy Any Craving
Are you ready to impress your friends and family with mouthwatering garlic knots? These soft, buttery delights are not only easy to make, but…