Latest & Greatest
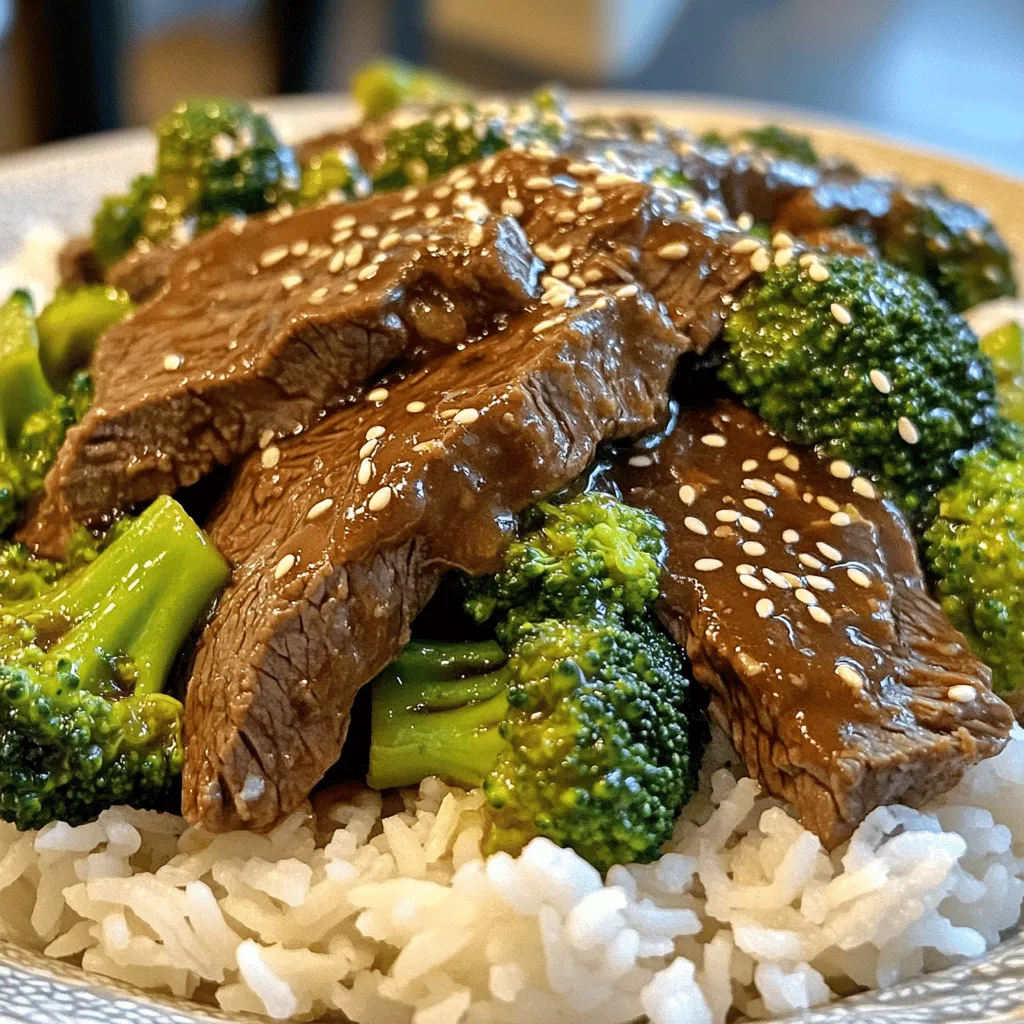
Instant Pot Beef and Broccoli Flavorful Quick Meal
Are you ready to make a delicious Instant Pot Beef and Broccoli? This quick meal is packed with flavor and
Read more…
Honey Garlic Chicken Thighs Simple and Flavorful Dish
Looking for a dish that’s both simple and bursting with flavor? Honey Garlic Chicken Thighs are the answer! This meal
Read more…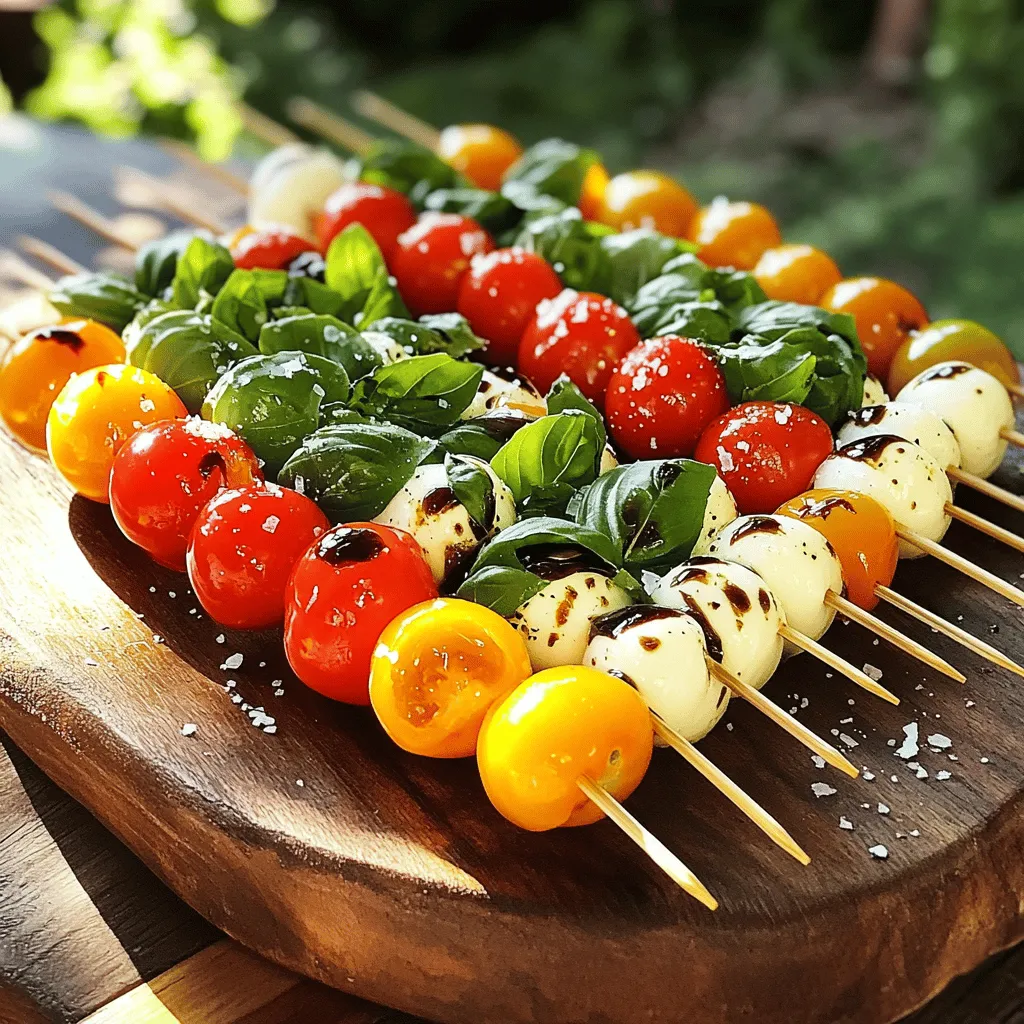
Quick Caprese Salad Skewers Simple and Tasty Treat
Looking for a quick and tasty treat? Let me introduce you to Quick Caprese Salad Skewers! These easy-to-make bites bring
Read more…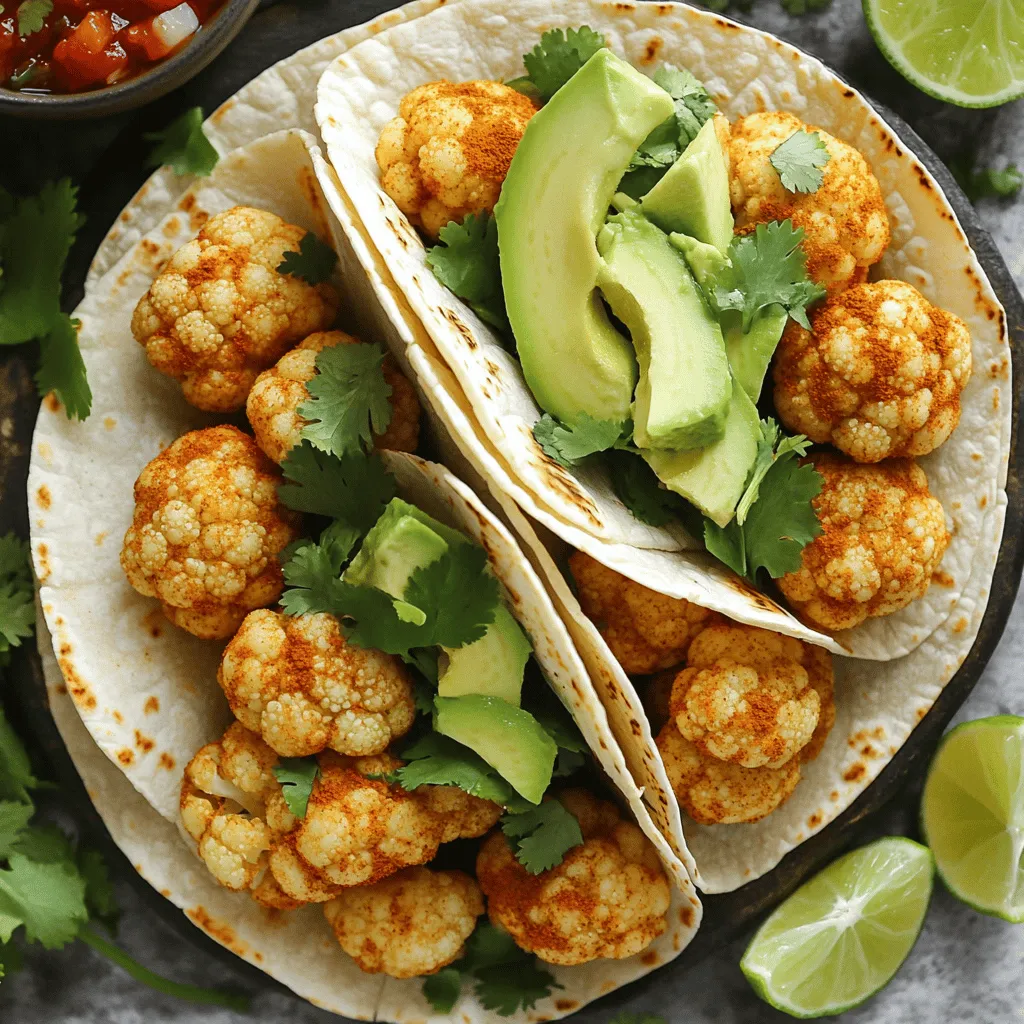
Vegan Cauliflower Tacos Crispy and Flavorful Delight
Are you ready to spice up Taco Tuesday? My Vegan Cauliflower Tacos are a crispy and flavorful delight that will
Read more…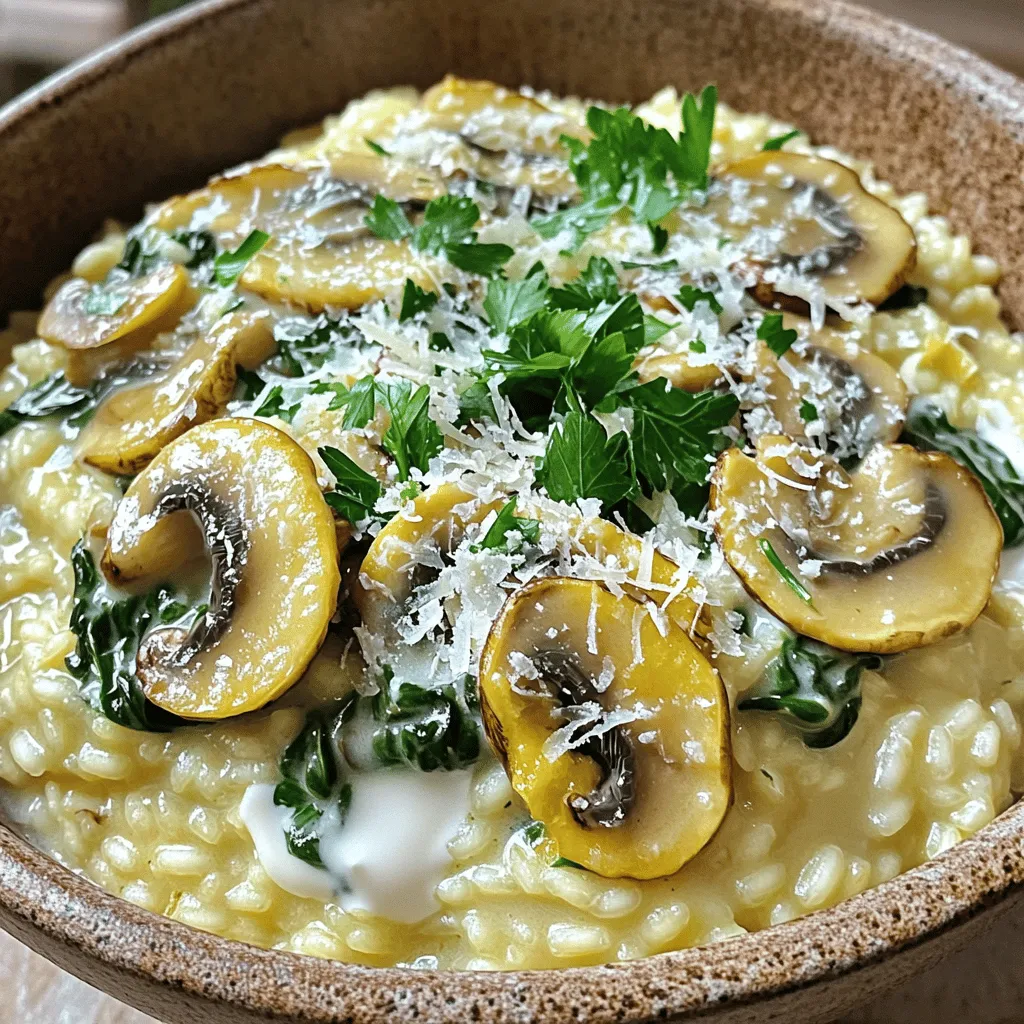
Creamy Mushroom Risotto Simple and Flavorful Recipe
Are you ready to master a dish that feels fancy but is easy to make? Creamy Mushroom Risotto is your
Read more…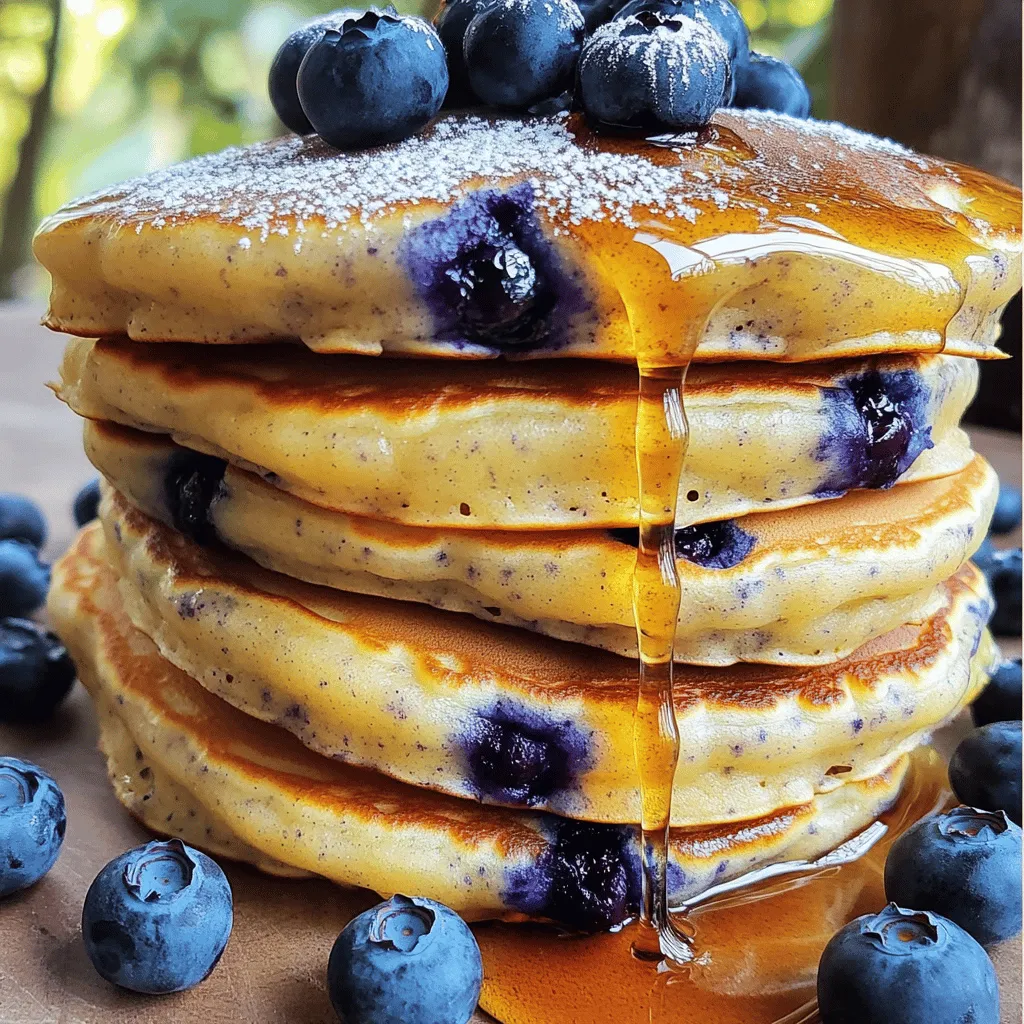
Fluffy Pancakes with Blueberries Irresistible Recipe
Are you ready to whip up the most delightful breakfast ever? Fluffy pancakes with blueberries are simple to make and
Read more…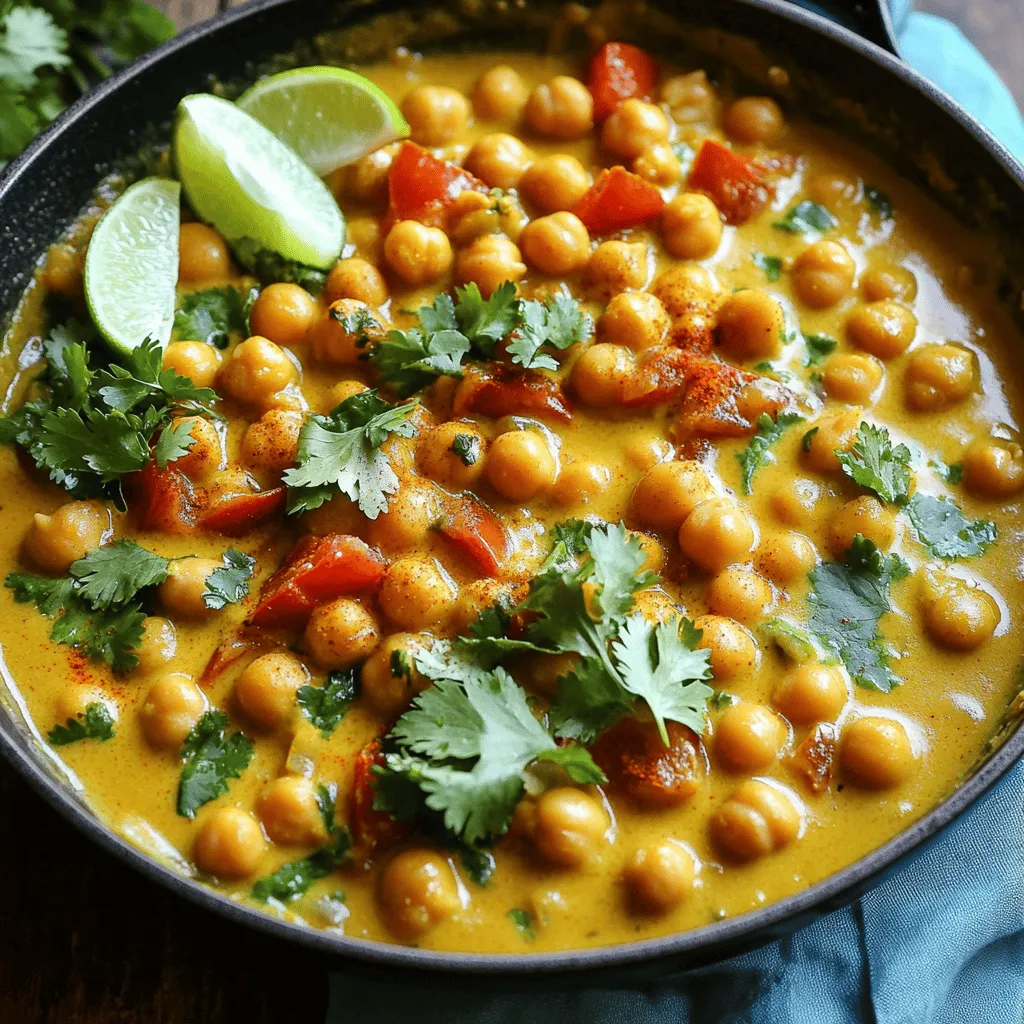
Spicy Chickpea Curry Packed with Flavorful Goodness
Are you ready to spice up your dinner? My Spicy Chickpea Curry is bursting with flavor and goodness! This dish
Read more…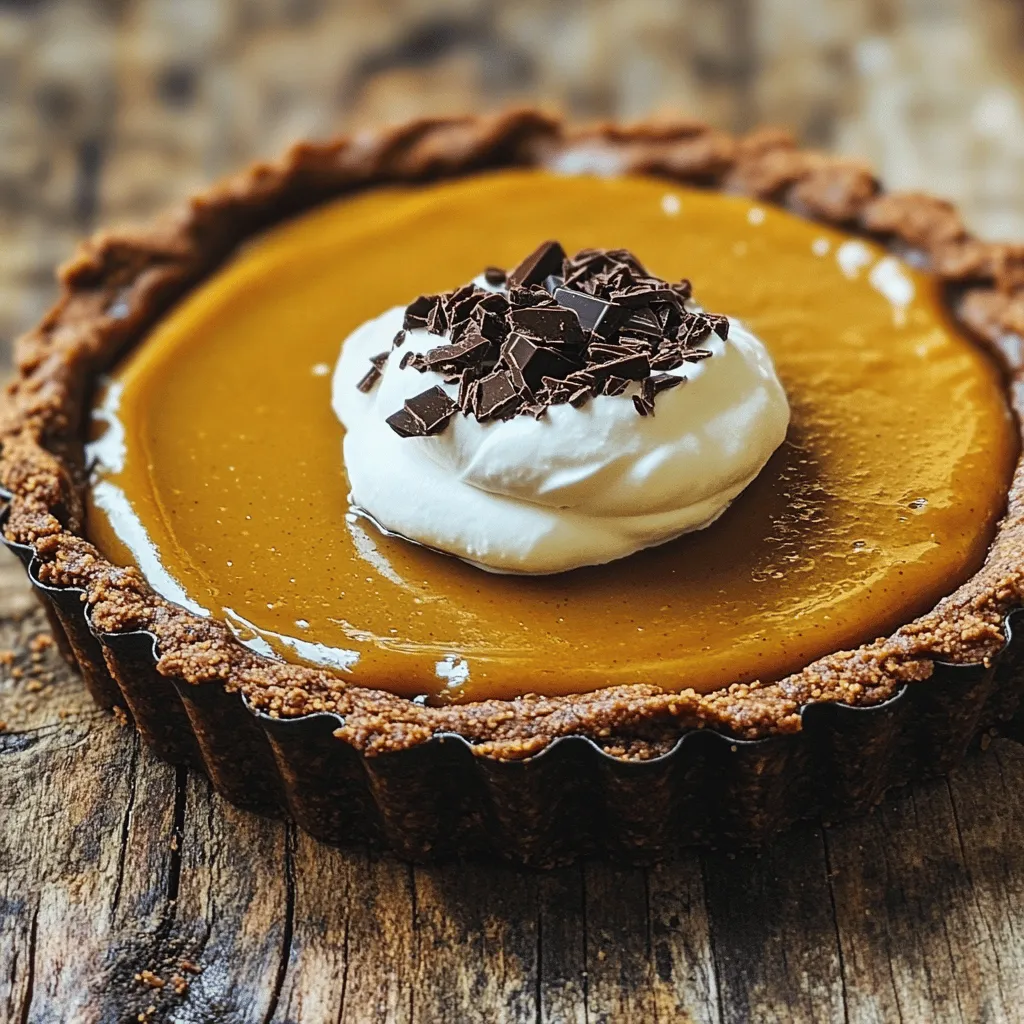
Dark Chocolate Pumpkin Tart Irresistible Dessert Delight
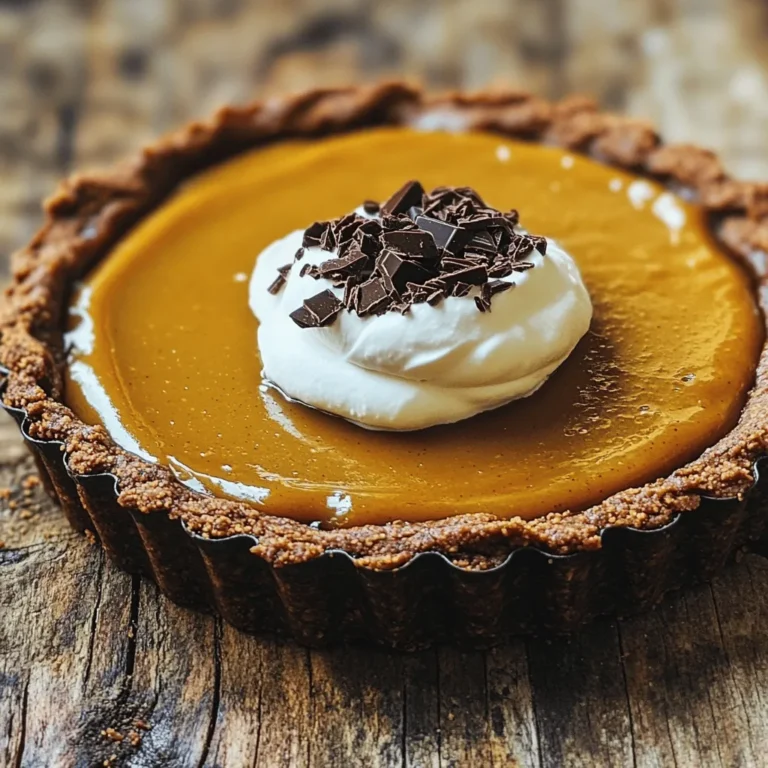
Indulge in the ultimate fall dessert with my Dark Chocolate Pumpkin Tart! This rich, creamy delight combines the warm flavors
Read more…browse recipes
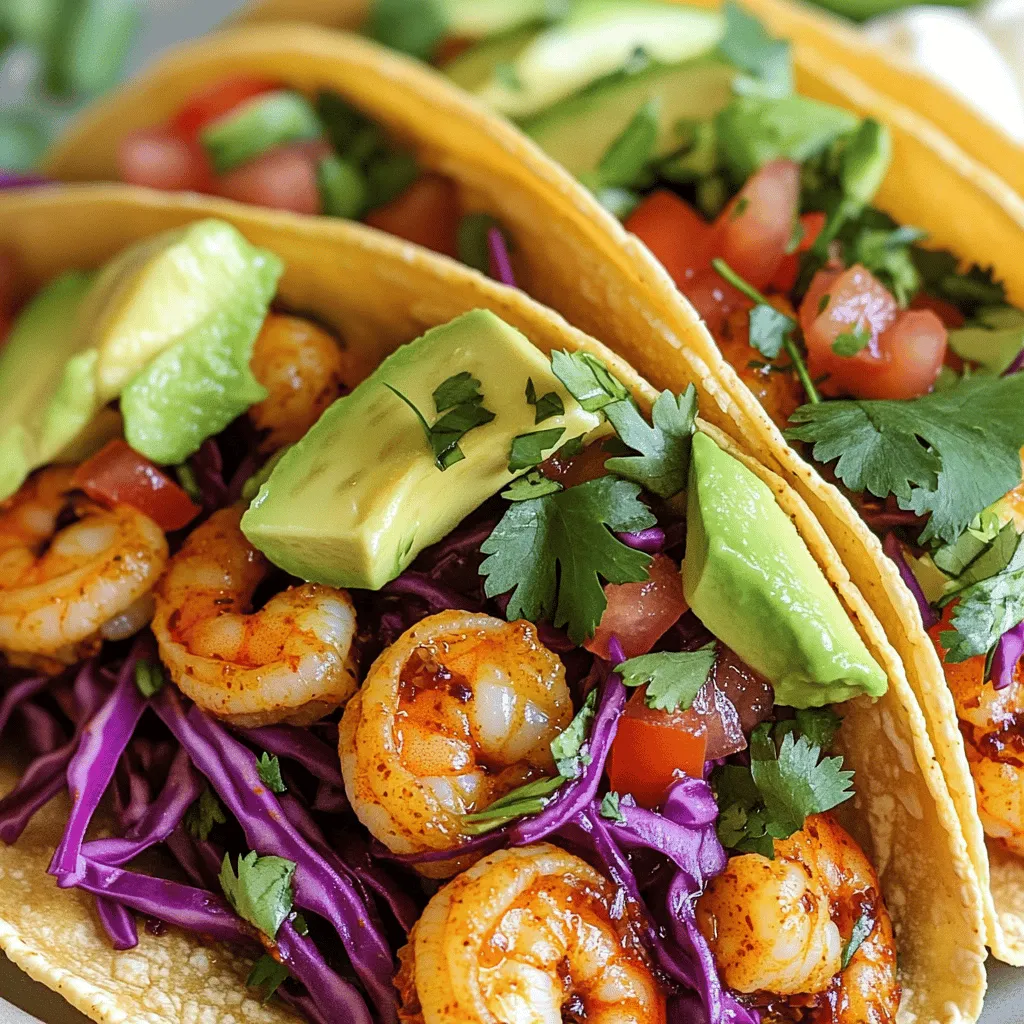
Chili Lime Shrimp Tacos Flavorful and Easy Meal
If you’re craving a meal that’s both tasty and easy, these Chili Lime Shrimp Tacos are for you! Bursting with flavor and packed with…
My Latest Desserts
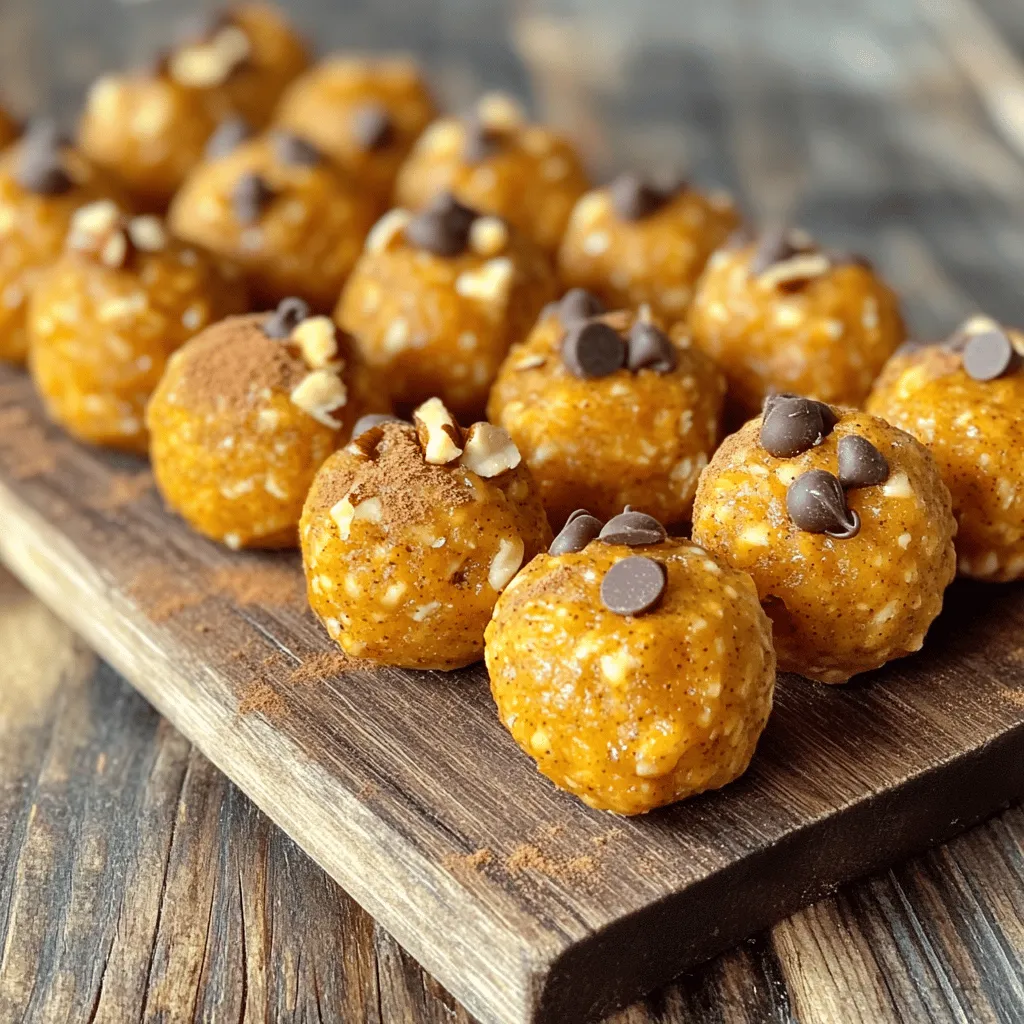
Pumpkin Spice Energy Bites Tasty and Healthy Snack
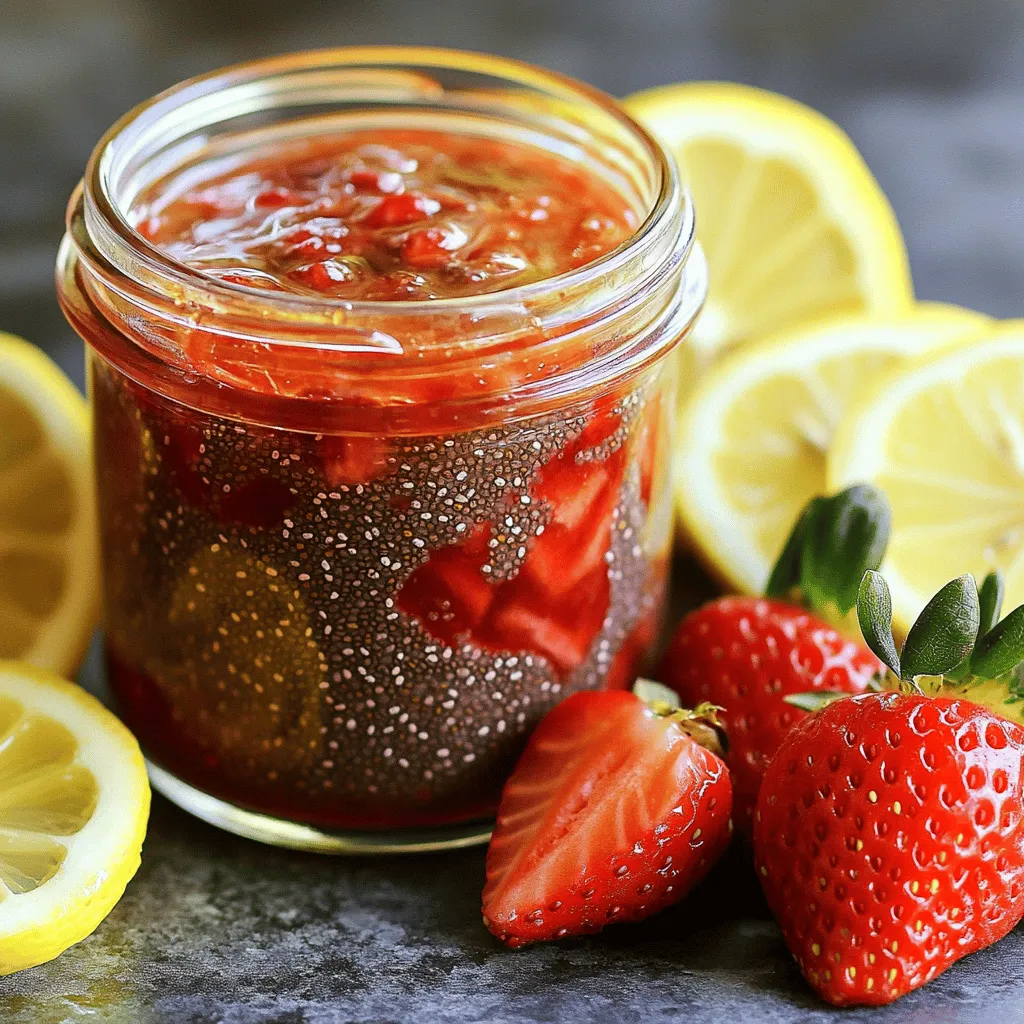
Looking for a tasty and healthy snack to fuel your day? This Pumpkin Spice Energy Bites recipe is your answer! Read Full RecipeStrawberry Chia Seed Jam Tasty and Healthy Treat
If you’re craving a sweet treat that’s also good for you, I’ve got just the thing: Strawberry Chia Seed Jam! Read Full RecipePumpkin Spice Muffins Warm and Cozy Fall Treat
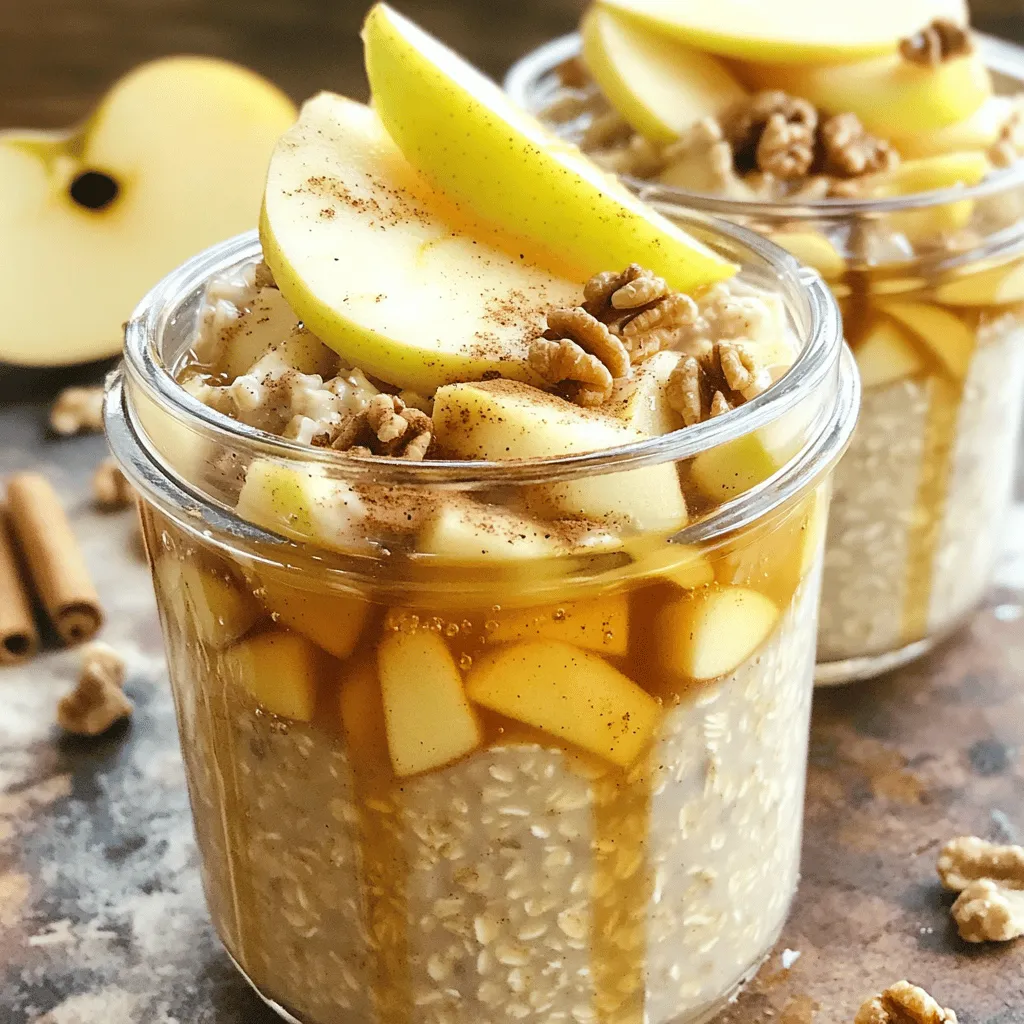
Fall is the perfect time for warm and cozy treats, and nothing says autumn like pumpkin spice muffins. These fluffy Read Full RecipeApple Cinnamon Overnight Oats Healthy Breakfast Option
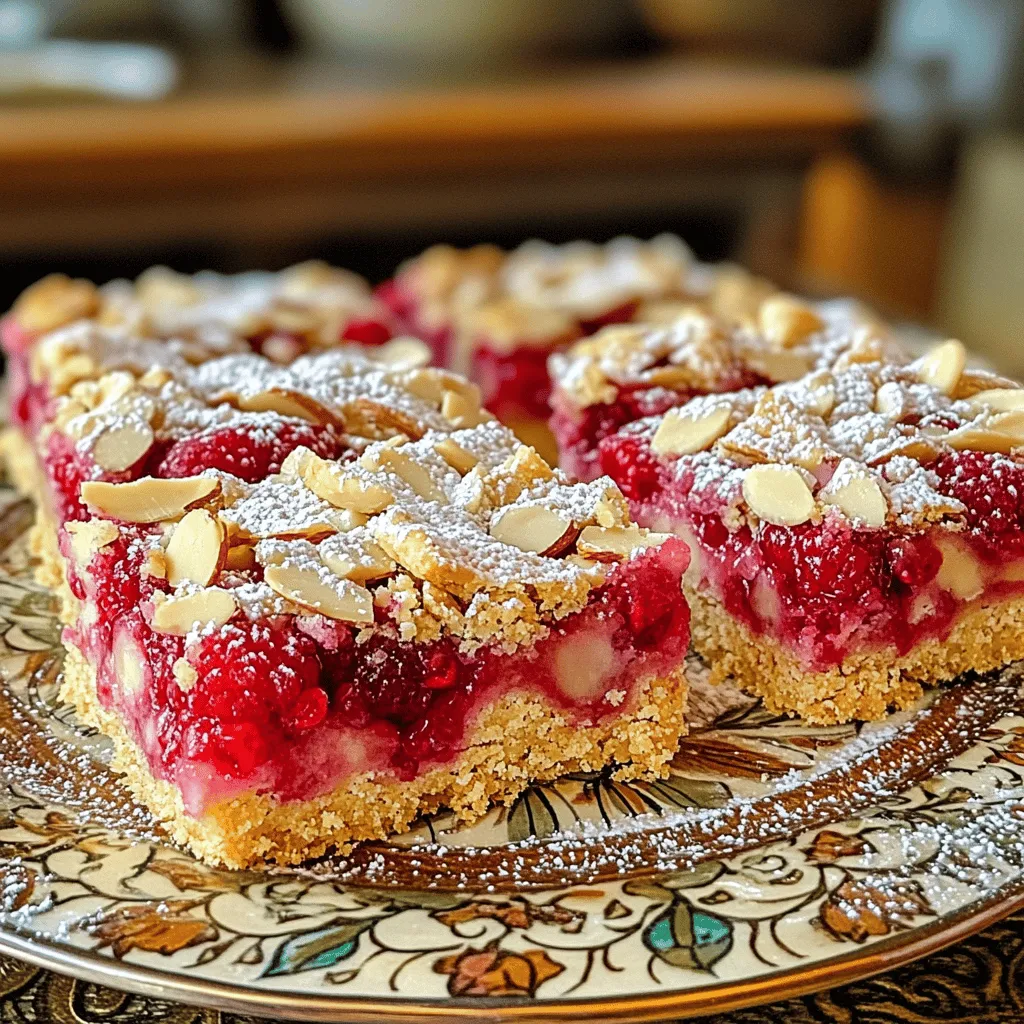
Looking for a quick and healthy breakfast? You’ve found it! Apple Cinnamon Overnight Oats are the perfect choice for busy Read Full RecipeRaspberry Almond Shortbread Bars Simple and Tasty Treat
Looking for a sweet treat that’s easy to make and perfect for any occasion? Raspberry Almond Shortbread Bars are your Read Full RecipeChocolate Covered Strawberry Pops Delightful Treats
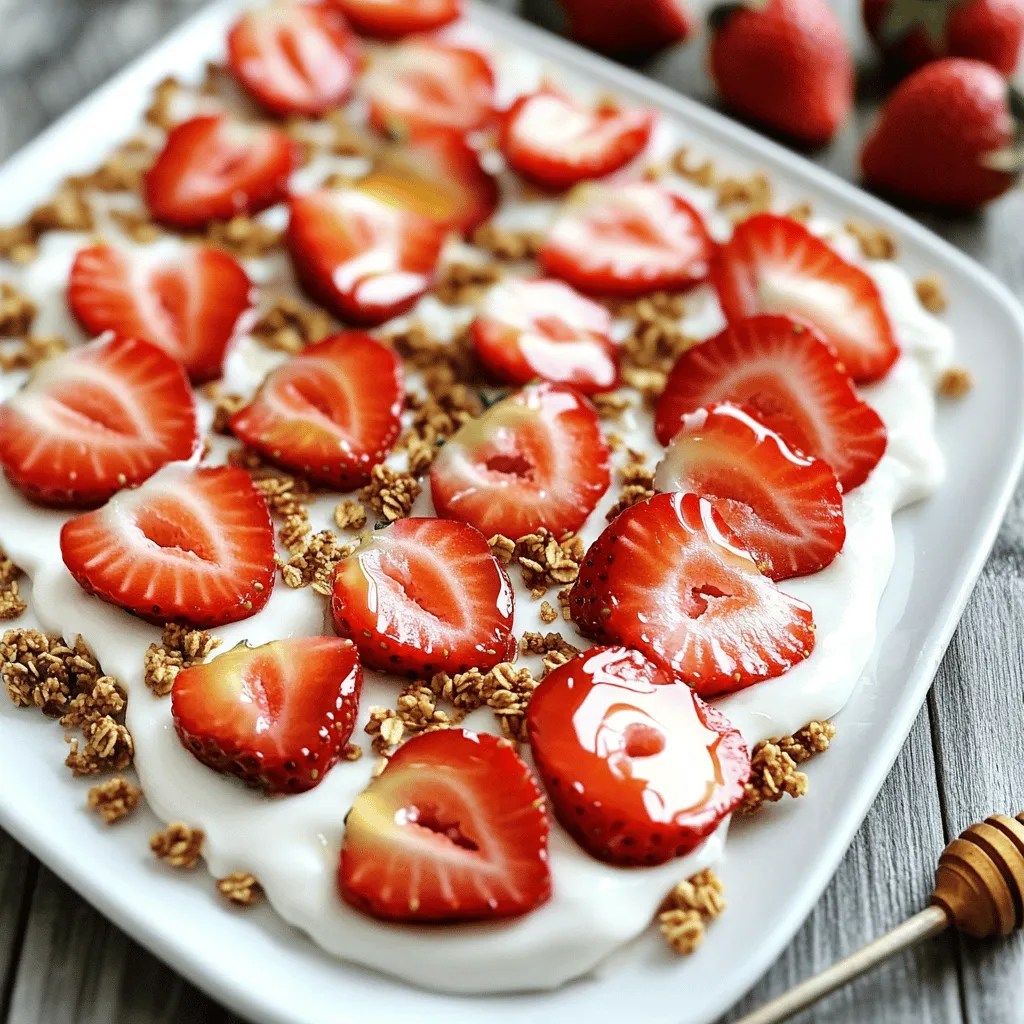
Are you ready for a sweet treat? Chocolate Covered Strawberry Pops are delicious and fun to make. I’ll guide you Read Full RecipeFresh Strawberry Yogurt Bark Delicious and Easy Treat
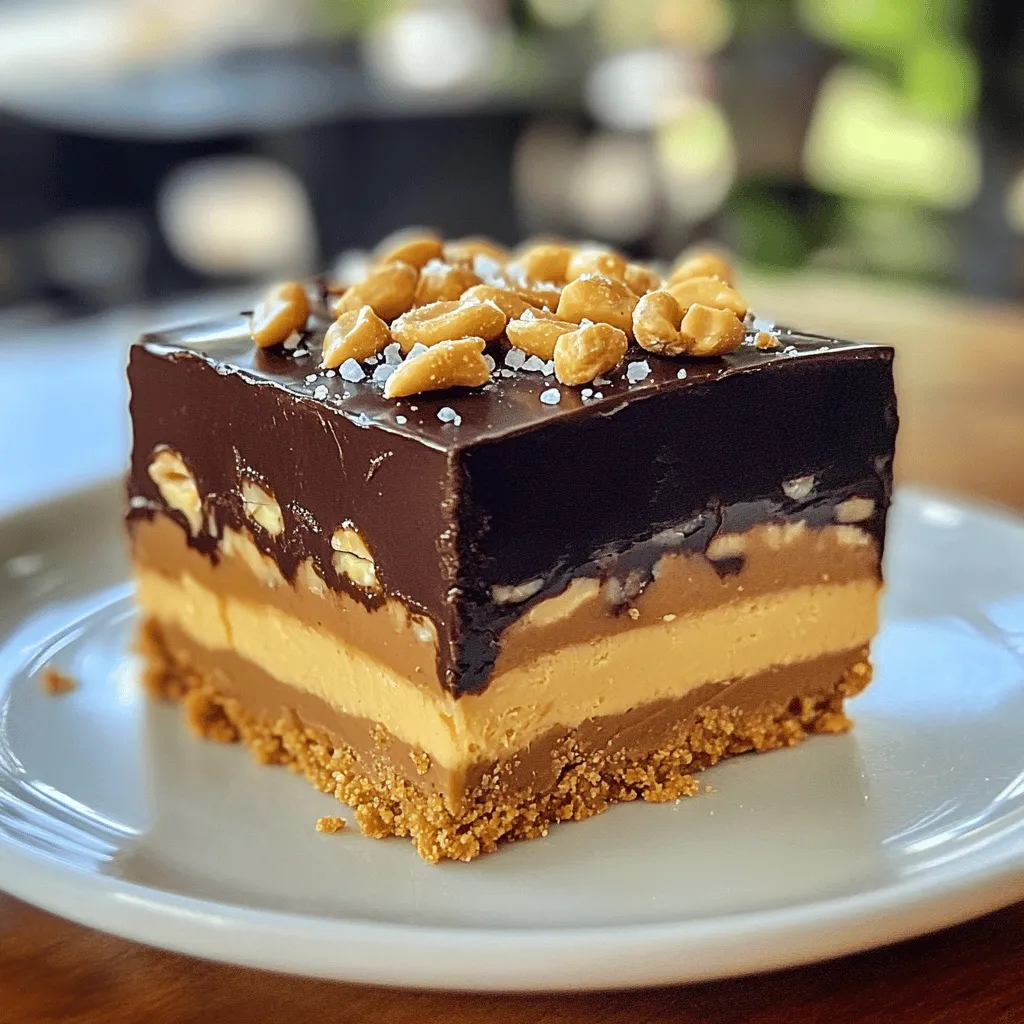
Looking for a quick and tasty treat? Fresh Strawberry Yogurt Bark is your answer! This easy recipe combines creamy Greek Read Full RecipeNo-Bake Snickers Bars Simple and Decadent Treat
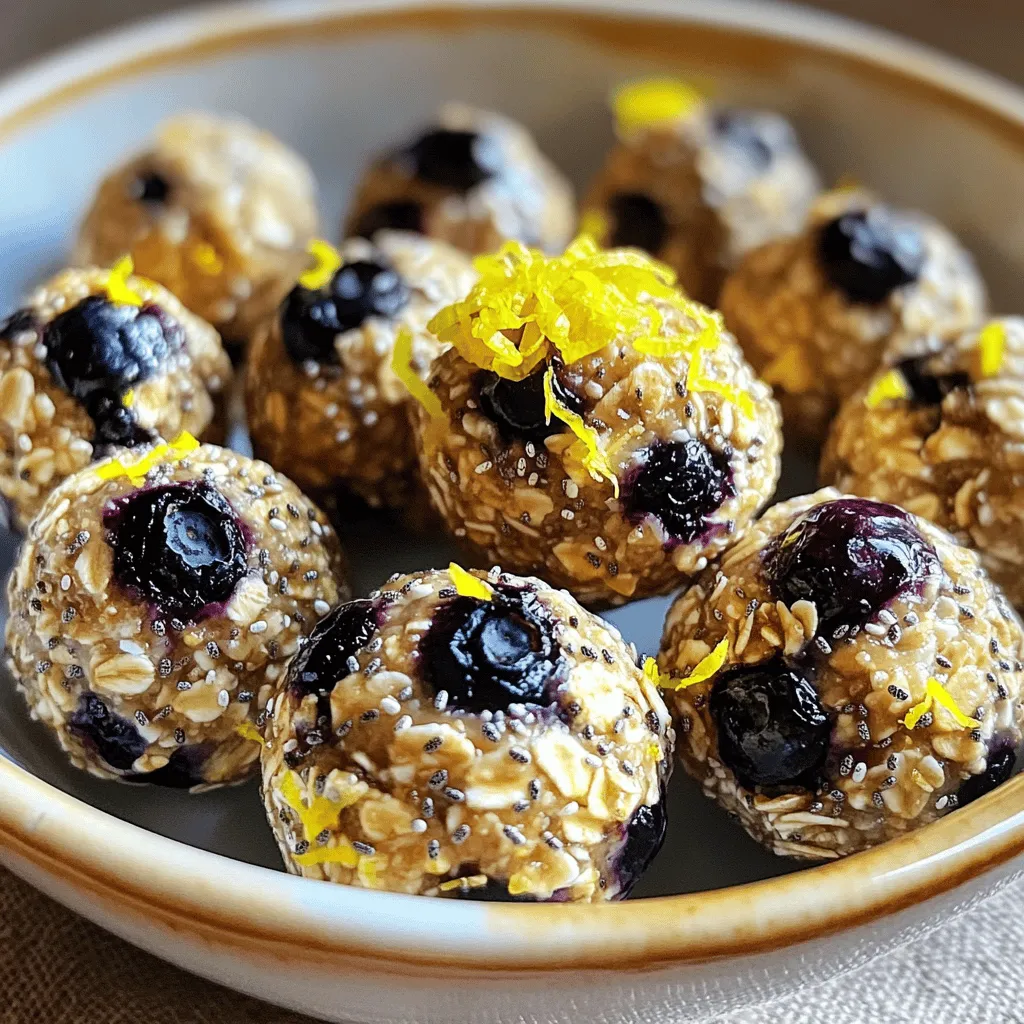
Indulge in a simple and delicious treat with my No-Bake Snickers Bars recipe! These bars come together fast and need Read Full RecipeLemon Blueberry Energy Bites Nourishing Snack Idea
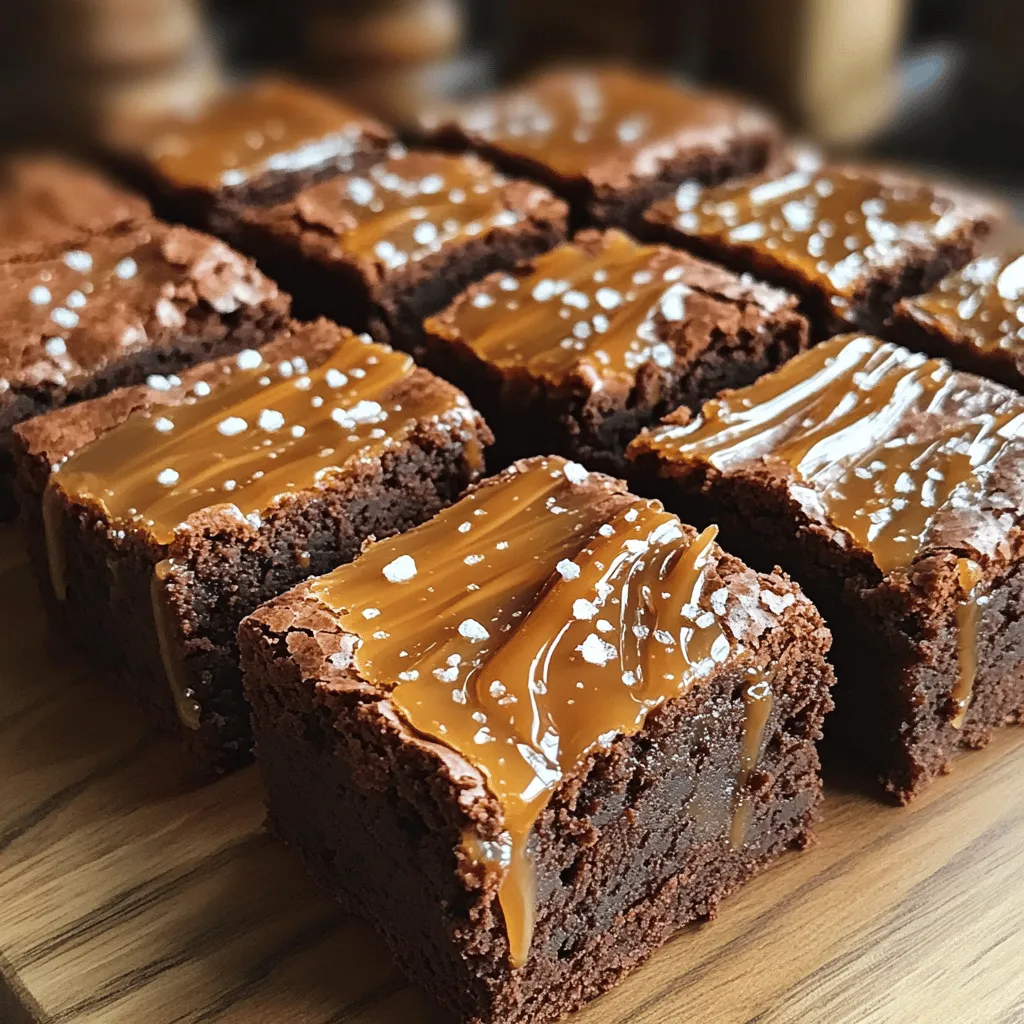
Looking for a tasty, energy-packed snack? Try my Lemon Blueberry Energy Bites! These little balls are the perfect blend of Read Full RecipeFudgy Salted Caramel Brownies Rich and Indulgent Treat
Love brownies? Get ready to elevate your dessert game with these Fudgy Salted Caramel Brownies! They combine rich chocolate with Read Full RecipePumpkin Chocolate Chip Muffins Tasty and Simple Treat
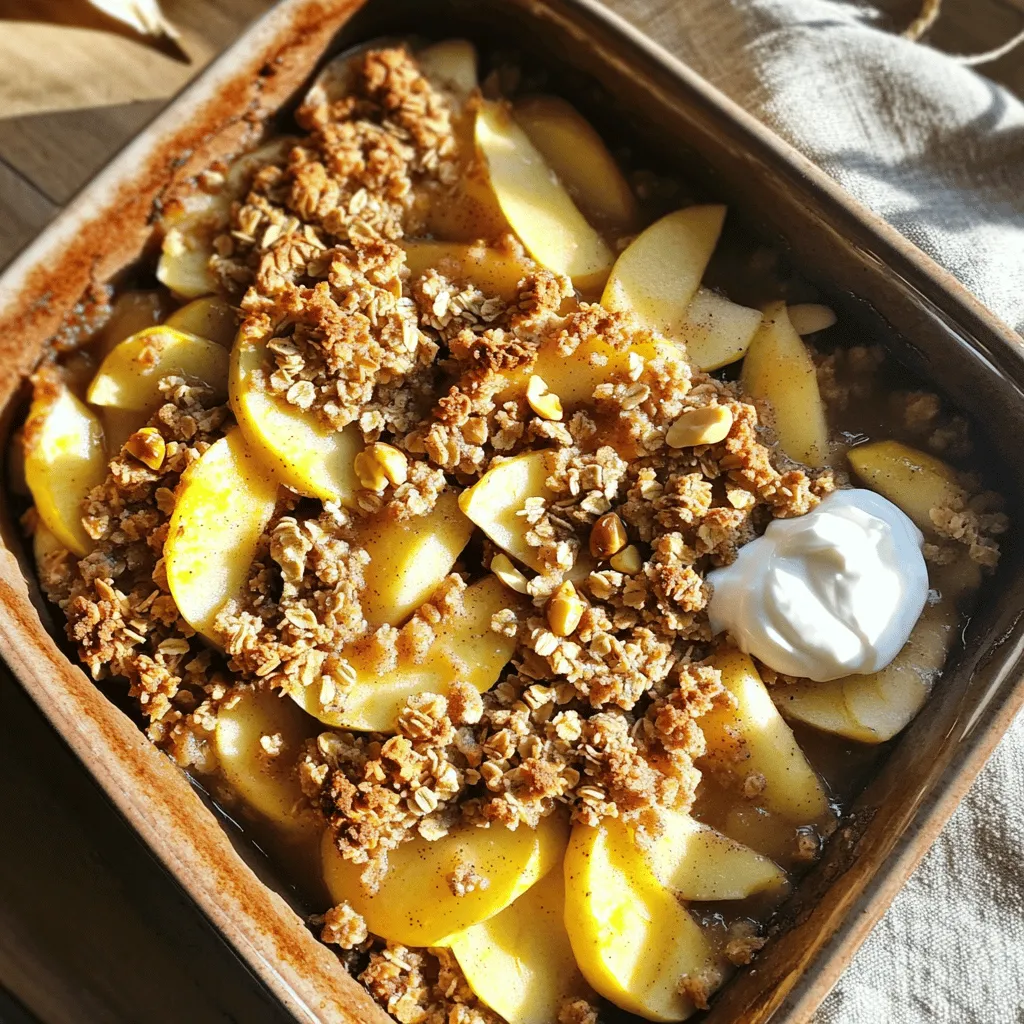
Looking for a delicious treat that’s easy to make? You’re in the right place! These Pumpkin Chocolate Chip Muffins are Read Full RecipeHealthy Apple Crisp Flavorful and Nutritious Treat
Are you ready for a delicious treat that’s both flavorful and nutritious? In this post, I’ll show you how to Read Full Recipe
hey,
i’m !
I’m so happy you’re here!
Each recipe I share is a little piece of love from my kitchen. May they fill your heart and home with warmth. Let’s cook up something wonderful together.
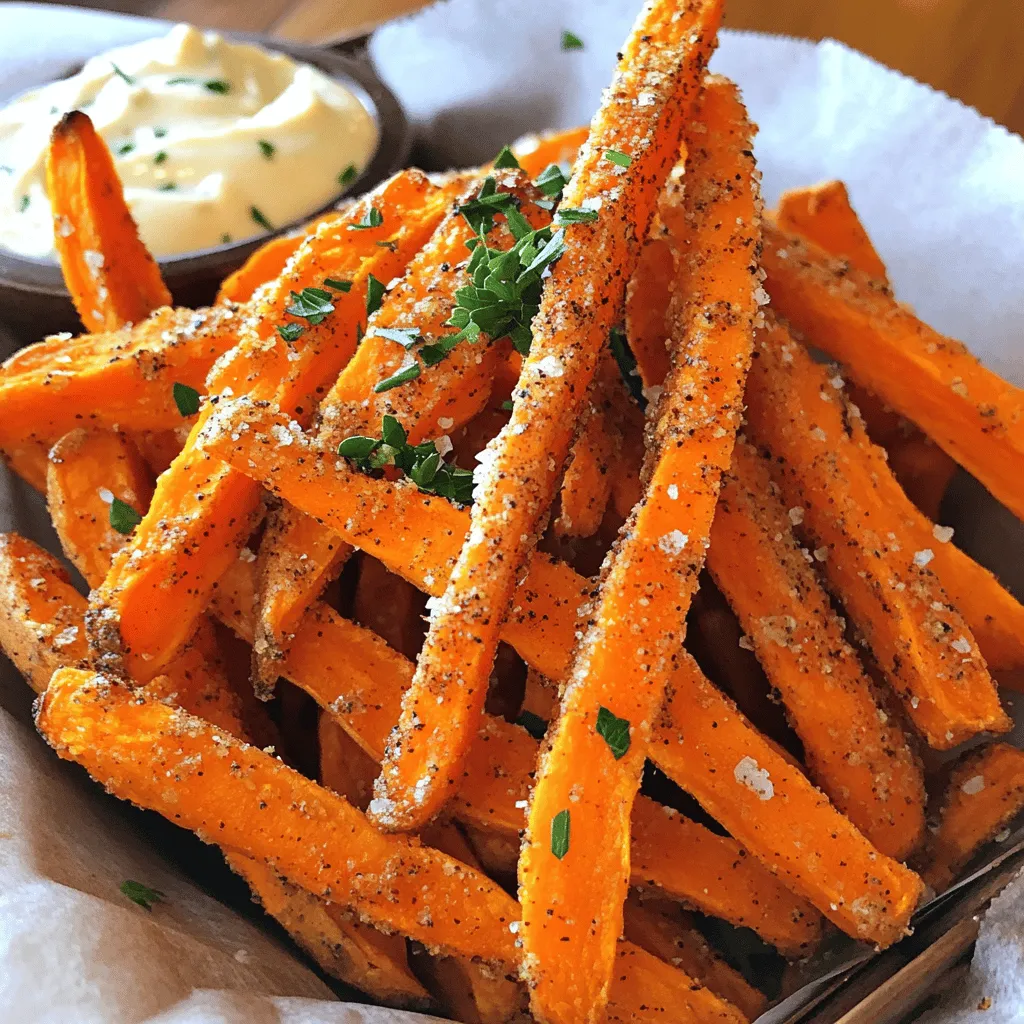
Crispy Oven Baked Sweet Potato Fries Recipe Guide
Looking for the perfect side dish? Let’s dive into crispy oven-baked sweet potato fries! This guide will show you how to make them easy…
My Latest Dinners
Baked Lemon Garlic Tilapia Simple and Tasty Meal
Are you ready to whip up a meal that’s both simple and bursting with flavor? Baked Lemon Garlic Tilapia is Read Full RecipeBuffalo Chicken Stuffed Peppers Tasty and Easy Recipe
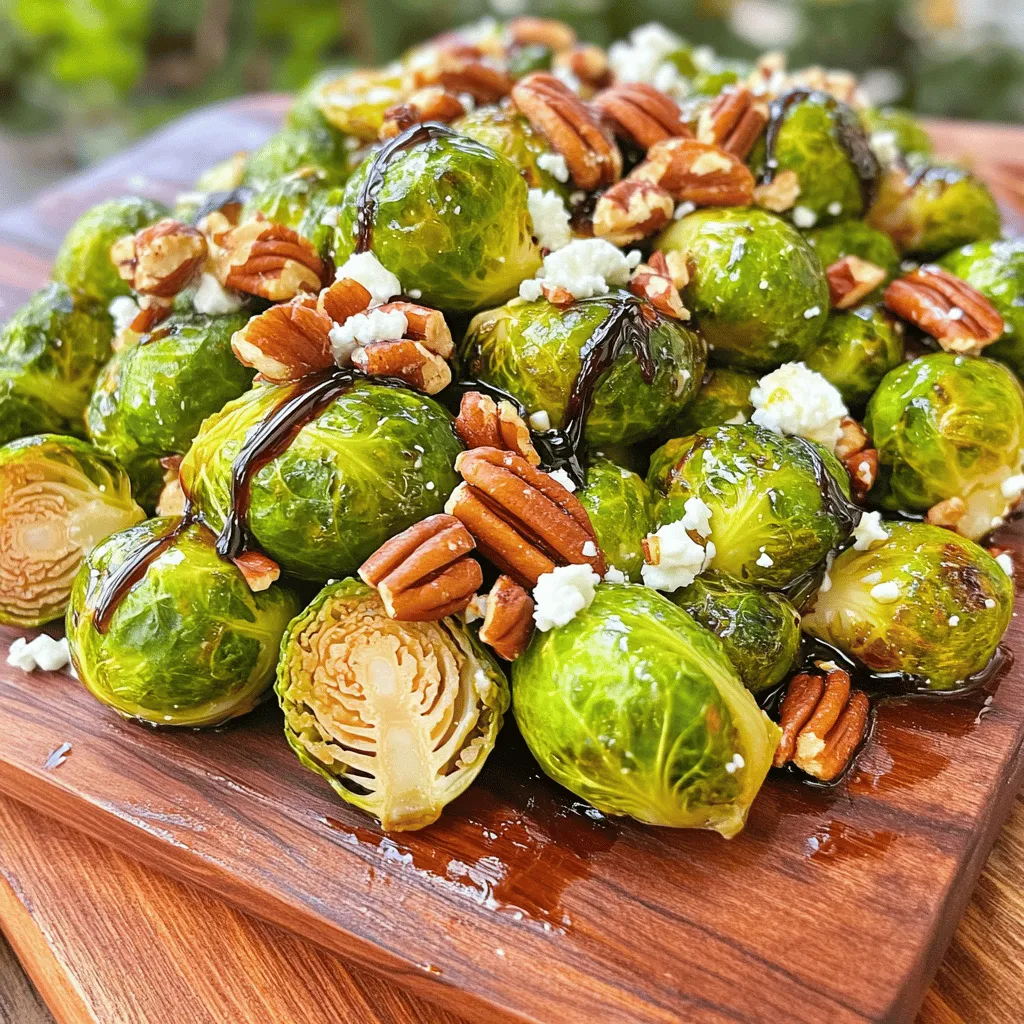
Are you craving a meal that’s both tasty and easy to make? Look no further! This Buffalo Chicken Stuffed Peppers Read Full RecipeRoasted Brussels Sprouts with Balsamic Glaze Delight
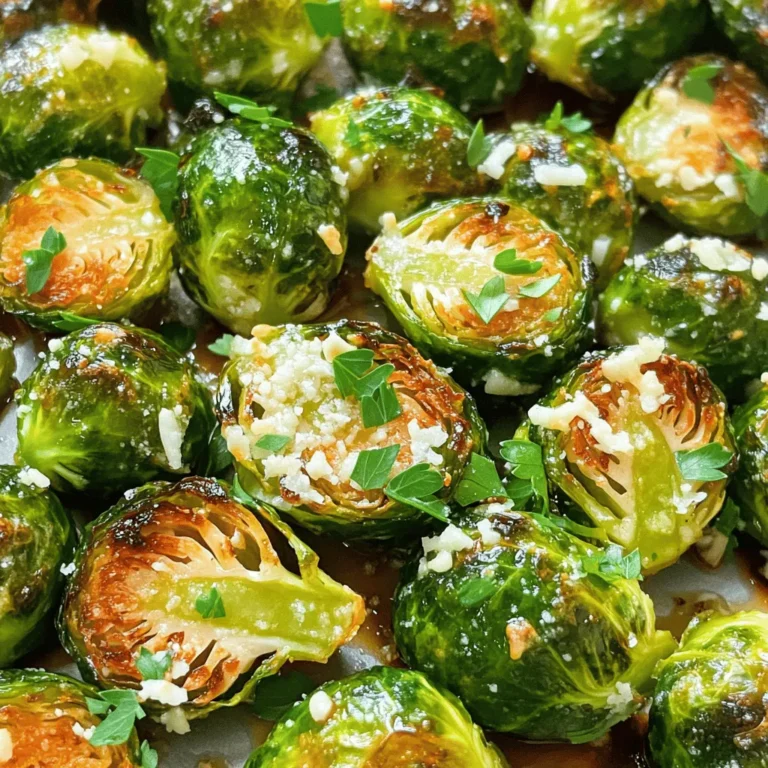
Are you ready to elevate your veggie game? Roasted Brussels Sprouts with Balsamic Glaze Delight will transform this often-overlooked vegetable Read Full RecipeEasy Chicken Gyros Flavorful Homemade Delight
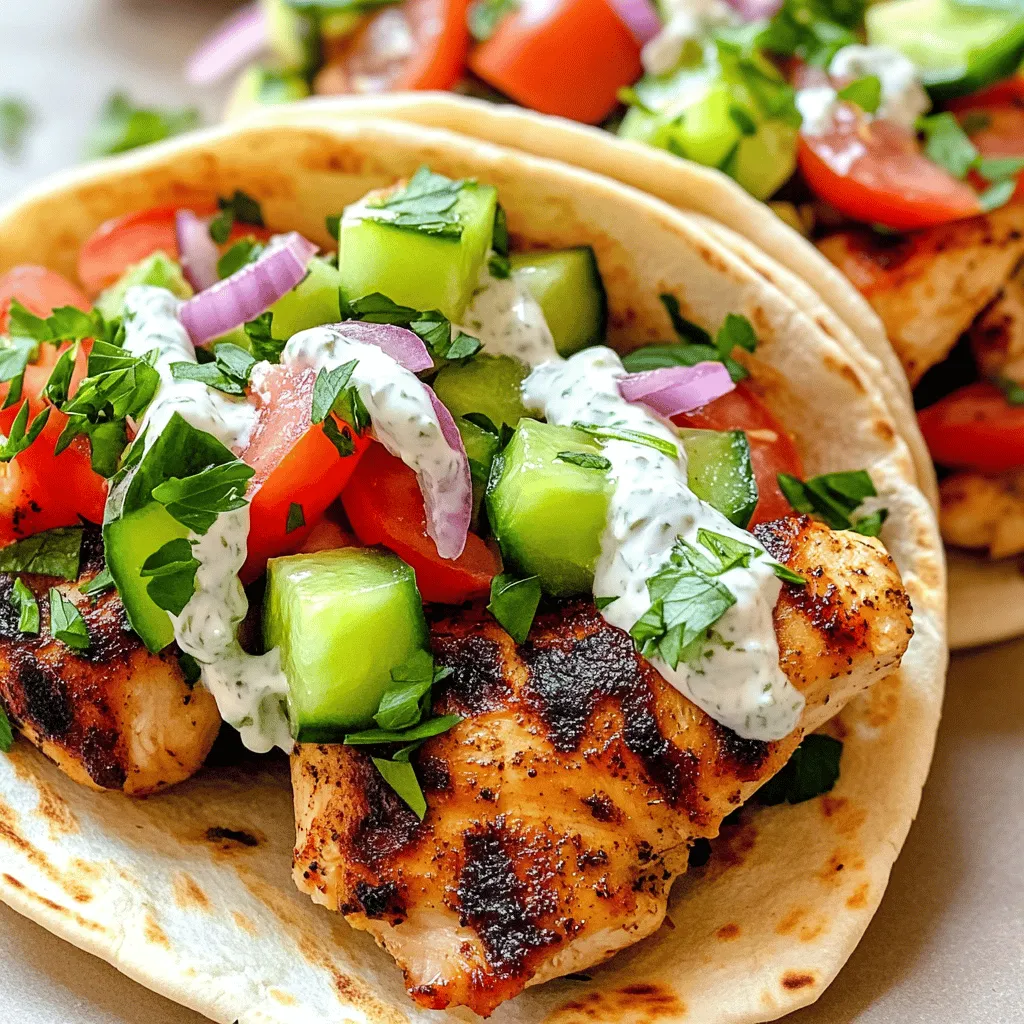
Are you craving a quick and tasty meal? Look no further than these Easy Chicken Gyros! With juicy chicken marinated Read Full RecipeOne-Pot Lemon Ricotta Pasta Easy Weeknight Meal
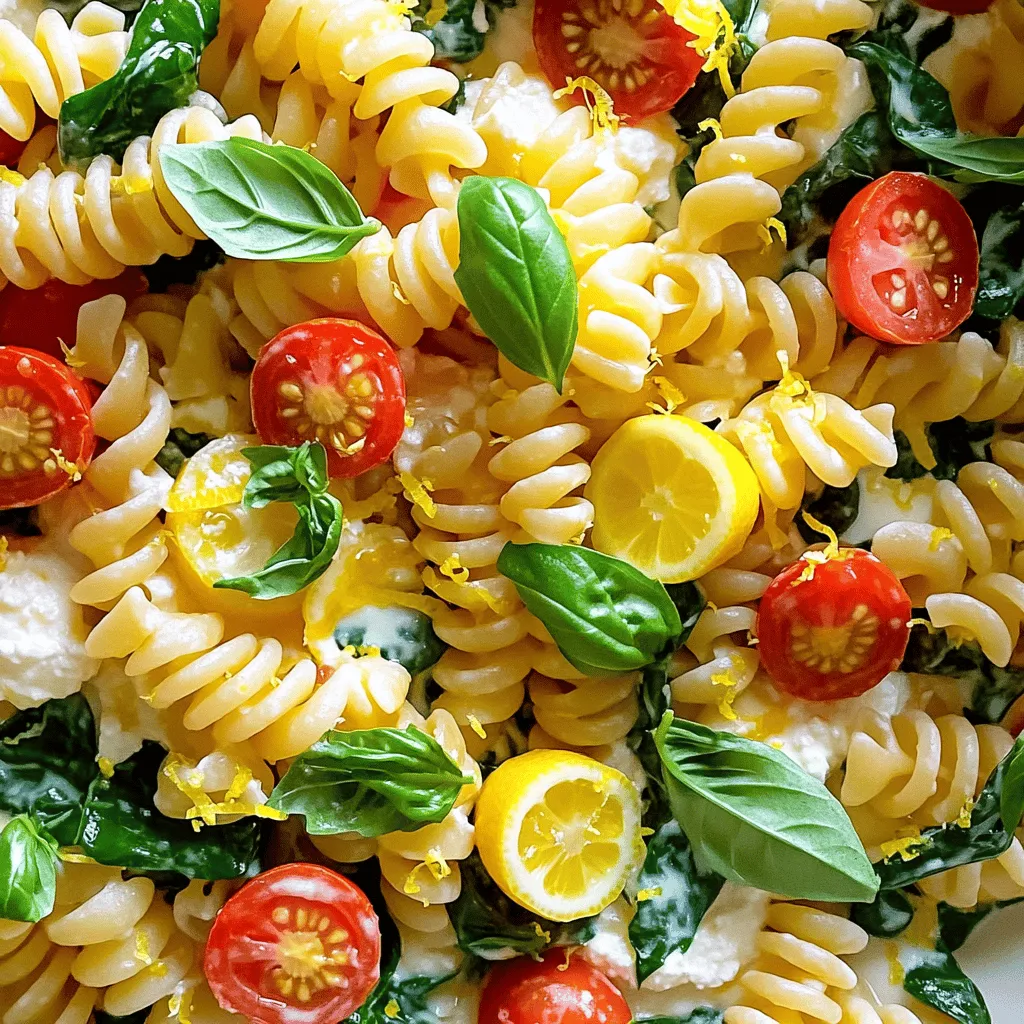
Are you looking for a quick, tasty meal? This One-Pot Lemon Ricotta Pasta is just what you need. With fresh Read Full RecipeBarbecue Chicken Pizza Delightful and Easy Recipe
Craving a tasty and easy meal? Barbecue Chicken Pizza is the answer! This delightful dish combines tender chicken, zesty barbecue Read Full Recipe






![To make Coconut Chicken with Apricot Sauce, you need fresh and simple ingredients. Here's the list of what you'll need: - 4 boneless, skinless chicken breasts - 1 cup unsweetened coconut milk - 1 cup shredded coconut (unsweetened) - 1 tablespoon lime juice - 2 tablespoons honey - 1 teaspoon garlic powder - 1 teaspoon ginger powder - Salt and pepper to taste - 1 cup apricot preserves - 1 tablespoon soy sauce - Fresh cilantro for garnish Each ingredient plays a key role in creating rich flavors. The chicken is tender and juicy, thanks to the coconut milk marinade. The coconut adds a nice crunch, while the apricot sauce brings sweetness and tang. You can find the full recipe to help you combine these ingredients perfectly. Preparing the Marinade Start by mixing the marinade. In a bowl, combine one cup of coconut milk, one tablespoon of lime juice, and two tablespoons of honey. Add one teaspoon each of garlic powder and ginger powder. Season with salt and pepper. Make sure the mix is smooth. The Importance of Marination Time Place the chicken breasts in the marinade. Cover the bowl and put it in the fridge. Let it marinate for at least 30 minutes. For best results, aim for 1-2 hours. This step boosts flavor and keeps the chicken moist. Cooking Techniques for Sauce Preparation In a small saucepan, mix one cup of apricot preserves with one tablespoon of soy sauce. Heat over medium heat. Stir the mixture well. Bring it to a gentle simmer, stirring now and then. Tips for Thickness and Flavor Cook the sauce for about five minutes. This helps it thicken a bit. If you want a thicker sauce, let it simmer longer. Taste it to see if it needs more soy sauce for saltiness. Preheating the Oven Before you coat the chicken, preheat your oven to 375°F (190°C). This ensures even cooking. Coating the Chicken with Coconut Take the chicken out of the marinade. Let any excess marinade drip off. Roll each chicken breast in one cup of shredded coconut. Press firmly so that the coconut sticks well. Ideal Cooking Temperature and Time Place the coconut-coated chicken on a baking sheet lined with parchment paper. Bake it in your preheated oven for 25-30 minutes. This should cook the chicken through. Checking for Doneness Use a meat thermometer to check the chicken. It should reach an internal temperature of 165°F (75°C). If you don’t have a thermometer, cut into it. Make sure it’s no longer pink inside. Plating the Dish Once the chicken is done, take it out of the oven. Let it rest for a few minutes. This helps the juices settle. Serve the chicken on a plate. Garnishing with Fresh Cilantro Drizzle the warm apricot sauce over the chicken. Top it off with fresh cilantro. This adds a burst of color and flavor. Enjoy your Coconut Chicken with Apricot Sauce! For the full recipe, check out the complete instructions. - Substituting Ingredients: You can swap honey for maple syrup for a vegan twist. Try a different fruit preserve, like peach, if apricot isn't your favorite. - Adding Spices and Herbs: Add a pinch of cayenne for heat. Fresh ginger adds a bright note. Chopped cilantro gives a fresh burst when served. - Recommended Baking Sheets and Pans: Use a heavy-duty baking sheet. This helps the chicken cook evenly and achieve a nice crust. Parchment paper makes for easy cleanup. - Using Meat Thermometers: A meat thermometer ensures your chicken is safe to eat. Check the thickest part of the breast. It should read 165°F (75°C) for perfect doneness. - Best Practices for Prep and Cook Time: Marinate the chicken for at least one hour. This makes the flavors richer. Prep and bake time takes about an hour for the whole dish. - How to Plan Ahead for Quick Meals: Marinate the chicken the night before. You can also make the apricot sauce ahead. Just reheat before serving to save time. For the full recipe, check the details above! {{image_2}} You can change up the meat in this dish. Try using fish like salmon or tilapia for a lighter option. Tofu is great if you want a plant-based meal. It absorbs flavors well. Just remember to marinate it just like chicken for the best taste. If you're looking for a dairy-free option, coconut milk is your friend. It adds creaminess without any dairy. You can also find coconut yogurt for a similar effect in sauces. Balancing sweet and savory is key here. You can add more honey for sweetness or soy sauce for saltiness. If you want a tangy twist, try adding more lime juice. This will brighten up the dish. For spice lovers, consider adding chili flakes or cayenne pepper. Start with a small amount and taste as you go. You can always add more spice, but it’s hard to take it out! This dish pairs well with many sides. Consider serving it with jasmine rice or quinoa. Both add a nice base for the chicken and sauce. Steamed vegetables also work well. They add color and nutrition to your plate. For presentation, think about how you plate the dish. Use a white plate for contrast. Drizzle the warm apricot sauce over the chicken. Garnish with fresh cilantro for a pop of color. You can also add lime wedges for a fresh touch. Explore the [Full Recipe] for more ways to enjoy Coconut Chicken with Apricot Sauce! To store your leftovers, place the coconut chicken in an airtight container. You can keep it in the fridge for up to four days. Make sure it cools down before sealing the container. This helps keep the chicken fresh and tasty. If you notice any off smells or changes in color, it's best to discard it. If you want to save coconut chicken for later, freezing is a great option. Wrap each piece tightly in plastic wrap, then place them in a freezer bag. Label the bag with the date. Coconut chicken can last for about three months in the freezer. To thaw, move it to the fridge overnight or use the microwave. When you're ready to enjoy your meal again, reheating is simple. You can use the oven at 350°F (175°C) or the microwave. If using the oven, cover it with foil to keep moisture in. This helps the chicken stay juicy. For safety, ensure that the chicken heats to at least 165°F (75°C) before eating. Always check the center to make sure it’s hot. Enjoy your flavorful delight! To make this dish, follow these steps: 1. Marinate the chicken in a mix of coconut milk, lime juice, honey, garlic powder, and ginger powder. Season it with salt and pepper. Let it sit for at least 30 minutes. 2. Cook the apricot sauce by heating apricot preserves and soy sauce in a pan. Stir until it thickens. 3. Coat the marinated chicken in shredded coconut. 4. Bake the chicken at 375°F (190°C) for 25-30 minutes. 5. Serve with the warm apricot sauce on top. This simple process gives you a flavorful delight. For a detailed recipe, check the Full Recipe. Yes, you can use frozen chicken breasts. Thaw the chicken first in the fridge overnight or in cold water for a quicker method. Once thawed, you can marinate it like fresh chicken. This ensures even flavor and better texture when cooked. This dish pairs well with: - Steamed jasmine rice - Roasted vegetables - A light salad with citrus dressing - Coconut rice for an extra coconut flavor These sides balance nicely with the sweet and savory notes of the chicken. Yes, this recipe is gluten-free. Most ingredients, like coconut milk and apricot preserves, do not contain gluten. Just ensure your soy sauce is labeled gluten-free, as traditional soy sauce may contain wheat. To make more servings, simply multiply the ingredient amounts by the number of servings you want. Keep in mind that cooking time may change. Check the chicken's internal temperature to ensure it's at 165°F (75°C). Adjust the baking sheet size if needed to fit all the chicken. In this blog post, I covered how to make Coconut Chicken with Apricot Sauce. We discussed the key ingredients, focusing on marination and sauce techniques. I shared baking tips and serving suggestions for a flavorful dish. Remember to explore ingredient swaps for variety and proper storage to keep leftovers fresh. Cooking should be fun, and this recipe is a great way to experiment. I hope you find joy in creating this meal. Enjoy your cooking and the delicious results!](https://lisadishes.com/wp-content/uploads/2025/04/7b7870c6-9a30-404d-8ad0-b2003651ebfc-300x300.webp)

![- 1 cup unsweetened cocoa powder - 1 cup granulated sugar - 1 cup brown sugar, packed - 1/2 cup unsalted butter, melted - 4 large eggs - 1 teaspoon vanilla extract - 1/2 cup all-purpose flour - 1/4 teaspoon salt - 2 cups fresh strawberries, hulled and sliced - 1 tablespoon lemon juice - 1 cup heavy cream - 2 tablespoons powdered sugar - Optional chocolate drizzle - Fresh mint leaves for garnish - Baking pan - Mixing bowls - Electric mixer (for whipping cream) The ingredients for this brownie strawberry shortcake are simple yet effective. The cocoa powder gives a rich taste. The mix of sugars adds sweetness. Butter provides richness, while eggs bind everything together. Vanilla brings warmth to the flavor. Flour and salt balance the mix. Fresh strawberries add a juicy and fruity bite. Lemon juice brightens the strawberries’ flavor. Heavy cream becomes a fluffy topping when whipped. Powdered sugar sweetens the cream perfectly. You can add a chocolate drizzle for extra flair. For equipment, a baking pan helps shape the brownies. Mixing bowls are essential for combining ingredients. An electric mixer makes whipping cream easy and quick. You can find all these ingredients and tools at your local store. This recipe is well-rounded. You get rich brownies, sweet strawberries, and creamy whipped cream. Enjoy the balance of flavors and textures in every bite. I love how simple it is to make this treat delicious and beautiful. You can find the full recipe above. 1. Preheat oven and prepare baking pan: Set your oven to 350°F (175°C). Grease a 9x9-inch baking pan. Line it with parchment paper, leaving some overhang. This helps with easy removal later. 2. Mixing dry ingredients: In a big bowl, whisk together 1 cup cocoa powder, 1 cup granulated sugar, 1 cup brown sugar, 1/2 cup flour, and 1/4 teaspoon salt. Make sure everything blends well. 3. Incorporating wet ingredients: Add 1/2 cup melted butter to the dry mix. Stir until smooth. Next, add 4 large eggs, one at a time. Then, mix in 1 teaspoon vanilla extract until well combined. 1. Pouring and spreading the batter: Pour your brownie batter into the prepared pan. Use a spatula to spread it out evenly. 2. Baking time and checking for doneness: Bake for 25-30 minutes. To check if they are done, insert a toothpick in the center. It should come out with a few moist crumbs. 3. Cooling brownies before assembly: Once baked, let the brownies cool completely in the pan. Place them on a wire rack. After they cool, lift them out using the parchment paper and cut them into squares. 1. Macerating the strawberries with lemon juice: In a bowl, mix 2 cups hulled and sliced strawberries with 1 tablespoon lemon juice. Let them sit for about 15 minutes. This softens them and brings out their sweetness. 2. Preparing the whipped cream: In another bowl, whip 1 cup heavy cream and 2 tablespoons powdered sugar together. Beat until soft peaks form. This creates a light and fluffy topping. 3. Tips for achieving perfect whipped cream: To get the best whipped cream, use cold cream and a chilled bowl. This helps it whip faster and hold its shape better. Now, you have all the steps to create this luscious Brownie Strawberry Shortcake delight! For the full recipe, check [Full Recipe]. To make your brownies just right, avoid over-mixing your batter. When you mix too much, the brownies can become tough. Mix until the flour disappears, and then stop. This keeps the brownies soft and chewy. Next, aim for the ideal brownie texture. You want them fudgy, not cakey. Check them in the oven around 25 minutes. When a toothpick comes out with a few moist crumbs, they are done. Let them cool completely before cutting to help maintain their shape. When you assemble your dessert, think about layering. Start with a brownie square, then add strawberries and whipped cream. Repeat the layers for a tall treat. This creates a beautiful, tasty dessert. For a nice plate presentation, use a drizzle of chocolate sauce. Place a mint leaf on top for color. This adds a fresh touch, making your dessert look as good as it tastes. You can use alternative sweeteners in your whipped cream. Try honey or maple syrup for a different flavor. This can make your cream lighter and still sweet. To boost the flavor, add extracts. A drop of almond or orange extract can elevate your whipped cream. This small change can make a big difference in taste. For the full recipe, check out the complete guide to Brownie Strawberry Shortcake. {{image_2}} You can switch up the fruit toppings for this dessert. Instead of strawberries, try raspberries or blueberries. They add a nice tartness. You can also mix in nuts or chocolate chips into the brownie batter. Walnuts or pecans give a nice crunch. Chocolate chips add more chocolate flavor. Both options make the brownies even more exciting. If you want vegan options, you can replace eggs with applesauce or flaxseed. Use plant-based butter and coconut cream for the whipped topping. For gluten-free brownies, swap all-purpose flour with almond flour or a gluten-free blend. This way, everyone can enjoy this dessert. You can serve this treat in fun ways. Individual dessert cups are great for parties. Layer the brownies, whipped cream, and fruit in clear cups. This looks pretty and makes it easy to serve. Another idea is to layer all the ingredients in a trifle dish. This big dessert looks impressive and is perfect for sharing. To keep your dessert layers fresh, store them in a cool, dry place. Use an airtight container to prevent moisture from ruining the brownies or whipped cream. If you have leftover strawberries, keep them in the fridge. You can also layer the components in a container to save space. For reheating brownies, place them in the microwave for 10-15 seconds. This will make them soft and warm. In the refrigerator, your Brownie Strawberry Shortcake will last about 3 days. If you want to keep it longer, you can freeze it. Wrap the brownies tightly in plastic wrap and then in foil. This method helps to avoid freezer burn. They can last up to 2 months in the freezer. For macerated strawberries, store them in a sealed container in the fridge. They should stay fresh for up to 2 days. To keep whipped cream light and fluffy, store it in a separate container. You can also add a pinch of cornstarch to help it hold its shape longer. Avoid mixing it again right before serving to keep the texture perfect. For the full recipe, check the details above. You can use vegan egg alternatives like applesauce or flaxseed. Each option works well. For applesauce, use 1/4 cup for each egg. Flaxseed needs mixing. Combine 1 tablespoon of ground flaxseed with 2.5 tablespoons of water. Let it sit for 5 minutes to thicken. Yes, you can use frozen strawberries. Thaw them first and drain excess liquid. This will keep your dessert from becoming too watery. Frozen strawberries can still taste sweet and delicious. The best way is the toothpick test. Insert a toothpick into the center of the brownies. If it comes out with a few moist crumbs, they are ready. If it’s wet with batter, they need more time. Making whipped cream is simple and fun. Start with cold heavy cream in a bowl. Use an electric mixer on medium speed. Whip until soft peaks form. Add 2 tablespoons of powdered sugar for sweetness. Continue until you reach your desired consistency. You now have all the tools to create a delicious brownie strawberry shortcake. From mixing the ingredients to perfecting your whipped cream, each step counts. Remember the tips for achieving the best texture and flavor. Don’t hesitate to try variations to make it your own. Whether for a special event or just a treat, this dessert will impress. Enjoy sharing your tasty creation with friends and family. Happy baking!](https://lisadishes.com/wp-content/uploads/2025/05/aa4b7f26-2eef-40a9-a1da-9d27c98bbf26-300x300.webp)
![- Fresh strawberries - Heavy whipping cream - Cream cheese Fresh ingredients make this cake special. Use ripe strawberries for the best flavor. The heavy whipping cream adds a rich texture. Cream cheese gives a creamy base that holds everything together. - Powdered sugar - Vanilla extract - Graham crackers Pantry ingredients are easy to find. Powdered sugar sweetens the cream and helps it stay thick. Vanilla extract adds a lovely aroma. Graham crackers form the cake's base, giving a nice crunch. - Lemon zest - Fresh mint leaves for garnish Optional ingredients can enhance the cake. Lemon zest adds brightness and a fresh twist. Mint leaves provide a pop of color and a nice flavor when you serve the cake. You can skip these, but they add a nice touch. For the full recipe, check out the details above. To make the whipped cream, start with cold heavy cream. Pour it into a large bowl. Use a hand mixer or stand mixer to beat the cream. Beat it until soft peaks form. This means the cream will hold its shape but still be smooth. Be careful not to overbeat it. Overbeating will turn it into butter! In a separate bowl, add softened cream cheese. Mix in powdered sugar and vanilla extract. Use a spatula or mixer to blend until smooth. The mixture should be creamy and lump-free. You may also add lemon zest here for a fresh taste. This step adds a nice touch to the cream cheese. Grab a rectangular dish for the cake. Start by laying down a layer of graham crackers. Make sure to cover the bottom completely. Next, spread half of the cream mixture over the crackers. Then, layer half of the sliced strawberries on top. Repeat these layers with more graham crackers, the remaining cream, and the rest of the strawberries. Cover the dish with plastic wrap. Refrigerate it for at least four hours or overnight. This helps the flavors mix and the graham crackers soften. Enjoy this easy and creamy delight! For the full recipe, check out the No Bake Strawberry Icebox Cake. To make your icebox cake shine, start with clean layers. Use a flat dish for even stacking. Place a layer of graham crackers at the bottom first. Spread your cream mixture evenly on top. This helps flavors blend well. Next, layer half of your strawberries on the cream. Repeat this process for the second layer. This method ensures every bite is rich in flavor. The right consistency is key for a perfect dessert. When whipping your cream, stop when soft peaks form. This keeps the cream light and airy. Mix the cream cheese until smooth before adding sugar and vanilla. Gently fold the whipped cream into the cream cheese mix. This keeps it fluffy. For extra zing, add lemon zest. It brightens the flavor without overpowering it. Presentation matters for this beautiful cake. Cut it into neat squares for easy serving. You can add fresh mint leaves on top for a pop of color. Consider serving it on a colorful plate to make it stand out. Pair it with a scoop of vanilla ice cream for extra delight. For a fun twist, drizzle some chocolate sauce over the top. These small touches make your dessert memorable. For the full recipe, check the section above. {{image_2}} You can change up the flavors in your icebox cake. Try using different fruits like blueberries, raspberries, or peaches. You can even mix in some chocolate or caramel. Each fruit gives a new taste. It’s fun to get creative. Add a splash of juice or extract for extra flavor. For example, almond or coconut extracts can add a lovely twist. This will keep your dessert fresh and exciting. If you need a gluten-free version, it’s easy to swap out the graham crackers. Use gluten-free cookies or crackers instead. Many options are available at the store. Just make sure to check the labels. You can also use crushed gluten-free oats for a great base. This way, everyone can enjoy the cake without worry. For a dairy-free icebox cake, use non-dairy cream cheese and whipped cream. Almond, coconut, or soy-based options work well. Make sure to choose brands that whip well. You can still achieve that creamy texture. This means all your friends can enjoy a slice too! With these options, everyone can enjoy this easy and creamy delight. If you want to try the classic version, check out the Full Recipe for more details. To keep your no bake strawberry icebox cake fresh, wrap it well. Use plastic wrap or aluminum foil. This helps prevent the cake from drying out. Store it in the fridge. Make sure it is in an airtight container if possible. This keeps the flavors intact. Yes, you can freeze this cake! First, let the cake set in the fridge for at least 4 hours. Then, slice it into squares. Wrap each piece in plastic wrap. Place the wrapped pieces in a freezer-safe bag. This helps save space. When ready to enjoy, thaw in the fridge overnight before serving. In the fridge, your no bake strawberry icebox cake lasts about 3 to 4 days. The graham crackers will soften over time, which is normal. If frozen, it can last for up to 2 months. Just remember, the sooner you eat it, the fresher it will taste. Enjoy every bite! A No Bake Strawberry Icebox Cake is a chilled dessert made with layers of graham crackers, cream, and strawberries. It is light, creamy, and full of sweet fruit flavor. You build it in a dish and let it chill in the fridge. The graham crackers soften and blend with the creamy mix. The dessert is easy to make and does not require any baking, making it perfect for hot days. To get the best results, chill the cake for at least 4 hours. If you can, let it set overnight. This time helps the flavors mix and the texture become creamy. You want the graham crackers to soften well, so they melt in your mouth. Yes, you can use frozen strawberries. They can save time and are often cheaper. However, they may not taste as fresh. Frozen strawberries release more juice when thawed, which can make the cake a bit watery. If you use them, be sure to drain any excess juice. Fresh strawberries give a brighter flavor and firmer texture, which I prefer. For the full recipe and more tips, check out the [Full Recipe]. This blog post outlined how to make a delicious No Bake Strawberry Icebox Cake. We covered fresh and pantry ingredients, plus some optional ones for extra flavor. You learned the step-by-step process, from whipping cream to layering the cake. We shared tips for perfect layers and consistency, along with creative serving ideas. Variations included gluten-free and dairy-free options. Don't forget about smart storage methods to keep your cake fresh! I hope you feel ready to create this easy dessert. It’s a fun treat for any occasion.](https://lisadishes.com/wp-content/uploads/2025/06/177dd1f2-5ff9-4bee-87e2-dae1360e2053-300x300.webp)

