Latest & Greatest

Crispy Bang Bang Salmon Bites Easy and Flavorful Dish
Looking for a quick and tasty way to enjoy salmon? My Crispy Bang Bang Salmon Bites are the answer! They combine fresh salmon with a crunchy…
Read more…
Savory 3 Ingredient Orange Chicken Quick and Easy Meal
Looking for a quick and easy meal that packs a punch of flavor? This Savory 3 Ingredient Orange Chicken is your answer! With just chicken breast,…
Read more…
One Pot Taco Pasta Quick and Flavorful Meal
Are you ready to spice up your dinner routine? With my One Pot Taco Pasta, you can whip up a quick and tasty meal that the…
Read more…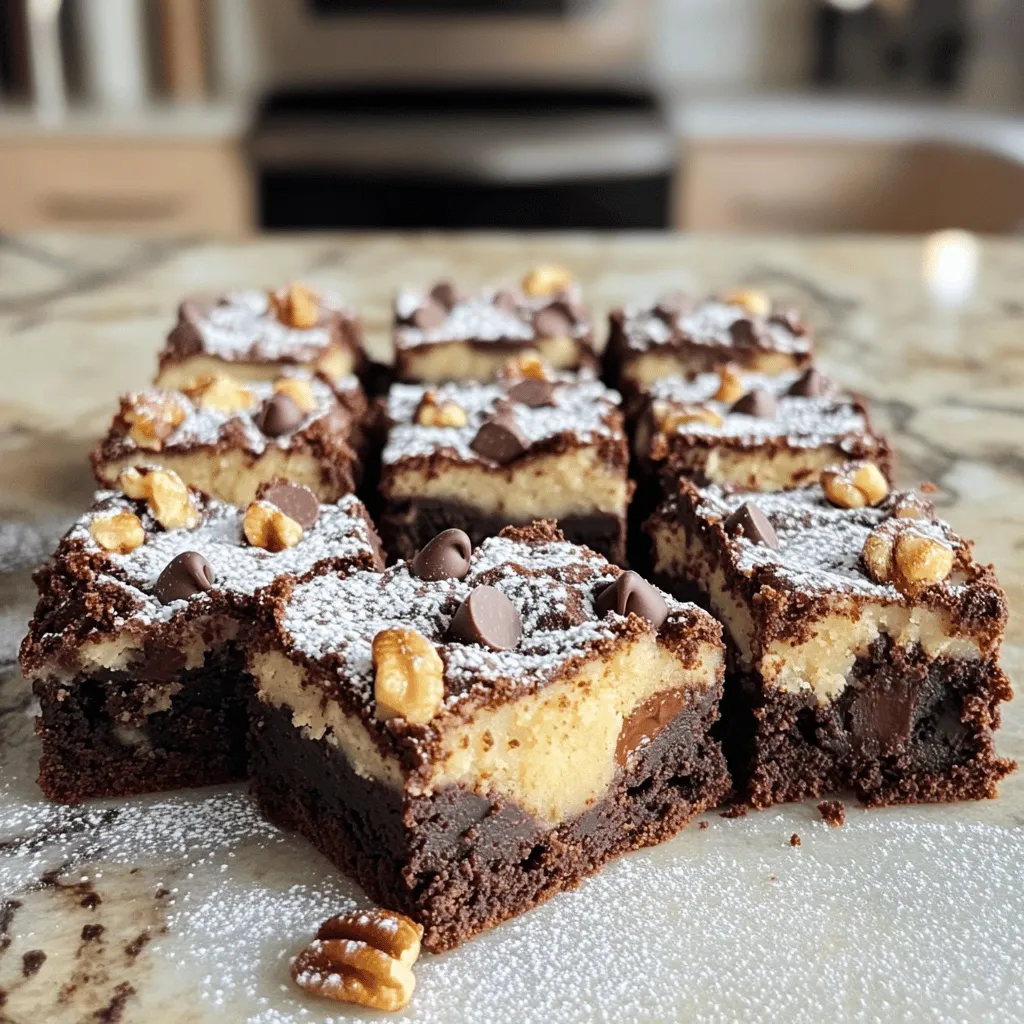
Fudgy Chewy Brookies Irresistible Dessert Recipe
Are you ready to enjoy a treat that combines the best of both worlds? Fudgy chewy brookies are the perfect blend of brownies and cookies, giving…
Read more…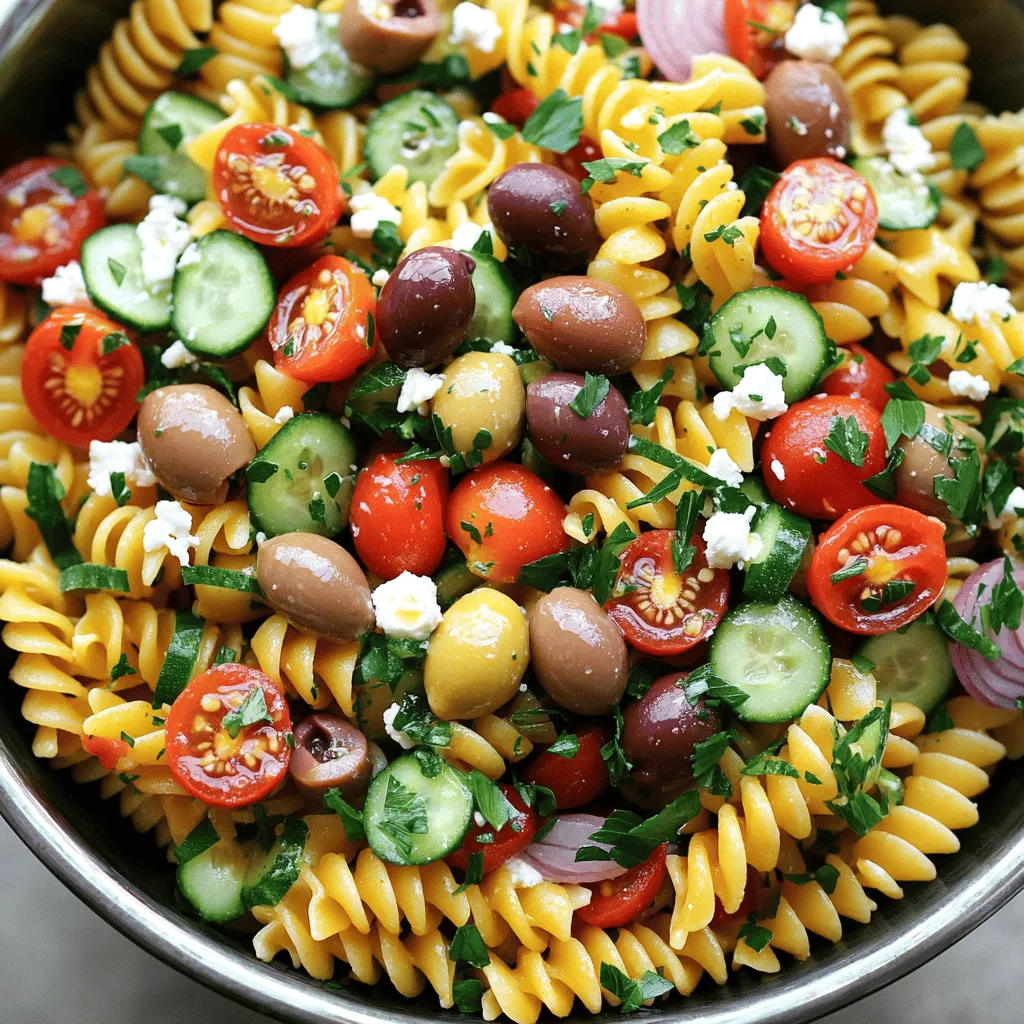
Mediterranean Pasta Salad Fresh Flavorful Delight
Are you ready to brighten your meal with a Mediterranean Pasta Salad? This fresh and flavorful dish brings together vibrant ingredients, making it a perfect choice…
Read more…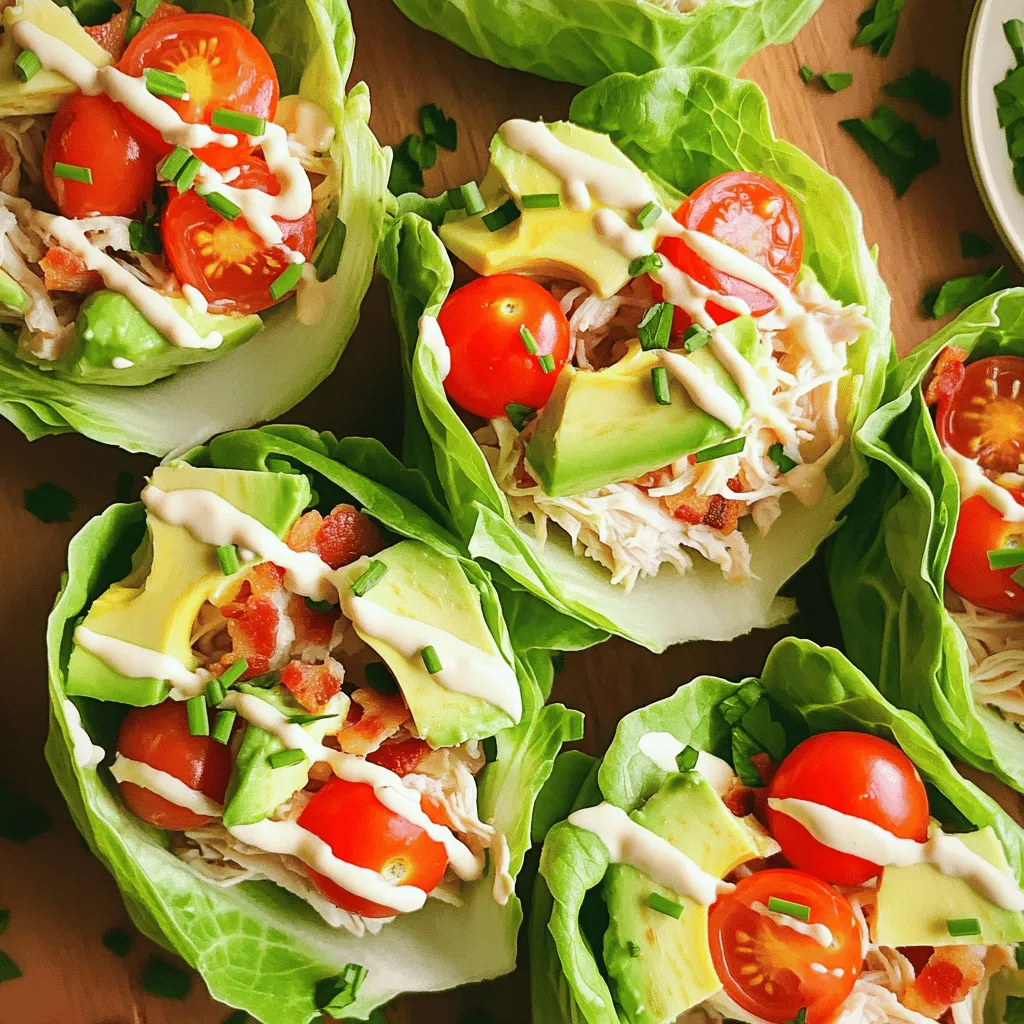
Savory Chicken Club Lettuce Wraps Healthy Snack Idea
Are you looking for a quick, healthy snack that packs a flavor punch? Let me introduce you to savory Chicken Club Lettuce Wraps! These wraps combine…
Read more…
Buffalo Chicken Tortilla Roll-Ups Easy Weeknight Meal
Looking for a quick and tasty dinner? These Buffalo Chicken Tortilla Roll-Ups are your answer! In just a few easy steps, you can whip up a…
Read more…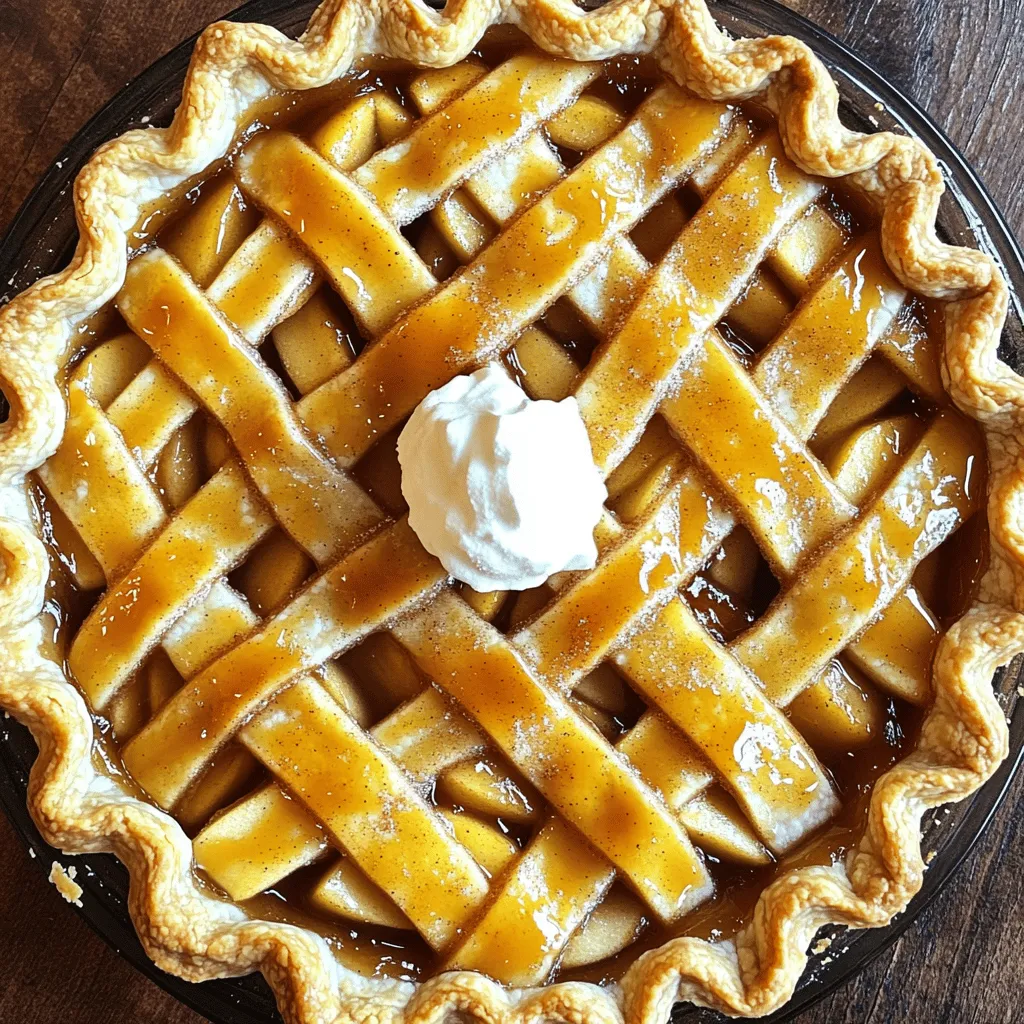
Easy Caramel Apple Pies Simple and Delicious Recipe
Are you craving something sweet and easy to make? You’re in the right place! This blog post shares my simple recipe for delicious caramel apple pies…
Read more…browse recipes

Instant Pot Chicken Tikka Masala Flavorful Delight
If you’re craving a rich, flavorful meal that’s easy to whip up, look no further than my Instant Pot Chicken Tikka Masala. This dish…
My Latest Desserts
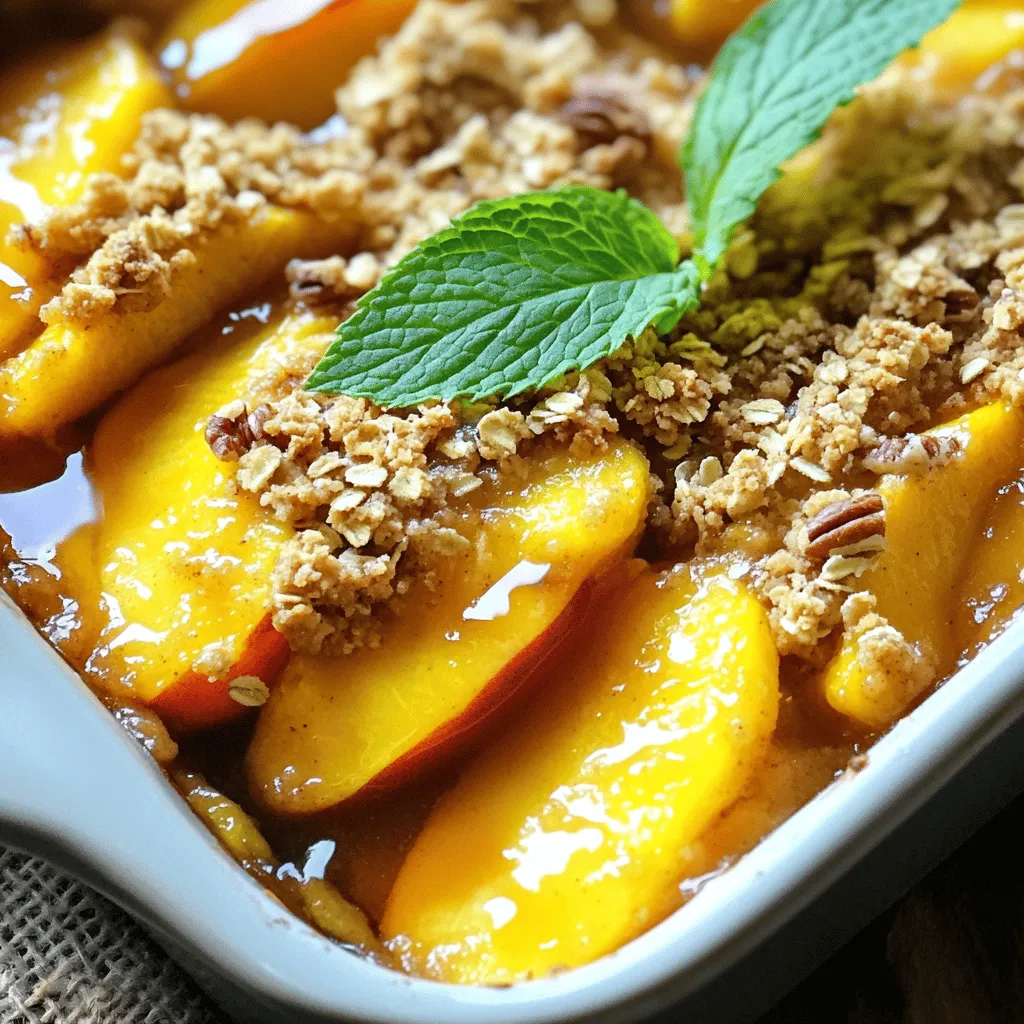
Peach Crisp with Oat Topping Simple Comfort Food
If you’re craving a dessert that combines juicy peaches with a crunchy oat topping, you’re in the right place! My Peach Crisp with Oat Topping is a warm and comforting... Read Full RecipeLemon Blueberry Muffins Fresh and Flavorful Treat
Looking for a fresh and tasty treat? My Lemon Blueberry Muffins are just what you need! Bursting with zesty lemon and sweet blueberries, these muffins are perfect for breakfast or... Read Full RecipeApple Cinnamon Overnight Oats Tasty and Simple Recipe
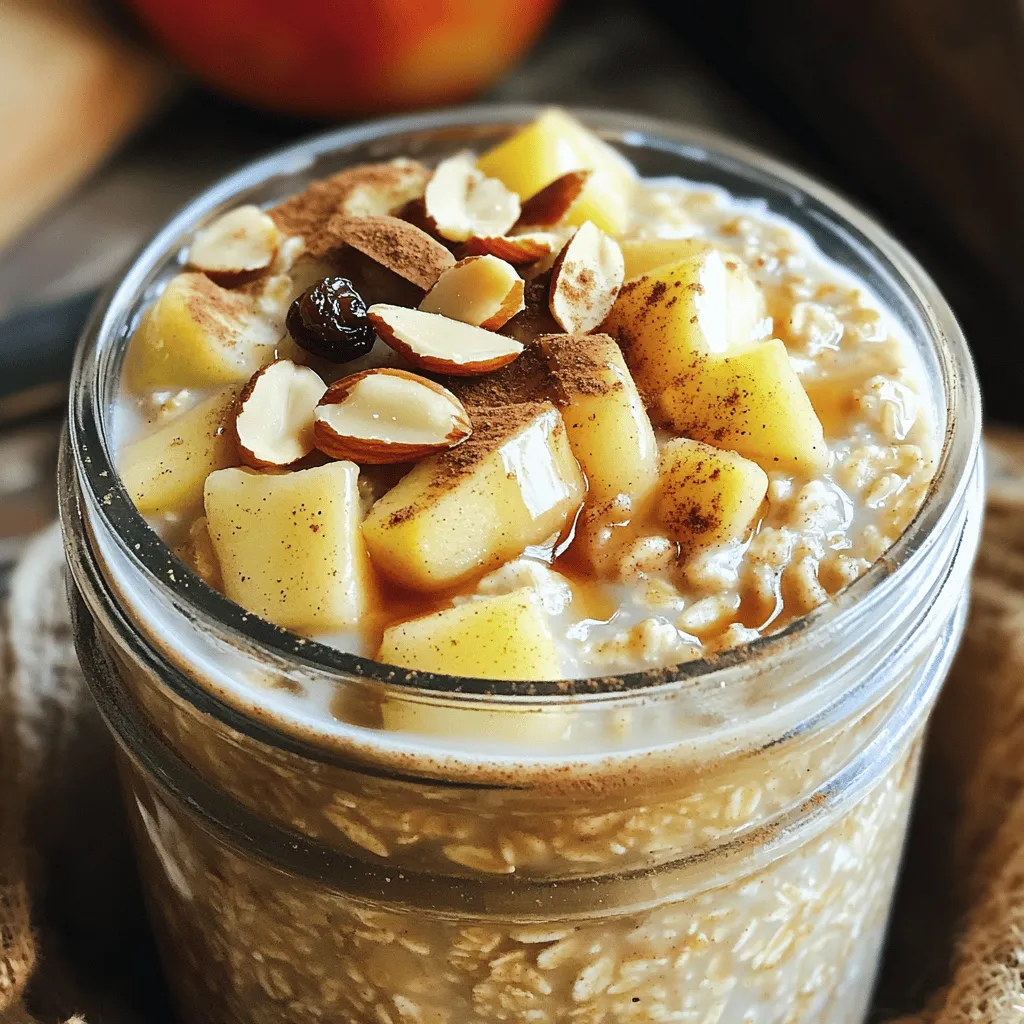
Start your mornings right with a delicious bowl of Apple Cinnamon Overnight Oats! This simple recipe combines wholesome ingredients to give you a quick, easy breakfast. You’ll only need a... Read Full RecipeEasiest Chocolate Lava Cake Quick and Delicious Treat
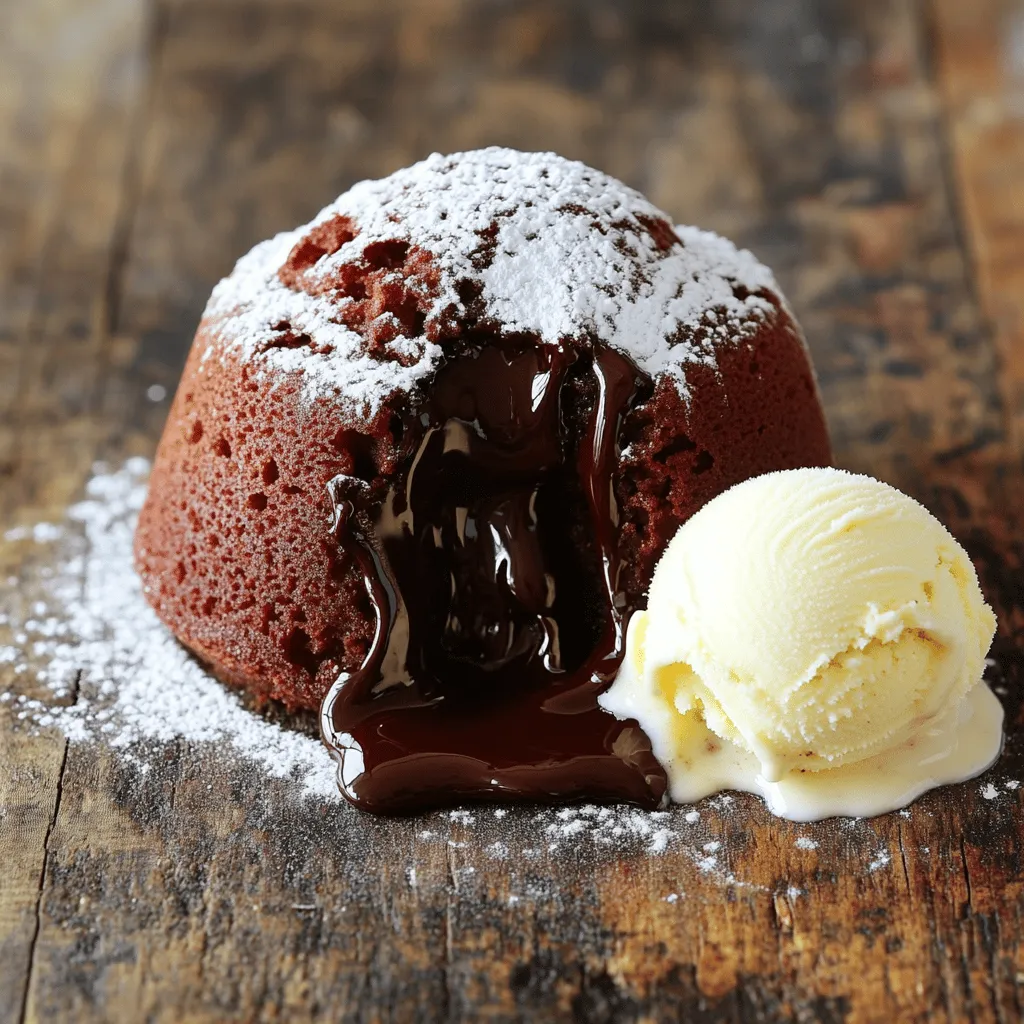
Craving a sweet treat that impresses without complicated steps? You’ll love this Easiest Chocolate Lava Cake recipe! This dessert is quick to make and packed with gooey chocolate goodness. With... Read Full RecipeMaple Pecan Pie Bars Delightful Dessert Treat
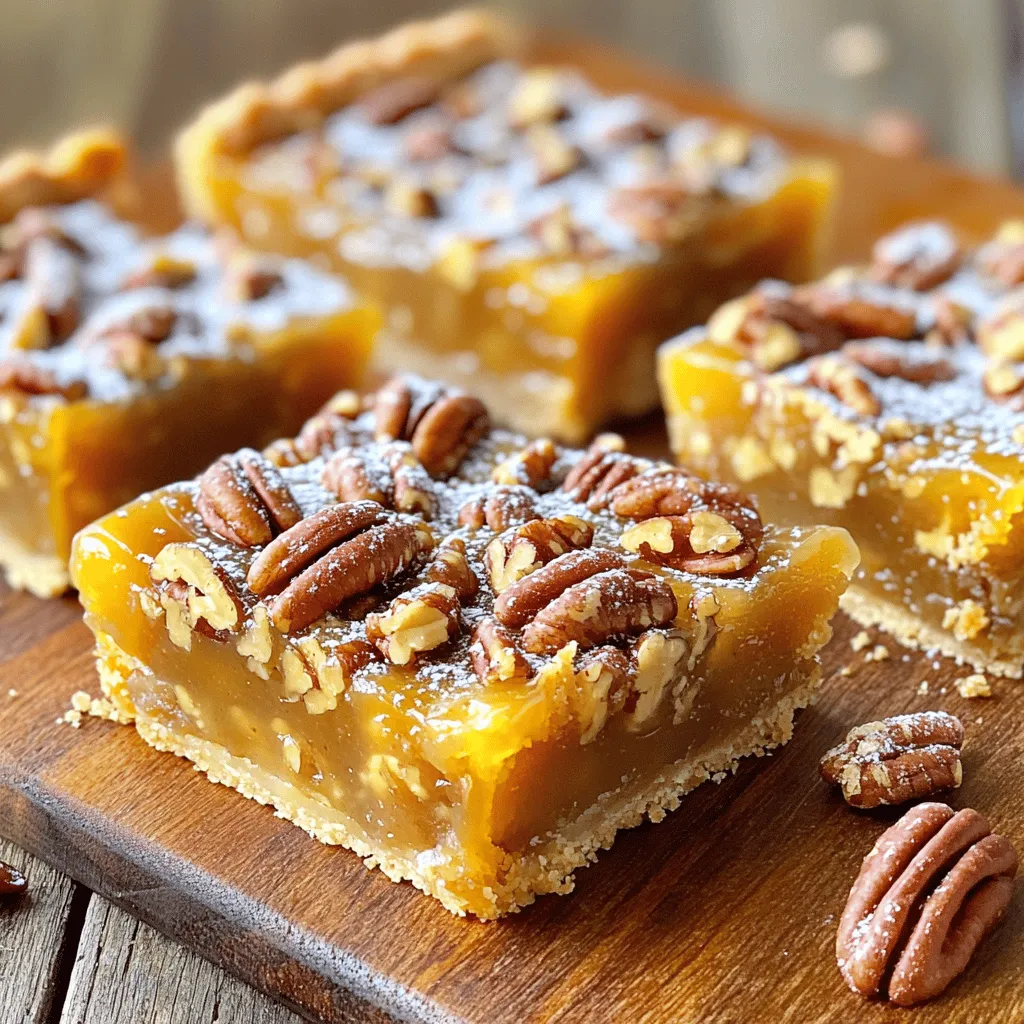
Are you ready to indulge in a delightful dessert? These Maple Pecan Pie Bars are a sweet twist on a classic favorite! With crunchy pecans and rich maple flavor, every... Read Full RecipeVegan Chocolate Avocado Mousse Rich and Creamy Delight
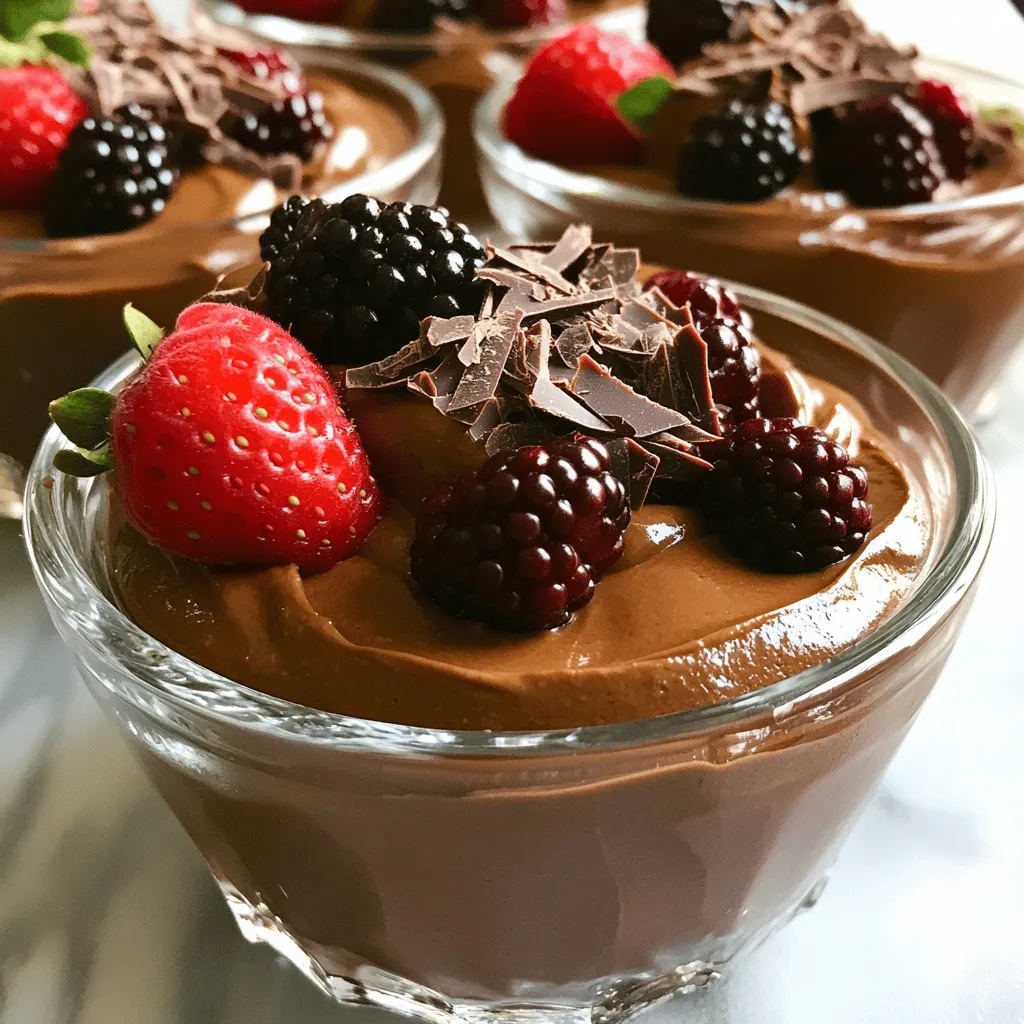
If you crave a dessert that’s both rich and healthy, you’re in the right place. This Vegan Chocolate Avocado Mousse combines ripe avocados, unsweetened cocoa powder, and a touch of... Read Full RecipePeanut Butter Chocolate Chip Cookies Simple and Sweet
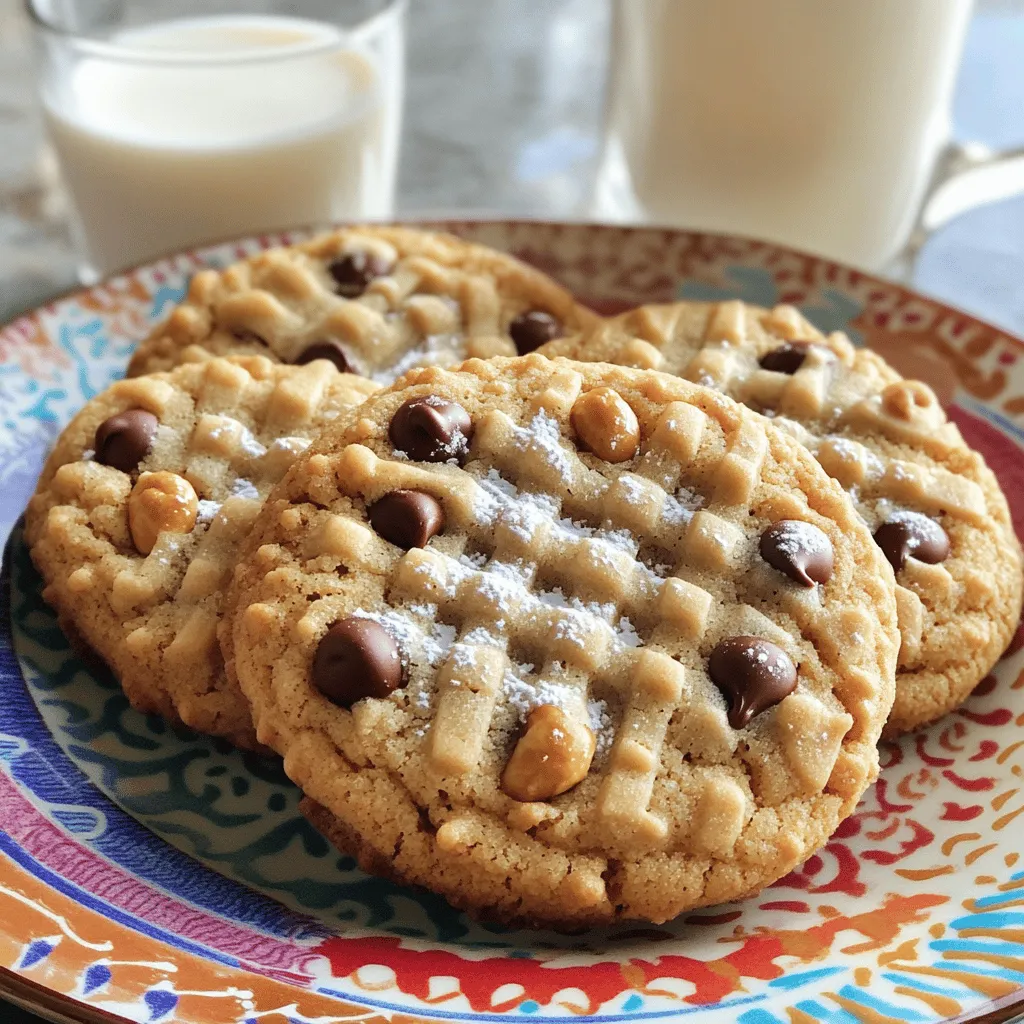
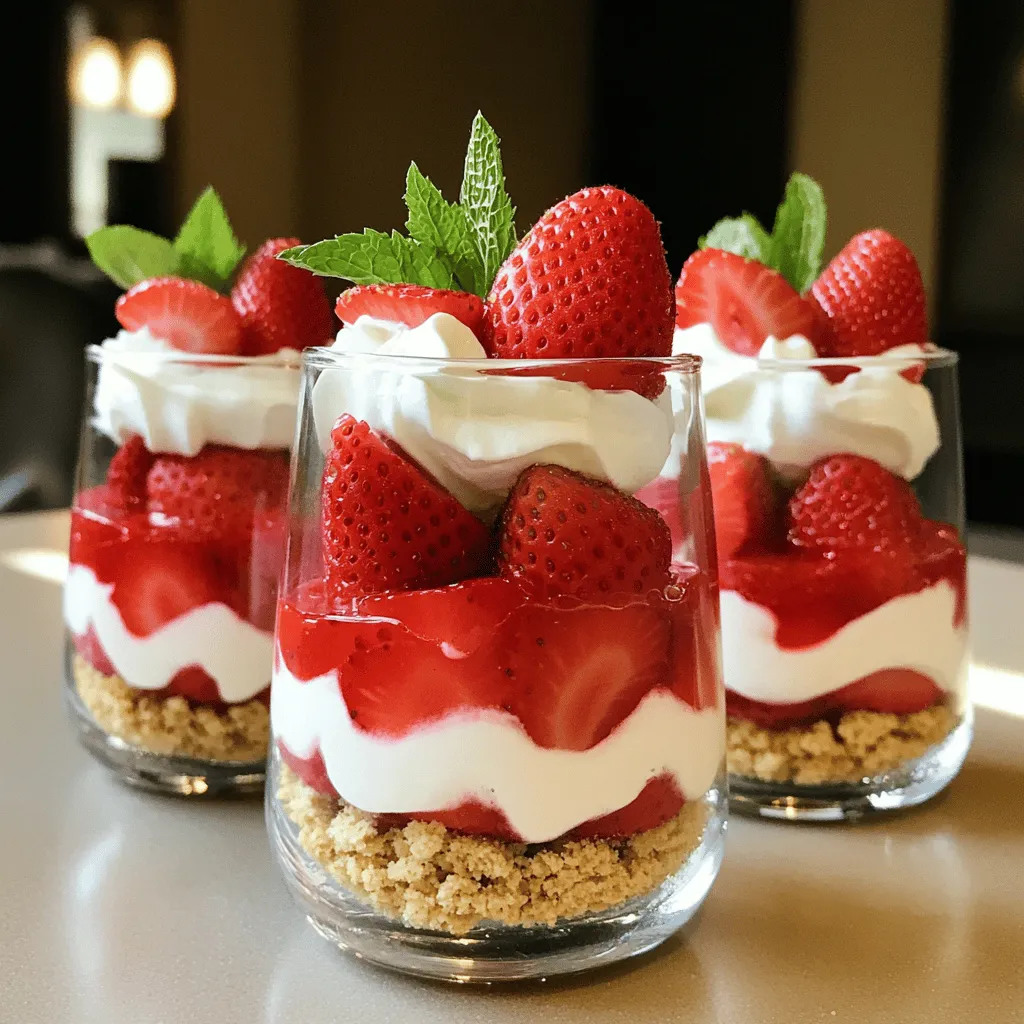
If you love the rich taste of peanut butter and the sweetness of chocolate, you’re in for a treat! This blog post will guide you through making simple and sweet... Read Full RecipeNo-Bake Strawberry Shortcake Quick and Simple Delight
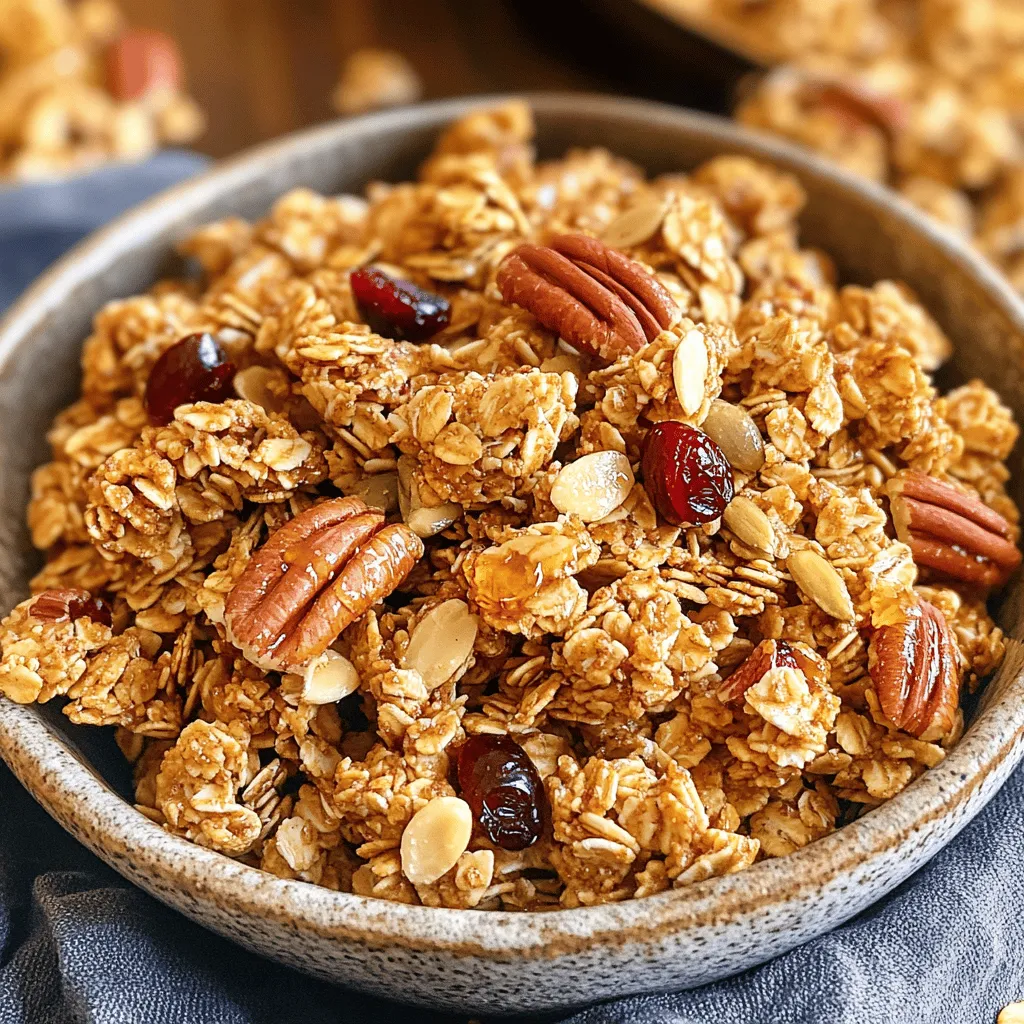
Are you craving a sweet treat that’s easy and delicious? Look no further! My No-Bake Strawberry Shortcake is a quick and simple delight, perfect for any occasion. With just a... Read Full RecipeMaple Pecan Granola Crunchy and Healthy Snack
Looking for a tasty yet healthy snack? You’ll love my Maple Pecan Granola! This crunchy treat is simple to make and packed with flavor. With a few key ingredients and... Read Full RecipeStrawberry Shortcake Trifle Delightful Layered Treat
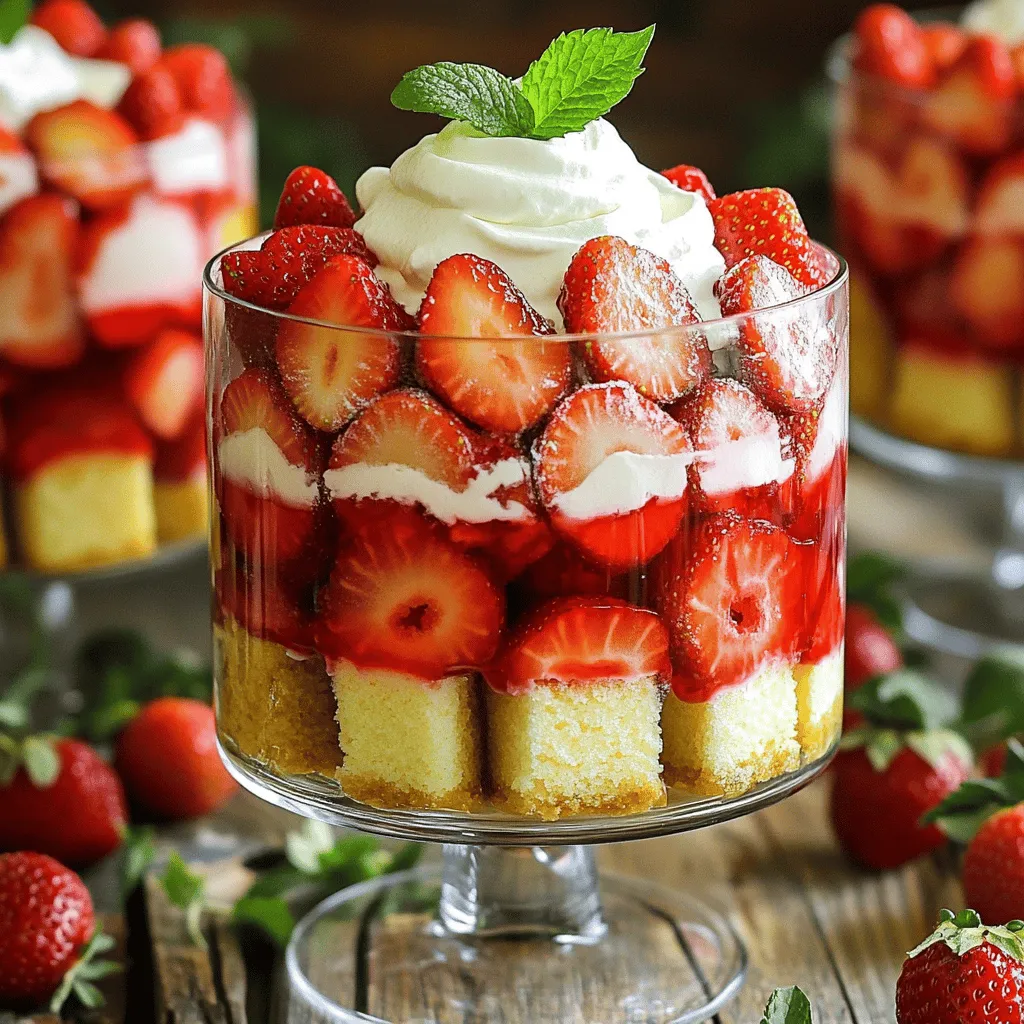
Are you ready to impress your friends with a strawberry shortcake trifle? This delightful layered treat combines juicy strawberries, fluffy whipped cream, and soft cake for pure indulgence. It’s a... Read Full Recipe
My Latest Recipes
hey,
i’m !
I’m so happy you’re here!
Each recipe I share is a little piece of love from my kitchen. May they fill your heart and home with warmth. Let’s cook up something wonderful together.
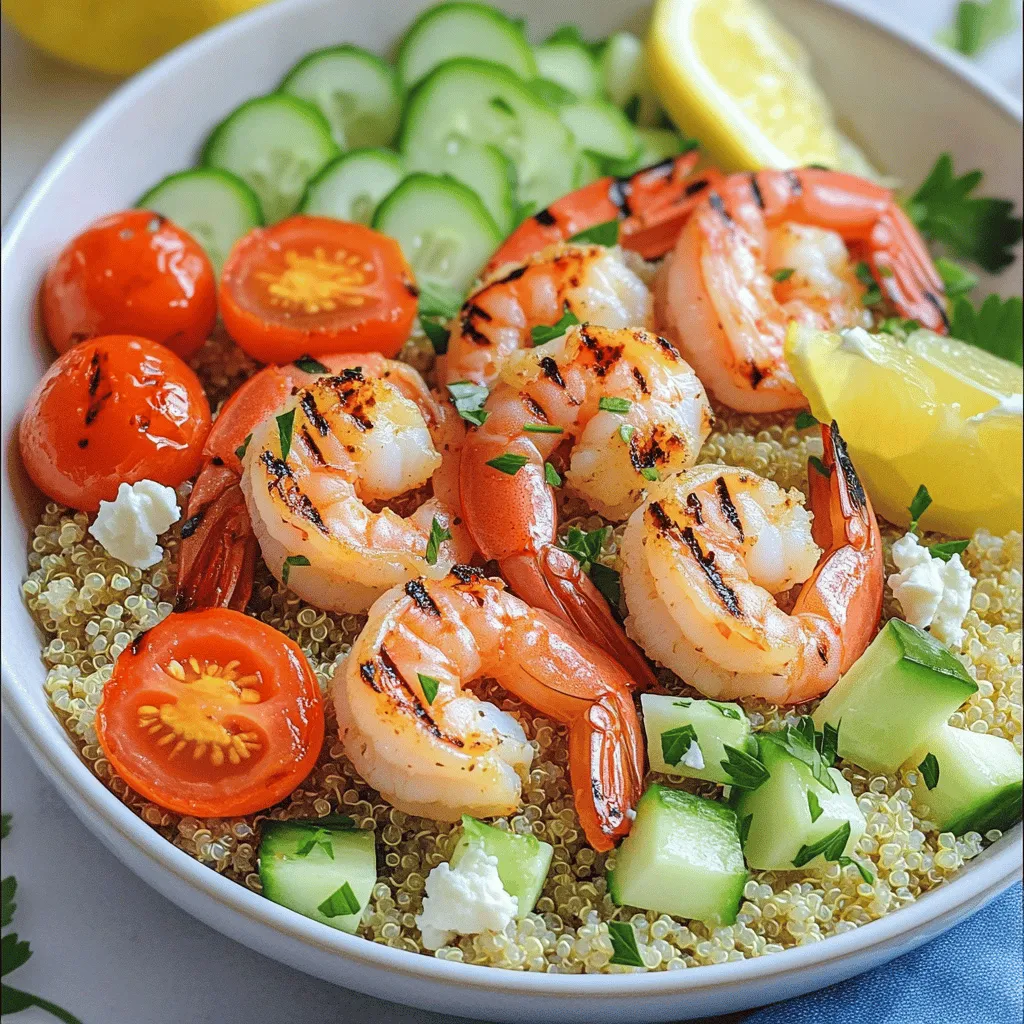
Grilled Shrimp Bowl with Garlic Sauce Flavor Boost
Dive into the delicious world of grilled shrimp with this easy Grilled Shrimp Bowl with Garlic Sauce! I’m excited to share a simple recipe…







![- 1 cup unsweetened cocoa powder - 1 cup granulated sugar - 1 cup brown sugar, packed - 1/2 cup unsalted butter, melted - 4 large eggs - 1 teaspoon vanilla extract - 1/2 cup all-purpose flour - 1/4 teaspoon salt - 2 cups fresh strawberries, hulled and sliced - 1 tablespoon lemon juice - 1 cup heavy cream - 2 tablespoons powdered sugar - Optional chocolate drizzle - Fresh mint leaves for garnish - Baking pan - Mixing bowls - Electric mixer (for whipping cream) The ingredients for this brownie strawberry shortcake are simple yet effective. The cocoa powder gives a rich taste. The mix of sugars adds sweetness. Butter provides richness, while eggs bind everything together. Vanilla brings warmth to the flavor. Flour and salt balance the mix. Fresh strawberries add a juicy and fruity bite. Lemon juice brightens the strawberries’ flavor. Heavy cream becomes a fluffy topping when whipped. Powdered sugar sweetens the cream perfectly. You can add a chocolate drizzle for extra flair. For equipment, a baking pan helps shape the brownies. Mixing bowls are essential for combining ingredients. An electric mixer makes whipping cream easy and quick. You can find all these ingredients and tools at your local store. This recipe is well-rounded. You get rich brownies, sweet strawberries, and creamy whipped cream. Enjoy the balance of flavors and textures in every bite. I love how simple it is to make this treat delicious and beautiful. You can find the full recipe above. 1. Preheat oven and prepare baking pan: Set your oven to 350°F (175°C). Grease a 9x9-inch baking pan. Line it with parchment paper, leaving some overhang. This helps with easy removal later. 2. Mixing dry ingredients: In a big bowl, whisk together 1 cup cocoa powder, 1 cup granulated sugar, 1 cup brown sugar, 1/2 cup flour, and 1/4 teaspoon salt. Make sure everything blends well. 3. Incorporating wet ingredients: Add 1/2 cup melted butter to the dry mix. Stir until smooth. Next, add 4 large eggs, one at a time. Then, mix in 1 teaspoon vanilla extract until well combined. 1. Pouring and spreading the batter: Pour your brownie batter into the prepared pan. Use a spatula to spread it out evenly. 2. Baking time and checking for doneness: Bake for 25-30 minutes. To check if they are done, insert a toothpick in the center. It should come out with a few moist crumbs. 3. Cooling brownies before assembly: Once baked, let the brownies cool completely in the pan. Place them on a wire rack. After they cool, lift them out using the parchment paper and cut them into squares. 1. Macerating the strawberries with lemon juice: In a bowl, mix 2 cups hulled and sliced strawberries with 1 tablespoon lemon juice. Let them sit for about 15 minutes. This softens them and brings out their sweetness. 2. Preparing the whipped cream: In another bowl, whip 1 cup heavy cream and 2 tablespoons powdered sugar together. Beat until soft peaks form. This creates a light and fluffy topping. 3. Tips for achieving perfect whipped cream: To get the best whipped cream, use cold cream and a chilled bowl. This helps it whip faster and hold its shape better. Now, you have all the steps to create this luscious Brownie Strawberry Shortcake delight! For the full recipe, check [Full Recipe]. To make your brownies just right, avoid over-mixing your batter. When you mix too much, the brownies can become tough. Mix until the flour disappears, and then stop. This keeps the brownies soft and chewy. Next, aim for the ideal brownie texture. You want them fudgy, not cakey. Check them in the oven around 25 minutes. When a toothpick comes out with a few moist crumbs, they are done. Let them cool completely before cutting to help maintain their shape. When you assemble your dessert, think about layering. Start with a brownie square, then add strawberries and whipped cream. Repeat the layers for a tall treat. This creates a beautiful, tasty dessert. For a nice plate presentation, use a drizzle of chocolate sauce. Place a mint leaf on top for color. This adds a fresh touch, making your dessert look as good as it tastes. You can use alternative sweeteners in your whipped cream. Try honey or maple syrup for a different flavor. This can make your cream lighter and still sweet. To boost the flavor, add extracts. A drop of almond or orange extract can elevate your whipped cream. This small change can make a big difference in taste. For the full recipe, check out the complete guide to Brownie Strawberry Shortcake. {{image_2}} You can switch up the fruit toppings for this dessert. Instead of strawberries, try raspberries or blueberries. They add a nice tartness. You can also mix in nuts or chocolate chips into the brownie batter. Walnuts or pecans give a nice crunch. Chocolate chips add more chocolate flavor. Both options make the brownies even more exciting. If you want vegan options, you can replace eggs with applesauce or flaxseed. Use plant-based butter and coconut cream for the whipped topping. For gluten-free brownies, swap all-purpose flour with almond flour or a gluten-free blend. This way, everyone can enjoy this dessert. You can serve this treat in fun ways. Individual dessert cups are great for parties. Layer the brownies, whipped cream, and fruit in clear cups. This looks pretty and makes it easy to serve. Another idea is to layer all the ingredients in a trifle dish. This big dessert looks impressive and is perfect for sharing. To keep your dessert layers fresh, store them in a cool, dry place. Use an airtight container to prevent moisture from ruining the brownies or whipped cream. If you have leftover strawberries, keep them in the fridge. You can also layer the components in a container to save space. For reheating brownies, place them in the microwave for 10-15 seconds. This will make them soft and warm. In the refrigerator, your Brownie Strawberry Shortcake will last about 3 days. If you want to keep it longer, you can freeze it. Wrap the brownies tightly in plastic wrap and then in foil. This method helps to avoid freezer burn. They can last up to 2 months in the freezer. For macerated strawberries, store them in a sealed container in the fridge. They should stay fresh for up to 2 days. To keep whipped cream light and fluffy, store it in a separate container. You can also add a pinch of cornstarch to help it hold its shape longer. Avoid mixing it again right before serving to keep the texture perfect. For the full recipe, check the details above. You can use vegan egg alternatives like applesauce or flaxseed. Each option works well. For applesauce, use 1/4 cup for each egg. Flaxseed needs mixing. Combine 1 tablespoon of ground flaxseed with 2.5 tablespoons of water. Let it sit for 5 minutes to thicken. Yes, you can use frozen strawberries. Thaw them first and drain excess liquid. This will keep your dessert from becoming too watery. Frozen strawberries can still taste sweet and delicious. The best way is the toothpick test. Insert a toothpick into the center of the brownies. If it comes out with a few moist crumbs, they are ready. If it’s wet with batter, they need more time. Making whipped cream is simple and fun. Start with cold heavy cream in a bowl. Use an electric mixer on medium speed. Whip until soft peaks form. Add 2 tablespoons of powdered sugar for sweetness. Continue until you reach your desired consistency. You now have all the tools to create a delicious brownie strawberry shortcake. From mixing the ingredients to perfecting your whipped cream, each step counts. Remember the tips for achieving the best texture and flavor. Don’t hesitate to try variations to make it your own. Whether for a special event or just a treat, this dessert will impress. Enjoy sharing your tasty creation with friends and family. Happy baking!](https://lisadishes.com/wp-content/uploads/2025/05/aa4b7f26-2eef-40a9-a1da-9d27c98bbf26-300x300.webp)
. This link will give you all the details you need to make this quick and yummy meal! This blog post covered how to make One Pot Taco Pasta. We discussed key ingredients, cooking steps, and tips to elevate flavors. I shared ways to customize for different diets and offered storage advice. In closing, this dish is easy and versatile. You can enjoy it today and reinvent leftovers tomorrow. Grab your tools and ingredients, and let your cooking adventure begin!](https://lisadishes.com/wp-content/uploads/2025/04/80a7669a-3404-4ceb-972c-7c9be2e59224-300x300.webp)
![- 1 lb chicken breast, diced - 1 medium onion, sliced - 1 bell pepper (any color), sliced - 2 cloves garlic, minced - 1 can (14 oz) diced tomatoes (with juices) - 4 cups chicken broth - 1 tablespoon fajita seasoning (store-bought or homemade) - 1 can (15 oz) black beans, drained and rinsed - 1 cup corn (fresh, frozen, or canned) - 2 tablespoons olive oil - Salt and pepper to taste - Fresh cilantro, chopped (for garnishing) - Sliced avocado and lime wedges (for serving) Gathering these ingredients is key for a great soup. Start with the chicken breast. It gives your soup its rich flavor and protein. Use fresh chicken for the best taste. The onion and bell pepper add a nice sweetness and crunch. Slice them thinly to cook evenly. Garlic gives a bold taste. Mince it finely for even distribution. The canned diced tomatoes provide a juicy base. Their acidity balances the soup. Chicken broth is essential. It adds depth and body to the dish. Fajita seasoning is what makes this soup unique. You can buy it or make your own. Black beans add fiber and a creamy texture. They also boost the soup's heartiness. Corn, whether fresh or canned, adds a pop of sweetness. Finally, olive oil helps in sautéing the chicken and veggies. Don’t forget salt and pepper. They enhance all the flavors. For garnish, fresh cilantro, avocado, and lime wedges add freshness and zest. For the full recipe, check the complete guide! Cooking this Easy Chicken Fajita Soup is simple and fun. Let’s break it down step-by-step. 1. Heat olive oil in a large pot. Start by adding the olive oil to your pot. Use medium heat. This helps prepare the base for your soup. 2. Sauté chicken breast for 5 minutes. Add the diced chicken breast next. Cook it for about five minutes. You want the chicken to turn white and no longer be pink. 3. Add onion and bell pepper, cooking until softened. Toss in the sliced onion and bell pepper. Cook them for about five minutes until they start to soften. This adds great flavor! 4. Stir in garlic and cook for an additional minute. Now, add the minced garlic. Cook it for one more minute. The smell will be amazing! 5. Combine diced tomatoes, chicken broth, and seasonings. Next, add the can of diced tomatoes, chicken broth, and fajita seasoning. Stir well to mix everything. 6. Bring to boil, then simmer for 15-20 minutes. Turn up the heat until the soup boils. Then, lower the heat and let it simmer for 15 to 20 minutes. This blending of flavors is key! 7. Adjust seasoning with salt and pepper to taste. After simmering, taste your soup. Add salt and pepper as needed. This is where you can make it perfect for you! 8. Serve garnished and enjoy! Finally, ladle the soup into bowls. Top it with chopped cilantro, avocado slices, and a squeeze of lime. Enjoy your delicious meal! For the full details on making this tasty soup, check out the Full Recipe. - Use fresh ingredients for vibrant flavors. Fresh veggies make a big difference. - Adjust seasoning according to personal preference. Taste as you go for the best result. - Let the soup simmer longer for deeper flavor integration. This makes all the flavors blend well. - Best served hot with avocado and lime wedges. The fresh toppings add great taste. - Pair it with tortilla chips for extra crunch. Chips give a nice texture to the soup. - Offer toppings like sour cream or shredded cheese for customization. Everyone can make it their own. This soup is not just easy; it’s also packed with flavor. Check out the Full Recipe for all the details. Enjoy your cooking! {{image_2}} You can change up the protein in this soup. Swap chicken for beef or shrimp for a fresh twist. Each option brings a new taste. If you want a plant-based option, try adding beans or lentils. They add protein and texture. You can also play with the beans you use. Black beans work well, but you can try pinto or kidney beans for a different flavor. If you want more color, experiment with different peppers. Use green, yellow, or even spicy peppers for a kick. Each pepper adds its own unique taste to the soup. If you like heat, you can easily adjust the spice level. Increase the fajita seasoning for a bolder flavor. Want it even spicier? Add fresh jalapeños or a splash of hot sauce. This adds a zesty kick and makes the soup exciting. Feel free to taste as you go. This way, you can find the right level of spice for your taste buds. Enjoy mixing and matching flavors to make this soup your own. And if you want the full recipe, check out the [Full Recipe]. After you enjoy your easy chicken fajita soup, store any leftovers right. - Place them in an airtight container. - Keep them in the fridge for up to 3 days. - For longer storage, freeze the soup for up to 3 months. - Make sure to thaw it before you reheat. When it's time to enjoy your soup again, reheating is simple. - You can reheat it on the stove over medium heat. - If it looks thick, add some broth to loosen it up. - For a quick option, use the microwave. - Heat in short intervals, stirring in between for even warmth. This method keeps your soup tasty and fresh. - Can I make this soup in a slow cooker? Yes, you can! Just brown the chicken in a pan first. Then, add everything to your slow cooker. Cook on low for 6-8 hours or on high for 3-4 hours. This makes the flavors blend well. - Is it possible to prepare this recipe ahead of time? Absolutely! You can make the soup a day ahead. Store it in the fridge. The next day, just reheat it on the stove. The flavors will get even better overnight. - How can I make this recipe healthier? To make it healthier, use skinless chicken breast. You can also add more veggies like spinach or zucchini. This adds fiber and nutrients without many calories. - What is the best way to serve this soup? Serve the soup hot in bowls. Top it with fresh cilantro, avocado slices, and a squeeze of lime. You can also add tortilla chips for a crunchy side. - Can I use canned chicken instead of fresh? Yes, you can use canned chicken. Just drain it and add it in during the last few minutes of cooking. It’s a great time-saver. - What’s the best way to modify the recipe for a vegetarian option? For a vegetarian soup, skip the chicken. Use vegetable broth instead of chicken broth. Add extra beans or chickpeas for protein. - How do I add more vegetables to my soup recipe? You can add vegetables like carrots, celery, or even kale. Just chop them small and add them in with the onions and bell peppers. This boosts nutrition and flavor. In this blog post, we covered how to make easy chicken fajita soup. You learned about the essential ingredients and step-by-step cooking method. I shared tips for perfecting your soup, suggested fun variations, and provided storage info. With these insights, you can enjoy a flavorful meal tailored to your taste. Remember, cooking is about fun and creativity. Enjoy making this soup and share it with friends and family!](https://lisadishes.com/wp-content/uploads/2025/05/111793c3-6239-46e6-9af0-d55e80fdd663-300x300.webp)
![- 1 cup dried red beans (or two cans, rinsed and drained) - 1 medium onion, diced - 1 green bell pepper, diced - 2 celery stalks, diced - 3 cloves garlic, minced - 1 smoked sausage (e.g., andouille or kielbasa), sliced - 3 cups vegetable or chicken broth - 2 teaspoons Cajun seasoning - 1 teaspoon dried thyme - 1 bay leaf - Salt and pepper to taste - 2 cups cooked white rice - 2 tablespoons olive oil - Optional: chopped green onions and parsley for garnish When I cook red beans and rice, I always choose the best ingredients. Dried red beans give a rich taste. They also add a creamy texture as they cook. If you use canned beans, they save time. Rinsing them helps reduce sodium. For the sausage, I prefer andouille for its smoky flavor. You can also try kielbasa or even turkey sausage for a lighter option. The "holy trinity" of onion, bell pepper, and celery is key in Cajun cooking. It builds a strong flavor base. Fresh garlic adds a punch. Using low-sodium broth helps control salt levels. For spices, Cajun seasoning brings warmth and zest. Dried thyme adds earthiness. If you want to change the recipe, there are easy swaps. You can use lentils instead of red beans for a different taste. For a vegetarian option, skip the sausage and add more veggies or plant-based protein. Quinoa or brown rice works well instead of white rice. If you don't have Cajun seasoning, mix paprika, cumin, and black pepper for a similar flavor. You can also use fresh herbs like parsley or cilantro for garnish. Each swap keeps the dish tasty while allowing you to personalize it. For the full recipe, check out the details above! You can choose dried or canned red beans for this dish. If you pick dried beans, rinse them well and soak them overnight. This helps them cook better and become tender. Once soaked, drain the beans and set them aside. If you go for canned beans, just rinse and drain them. They save you time, but the flavor is still great. Start by heating olive oil in a large pot over medium heat. Add diced onion, green bell pepper, and celery. This mix is called the holy trinity in Cajun cooking. Sauté these veggies for about 5 to 7 minutes, until they soften. Next, stir in minced garlic and sliced smoked sausage. Cook for 3 to 4 minutes until the garlic smells great. Now, it’s time to add the beans. Whether you use soaked or canned beans, toss them in. Pour in the broth, then add Cajun seasoning, thyme, bay leaf, and salt and pepper. Mix everything well. Bring the pot to a boil, then lower the heat to let it simmer. If you use dried beans, let it cook for about 1.5 to 2 hours. For canned beans, 30 minutes will do. Stir it occasionally. If the mix looks too thick, add some broth or water to loosen it up. Once cooked, remove the bay leaf. Serve the spicy beans over a nice scoop of cooked white rice. For a fresh touch, top with chopped green onions and parsley. You can find the full recipe for more details. Timing is key when cooking beans. Dried beans need more time to soften, while canned beans are quick. Always keep an eye on the heat. A gentle simmer works best. If it boils too hard, the beans can break apart. Use a timer to keep track of cooking times. This way, you won't overcook or undercook your beans. Enjoy the process and have fun with it! To make great red beans and rice, start by soaking dried beans overnight. This helps them cook evenly. If you use canned beans, rinse them well to cut some sodium. Use a good Cajun seasoning blend. It adds depth and flavor. Don't rush the cooking time; let the dish simmer to build taste. Stir the pot every now and then to keep the beans from sticking. Serve the dish over warm, fluffy rice for the best experience. You can find the full recipe above. One common mistake is not soaking dried beans. This can lead to tough beans. Another is using too little broth. Beans need enough liquid to cook well. Also, don’t skip the bay leaf. It adds a nice aroma. Lastly, don’t forget to taste as you go. Adjust the salt and pepper to your liking. Serve your red beans and rice with a side of cornbread for a comforting meal. You can also top it with chopped green onions or fresh parsley. For extra zest, add hot sauce for those who like spice. If you have leftovers, try them in a burrito or on a salad. Enjoy your delicious meal! {{image_2}} You can make a tasty vegetarian version of red beans and rice. Just skip the sausage and use more beans or veggies. Use extra garlic and spices to boost flavor. I like to add mushrooms and carrots for texture. They bring a nice earthiness to the dish. You can also use vegetable broth instead of chicken broth. This keeps it rich and hearty without meat. For a kick, try using spicy andouille or kielbasa. They add a nice depth to the dish. Slice the sausage and cook it with the veggies. This infuses the beans with flavor. If you want it even spicier, add cayenne pepper or hot sauce. Adjust the heat to your taste. You can also use smoked sausage for that rich, smoky flavor. Want to add a southern twist? Try adding extra ingredients like diced tomatoes or corn. Tomatoes add a slight sweetness, while corn gives a nice crunch. You can also toss in some greens, like spinach or kale, for added nutrition. They cook down well and blend into the dish. Don't forget to serve it with cornbread for an authentic southern meal. You can find the full recipe above to try these variations! After you enjoy your meal, let the red beans and rice cool down. Place them in an airtight container. Store them in the fridge for up to four days. I recommend you label the container with the date. This way, you’ll know when to eat it. You can freeze red beans and rice for later. Just make sure they are cool. Use a freezer-safe container or a heavy-duty freezer bag. Squeeze out any air before sealing. This dish can last for about three months in the freezer. When you're ready, thaw it in the fridge overnight before reheating. To reheat, you have several options. You can use a microwave or a stovetop. For the microwave, warm it in short bursts, stirring in between. If you choose the stovetop, add a splash of broth to keep it moist. Heat it slowly over medium-low heat, stirring until hot. Enjoy your tasty leftovers just like the first time! Red beans and rice come from Louisiana. This dish has roots in Creole and Cajun cooking. It became popular in New Orleans. Many families made this dish on Mondays. They used leftover meat from Sunday dinners. The red beans cook slowly with spices, making a rich flavor. Now, people enjoy it across the U.S. Yes, you can make red beans and rice in a slow cooker. This method makes it easy and hands-off. First, sauté your veggies in a pan. Then, add them to the slow cooker. Include the beans, broth, and spices. Set it on low for 6 to 8 hours. This way, the beans will be soft and tasty. To adjust the spice level, start with less Cajun seasoning. You can always add more later. If you like it mild, skip the hot sausage. For a kick, add cayenne pepper or hot sauce. Taste as you go to find your perfect heat. Enjoy customizing this dish to your taste! Check out the [Full Recipe] for more tips and details on making this fantastic dish. You learned about key ingredients and how to choose the best ones. We discussed cooking methods for dried and canned beans. I shared tips to avoid common mistakes and offered serving ideas. Variations let you mix things up, too. Lastly, I covered storage and reheating for leftovers. Red beans and rice is flexible and filling. With these steps, you can create a dish that suits your taste. Enjoy your cooking adventure!](https://lisadishes.com/wp-content/uploads/2025/04/0a9d6a1e-1044-4186-8e99-9b37ba905879-300x300.webp)
