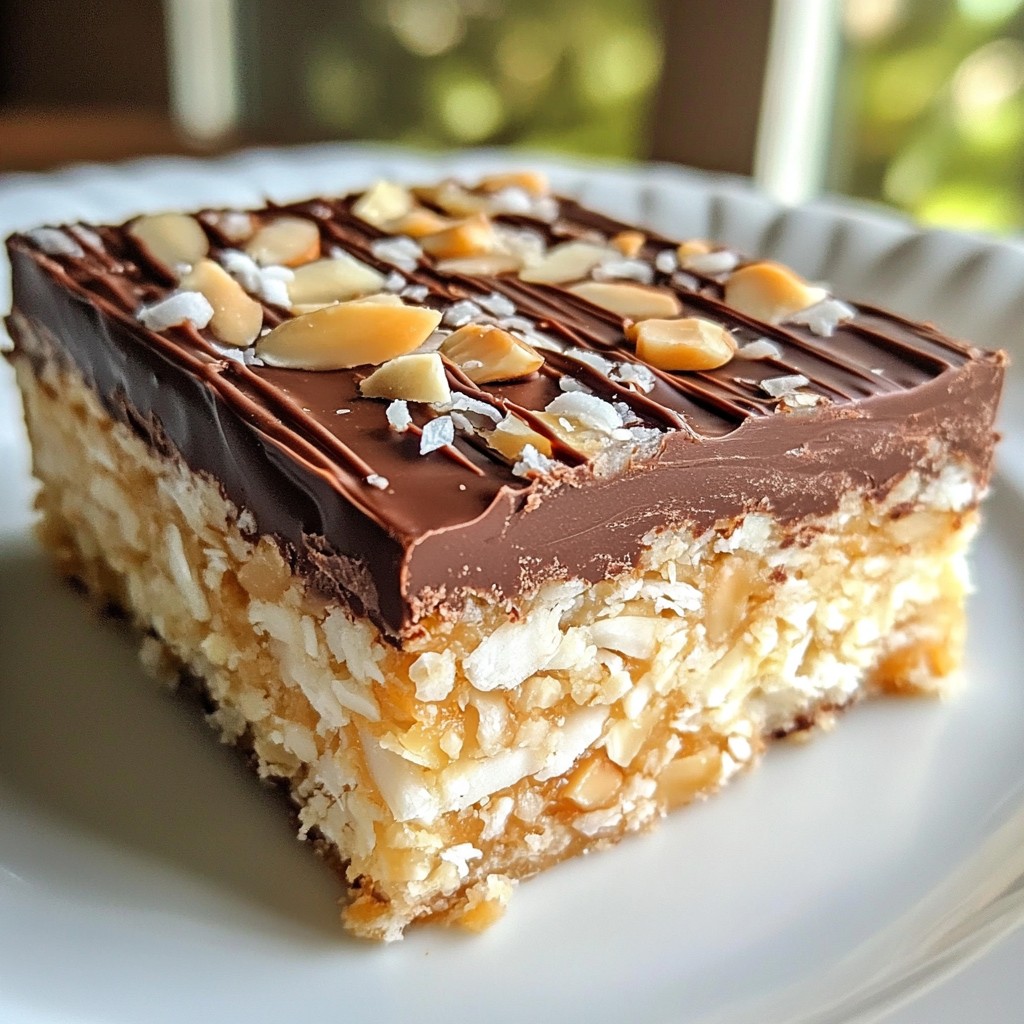
If you love sweets but want a quick and easy treat, you're in the right place! These Nutty No-Bake Almond Joy Bars are simple to make and delicious. With just a few ingredients, you can whip up a chocolatey, nutty snack that satisfies your cravings. Join me as we explore how to make these bars, plus tips and tricks to customize your treat. Let's get started on this fun and tasty journey!
Why I Love This Recipe
- Delicious Flavor Combination: This recipe combines the rich flavors of almond butter, dark chocolate, and coconut, creating a deliciously indulgent treat that satisfies any sweet tooth.
- No-Bake Convenience: These bars are easy to make without the need for an oven, making them perfect for quick snacks or dessert cravings.
- Healthy Ingredients: Made with wholesome ingredients like almond flour and maple syrup, these bars are a healthier alternative to traditional candy bars.
- Customizable Treat: You can easily customize these bars by adding different nuts or seeds, making them versatile for various taste preferences.
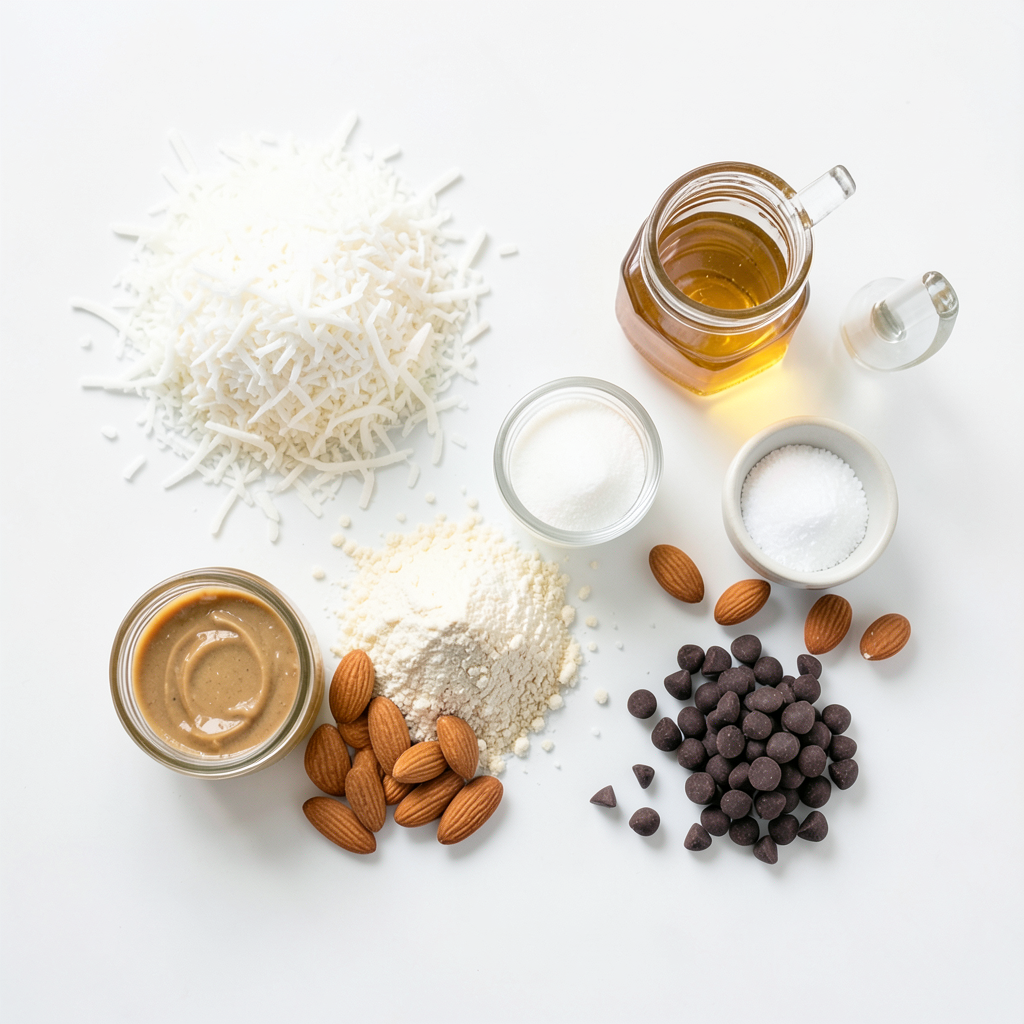
Ingredients
List of Ingredients
- 1 cup unsweetened shredded coconut
- 1 cup almond flour
- 1/4 cup maple syrup
- 1/4 cup almond butter
- 1/2 cup chopped almonds
- 1/2 teaspoon vanilla extract
- 1/4 teaspoon sea salt
- 1/2 cup dark chocolate chips (dairy-free if preferred)
- 1 tablespoon coconut oil
Ingredient Benefits
These ingredients pack a punch of health. Shredded coconut gives fiber and adds a chewy texture. Almond flour is low in carbs and high in protein. Maple syrup adds natural sweetness without refined sugar. Almond butter provides healthy fats and protein. Chopped almonds give crunch and nutrients. Vanilla extract enhances flavor, while sea salt balances sweetness. Dark chocolate chips add antioxidants and a rich taste, making these bars a treat.
Substitutions and Alternatives
You can swap out almond flour for oat flour for a gluten-free option. If you want a nut-free recipe, use sunflower seed butter instead of almond butter. You can replace maple syrup with honey for a different sweetness. For those who want less sugar, try using a sugar substitute like stevia. If dark chocolate isn't your thing, white chocolate can work too. These swaps keep the bars tasty while fitting your needs.
Step-by-Step Instructions
Preparation Preparation
First, gather all your ingredients. You will need unsweetened shredded coconut, almond flour, maple syrup, almond butter, chopped almonds, vanilla extract, sea salt, dark chocolate chips, and coconut oil. Make sure your workspace is clean and organized. This helps you stay focused and makes cooking more fun!
Mixing the Base
In a large mixing bowl, combine 1 cup of shredded coconut and 1 cup of almond flour. Mix them well until they are evenly combined. Next, add 1/4 cup of maple syrup, 1/4 cup of almond butter, 1/2 teaspoon of vanilla extract, and 1/4 teaspoon of sea salt. Stir everything together until you get a sticky mixture. This step is key! A good mix helps all flavors blend into your bars. Then, fold in 1/2 cup of chopped almonds, making sure they spread throughout the mixture.
Melting the Chocolate
Now, it's time to melt the chocolate. In a small, microwave-safe bowl, combine 1/2 cup of dark chocolate chips and 1 tablespoon of coconut oil. Microwave for 30 seconds, then stir. Repeat this until the chocolate is smooth and melted. Be careful not to overheat it; this chocolate should stay shiny and perfect for topping your bars. Once melted, pour the chocolate over the pressed mixture in your baking dish, using a spatula to spread it evenly.
Tips & Tricks
Common Mistakes to Avoid
When making Nutty No-Bake Almond Joy Bars, some common mistakes can affect the outcome. First, don’t skip the mixing step. You must combine the dry and wet ingredients well. If you don’t, the bars will not hold together. Second, when pressing the mixture into the dish, make sure to press it down firmly. This helps the bars stay compact. If they are too loose, they may crumble when cut. Lastly, don't rush the chilling time. Letting the bars chill for at least two hours is key for the chocolate to set.
How to Store Leftovers
To keep your Nutty No-Bake Almond Joy Bars fresh, store them in an airtight container. Place parchment paper between layers to prevent sticking. They can last about a week in the fridge. For longer storage, you can freeze them. Wrap each bar in plastic wrap and place them in a freezer-safe bag. They can last up to three months in the freezer. Just thaw them in the fridge before you enjoy them again.
Serving Suggestions
These bars are great on their own but can be even better with some extra flair. Try serving them with fresh fruit like strawberries or bananas. You can also top them with a dollop of nut butter for added creaminess. For a fun twist, drizzle extra melted chocolate over the top before serving. This adds a nice touch and makes them look fancy. Enjoy these bars as a snack, dessert, or even as a breakfast treat!
Pro Tips
- Use Fresh Ingredients: Always choose fresh shredded coconut and high-quality chocolate chips for the best flavor in your bars.
- Chill Thoroughly: Make sure to refrigerate the bars long enough so they set properly; this ensures they hold together when cut.
- Customize Your Nuts: Feel free to substitute or add different nuts like walnuts or pecans for extra flavor and texture.
- Layering Chocolate: For a decorative touch, consider adding a second layer of chocolate or a drizzle on top before chilling.
Variations
Healthier Alternatives
You can make these bars even healthier with simple swaps. Use honey instead of maple syrup. This adds natural sweetness and is less processed. Swap almond flour for oat flour to boost fiber. You can also add chia seeds or ground flaxseed for extra nutrition. These small changes give you a nutrient boost without losing flavor.
Flavor Additions
Want to change up the taste? Consider adding a few mix-ins. Try mini chocolate chips for extra sweetness. You can also fold in dried fruit, like cranberries or apricots, for a fruity twist. For a hint of spice, add a pinch of cinnamon or a dash of sea salt. These additions make each bite exciting.
Different Chocolate Options
The chocolate layer is key to these bars. You can use milk chocolate if you prefer a sweeter taste. For a rich flavor, dark chocolate is the best choice. If you're feeling adventurous, try white chocolate or even a mix of chocolates. You can also add toppings like crushed nuts or coconut flakes for extra texture.
Storage Info
Storing in the Refrigerator
After making your Nutty No-Bake Almond Joy Bars, you should store them in the fridge. This keeps them fresh and firm. Place the bars in an airtight container. They will stay good for about one week in the fridge. I often cut them into pieces first. This makes it easy to grab one whenever I want a treat.
Freezing Instructions
You can also freeze these bars for longer storage. Wrap each bar tightly in plastic wrap. Then, place them in a freezer-safe bag or container. You can freeze them for up to three months. When you're ready to enjoy them, simply thaw in the fridge overnight. They taste just as good!
Best Containers to Use
I recommend using glass or BPA-free plastic containers. These materials keep the bars fresh and do not affect the taste. If you use plastic, make sure it is heavy-duty. It helps prevent freezer burn. For best results, always label your containers with the date. This way, you know how long they have been stored.
FAQs
How Long Do These Bars Last?
These Nutty No-Bake Almond Joy Bars can last about one week in the fridge. Store them in an airtight container to keep them fresh. If you want to enjoy them longer, you can freeze them. Just wrap each bar well and place them in a freezer-safe bag.
Can I Make These Vegan?
Yes, you can easily make these bars vegan. Use dairy-free chocolate chips and almond butter instead of regular ones. Maple syrup is already vegan, so you have a great base. This way, you can enjoy a tasty treat that fits your diet.
How to Cut to Prevent Crumbling?
To cut the bars without crumbling, chill them well before slicing. Use a sharp knife and wipe it clean between cuts. This helps the knife glide through without tearing. You can also use a hot knife by dipping it in hot water and drying it before cutting. This technique works wonders!
In this post, we explored ingredients, step-by-step instructions, and helpful tips for creating delicious bars. You learned about ingredient benefits, substitutions, and ways to avoid common mistakes. We also discussed storage and how to make variations for different diets and tastes.
To ensure you enjoy your bars, remember to try healthy alternatives and store them properly. With these insights, you can create tasty treats that everyone will love. Enjoy your baking journey!