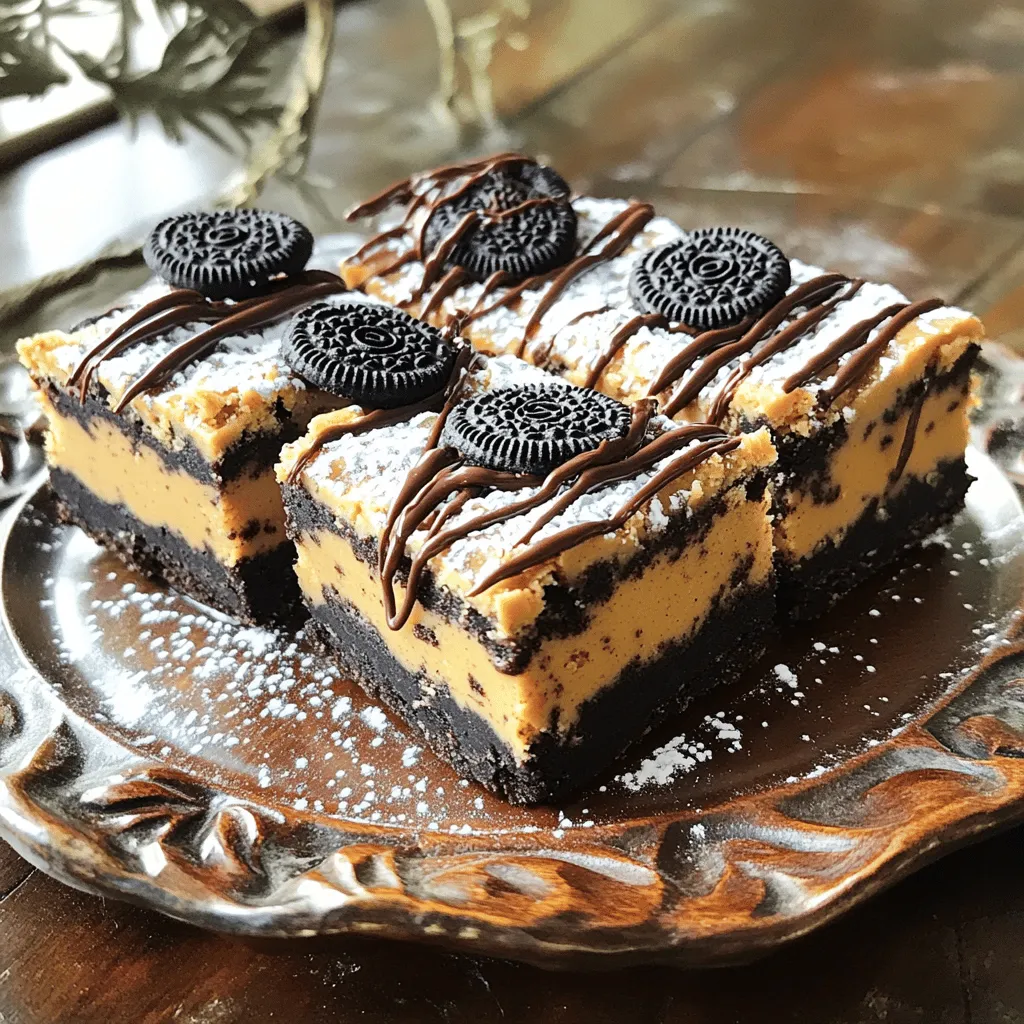
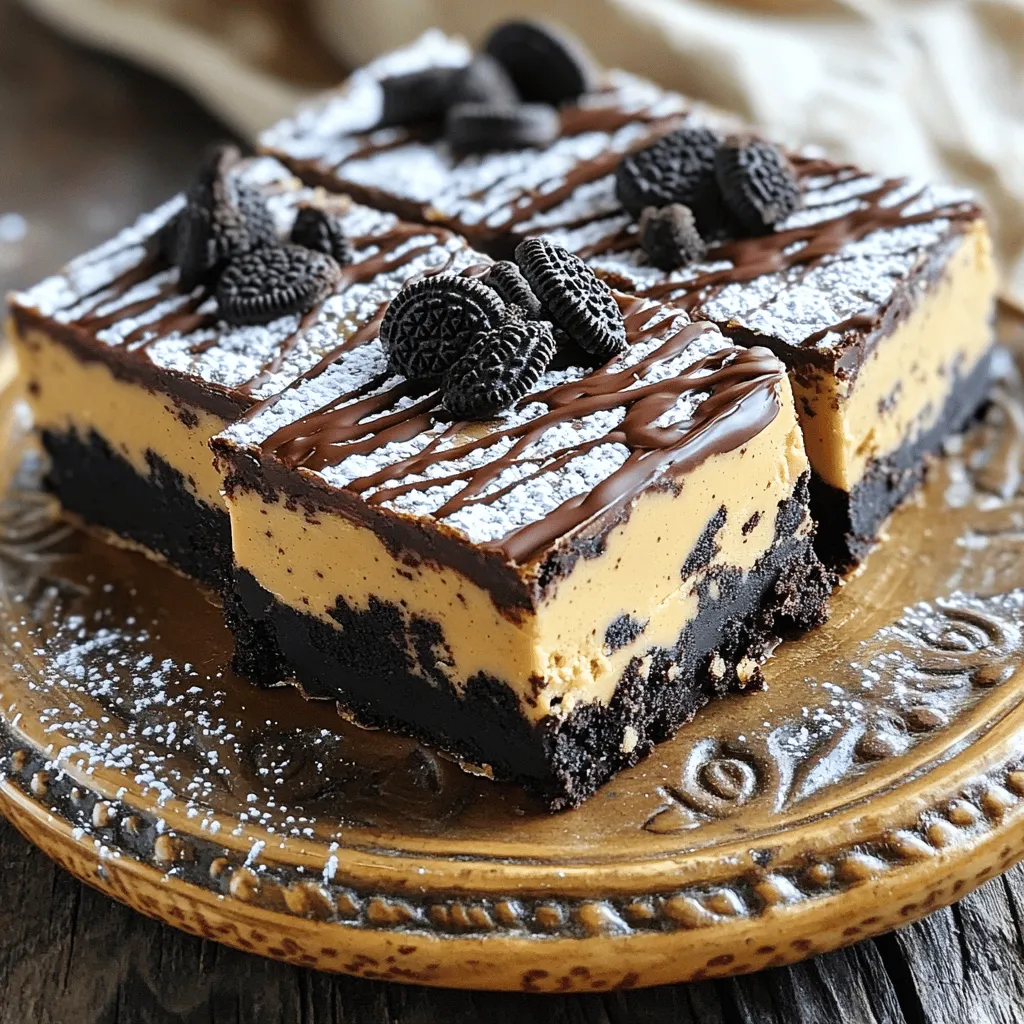
Craving a quick, delicious treat? Let me introduce you to No-Bake Oreo Peanut Butter Bars! These bars are easy to whip up and perfect for any dessert lover. With just a handful of ingredients like Oreo cookies and creamy peanut butter, you can create a satisfying snack in no time. Join me as we explore this simple recipe that guarantees smiles and happy taste buds!
Ingredients
To make No-Bake Oreo Peanut Butter Bars, you need a few simple items. Here’s what you will need:
– 1 package (15.5 oz) Oreo cookies, crushed
– 1 cup creamy peanut butter
– 1/4 cup unsalted butter, softened
– 1 cup powdered sugar
– 1 teaspoon vanilla extract
– 1 cup semisweet chocolate chips
– 1 tablespoon coconut oil (optional, for shiny finish)
These ingredients blend to create a rich and tasty treat. The Oreo cookies give a chocolatey crunch. The peanut butter adds a creamy texture, while the butter and sugar make it sweet and soft. You can use coconut oil to make the chocolate topping shiny. Each ingredient plays a role in making these bars delicious.
Step-by-Step Instructions
Preparing the Cookie Layer
Start by taking a large mixing bowl. Add one package of crushed Oreo cookies and a quarter cup of softened unsalted butter. Mix these ingredients together. You want the cookies to be well-coated and crumbly. This helps form a tasty base for the bars.
Assembling the Bars
Next, line an 8×8 inch baking pan with parchment paper. Make sure the paper hangs over the edges. This makes it easy to lift the bars out later. Now, pack the cookie mixture into the pan. Use the back of a spatula to press it down firmly. You want an even layer for the base.
Melting and Adding Chocolate
For the chocolate topping, take a microwave-safe bowl. Add one cup of semisweet chocolate chips. If you want a shiny finish, add one tablespoon of coconut oil. Heat the bowl in the microwave in 30-second intervals. Stir between each interval until the chocolate is smooth and fully melted.
Setting the Bars
Pour the melted chocolate over the peanut butter cookie layer in the pan. Spread it evenly with a spatula. Now, refrigerate the bars for at least two hours. This helps them set firmly. For the best results, make sure they are completely firm before cutting.
Tips & Tricks
Perfecting Your No-Bake Bars
To make your bars just right, you can adjust the sweetness. If you like your treats sweeter, add more powdered sugar. Start with a little extra, then mix and taste. This way, you can find the perfect balance for you.
For a smooth chocolate topping, melt the chocolate carefully. Use a microwave and heat it in short bursts. Stir often to help it melt evenly. If you add coconut oil, it gives the chocolate a nice shine. This makes your bars look even more delicious.
Presentation Tips
Presentation matters when serving these treats. Use a decorative plate to showcase your bars. Drizzle some extra melted chocolate on top for a fancy touch. It adds style and makes them look special.
Garnishing is also fun! Crush some Oreos and sprinkle them on top. This adds a nice crunch and makes the bars even more appealing. Everyone will love how they look and taste.
Variations
Ingredient Substitutions
You can change the nut butter for fun flavors. Almond or cashew butter works well. Each will give a new taste to your bars. If you want a nut-free option, try sunflower seed butter. It has a nice creaminess too!
For those who need gluten-free options, use gluten-free Oreo cookies. They taste just as good! This small change makes the bars safe for everyone to enjoy.
Additional Mix-Ins
Adding nuts or seeds can boost the texture. Chopped walnuts or pecans add a nice crunch. You can also mix in chia seeds for extra nutrition. Just a handful goes a long way!
Want to kick up the flavor? Sprinkle in a little sea salt. It pairs well with the sweet chocolate. For a coffee twist, add a bit of espresso powder. It gives a rich depth to your bars.
Storage Info
How to Store Leftover Bars
To keep your No-Bake Oreo Peanut Butter Bars fresh, store them in the fridge. Use an airtight container to prevent them from drying out. Place parchment paper between layers if stacking. This helps keep the bars intact and easy to grab.
Freezing Options
You can freeze these bars for longer storage. Cut the bars into squares first, then wrap each piece tightly in plastic wrap. Place the wrapped bars in a freezer-safe bag or container. This prevents freezer burn and keeps them tasty.
When you’re ready to enjoy them, move the bars to the fridge to thaw overnight. They should stay fresh for up to three months in the freezer. Enjoy your sweet treat whenever you want!
FAQs
Common Questions About No-Bake Oreo Peanut Butter Bars
Can I use other types of cookies?
Yes, you can use other cookies. Try chocolate wafers or graham crackers. Each cookie gives a new taste. Just crush them like you do with Oreos.
How long do these bars last in the fridge?
These bars can last up to one week in the fridge. Store them in an airtight container. They stay fresh and tasty, making them perfect for snacks.
Can I make these dairy-free?
Yes, you can make them dairy-free. Use dairy-free butter and chocolate. Look for brands that fit your needs. You can still enjoy all the flavor.
What can I use instead of coconut oil?
If you don’t have coconut oil, use vegetable oil or melted butter. Both will work well. This change will not affect the taste much at all.
You now have a simple guide for making no-bake Oreo peanut butter bars. We covered all the key ingredients and step-by-step instructions. Remember, adjusting the sweetness can improve your bars. You can also customize them with different nut butters or fun mix-ins. Store them properly to enjoy a fresh treat later. These bars are not just easy to make; they are a fun and tasty way to share joy. Try making them, and delight in each bite. Explore, enjoy, and let your creativity shine in the kitchen!