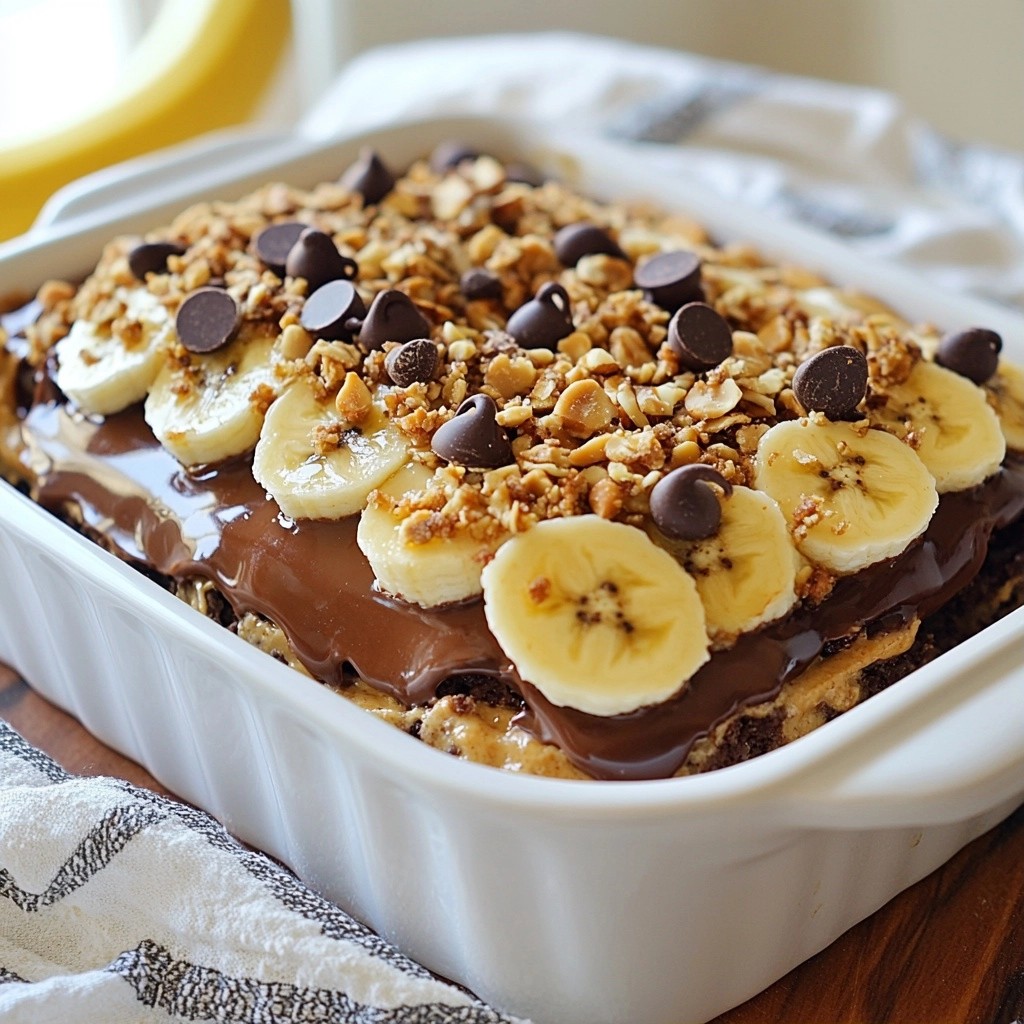
Craving a dessert that's easy, delicious, and satisfying? Try my No-Bake Chocolate Peanut Butter Banana Delight Treat! This simple recipe uses ripe bananas, creamy peanut butter, and Greek yogurt, all layered to create a taste explosion you won't forget. Plus, with no baking involved, you can whip it up in no time. Get ready to impress your family and friends with this delightful treat! Let's dive into how to make it.
Why I Love This Recipe
- Easy to Make: This no-bake recipe requires minimal effort and no special baking skills, making it perfect for anyone!
- Healthy Ingredients: With bananas, Greek yogurt, and natural sweeteners, this dessert is a guilt-free treat packed with nutrients.
- Delicious Layers: The combination of peanut butter, bananas, granola, and chocolate creates a delightful mix of flavors and textures.
- Perfect for Any Occasion: This dessert is great for parties, picnics, or just a sweet snack at home!
Ingredients
Main Ingredients
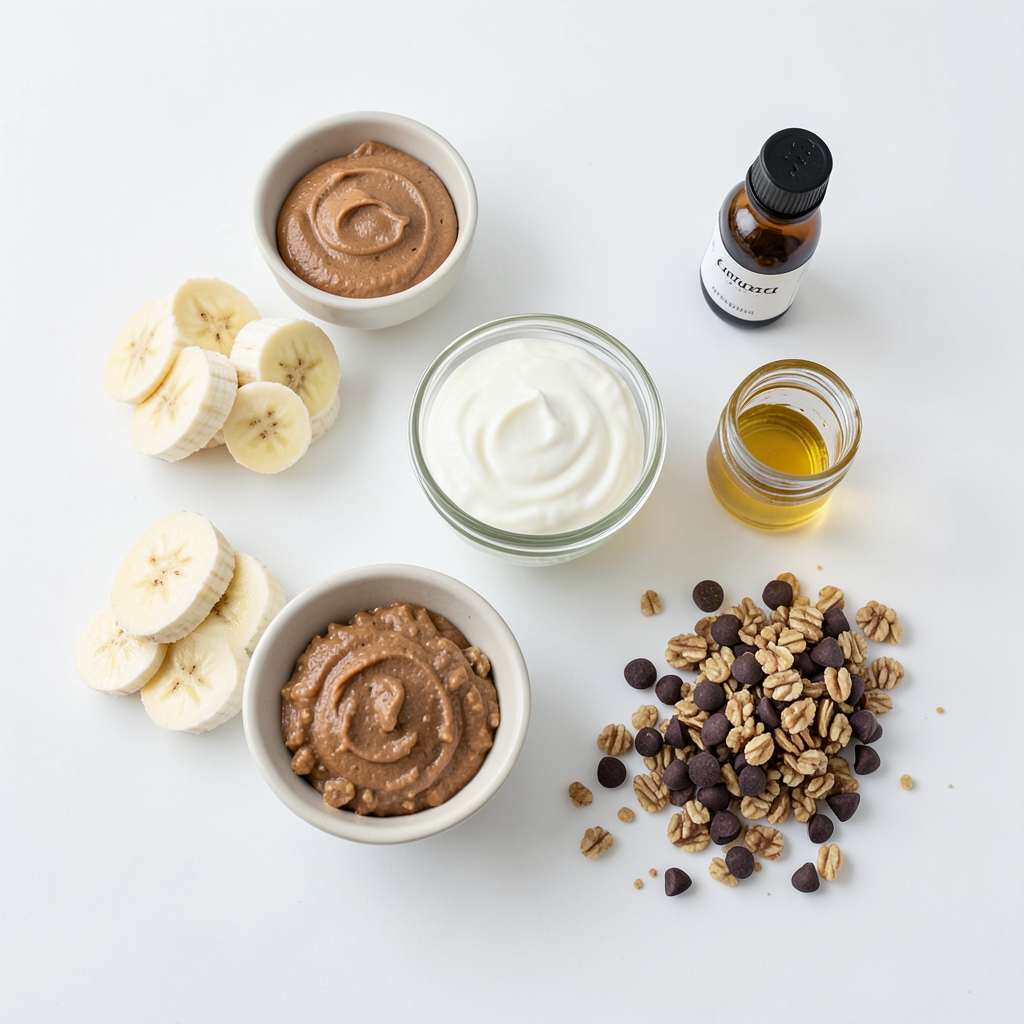
- 2 ripe bananas, sliced
- 1 cup peanut butter (smooth or crunchy)
- 1/2 cup Greek yogurt (plain)
- 1/4 cup honey or maple syrup
In this no-bake chocolate peanut butter banana delight, the main ingredients create a rich and creamy base. The ripe bananas add sweetness and a soft texture. Using smooth or crunchy peanut butter gives you choices for texture. Greek yogurt adds a tangy creaminess. Honey or maple syrup acts as a natural sweetener, enhancing the flavors.
Additional Ingredients
- 1 teaspoon vanilla extract
- 1 1/2 cups granola (your choice of flavor)
- 1/2 cup chocolate chips (dark or semi-sweet)
- Optional: crushed nuts or shredded coconut for topping
Now, let’s talk about the additional ingredients. The vanilla extract boosts the flavor profile of the dish. Granola adds a satisfying crunch and can be flavored to match your tastes. Chocolate chips bring a delightful sweetness to each bite. Lastly, crushed nuts or shredded coconut can make the topping extra special, adding both flavor and texture.
Step-by-Step Instructions
Preparation of the Base
To start, grab a medium bowl. Add the peanut butter, Greek yogurt, honey, and vanilla extract. Mix these ingredients well. You want a smooth and creamy texture. This will be your base. A smooth base makes the layers blend nicely.
Layering the Ingredients
Next, take a 9x9 inch square dish. Spread half of the peanut butter mixture evenly at the bottom. This creates a solid first layer. Now, add half of the banana slices on top. Spread them out so each bite has banana. Sprinkle half of the granola over the bananas. This adds crunch and flavor.
Repeat these layers. Spread the rest of the peanut butter mixture, then add the remaining banana slices. Top it off with the last bit of granola. To finish, sprinkle the chocolate chips over everything. If you like, you can add crushed nuts or shredded coconut for extra flavor.
Chilling and Serving
Cover the dish with plastic wrap. Place it in the fridge for at least 2 hours. This chilling time helps the layers set up nicely. Once chilled, cut the dessert into squares. Serve them cold. Enjoy your tasty treat!
Tips & Tricks
Ingredient Substitutions
- Alternatives for peanut butter: You can use almond butter or sunflower seed butter. Both give a nice taste and texture.
- Using yogurt replacements: If you need a dairy-free option, try coconut yogurt or silken tofu. Both work well and keep it creamy.
Achieving the Best Texture
- Tips for layering and spreading: Spread the peanut butter mix firmly, so it holds the layers. Use a spatula for an even surface.
- Optimal chilling time: Chill for at least two hours. This helps the layers set and makes cutting easier.
Serving Suggestions
- Pairing with additional toppings: Try adding sliced strawberries, whipped cream, or a drizzle of chocolate sauce. These add flavor and fun!
- Serving at parties or gatherings: Cut into small squares. Serve on a platter for easy sharing. Your guests will love this treat!
Pro Tips
- Use Ripe Bananas: The riper the bananas, the sweeter and more flavorful your dish will be. Look for bananas with brown spots for the best taste.
- Chill for Best Texture: Allowing the dessert to chill for at least 2 hours helps the layers set properly, making it easier to cut and serve.
- Experiment with Granola: Try different flavors of granola for a unique twist. Cinnamon, chocolate, or nutty varieties can enhance the overall flavor profile.
- Customize Your Toppings: Feel free to add your favorite toppings like crushed nuts, shredded coconut, or even a drizzle of caramel for extra flavor and texture.
Variations
Flavor Variations
You can change the flavor of this treat easily. Using chocolate peanut butter adds a rich taste. Just swap regular peanut butter for chocolate peanut butter. This change makes it even more decadent. You can also add different fruits. Try strawberries, blueberries, or even mango. Fresh fruit gives a bright, fun twist. Each fruit brings its own unique flavor. Mix and match to find your favorite combo!
Dietary Adjustments
If you need vegan options, you can make simple swaps. Use almond or cashew butter in place of peanut butter. Replace Greek yogurt with coconut yogurt. For sweetening, use agave syrup or maple syrup. These changes keep the treat plant-based and delicious. If gluten is a concern, choose gluten-free granola. Most brands offer great choices. You can still enjoy this dessert while sticking to your diet!
Portion Adjustments
You can easily scale this recipe up or down. If you want to serve more people, double the ingredients. Use a larger dish to fit it all. For smaller groups, halve the recipe. This way, you create just the right amount. If you want individual servings, use small cups. Layer the ingredients in each cup for a fun treat. Each person enjoys their own little delight!
Storage Info
Best Practices for Storage
To keep your No-Bake Chocolate Peanut Butter Banana Delight fresh, cover it tightly. Use plastic wrap or a lid that fits well. This will stop air from getting in. Air can cause the dessert to dry out. Store it in the fridge for the best taste. To avoid sogginess, don't add fresh bananas until you are ready to serve. The bananas can get mushy if they sit too long.
Shelf Life
You can store this treat in the fridge for up to 3 days. After that, it may lose its great flavor and texture. If you want to keep it longer, consider freezing it. Wrap individual squares in plastic wrap and then put them in an airtight container. This helps preserve the taste. It can last in the freezer for about a month.
Reheating and Serving After Storage
When you take it out of the fridge, you do not need to reheat it. Just slice it into squares and serve it cold. If the flavors seem dull, you can brighten them up. Drizzle a little honey or maple syrup on top for extra sweetness. You can also add fresh banana slices or sprinkle more chocolate chips to refresh the look and taste.
FAQs
How can I make this recipe vegan?
To make this dessert vegan, swap regular peanut butter with a natural one. Use plant-based yogurt instead of Greek yogurt. For sweetening, replace honey with maple syrup. These simple swaps keep the treat tasty and creamy.
Can I use crunchy peanut butter?
Yes, you can use crunchy peanut butter! It adds a nice texture to the dessert. The bits of peanuts create a fun crunch and extra flavor. Just keep in mind; it will change the smoothness of each bite.
What's the best way to cut the dessert?
To cut this dessert neatly, use a sharp knife. A warm knife works best, so dip it in hot water first. Wipe it dry, then slice through the layers. This method keeps the squares even and easy to serve.
How can I enhance the chocolate flavor?
For a richer chocolate taste, add cocoa powder to the peanut butter mix. You can also use chocolate syrup in layers. Consider adding dark chocolate chips for more depth. Each tip adds chocolatey goodness to every bite!
This blog post highlights a simple and tasty recipe using ripe bananas, peanut butter, Greek yogurt, and honey. You can customize it with granola, chocolate chips, or any toppings you love. Always remember to layer ingredients carefully for the best texture, and don’t shy away from trying flavor variations like adding chocolate peanut butter or different fruits.
With these tips and variations, you can create a fun treat for any occasion. Enjoy experimenting, and savor every bite!