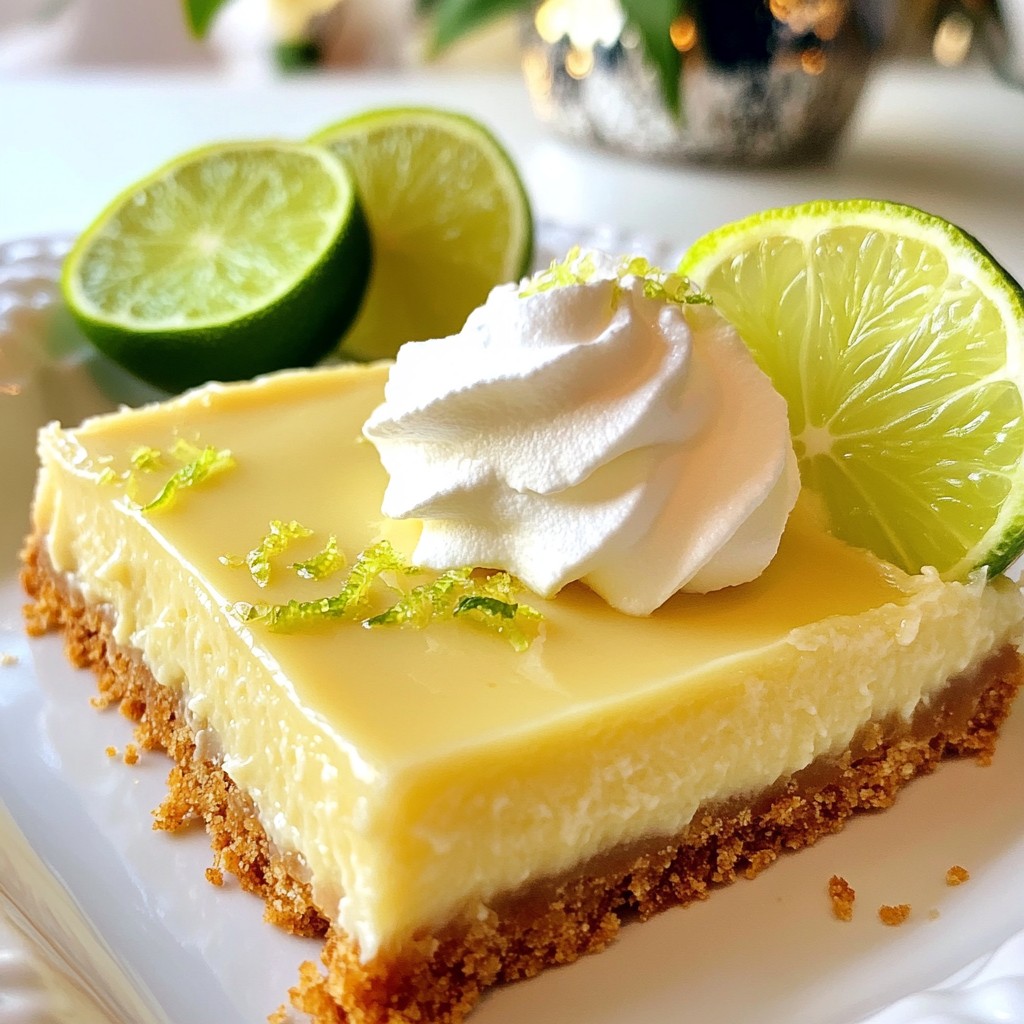
If you crave a sweet and tangy treat, look no further! Key Lime Pie Bars are the perfect blend of zesty key lime and a buttery crust. In this guide, I’ll walk you through each step—from essential ingredients to baking tips. Whether you’re a novice or a pro in the kitchen, you’ll learn how to make these bars simply and deliciously. Let’s dive in and create a dessert that everyone will love!
Why I Love This Recipe
- Refreshing Flavor: The tartness of key limes combined with the sweetness of condensed milk creates a perfectly balanced dessert that's refreshing and satisfying.
- Easy to Make: With just a few simple ingredients and straightforward steps, these bars come together quickly, making them a go-to dessert for any occasion.
- Perfect for Sharing: Cut these bars into squares for easy serving; they're ideal for parties, picnics, or family gatherings, ensuring everyone gets a delicious treat.
- Chill Factor: The refrigeration step not only helps the bars set but also enhances the flavors, making them even more delightful when served cold.
Ingredients
Main Ingredients for Key Lime Pie Bars
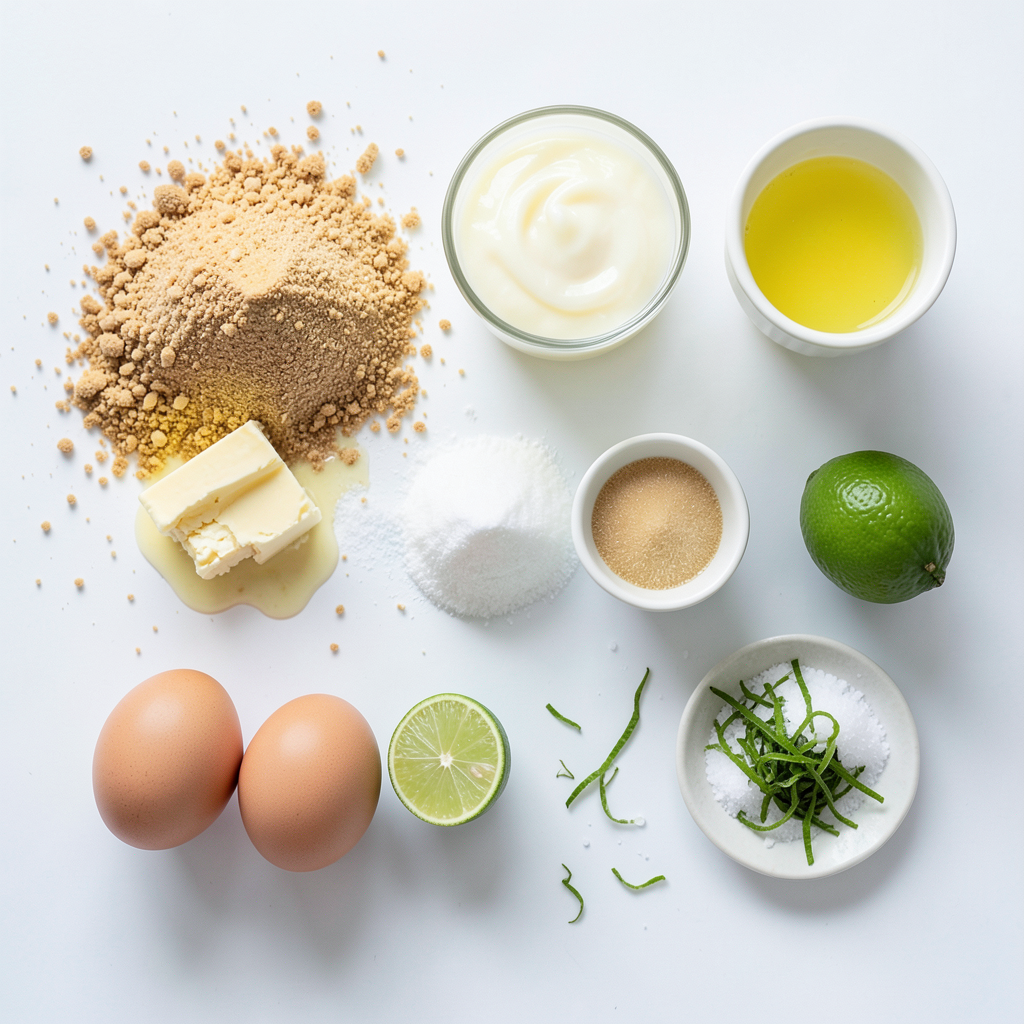
To make delicious Key Lime Pie Bars, you need a few key ingredients:
- 1 ½ cups graham cracker crumbs
- ¼ cup granulated sugar
- ½ cup unsalted butter, melted
- 1 can (14 oz) sweetened condensed milk
- ½ cup key lime juice (freshly squeezed, if possible)
- 2 large eggs
- Zest of 2 key limes
- Pinch of salt
These ingredients work together to create a smooth filling and a crunchy crust. The graham cracker crumbs give a nice texture, while the sweetened condensed milk adds creaminess. The key lime juice gives that tangy flavor we love.
Optional Toppings and Garnishes
You can dress up your Key Lime Pie Bars with some fun toppings:
- Whipped cream, for serving (optional)
- Lime slices, for garnish (optional)
Whipped cream adds a light touch. Lime slices give a fresh look and extra flavor.
Ingredient Substitutions
If you don’t have some ingredients, don’t worry! Here are some swaps:
- Use regular lime juice instead of key lime juice.
- Swap unsalted butter for coconut oil for a dairy-free option.
- Use honey or maple syrup instead of granulated sugar for a natural sweetener.
These substitutions still keep your bars tasty while fitting your needs. Adjusting ingredients can help you tailor the recipe to your taste!
Step-by-Step Instructions
Prepping the Crust
To begin, preheat your oven to 350°F (175°C). This step is key for a great crust. In a medium bowl, combine 1 ½ cups of graham cracker crumbs and ¼ cup of granulated sugar. Then, add ½ cup of melted unsalted butter. Mix until it looks like wet sand. This means your crust will hold together well. Next, press this mixture firmly into the bottom of a greased 9x9-inch baking pan. Use a measuring cup to pack it tightly. This makes a nice, even layer. Bake the crust in the oven for 10 minutes. Once done, take it out and let it cool slightly.
Making the Key Lime Filling
Now, let’s work on the filling. In a mixing bowl, whisk together one can of sweetened condensed milk, ½ cup of freshly squeezed key lime juice, and two large eggs. Add the zest of two key limes and a pinch of salt for flavor. Mix until it’s smooth and well combined. The zest adds a bright taste. Pour this creamy filling over the cooled crust. Spread it evenly with a spatula for the best results.
Baking and Cooling Process
Return the pan to the oven. Bake for 15 to 20 minutes. The filling should be just set but still a bit jiggly in the center. That’s the perfect texture! Once baked, remove it from the oven and let it cool to room temperature. After that, refrigerate for at least 2 hours. This time helps the bars to set completely. When ready, cut into bars and serve chilled. For a special touch, add whipped cream and a slice of lime on top. Enjoy your tasty treat!
Tips & Tricks
Best Practices for a Perfect Crust
To make the best crust, start with fresh graham cracker crumbs. You want them to feel like wet sand when mixed with sugar and melted butter. Press the mixture firmly into the pan. Use a measuring cup to pack it down tightly. This helps the crust hold together. Bake it just right for ten minutes. It should look golden and firm. Let it cool slightly before adding the filling.
How to Achieve the Right Filling Consistency
For a smooth filling, whisk the sweetened condensed milk and lime juice well. Add the eggs and lime zest slowly. Make sure everything mixes evenly. The mixture should feel thick but pourable. Avoid lumps, as they can spoil the texture. Bake it until the center is slightly jiggly. This means it will set nicely as it cools.
Serving Suggestions for Key Lime Pie Bars
Serve these bars chilled for the best taste. A dollop of whipped cream on top adds creaminess. You can also add a lime slice for a pretty look. These bars are great for a summer party or a family gathering. Enjoy them with friends, and watch them disappear!
Pro Tips
- Use Fresh Key Limes: Freshly squeezed key lime juice enhances the flavor significantly compared to bottled juice.
- Chill for Best Results: Allow the bars to chill for at least 2 hours after baking to achieve the best texture and flavor.
- Texture Matters: Ensure the filling is slightly jiggly when you take it out of the oven; it will firm up as it cools.
- Perfect Portioning: Use a sharp knife to cut the bars for clean edges, and wipe the knife between cuts for a professional finish.
Variations
Traditional vs. Unique Flavor Additions
You can keep the classic taste of Key Lime Pie Bars or add fun flavors. The base has tart and sweet key lime. For a twist, try adding coconut or mango. A touch of vanilla can also enhance the flavor. You might blend in some fresh berries for color and taste. Lemon zest can add a bright note, too. Get creative and make it your own!
Gluten-Free Key Lime Pie Bars
You can enjoy these bars gluten-free with simple swaps. Use gluten-free graham cracker crumbs for the crust. Check labels to ensure they are truly gluten-free. The filling stays the same, so it’s easy to adapt. Just follow the same steps, and you’ll have a tasty treat for everyone.
Vegan Options for Key Lime Pie Bars
Want a vegan version? You can replace eggs with flaxseed meal. Mix one tablespoon of flaxseed with three tablespoons of water. Let it sit until it thickens, then use it in place of eggs. Use coconut cream instead of sweetened condensed milk for creaminess. These swaps keep the flavors rich and the texture smooth. Enjoy your vegan Key Lime Pie Bars guilt-free!
Storage Info
How to Store Key Lime Pie Bars Properly
Store your Key Lime Pie Bars in the fridge. Use a tight lid or wrap them in plastic. This keeps them fresh and tasty. They can last up to a week this way. Make sure they are completely cool before you store them. This prevents extra moisture from forming.
Freezing Instructions for Longer Storage
If you want to keep them longer, freezing is a great option. First, cut the bars into pieces. Wrap each piece in plastic wrap. Then, place them in a freezer bag. They can stay frozen for up to three months. When you’re ready to eat, just thaw them in the fridge overnight.
Best Practices for Reheating and Serving
Reheating is simple. You can serve them cold right from the fridge. If you want them slightly warm, heat them in the oven at a low temperature. Cover them with foil to prevent drying out. For the best taste, add whipped cream and lime slices before serving. Enjoy your sweet treat!
FAQs
What are Key Limes?
Key limes are small, round, and have a bright yellow color. They are tart and aromatic. These limes grow best in warm climates. They have a unique flavor that is sweeter than regular limes. Key limes are famous for their use in desserts like Key Lime Pie.
Can I use regular limes instead of key limes?
Yes, you can use regular limes. They will work in a pinch. However, the taste will differ. Regular limes are more sour and less fragrant than key limes. If you use them, your bars may be more tart.
How long do Key Lime Pie Bars last in the fridge?
Key Lime Pie Bars can last up to a week in the fridge. Make sure to store them in an airtight container. This keeps them fresh and tasty. If they are well covered, they won’t dry out.
Can I make Key Lime Pie Bars ahead of time?
Absolutely! Making them ahead of time is a great idea. You can prepare the bars a day or two before serving. Just remember to let them cool and set in the fridge. This allows the flavors to blend nicely.
What's the difference between Key Lime Pie and Key Lime Pie Bars?
Key Lime Pie is a classic dessert in a pie crust. Key Lime Pie Bars use a similar filling but in a bar form. The bars have a graham cracker crust, just like the pie. They are easier to cut and serve, making them perfect for gatherings.
You learned about the key ingredients for making Key Lime Pie Bars. We covered how to prep the crust and make the filling. I shared tips for the perfect crust and how to serve them best. You also saw various options for gluten-free and vegan versions.
In short, with the right ingredients and care, you can create delicious bars. Enjoy baking and sharing these tasty treats!