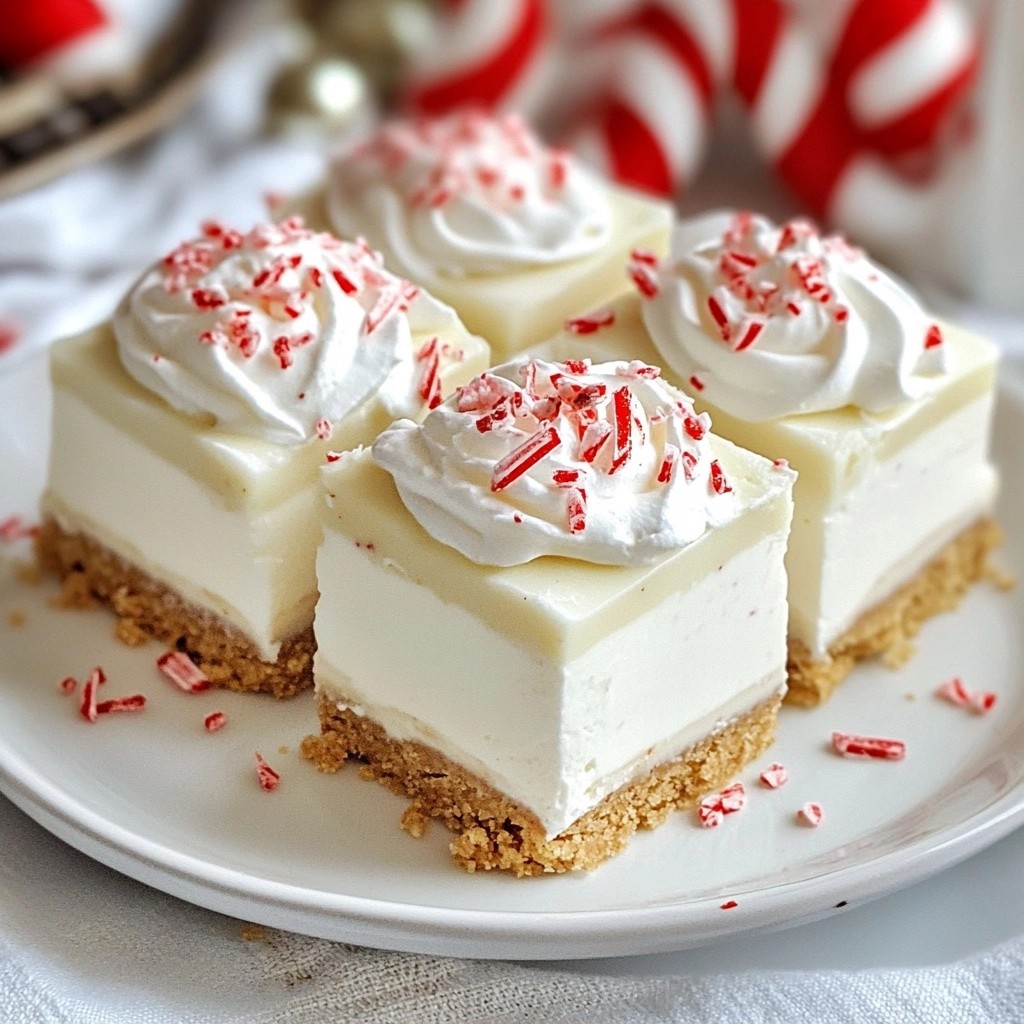
Looking for a cool treat that’s easy and fun to make? These Frosty No-Bake Peppermint Cream Bars are the perfect choice! With a crunchy graham cracker crust and a rich, fluffy peppermint cream, these bars are a delicious delight. Perfect for holiday gatherings or any festive occasion, they come together with just a few simple ingredients. Let's dive into making this refreshing dessert that everyone will love!
Why I Love This Recipe
- Easy Preparation: This recipe requires no baking, making it a quick and hassle-free dessert option.
- Refreshing Flavor: The combination of peppermint and chocolate creates a delightful festive treat perfect for any occasion.
- Perfect for Sharing: With 16 servings, these bars are ideal for parties, potlucks, or family gatherings.
- Customizable Toppings: Feel free to get creative with toppings—add your favorite candies or nuts for a personal touch!
Ingredients
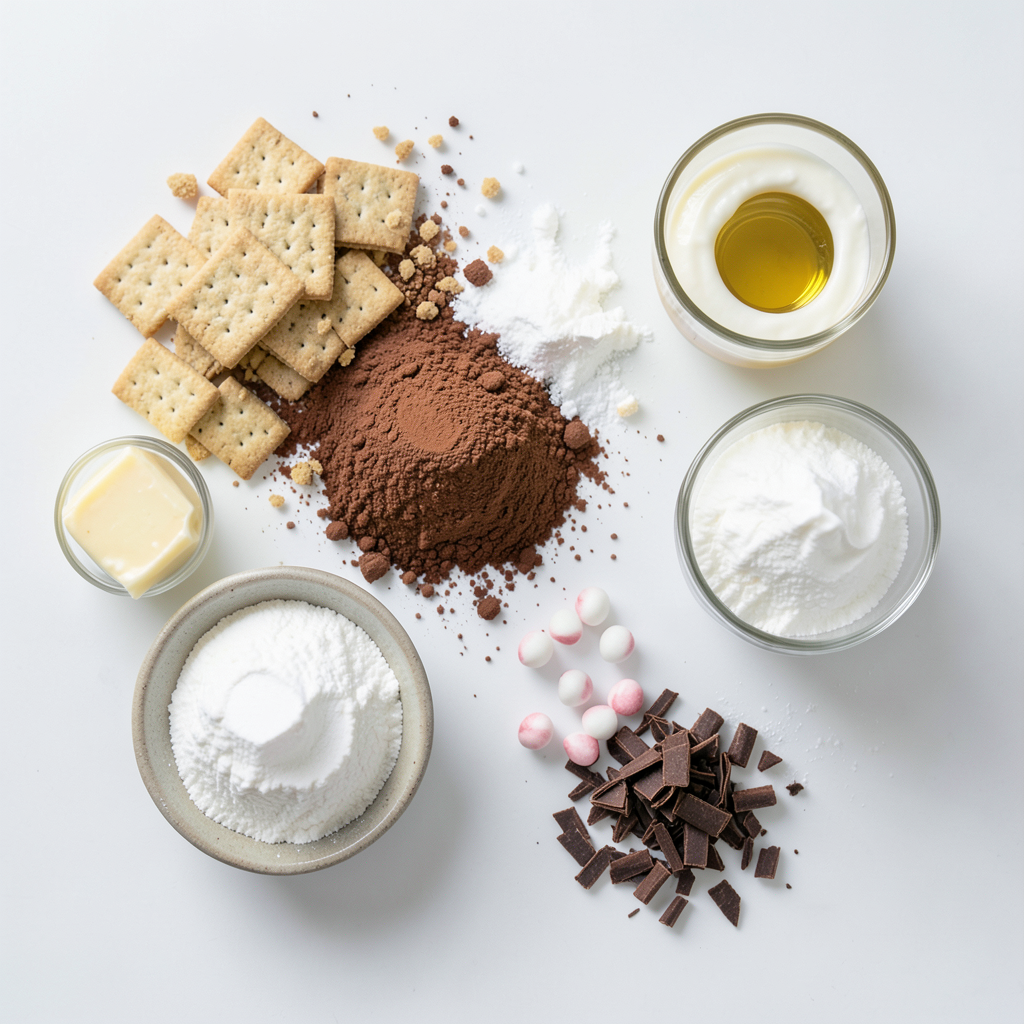
To make Frosty No-Bake Peppermint Cream Bars, you need simple yet tasty ingredients. Here’s what you will need:
- 1 1/2 cups crushed graham crackers
- 1/2 cup unsweetened cocoa powder
- 1/2 cup powdered sugar
- 1/2 cup unsalted butter, melted
- 1 teaspoon vanilla extract
- 1 1/2 cups heavy whipping cream
- 1/2 cup powdered sugar (for whipping)
- 1 teaspoon peppermint extract
- 1/4 cup crushed peppermint candies (for topping)
- Chocolate shavings (for garnish)
These ingredients are easy to find in any grocery store. The graham crackers give a sweet and crunchy base. Cocoa powder adds rich flavor. The butter and sugar help bind it all together. Heavy whipping cream is key for that light and fluffy layer. Peppermint extract brings a cool kick, while the crushed candies and chocolate shavings make it look festive.
When you gather these ingredients, you set the stage for a treat that is both fun and delicious. Enjoy the process of making these bars!
Step-by-Step Instructions
Preparing the Graham Cracker Crust
First, gather your ingredients. In a medium bowl, combine the crushed graham crackers, cocoa powder, and powdered sugar. Then pour in the melted butter. Mix well until it looks like wet sand. This step is key for a firm crust. Now, press the mixture into the bottom of a 9x9-inch baking pan. Use your hands or a flat tool to make it even.
Making the Whipped Cream Layer
Next, we need to whip the heavy cream. In a clean bowl, whip the cream until it starts to thicken. Slowly add the powdered sugar while you whip. Keep going until you see stiff peaks form. This means it’s ready! Now, gently fold in the peppermint extract. This adds a nice minty flavor to your cream.
Assembling the Bars
Now, it’s time to bring it all together! Spread the whipped cream mixture evenly over the crust in the pan. Make sure it’s smooth on top. Once it looks good, place the pan in the refrigerator. Let it chill for at least two hours. This helps everything set nicely. After chilling, sprinkle crushed peppermint candies and chocolate shavings on top for a festive touch. Cut into bars and enjoy this cool treat!
Tips & Tricks
Perfecting the No-Bake Texture
To get the best texture, whipping cream is key. You need to whip it until it forms stiff peaks. This means when you lift the whisk, the cream holds its shape. Stiff peaks make the bars light and fluffy.
Press the graham cracker mixture firmly into the pan. This helps create a strong base. Use even pressure to avoid a crumbly crust. A firm crust keeps the bars together when you slice them.
Customizing Flavor and Texture
You can change the peppermint flavor to suit your taste. If you want a stronger mint taste, add a bit more peppermint extract. Just remember, a little goes a long way.
Toppings can also change how your bars taste. Try using mini chocolate chips or different crushed candies. Sprinkling these on top adds color and crunch.
Serving Suggestions
These bars pair well with drinks like hot cocoa or coffee. The creamy texture complements warm beverages nicely. You can also serve them with a scoop of vanilla ice cream for an extra treat.
The best way to enjoy these bars is cold. Chill them in the fridge for at least two hours. This makes them firm and refreshing. Cut them into small squares for easy serving.
Pro Tips
- Chill Your Mixing Bowl: For an even fluffier whipped cream, chill your mixing bowl and beaters in the freezer for about 10-15 minutes before whipping the cream.
- Use Fresh Peppermint Extract: Opt for high-quality or fresh peppermint extract for a more intense and authentic peppermint flavor.
- Layer for Presentation: Consider creating a marbled effect by gently swirling the peppermint whipped cream into the crust layer before chilling.
- Customize Your Toppings: Feel free to get creative with toppings; crushed Oreos, chocolate chips, or even a drizzle of chocolate sauce can elevate your bars!
Variations
Chocolate Mint Version
You can easily add a twist to these bars. Try mixing in chocolate chips with the whipped cream. This extra chocolate makes each bite richer. After you spread the whipped cream, drizzle melted chocolate on top. It adds a fun and tasty touch.
Vegan Option
If you want a vegan version, swap out the dairy products. Use coconut cream instead of heavy cream. This makes the bars creamy and delicious. For the butter, choose a vegan alternative. This keeps the bars plant-based without losing flavor.
Seasonal Twists
You can change the flavors for different seasons. Adding spices like cinnamon or nutmeg can create a warm twist. Think of themed toppings too. Use colored sprinkles or seasonal candies for a festive look. These changes make the bars fun for any occasion.
Storage Info
Best Storage Practices
To keep your Frosty No-Bake Peppermint Cream Bars fresh, use an airtight container. This helps keep moisture out and flavor in. You can stack the bars with parchment paper between them. This prevents sticking and makes it easy to grab a bar when you want one. Store the container in the fridge. The bars stay fresh for about five days.
Freezing Instructions
Freezing these bars is simple. First, cut them into portions. Then, wrap each piece in plastic wrap. Place the wrapped bars in a freezer-safe bag to prevent freezer burn. They can last up to three months in the freezer. When you're ready to enjoy them, take out what you need.
To thaw, place them in the fridge for a few hours. This keeps them creamy and tasty. Avoid using the microwave, as it can change the texture. Enjoy your frozen treats just like fresh ones!
FAQs
Can I use a different type of cookie for the crust?
Yes, you can! If you want to try a new flavor, use other cookies. Here are some fun options:
- Chocolate wafer cookies for a richer taste.
- Ginger snaps for a spicy kick.
- Shortbread cookies for a buttery base.
Feel free to mix and match! Just remember to crush them well to make a good crust.
How long do these bars last in the fridge?
These bars stay fresh for about five days when stored correctly. To keep them tasty:
- Place them in an airtight container.
- Keep them away from strong-smelling foods.
This way, they will stay cool and delicious for your snacking pleasure!
Can I make these bars ahead of time?
Absolutely! These bars are great for prepping ahead. You can make them up to three days before serving. Just follow these tips for the best results:
- Store them in the fridge right after they set.
- Avoid adding toppings until you're ready to serve.
This keeps everything fresh and tasty for your guests. Enjoy your hassle-free treat!
This blog post covered how to make delicious no-bake peppermint bars. We talked about all the key ingredients, from graham crackers to whipped cream. I shared easy step-by-step instructions to guide you through making these treats. You learned tips to perfect the texture and how to customize flavors. We also discussed storage and how to freeze the bars for later.
Enjoy these bars chilled and share them with friends. You’ll impress everyone with this simple, tasty recipe.