If you crave a light and creamy dessert, you’re in the right place! My Fluffy No-Bake Vanilla Bean Mousse is quick to whip up and requires no baking. With simple ingredients, you can create a treat that feels fancy yet is easy enough for any home cook. Join me as I guide you through each step, share tips, and inspire sweet variations for this delightful dessert!
Why I Love This Recipe
- Deliciously Light: This mousse is incredibly airy and fluffy, making it a perfect dessert that feels indulgent without being too heavy.
- No-Bake Ease: No need for an oven! This simple recipe comes together quickly and is perfect for warm days or when you want to keep the kitchen cool.
- Elegant Presentation: With its smooth texture and ability to be garnished beautifully, this mousse is sure to impress at any gathering or special occasion.
- Customizable Flavor: While vanilla bean is delightful, you can easily swap in other flavors like chocolate or fruit puree for a unique twist!
Ingredients
List of Ingredients
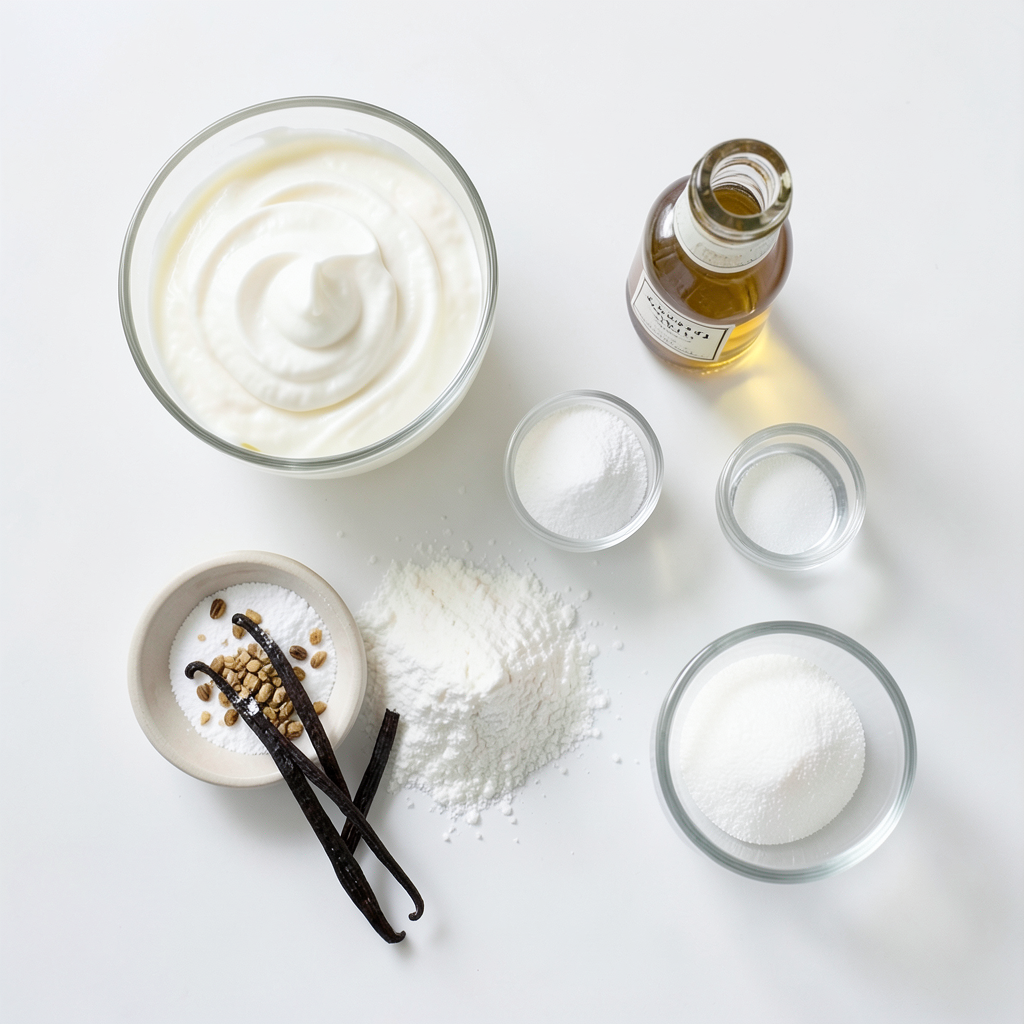
- 1 cup heavy whipping cream
- 1/2 cup cream cheese, softened
- 1/2 cup powdered sugar
- 1 teaspoon vanilla extract
- 1 vanilla bean, split and seeds scraped
- 1 tablespoon gelatin powder
- 2 tablespoons cold water
- Pinch of salt
Each ingredient in this fluffy no-bake vanilla bean mousse plays a key role.
- Heavy whipping cream gives the mousse its light and airy texture. It's important to whip it to soft peaks for the best fluffiness.
- Cream cheese adds a rich, creamy flavor and gives the mousse structure. Softening it helps blend smoothly with other ingredients.
- Powdered sugar sweetens the mousse and helps it stay light. It dissolves easily, ensuring no gritty texture.
- Vanilla extract and vanilla bean seeds bring a deep, rich flavor. They work together to enhance the overall vanilla taste.
- Gelatin powder is crucial. It sets the mousse and helps it hold its shape. Blooming it in cold water first is vital for proper activation.
- Pinch of salt balances the sweetness, making the flavor pop.
Using quality ingredients is key. Fresh vanilla beans elevate this dessert, making it special. Each bite should be a delightful blend of creaminess and vanilla flavor.
Step-by-Step Instructions
Preparing the Gelatin
To start, you need to bloom the gelatin. In a small bowl, sprinkle the gelatin powder over the cold water. Let it sit for about 5 minutes. This step is crucial. It helps the gelatin absorb the water and soften.
Key tips for proper preparation:
- Use cold water only. This helps the gelatin bloom correctly.
- Do not skip this step. It makes the mousse hold its shape.
Mixing the Cream Cheese Base
Next, you'll mix the cream cheese base. In a large bowl, beat the softened cream cheese, powdered sugar, vanilla extract, and vanilla bean seeds together. Use an electric mixer on medium speed. Mix until smooth and creamy.
Achieving a smooth texture:
- Make sure your cream cheese is at room temperature. This helps avoid lumps.
- Scrape the sides of the bowl often to ensure everything mixes evenly.
Incorporating the Whipped Cream
Now, let's incorporate the whipped cream. First, beat the heavy whipping cream until soft peaks form. This should be light and fluffy. Set it aside for now.
Folding technique for airiness:
- Gently fold the whipped cream into the cream cheese mixture. Use a spatula and work in batches.
- Be careful not to stir too much. You want to keep the air in the whipped cream for a light mousse.
Importance of maintaining texture:
- The lightness of the mousse comes from the whipped cream.
- Overmixing will lead to a dense texture, which we want to avoid.
Tips & Tricks
Perfecting the Mousse
To get the lightest texture in your mousse, start with cold cream. Cold cream whips better and holds air. Use a large mixing bowl for whipping. This gives you room to mix without spills.
Make sure to fold gently. This keeps the air in the whipped cream. If you mix too hard, your mousse will lose its fluff. A rubber spatula works best for folding. It helps you gently combine the cream.
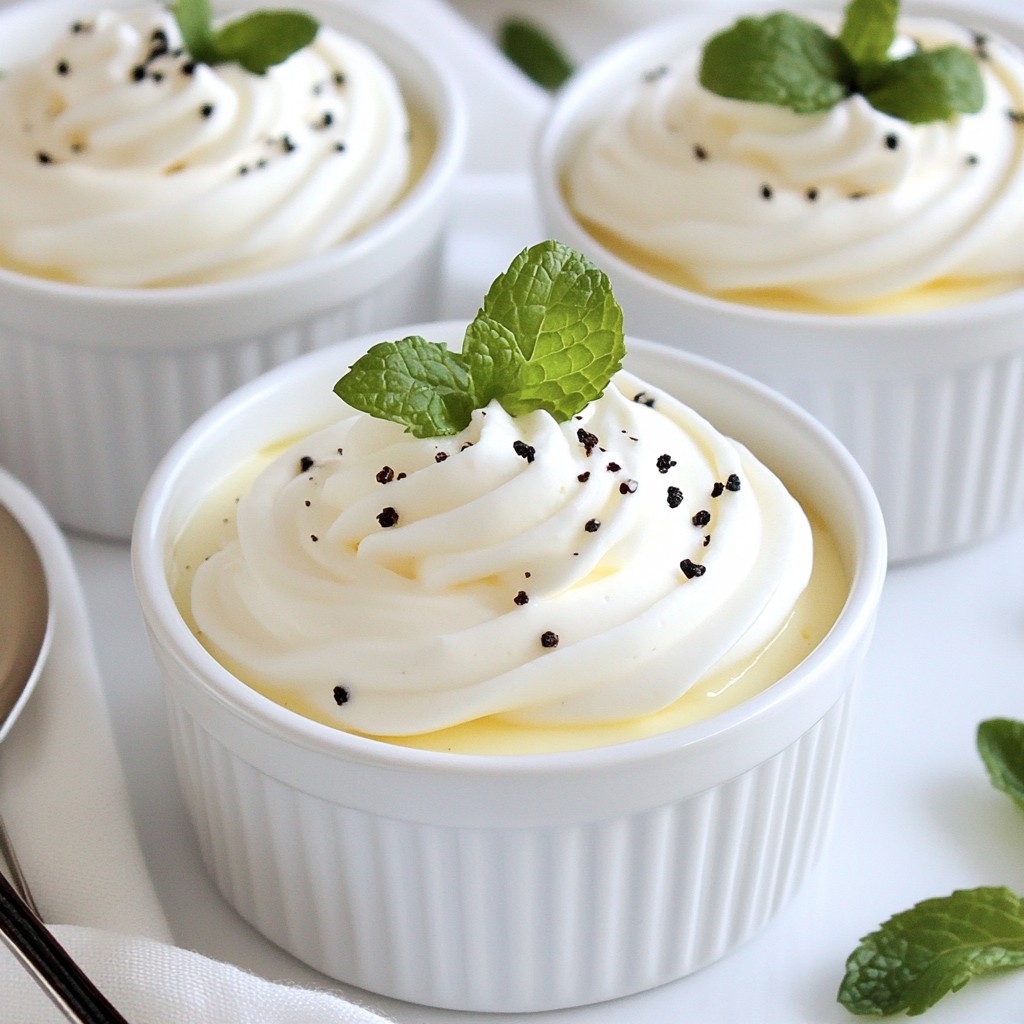
Garnishing Suggestions
Garnish makes your mousse look tasty and fun. A dollop of whipped cream adds a creamy touch. Sprinkle some vanilla bean seeds on top for extra flavor. A fresh mint leaf adds a pop of color.
You can also serve it with berries. Strawberries or raspberries pair well with vanilla. They add a sweet and tangy flavor that complements the mousse. Drizzle chocolate sauce for added richness and style.
Pro Tips
- Use Fresh Ingredients: For the best flavor, always use fresh vanilla beans and high-quality heavy cream.
- Be Gentle When Folding: When incorporating the whipped cream into the cream cheese mixture, use a gentle folding motion to maintain the mousse's light and airy texture.
- Chill Properly: Allow the mousse to chill for at least 2 hours to ensure it sets properly and achieves the perfect consistency.
- Experiment with Flavors: Feel free to customize your mousse by adding different extracts or flavorings, such as chocolate or citrus zest, for a unique twist.
Variations
Flavor Variations
You can swap vanilla for other flavors to mix things up. Try almond extract for a nutty twist. You can also use lemon or orange zest for a bright, citrus flavor. For chocolate lovers, melt some chocolate and mix it into the cream cheese base. You can use cocoa powder if you want a lighter chocolate taste. Fresh fruit is another great option. Blend strawberries or raspberries and fold them into the mousse for a fruity touch.
Dietary Modifications
If you need gluten-free options, this mousse is already safe. For a dairy-free version, use coconut cream instead of heavy cream. You can substitute cream cheese with a dairy-free alternative. When it comes to sweeteners, feel free to try honey or maple syrup. These can add a unique flavor and sweetness. Always remember to adjust the amount based on your taste.
Storage Info
Best Practices for Storing Mousse
To store your fluffy no-bake vanilla bean mousse, place it in an airtight container. You can also cover each serving cup with plastic wrap. This helps keep the mousse fresh and prevents it from absorbing odors.
In the refrigerator, the mousse lasts about 3 to 4 days. Always check for any changes in texture or smell before serving leftovers. If it seems off, it's best to throw it away.
Freezing Options
You can freeze no-bake mousse, but the texture may change. If you want to freeze it, place the mousse in airtight containers. Leave some space at the top for expansion.
When you are ready to serve it, take it out of the freezer and place it in the fridge. Let it thaw overnight. This helps the mousse regain some of its fluffiness. Avoid refreezing once it has thawed to keep the best taste and texture.
FAQs
Common Questions About Fluffy No-Bake Vanilla Bean Mousse
What can I use instead of gelatin? You can use agar-agar or carrageenan instead of gelatin. Both are plant-based. Agar-agar works well for a similar texture. Just remember to adjust the amounts since they can differ. If you are vegan, these options are great choices.
How do I know when the mousse is set? The mousse is set when it feels firm to the touch. You can gently press your finger in it. It should bounce back slightly. You can also check by tilting the cup. If it holds its shape, it is ready to enjoy!
Can this recipe be doubled? Yes, you can double this recipe. Just use twice the amount of each ingredient. Make sure to mix in a larger bowl. This will help keep the texture light and fluffy. Chill it in a bigger dish if needed. Enjoy sharing more delicious mousse with friends!
In this post, we explored the key ingredients that make fluffy no-bake vanilla bean mousse. We went through step-by-step instructions to help you prepare it perfectly. I shared tips for achieving the lightest texture and added garnishing ideas. You also saw various flavor and dietary modifications, plus storage tips for leftovers.
Now, you're ready to create your own delicious mousse. Remember, each step matters, and practice makes perfect! Enjoy making this treat!