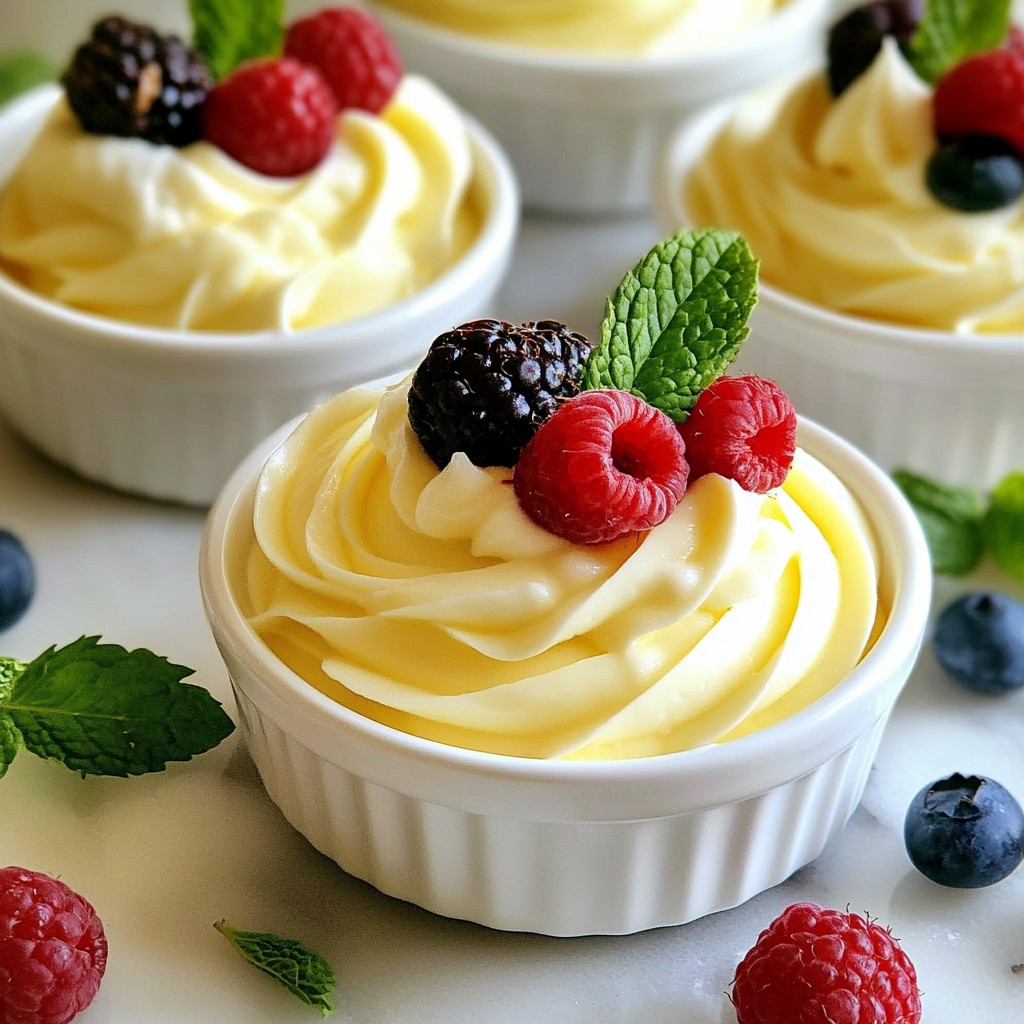
Do you crave a light, creamy dessert that melts in your mouth? Look no further! My Fluffy No-Bake Vanilla Bean Mousse is the perfect treat for any occasion. With only a handful of simple ingredients, you’ll create a dreamy dessert that impresses everyone. Let’s dive into this easy recipe that balances rich flavors with delightful fluffiness, ensuring your sweet cravings are fully satisfied. Ready to whip up something amazing?
Why I Love This Recipe
- Light and Airy: This mousse has a fluffy texture that melts in your mouth, making it a delightful dessert for any occasion.
- No Baking Required: Perfect for warm days or when you want a quick dessert without the hassle of turning on the oven.
- Rich Vanilla Flavor: The combination of pure vanilla extract and fresh vanilla bean seeds provides an aromatic and indulgent taste experience.
- Customizable Garnish: Add your favorite fruits or herbs for a personal touch and added freshness to each serving.
Ingredients
Main Ingredients
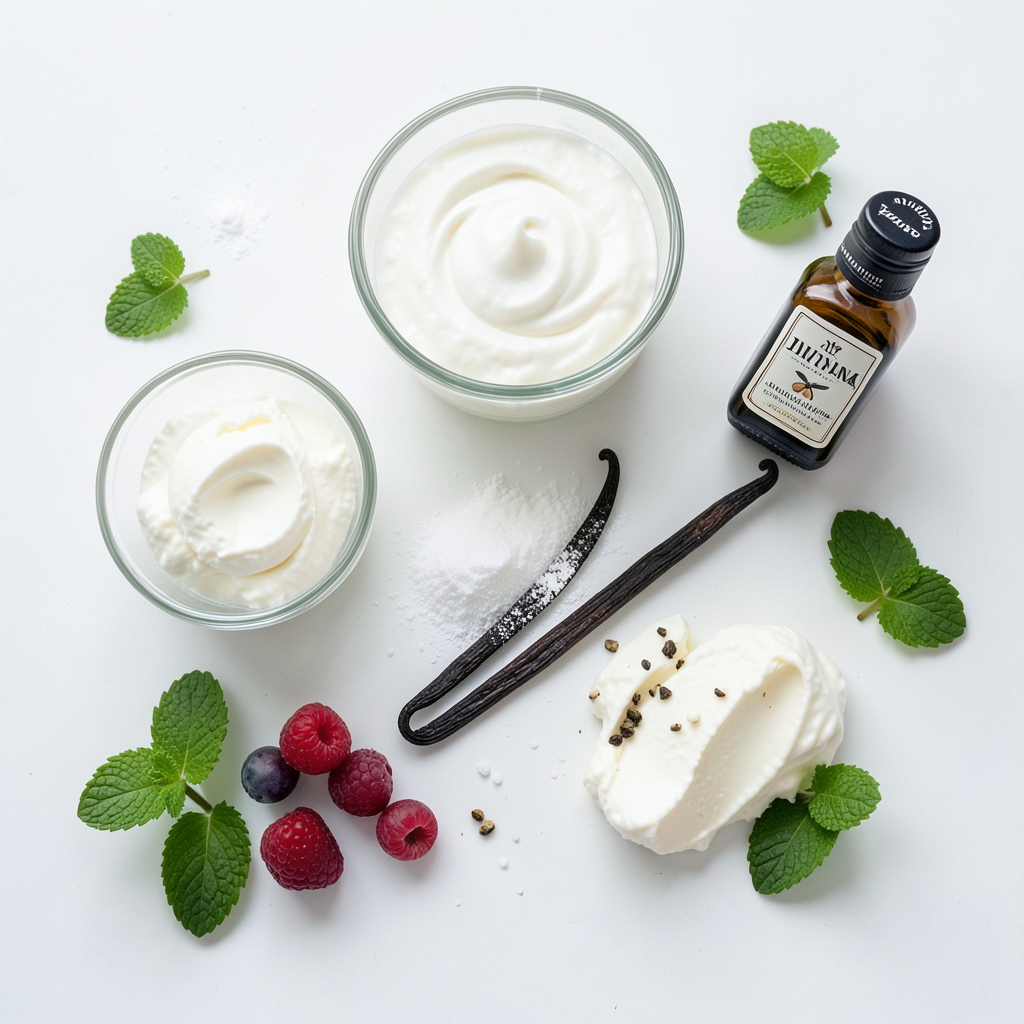
To make the Fluffy No-Bake Vanilla Bean Mousse, you will need:
- 2 cups heavy whipping cream, cold
- 1/2 cup powdered sugar
- 1 teaspoon pure vanilla extract
- 1 vanilla bean, split and seeds scraped
- 1/2 cup mascarpone cheese, softened
- Pinch of salt
These ingredients come together to create a light and creamy dessert. The heavy whipping cream is key for that fluffy texture. The mascarpone cheese adds richness, while the vanilla bean infuses a deep flavor. Don’t skip the pinch of salt; it enhances the sweetness.
Optional Garnishes
For a touch of color and flavor, consider these garnishes:
- Fresh berries
- Mint leaves
Berries add a fresh burst, while mint leaves give a lovely aroma. You can choose any berries you like, such as strawberries, blueberries, or raspberries. These garnishes make your mousse look as good as it tastes!
Step-by-Step Instructions
Preparing the Whipped Cream
To start, you need cold heavy cream. I like to chill my mixing bowl too. Using an electric mixer, whip the cream on medium-high speed. Watch closely as soft peaks form. This means the cream holds its shape but is still soft.
Next, add powdered sugar bit by bit. Keep whipping until stiff peaks form. This is when the cream stands tall and holds its shape firmly. Don't overbeat; otherwise, it could become grainy. Set the whipped cream aside for later.
Combining Flavors
In a separate bowl, combine softened mascarpone cheese, pure vanilla extract, and the seeds from one split vanilla bean. Add a pinch of salt to balance the sweetness. Mix until smooth and creamy, ensuring all ingredients blend well.
Now, it’s time to combine the two mixtures. Take your whipped cream and the mascarpone mix. Using a spatula, gently fold them together. Make sure to lift from the bottom and turn the bowl. This helps keep the mixture light and airy, which is key for a fluffy mousse.
Final Assembly
Now, it’s time to serve! Spoon the mousse into individual glasses or bowls. This makes it look nice and inviting. Cover them with plastic wrap and refrigerate for at least two hours. This chilling time helps the mousse set and develop flavor.
When you’re ready to enjoy, you can garnish with fresh berries or mint leaves. These add a pop of color and extra taste. You’ll love how this fluffy no-bake vanilla bean mousse turns out!
Tips & Tricks
Common Mistakes to Avoid
- Overwhipping the cream: Watch your whipped cream closely. If you whip too long, it will turn grainy. Stop when you see soft peaks forming.
- Incorrect folding methods: When you mix the mascarpone into the whipped cream, use a gentle folding technique. This keeps the mousse light and fluffy.
Ingredients Tips
- Substitutions for mascarpone: If you can’t find mascarpone, cream cheese works well. Soften it first for a smooth mix.
- Sweetness adjustments: Taste before serving. If you want it sweeter, add a bit more powdered sugar. Mix well to combine.
Serving Tips
- Presentation ideas: Use clear glasses to show off the mousse's layers. Top with berries and mint for a colorful touch.
- Pairing with desserts or beverages: This mousse pairs nicely with coffee or a light fruit tart. Try serving it with a glass of bubbly for a special treat.
Pro Tips
- Chill Your Tools: Make sure your mixing bowl and beaters are cold before whipping the cream. This helps the cream whip faster and achieve a better volume.
Variations
Flavor Variations
You can easily switch up the flavor of your mousse. Here are two fun options:
- Chocolate vanilla bean mousse: Add melted chocolate to the mascarpone mix. This gives you a rich, chocolatey treat. Use dark or milk chocolate based on your taste.
- Citrus-infused mousse options: Mix in citrus zest, like lemon or orange. This adds a bright, fresh taste. You can also add a splash of citrus juice for extra zing.
Dietary Modifications
You can make this mousse fit your diet without losing flavor. Here are two great ways:
- Dairy-free alternatives: Use coconut cream instead of heavy cream and mascarpone. This keeps it creamy and delicious. Make sure the coconut cream is cold for the best results.
- Low-sugar options: Substitute powdered sugar with a sugar substitute. This helps cut down on sugar while keeping it sweet. Try using stevia or monk fruit for a healthier option.
Serving Variations
Serving your mousse can be fun and creative. Here are two ideas to try:
- Layered mousse parfait: Layer the mousse with fresh fruits and granola in a glass. This adds texture and flavor. It's also a beautiful way to serve your dessert.
- Mousse tart variations: Spread the mousse into a pre-baked tart shell. This gives a lovely crust to each bite. Top with fresh berries or a drizzle of chocolate for a fancy touch.
Storage Info
Refrigeration Guidelines
To keep your mousse fresh, store it in an airtight container. This prevents it from absorbing other smells in the fridge. If you use individual cups, cover them with plastic wrap. This keeps the surface smooth and creamy. Fluffy no-bake vanilla bean mousse lasts for about three days in the fridge. After that, it may lose some of its light texture.
Freezing Information
You can freeze vanilla bean mousse, but it may change in texture. The cream might separate after thawing. If you freeze it, store it in a freezer-safe container. Leave some space at the top, as it expands when frozen. To thaw, place the mousse in the fridge overnight. Serve it chilled after thawing for the best taste.
FAQs
What makes mousse fluffy?
Whipped cream and mascarpone cheese create the fluffy texture in mousse. When you whip cream, you add air, which makes it light. The mascarpone adds creaminess without weighing it down. The key is to whip the cream to soft peaks first. Then, you mix in the mascarpone gently so you keep all that air. This balance helps the mousse stay fluffy and airy.
Can I use other flavors besides vanilla?
Yes, you can try many flavors! Chocolate is a popular choice. Use cocoa powder or melted chocolate. You can also use fruit purees, like raspberry or mango, for a fruity twist. For a more unique flavor, try adding spices like cinnamon or cardamom. Each flavor brings a new taste to the mousse, making it fun to experiment.
How do I know when the mousse is ready to serve?
Check for a smooth and creamy texture. The mousse should hold its shape but still feel light. If you scoop it with a spoon, it should not run or break apart. You can also taste it to see if the sweetness is right. If it meets these signs, your mousse is ready to enjoy!
This guide covered making a delicious vanilla bean mousse. We explored crucial ingredients, from heavy cream to mascarpone. You learned how to whip cream to the right peaks and fold it gently. We shared tips to avoid common mistakes and ways to customize flavors. You can serve it beautifully or modify for dietary needs.
Now you have everything you need to create your own mousse. Enjoy the process and have fun experimenting with flavors!