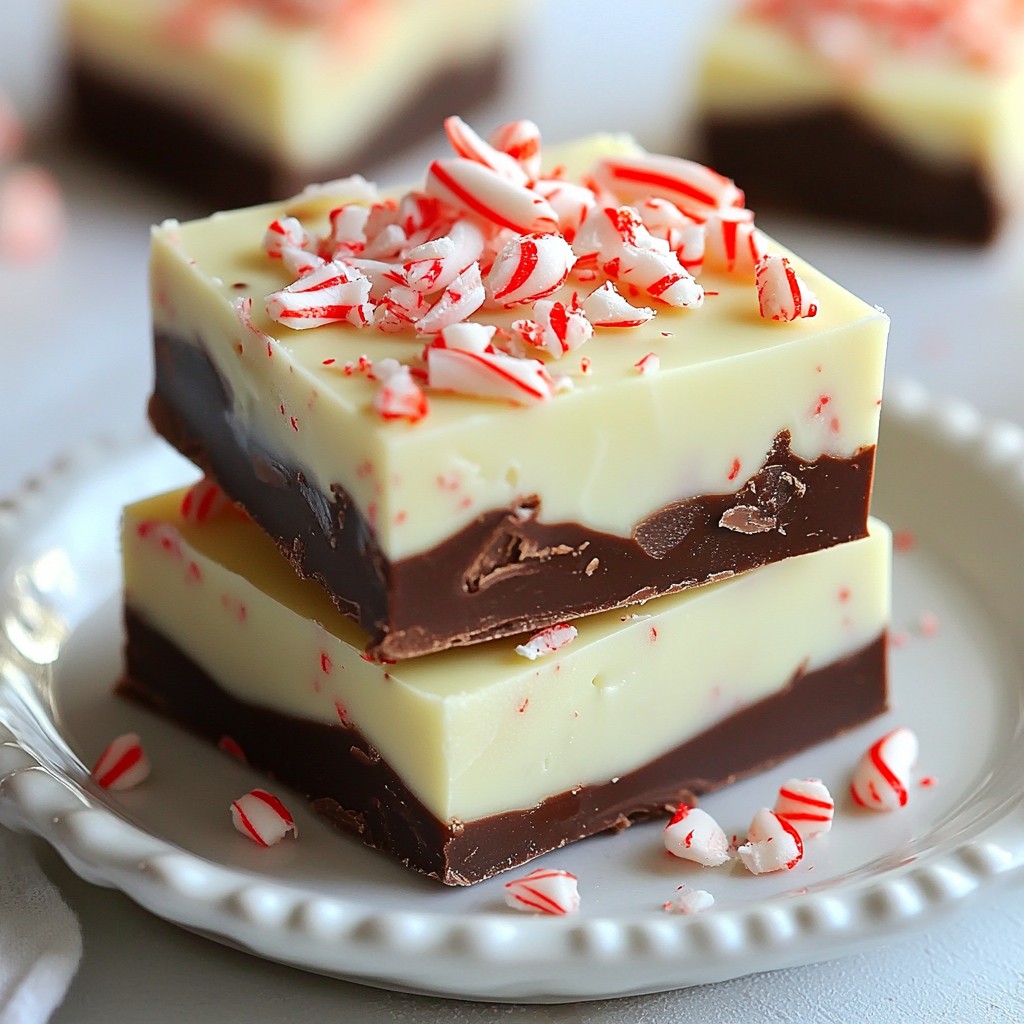
Get ready to wow your friends and family with my easy no-bake peppermint bark fudge! This delight is creamy, sweet, and full of festive spirit. You can whip it up in minutes with simple ingredients. No baking needed means more time to enjoy the season. Join me as we make this tasty treat that will be the star of your holiday gatherings! Let’s dive into the magic of festive fudge-making!
Why I Love This Recipe
- Deliciously Festive: This no-bake fudge captures the essence of the holiday season with its rich flavors of peppermint and chocolate, making it a perfect treat for festive gatherings.
- Easy to Make: No baking is required, which means you can whip up this delightful fudge in no time, even if you're short on kitchen skills!
- Customizable Toppings: With the option to add extra crushed candy canes or other toppings, you can personalize your fudge to suit your taste and impress your guests.
- Great for Gifting: Packaged in a festive box or tin, this fudge makes a thoughtful homemade gift that friends and family will love to receive during the holidays.
Ingredients
Main Ingredients List
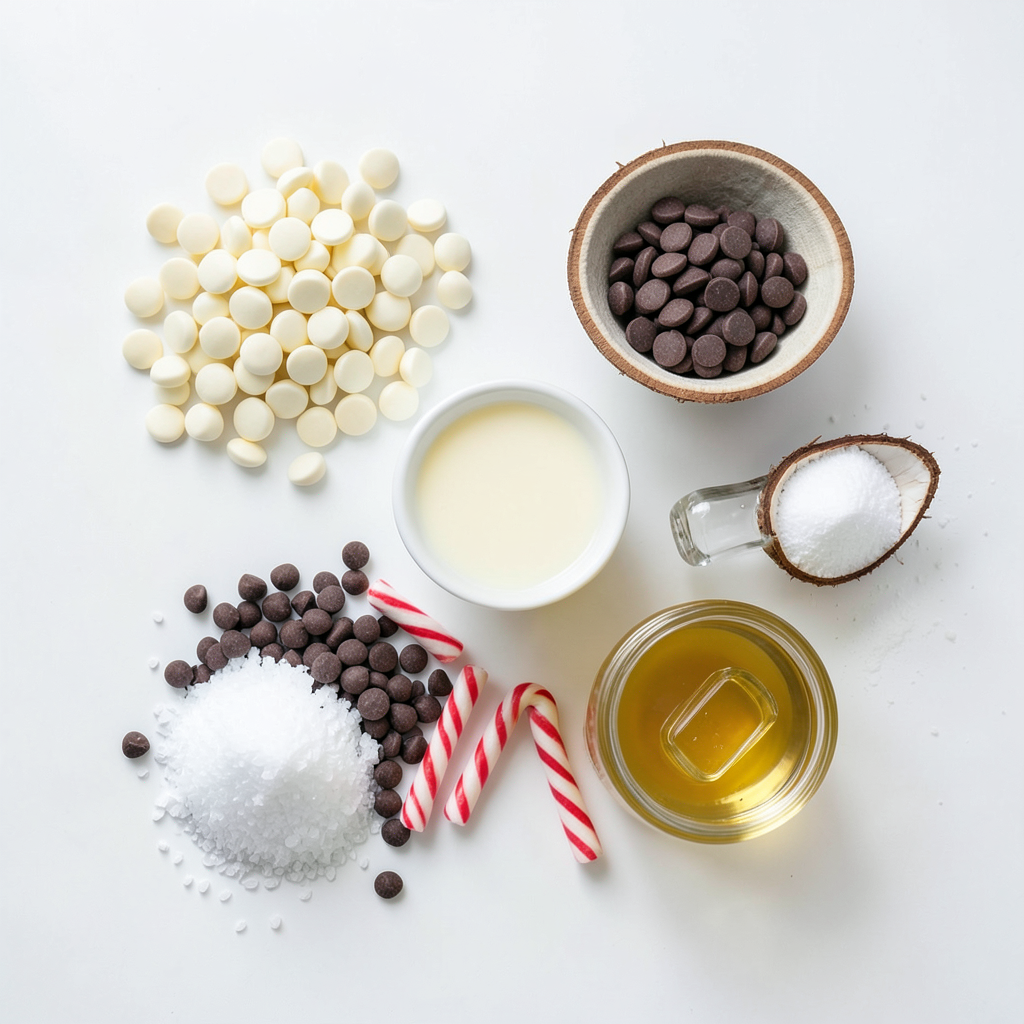
This fudge is simple and fun to make. You will need:
- 2 cups white chocolate chips
- 1 cup semi-sweet chocolate chips
- 1 can (14 oz) sweetened condensed milk
- 1 teaspoon peppermint extract
- 1/2 cup crushed candy canes (plus extra for topping)
- Pinch of salt
- 1 tablespoon coconut oil (optional, for extra smoothness)
Optional Ingredients for Extra Flavor
Want to add a twist? Consider these options:
- A sprinkle of sea salt for contrast
- A dash of almond extract for warmth
- Some chopped nuts for crunch
These can make your fudge even more delicious.
Substitutions and Alternatives
No white chocolate chips? No problem! Here are some swaps:
- Use butterscotch chips for a new flavor.
- Swap semi-sweet chips for dark chocolate chips.
- For a dairy-free option, try vegan chocolate chips.
These changes keep the spirit of the fudge alive while offering fresh tastes.
Step-by-Step Instructions
Preparing the Baking Pan
First, grab an 8x8 inch baking pan. Line it with parchment paper. Make sure to leave some paper hanging over the edges. This will help you lift the fudge out later.
Melting the White Chocolate Layer
In a microwave-safe bowl, mix the white chocolate chips with half of the sweetened condensed milk. Add the peppermint extract and a pinch of salt. Heat this mix in the microwave. Do it in 30-second bursts. Stir after each time until it melts and becomes smooth. If you want it creamier, add the coconut oil and stir well.
Layering and Melting the Semi-Sweet Chocolate
Take another microwave-safe bowl for the semi-sweet chocolate chips. Combine them with the rest of the sweetened condensed milk. Repeat the melting process just like you did with the white chocolate. Stir until it's smooth.
Final Chilling Process
Remove the pan with the white chocolate from the freezer. Pour the semi-sweet chocolate over it. Spread it evenly across the top. Sprinkle the rest of the crushed candy canes on top and press them down gently. Put the pan back in the freezer. Let it chill for at least 1 hour until it is fully firm.
Serving the Fudge
Once set, lift the fudge out using the parchment paper. Cut it into squares. Serve these festive treats on a lovely platter. For a fun touch, add a few whole candy canes for decoration.
Tips & Tricks
Ensuring Smooth Chocolate Melting
To melt chocolate smoothly, use a microwave-safe bowl. Combine the chocolate chips with half of the sweetened condensed milk. Heat in 30-second bursts. Stir after each interval until fully melted. If you like, add a tablespoon of coconut oil for extra smoothness. This will help your fudge have a creamier texture.
Best Practices for Layering
When layering your fudge, spread each layer evenly. Pour the white chocolate mixture first and press in half of the crushed candy canes. After freezing, repeat this with the semi-sweet chocolate. Gently press the remaining candy canes into the top layer. This creates a nice look and a fun crunch.
Presentation Tips for Festive Appeal
For a festive touch, cut the fudge into neat squares. Arrange them on a bright platter. You can add whole candy canes around the fudge as decoration. This makes it look even more fun and inviting for guests. A little sprinkle of extra crushed candy canes on top adds color and charm!
Pro Tips
- Use High-Quality Chocolate: For the best flavor and texture, choose premium white and semi-sweet chocolate brands. They melt better and create a smoother fudge.
- Chill Between Layers: Ensure each layer is fully set in the freezer before adding the next. This prevents them from mixing and keeps the layers distinct.
- Store Properly: Keep the fudge in an airtight container at room temperature or in the fridge. This helps maintain its texture and prevents it from becoming too soft.
- Customize Your Toppings: Feel free to get creative with toppings! Try adding chopped nuts, drizzles of chocolate, or even a sprinkle of sea salt for added flavor.
Variations
Adding Nuts or Dried Fruits
You can make this fudge even better by adding nuts or dried fruits. Try chopped walnuts or pecans for a crunchy twist. Dried cranberries or cherries add a nice fruity flavor. Mix in about half a cup of your chosen nuts or fruits after melting the chocolate. This change gives your fudge a unique taste and a fun texture.
Flavor Twists
Want to change the flavor? You can add different extracts! Almond extract gives a lovely nutty taste. A touch of vanilla extract adds warmth and sweetness. Use just half a teaspoon of these extracts when you melt the chocolate. This small change can make a big difference in how your fudge tastes!
Different Toppings
Toppings can take your fudge to the next level! Besides crushed candy canes, try colorful sprinkles for a fun look. Sea salt can also enhance the sweet flavor. Sprinkle these on top before the fudge sets. These extra touches add both flavor and visual appeal to your festive treat!
Storage Info
Best Ways to Store Leftover Fudge
To keep your fudge fresh, store it in an airtight container. Make sure to layer parchment paper between the fudge squares. This prevents them from sticking together. Keep the container in a cool, dry place. If you live in a warmer area, the fridge works well too. Just remember, the fridge can change the texture slightly.
How to Freeze for Longer Storage
Freezing fudge is a great way to save it for later. First, let the fudge cool completely. Then, cut it into squares. Wrap each square in plastic wrap. Place the wrapped squares in a freezer bag or airtight container. Label it with the date. Your fudge can last up to three months in the freezer.
Shelf Life and Use Tips
Freshly made fudge will usually last about one week at room temperature. If stored in the fridge, it can stay good for about two weeks. Always check for any off smells or changes in texture before eating. If you want to enjoy it later, thaw frozen fudge in the fridge overnight before serving.
FAQs
Can I make this recipe vegan-friendly?
Yes, you can make this fudge vegan. Use vegan white chocolate chips and dairy-free condensed milk. Many brands offer these options. Check your local store for them.
How do I prevent the chocolate from seizing?
To prevent seizing, use dry bowls and utensils. Avoid water contact when melting chocolate. Heat it slowly in short bursts in the microwave. Stir often to keep it smooth.
What can I serve with peppermint bark fudge?
Peppermint bark fudge pairs well with hot cocoa or coffee. You could also serve it with vanilla ice cream. The mix of flavors makes your treat special.
How long does it take for the fudge to set?
The fudge needs about one hour in the freezer to set. If you want it firmer, leave it longer. Make sure it feels solid before you cut it.
Can I use milk chocolate instead of semi-sweet?
Yes, you can use milk chocolate. It will make the fudge sweeter and creamier. Adjust the candy cane topping to balance the sweetness.
This blog post covers all aspects of making delicious fudge. We explored key ingredients, preparation steps, and helpful tips. You learned how to add flavors and variations for fun twists. I shared storage tips to keep your fudge fresh longer. You now have the tools to make great fudge and impress others. Enjoy creating your own sweet treats with confidence!