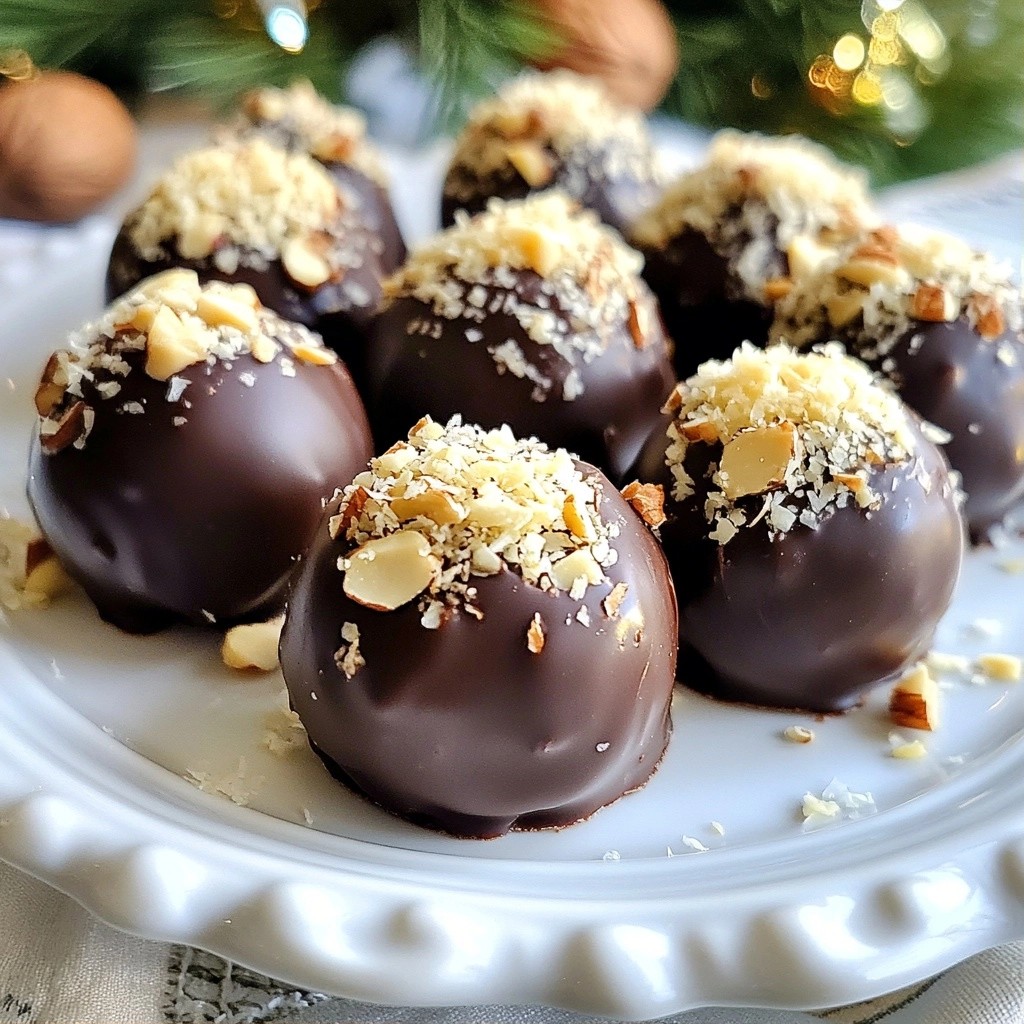
Looking for a sweet treat that’s easy to make and perfect for the holidays? You’ve found it! These festive no-bake hazelnut truffle bombs are delightful bites of joy. With simple ingredients like hazelnuts, cocoa powder, and dark chocolate, you can whip them up in no time. Plus, they’re perfect for sharing or enjoying all by yourself. Let’s dive into the steps to create these tasty truffles!
Why I Love This Recipe
- Deliciously Decadent: These truffles are a rich and satisfying treat that will impress any chocolate lover.
- No-Bake Convenience: Perfect for those hot days when you want something sweet without turning on the oven.
- Nutritious Ingredients: Made with wholesome nuts and dates, they offer a healthier alternative to traditional truffles.
- Customizable Toppings: Get creative with the toppings, from coconut to crushed nuts, for a personal touch.
Ingredients
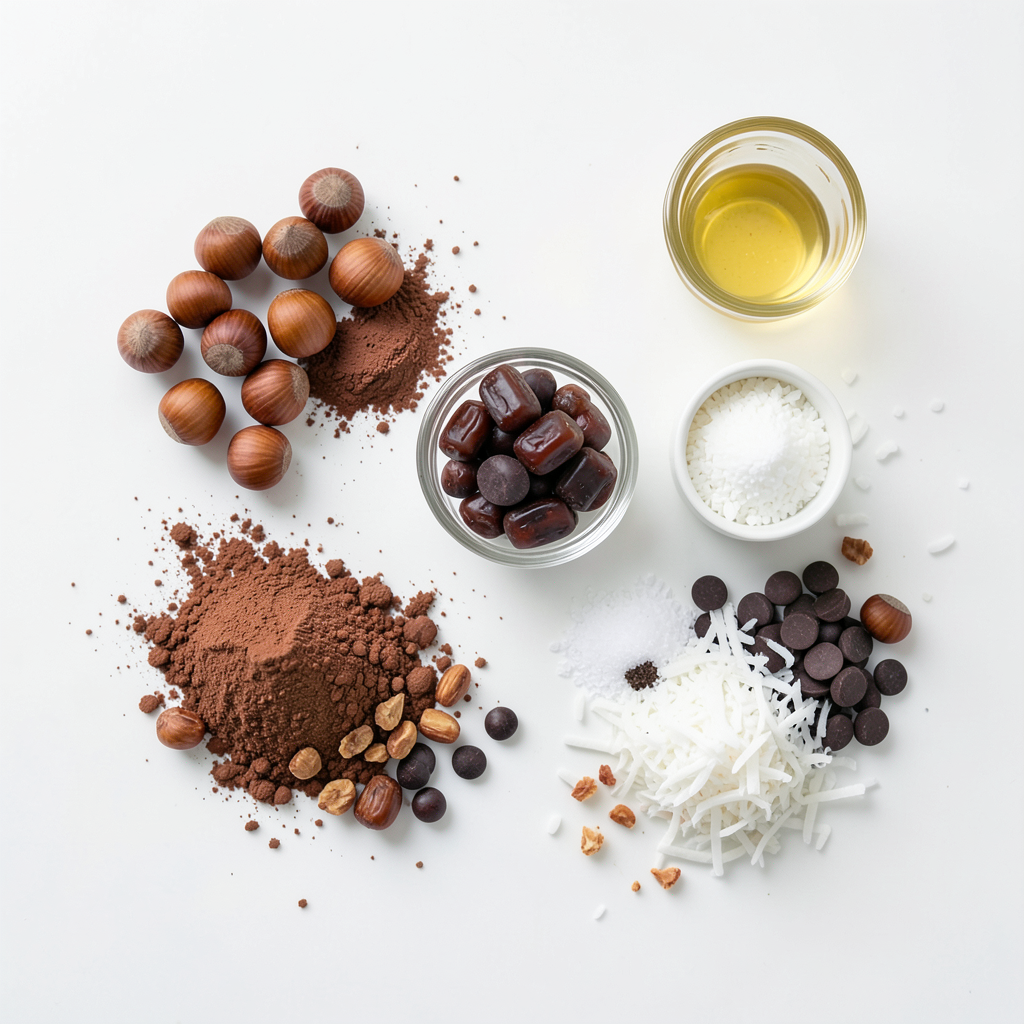
To create your Festive No-Bake Hazelnut Truffle Bombs, you need a few key ingredients. Each one brings a special touch to the truffles. Here’s what you’ll need:
- 1 cup hazelnuts, roasted and roughly chopped
- 1 cup pitted Medjool dates, packed
- 3 tablespoons unsweetened cocoa powder
- 1 teaspoon vanilla extract
- 1/4 teaspoon sea salt
- 1/4 cup dark chocolate chips (dairy-free if preferred)
- 1 tablespoon coconut oil
- 1/2 cup shredded coconut, for rolling
- 1/4 cup crushed hazelnuts, for garnish
These ingredients work together to create a rich and delightful treat. The hazelnuts add a crunchy texture, while the Medjool dates provide natural sweetness. Cocoa powder and vanilla extract enhance the flavor, making each bite enjoyable. The dark chocolate coating brings out a rich taste, and the shredded coconut adds a fun finish. With these simple ingredients, you can make a festive dessert that everyone will love.
Step-by-Step Instructions
Preparation of the Dough
Start with your food processor. Add in the roasted hazelnuts, Medjool dates, cocoa powder, vanilla extract, and sea salt. Pulse everything together. You want it to be sticky and combined. This mix forms the truffle dough. If it feels too dry, add a date. If it’s too wet, add some cocoa powder.
Forming the Truffles
Next, take a tablespoon of the dough. Roll it into a ball about one inch wide. Make sure it’s tight and round. Keep making these until you use all the dough. You should have about twelve truffles. Place them on a plate as you go. This part is fun and simple!
Melting the Chocolate
Now, grab a small microwave-safe bowl. Put in the dark chocolate chips and coconut oil. Microwave it in short bursts. Start with 20 seconds, then stir. Repeat this until the chocolate is smooth. Be careful not to burn it! Once melted, it's time to coat the truffles. Use a fork to dip each one into the chocolate. Make sure it's fully covered. Let the extra chocolate drip off before moving to the next step.
Tips & Tricks
How to Achieve the Perfect Truffle Texture
To get the best texture for your truffles, you need a sticky dough. Use a food processor to blend the hazelnuts, dates, cocoa, vanilla, and salt. Pulse until everything is well mixed. If it's too dry, add a little water. If it's too wet, add more cocoa powder. The dough should stick together when you roll it into balls.
Presentation Tips
Presentation makes your truffles look fancy. Place them in a festive box or on a nice plate. You can garnish with whole hazelnuts or a sprinkle of cocoa. This adds color and makes them look special. Keep the truffles cool until serving to maintain their shape.
Substitutes for Allergies or Preferences
Not everyone can eat hazelnuts. You can use almonds or walnuts instead. For a sweeter taste, use dried figs or raisins instead of Medjool dates. If you want a nut-free version, just skip the nuts and follow the same steps. For dairy-free options, choose dairy-free chocolate chips. This way, everyone can enjoy these tasty treats!
Pro Tips
- Use Fresh Dates: For the best flavor and texture, make sure to use fresh Medjool dates. Older dates may be drier and harder to blend.
- Chill the Mixture: If the mixture is too sticky to handle, chill it in the refrigerator for 10-15 minutes before rolling into balls.
- Customize Coatings: Feel free to experiment with different coatings such as crushed nuts, cocoa powder, or even sprinkles for a fun twist.
- Store Properly: Keep the truffles in an airtight container in the refrigerator for up to two weeks. They also freeze well for longer storage.
Variations
Flavor Additions
You can make these truffles even more fun with flavor additions. Try adding orange zest for a fresh twist. A touch of cinnamon or nutmeg can warm up the taste. If you love coffee, mix in instant coffee powder. Each of these flavors will give your truffles a unique charm. Experiment with small amounts at first to find your favorite.
Dietary Variations
If you want vegan options, you are in luck! All the ingredients in this recipe are plant-based. Just choose dark chocolate chips that are dairy-free. You can also swap Medjool dates for other dried fruits like figs if you prefer. This way, your truffles remain vegan and still taste amazing.
Different Coatings
Coatings add texture and flair to your truffles. While shredded coconut is delightful, you can also use crushed nuts. Chopped almonds or walnuts work great. For a fun look, roll them in colorful sprinkles or cocoa powder. Each coating can change the taste and make these truffles even more festive.
Storage Information
How to Properly Store Truffles
To keep your festive no-bake hazelnut truffle bombs fresh, store them in an airtight container. Place a layer of parchment paper between the truffles to prevent sticking. Keep the container in the fridge for the best taste and texture.
Shelf Life of No-Bake Hazelnut Truffles
These truffles can last up to one week in the fridge. After that, they may lose flavor and texture. Always check for any signs of spoilage. If they look or smell off, it's best to toss them.
Freezing Instructions
You can also freeze these truffles for longer storage. Place them on a tray in a single layer. Freeze until solid, then transfer them to an airtight container. They can last up to three months in the freezer. When you're ready to eat, let them thaw in the fridge for a few hours. Enjoy them chilled or at room temperature!
FAQs
Can I use different nuts instead of hazelnuts?
Yes, you can use other nuts. Almonds or walnuts work well too. Just chop them up the same way. Each nut adds a unique taste. For example, almonds give a light, sweet flavor. Walnuts provide a richer, earthier taste. Feel free to experiment with your favorite nuts!
How can I make these truffles sweeter?
To add more sweetness, try using extra dates. Dates bring natural sugar and can enhance the taste. You can also add a bit of maple syrup or honey. Just mix in small amounts until you reach your desired sweetness. Taste as you go to find the right balance!
Can I prepare these truffles ahead of time?
Absolutely! You can make these truffles a day or two in advance. Just store them in an airtight container. Keep them in the fridge to maintain their firmness. This way, you save time when guests arrive. Plus, they taste great after resting for a bit!
Today, we explored making no-bake hazelnut truffles. We covered ingredients like hazelnuts, cocoa powder, and dark chocolate chips. I shared simple steps for creating the dough, forming the truffles, and melting the chocolate. You learned tips for texture and how to present them nicely. We discussed variations, storage, and answered common questions. These truffles are easy and fun to make. With a few ingredients, you can create a tasty treat. Enjoy trying your own flavors and share them with friends!