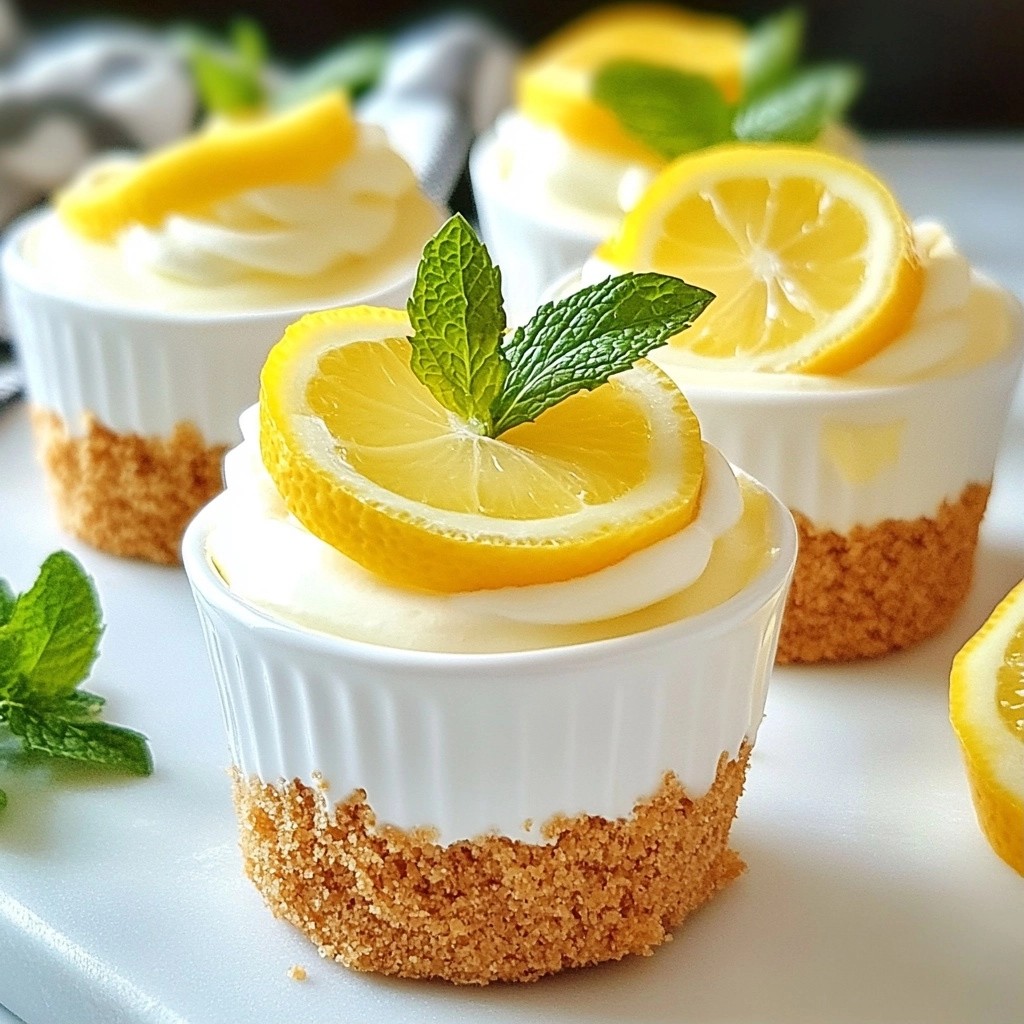
If you're craving a sweet treat that’s both easy and refreshing, you’ll love these Easy No-Bake Lemon Cheesecake Cups. With a bright lemon flavor and a smooth texture, they’re perfect for warm days or any time you want a light dessert. I’ll guide you through simple steps and essential tips to make this delightful treat, ensuring your cheesecake cups impress everyone. Let’s dive in and create something delicious together!
Why I Love This Recipe
- Simple Preparation: This recipe requires no baking, making it perfect for quick dessert cravings or last-minute gatherings.
- Refreshing Flavor: The combination of fresh lemon juice and zest adds a bright and zesty flavor that is refreshing and delightful.
- Customizable Servings: With individual cups, you can easily adjust the serving sizes or make them ahead for parties and events.
- Elegant Presentation: The cheesecake cups look sophisticated and can be garnished beautifully for an impressive dessert display.
Ingredients
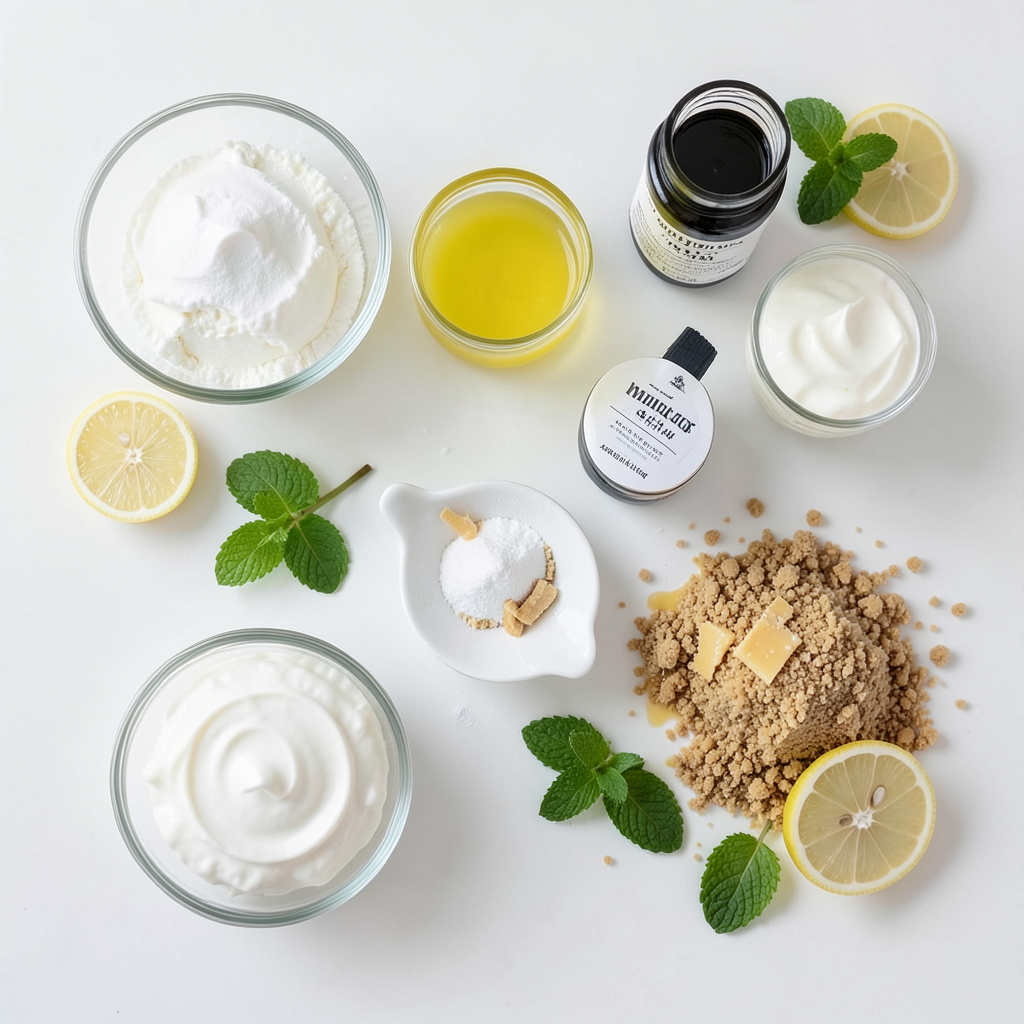
Detailed List of Ingredients
- 8 oz cream cheese, softened
- 1/2 cup powdered sugar
- 1/2 cup sour cream
- 1/4 cup fresh lemon juice
- Zest of 1 lemon
- 1 tsp vanilla extract
- 1 cup whipped cream (store-bought or homemade)
- 1 cup graham cracker crumbs
- 4 tbsp melted butter
- Fresh lemon slices and mint leaves for garnish
Explanation of Ingredient Choices
I chose cream cheese for a rich and creamy base. It gives the cheesecake its smooth texture. Powdered sugar adds sweetness without grit. Sour cream gives a slight tang that balances the sweetness. Fresh lemon juice adds a bright, zesty flavor. Lemon zest boosts the lemon taste and adds aroma. Vanilla extract rounds out the flavors nicely. Whipped cream makes the filling light and airy. Graham cracker crumbs create a crunchy crust. Melted butter binds the crumbs and gives a rich flavor. Fresh lemon slices and mint leaves make it look pretty.
Substitutions for Common Ingredients
If you can't find cream cheese, you can use mascarpone. Greek yogurt can replace sour cream for a tangy twist. For a sweeter taste, you may use honey instead of powdered sugar. If you want less tang, skip the lemon zest. For a gluten-free option, use gluten-free graham crackers or nuts. You can also use crushed digestives for the crust if you prefer.
Step-by-Step Instructions
Preparation of Cream Cheese Mixture
Start by softening 8 oz of cream cheese. Place it in a mixing bowl. Add 1/2 cup of powdered sugar. Use a hand mixer at medium speed. Blend until the mixture is smooth and creamy. Next, add 1/2 cup of sour cream. Pour in 1/4 cup of fresh lemon juice. Include the zest of 1 lemon and 1 tsp of vanilla extract. Mix everything until it is fully combined and smooth.
Combining Ingredients in Layers
In another bowl, mix 1 cup of graham cracker crumbs with 4 tbsp of melted butter. Stir until the crumbs are well coated. In your serving cups, add the graham cracker mixture. Press it down slightly to form a firm base. Now, take the lemon cream cheese filling. Scoop it on top of the graham cracker layer. Fill each cup to the top and smooth the surface.
Setting and Refrigeration Time
Once you have filled the cups, place them in the fridge. Let them chill for at least 2 hours. This time helps the cheesecake set properly. After chilling, they are ready to serve. Garnish with fresh lemon slices and mint leaves for a nice touch. Enjoy your delicious no-bake lemon cheesecake cups!
Tips & Tricks
Ensuring a Smooth Cream Cheese Mixture
To start, make sure your cream cheese is very soft. This makes mixing easier. I recommend letting it sit out for about 30 minutes. When you mix it with powdered sugar, use a hand mixer. Start on low, then go to medium speed. This helps create a smooth and creamy texture without lumps.
Folding in Whipped Cream Without Deflating
When you add whipped cream, be gentle. Use a spatula for folding. Start by adding a small amount of whipped cream to the cream cheese mix. Stir lightly to combine. Then, add the rest of the whipped cream in two parts. Fold it in slowly. This keeps the whipped cream airy and fluffy.
Ideal Refrigeration Time for Best Results
Chill your cheesecake cups for at least two hours. This time allows the mixture to set well. If you can, refrigerate them longer. Four hours or overnight gives even better flavor and texture. The longer they sit, the more the flavors blend together, making each bite even tastier.
Pro Tips
- Use Room Temperature Cream Cheese: This helps create a smooth and creamy filling without lumps, making mixing easier.
- Fresh Lemon Juice for Best Flavor: Always opt for fresh lemon juice and zest instead of bottled to achieve a brighter, more vibrant flavor.
- Chill for Optimal Texture: Allow the cheesecake cups to chill for at least 2 hours, as this helps the flavors meld together and the texture firm up.
- Experiment with Flavors: Feel free to customize by adding fruit purees or different extracts to the filling for a unique twist on the classic lemon flavor.
Variations
Adding Different Citrus Flavors
You can switch up the lemon in this recipe. Try using lime, orange, or grapefruit juice instead. Each fruit brings its own unique taste. For instance, lime adds a zesty kick. Orange gives a sweeter flavor, while grapefruit adds a hint of bitterness. Use the same amount of juice as the lemon juice in the recipe. Don’t forget to add zest from the chosen fruit to enhance the flavor.
Alternative Crust Options
The graham cracker crust is classic, but you can change it. Use crushed Oreos for a chocolate twist. For a gluten-free option, use almond flour or gluten-free cookies. You can also try a coconut crust by using crushed coconut cookies. Just mix the crushed cookies with melted butter, then press it into the cups like the traditional crust. Each crust option changes the flavor and texture of your cheesecake cups.
Serving Suggestions and Pairings
Serve these cheesecake cups chilled for the best taste. Pair them with fresh berries, like strawberries or blueberries, for a fruity touch. A drizzle of honey or a scoop of vanilla ice cream adds sweetness and creaminess. For a fun twist, serve them with a dollop of lemon curd on top. This adds extra lemon flavor and a beautiful look. Enjoy these cups at parties or casual get-togethers. They are sure to impress!
Storage Info
Best Practices for Storing Leftovers
To keep your lemon cheesecake cups fresh, cover them tightly with plastic wrap. You can also place them in an airtight container. This helps stop air from drying them out. Always store them in the fridge to keep the cream cheese filling firm. Avoid stacking them, as this can mess up the layers.
How Long Do They Last?
If stored properly, your lemon cheesecake cups will last about 3 to 5 days in the fridge. The lemon flavor may get stronger over time, which can be nice! Just check for any signs of spoilage before enjoying the leftovers.
Freezing Instructions for Cheesecake Cups
You can freeze these cheesecake cups if you want to save some for later. First, wrap each cup in plastic wrap. Then, place them in a freezer-safe container. They can last up to 2 months in the freezer. When you're ready to eat them, let them thaw in the fridge overnight. Avoid refreezing them once thawed, as this can change the texture.
FAQs
Can I make these cheesecake cups ahead of time?
Yes, you can make these cheesecake cups a day before you serve them. Just assemble the cups, then chill them in the fridge. This allows the flavors to blend and creates a firmer texture. Just remember to add your garnishes right before serving. This keeps them fresh and bright.
What can I use instead of cream cheese?
If you want a dairy-free option, use coconut cream. It gives a nice creamy texture and adds a hint of coconut flavor. You can also try ricotta cheese for a lighter feel. Just blend it well to make it smooth.
How do I prevent the crust from getting soggy?
To keep the crust crunchy, make sure to mix the graham cracker crumbs with melted butter well. Press it firmly at the bottom of the cups to create a solid base. Store the cups in the fridge but avoid covering them tightly. This stops extra moisture from making the crust soggy.
Are there gluten-free options for this recipe?
Yes, you can make a gluten-free version by using gluten-free graham crackers. Many brands offer these. Just check the label to ensure they are truly gluten-free. You can also use crushed nuts or oats as a base for the crust. Both options work well and add a nice flavor.
In this blog post, we explored the delicious world of cheesecake cups. We covered key ingredients, their substitutes, and step-by-step instructions to achieve the perfect creamy texture. I shared helpful tips for smooth blending and creative variations to make your dessert unique. Lastly, we discussed storage methods to keep your treats fresh. Cheesecake cups are versatile and fun. You can impress your friends and family with this tasty dessert any time. Enjoy making them!