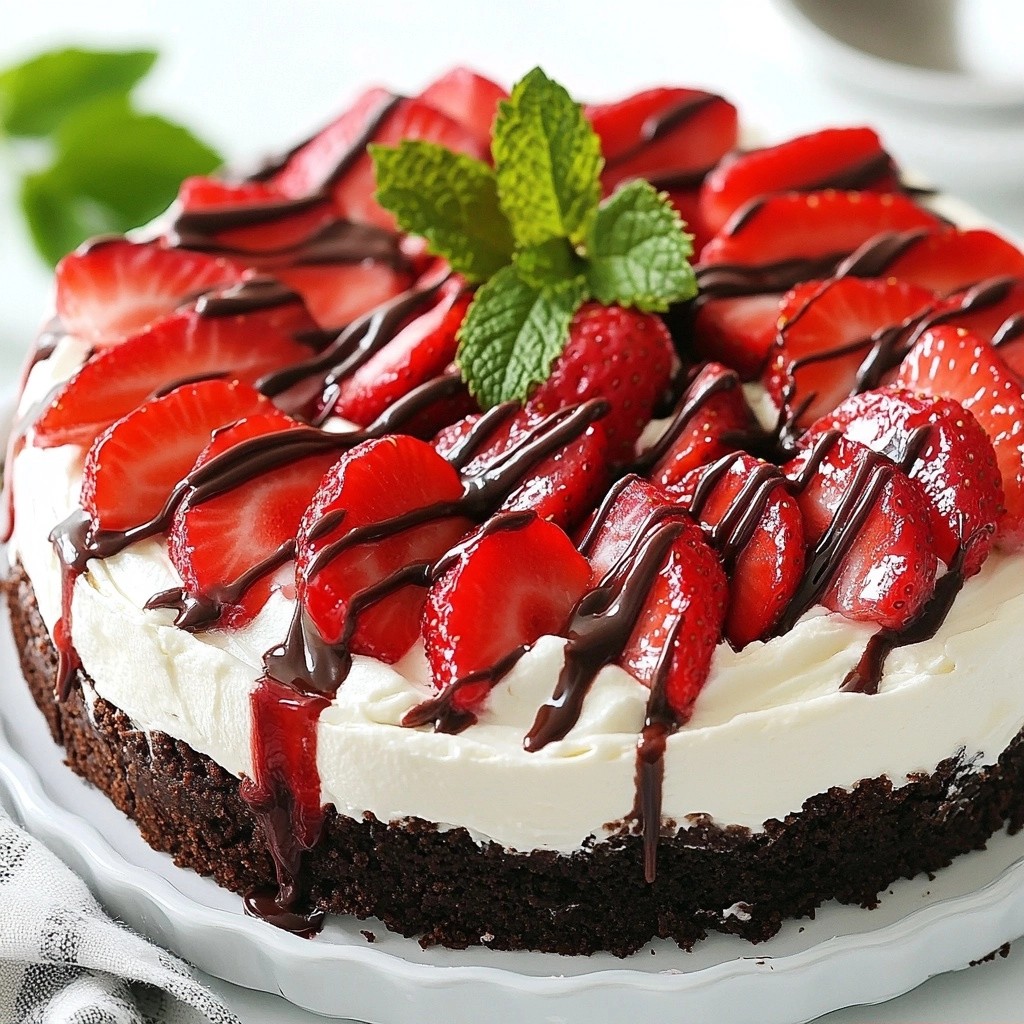
Get ready to indulge in a delightful treat that’s as easy to make as it is delicious! My Dreamy No-Bake Chocolate Strawberry Delight combines creamy layers, fresh strawberries, and a crunchy crust. You won't need an oven, just a few simple ingredients and some chilling time. Perfect for any occasion, this dessert will impress your friends and family. Let’s dive into this sweet adventure together!
Why I Love This Recipe
- Decadent Flavor: This dessert combines rich chocolate with fresh strawberries, creating a luxurious taste that’s hard to resist.
- No-Bake Convenience: Perfect for warm days, this recipe requires no baking, making it easy to whip up without heating the kitchen.
- Impressive Presentation: With its beautiful layers and chocolate drizzle, this dessert looks stunning on any table, guaranteed to impress your guests.
- Quick to Prepare: In just 20 minutes of prep time, you can have this delightful dessert ready to chill, allowing you more time to enjoy with family and friends.
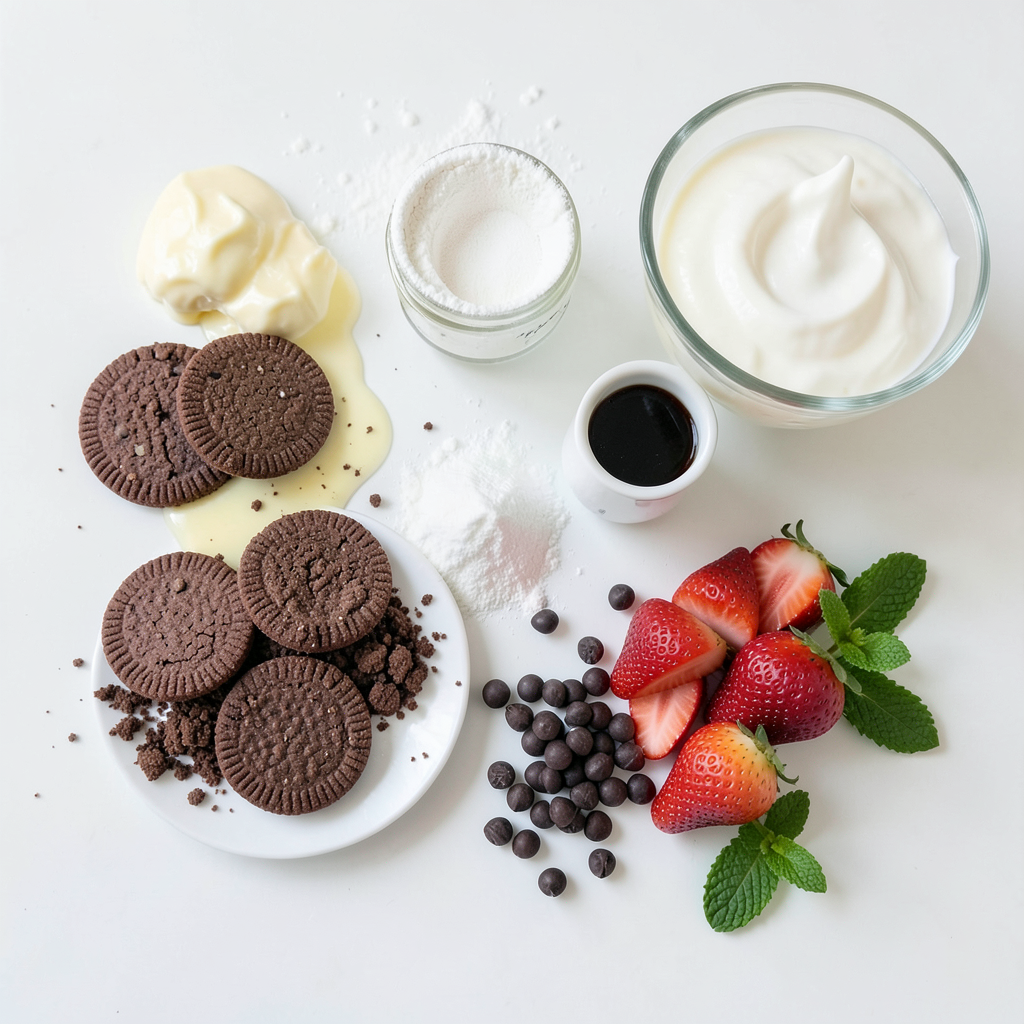
Ingredients
List of Ingredients
- 1 ½ cups chocolate wafer cookies, crushed
- ⅓ cup unsalted butter, melted
- 1 cup cream cheese, softened
- 1 cup powdered sugar
- 1 teaspoon vanilla extract
- 1 cup heavy whipping cream
- 1 cup fresh strawberries, sliced
- ½ cup dark chocolate chips (for garnish)
- Fresh mint leaves (for garnish)
Notes on Ingredient Substitutions
Gluten-free options for cookies: You can use gluten-free chocolate cookies. This way, everyone can enjoy the dessert. They taste great and hold up well.
Dairy-free alternatives for cream cheese and whipping cream: Look for dairy-free cream cheese and coconut cream. They work well and provide a similar taste and texture.
Sweeteners alternatives for powdered sugar: You can use coconut sugar or a sugar substitute. Adjust the amount to your taste. These options will help keep the dessert sweet without using regular sugar.
Step-by-Step Instructions
Preparing the Crust
1. Start by mixing the crushed chocolate wafer cookies with melted butter in a bowl.
2. Stir until the crumbs are evenly coated. This mix will form your crust.
3. Next, press the cookie mixture firmly into the bottom of a 9-inch springform pan.
4. Use the back of a measuring cup to compact it well.
5. Refrigerate the crust for about 15 minutes to help it set.
Making the Cream Cheese Layer
1. In a separate bowl, beat the softened cream cheese with powdered sugar and vanilla extract.
2. Keep mixing until it becomes smooth and creamy.
3. In another bowl, whip the heavy cream until stiff peaks form. This will make it light and fluffy.
4. Gently fold the whipped cream into the cream cheese mixture. Be careful not to deflate the whipped cream.
Assembling the Dessert
1. Pour half of the cream cheese mixture over the chilled crust. Spread it evenly.
2. Layer half of the sliced strawberries on top of the cream cheese.
3. Next, add the remaining cream cheese mixture over the strawberries. Smooth it out gently.
4. Top with the rest of the sliced strawberries.
Setting the Dessert
1. Melt the dark chocolate chips in a microwave-safe bowl. Heat in 30-second intervals until smooth.
2. Drizzle the melted chocolate over the top of the dessert.
3. Cover the springform pan with plastic wrap. Refrigerate for at least 4 hours, or overnight for best results.
4. To serve, carefully release the sides of the springform pan. Slice into wedges. Enjoy!
Tips & Tricks
Perfecting the Whipped Cream
To achieve stiff peaks, start with cold heavy cream. Use a chilled bowl and beaters. Whip on high speed until the cream thickens. Stop once you see peaks that hold their shape. To avoid deflating the whipped cream, fold gently into the cream cheese mix. Use a spatula and scoop from the bottom. This keeps the air in the cream.
Serving Suggestions
For the best slices, use a sharp knife. Wipe the knife between cuts to keep edges clean. Serve with fresh strawberries or a dollop of whipped cream. Pair this dessert with a light tea or a glass of sparkling water.
Presentation Ideas
Garnish with fresh mint leaves for a bright touch. Place the mint on top of the dessert right before serving. For creative plating, use a drizzle of chocolate sauce on the plate. You can also layer the dessert in clear cups for a fun look.
Pro Tips
- Chill the Cream Cheese: For a smoother mixture, ensure your cream cheese is fully softened at room temperature before mixing.
- Use Fresh Strawberries: Opt for ripe, fresh strawberries as they provide the best flavor and texture in this dessert.
- Whip the Cream Properly: Whipping the heavy cream to stiff peaks is crucial for achieving the right texture; it helps the dessert hold its shape.
- Let It Set: For optimal flavor and texture, refrigerate the dessert overnight; this allows the layers to meld beautifully.
Variations
Flavor Variations
You can make this dessert even better by adding different fruits. Try raspberries or blueberries for a tangy twist. You can also mix in flavors like almond or orange zest to bring a fresh taste. These small changes can create a unique dessert each time!
Texture Variations
For a crunchy bite, add nuts like walnuts or almonds. This adds a great texture contrast to the smooth cream cheese layer. If you want a different crust, swap the chocolate wafer cookies for graham crackers. This gives the dessert a lighter flavor.
Modifications for Dietary Needs
If you need vegan options, use plant-based cream cheese and whipping cream. You can also find sugar-free substitutes for powdered sugar. For a gluten-free crust, look for gluten-free cookies. These tweaks make the dessert fit for everyone!
Storage Info
How to Store Leftovers
To keep your Dreamy No-Bake Chocolate Strawberry Delight fresh, use an airtight container. Glass or plastic containers work well. Make sure to seal the container tightly. This prevents air from getting in and keeps the flavors strong.
Freezing Instructions
You can freeze this dessert if you have leftovers. First, slice it into wedges. Wrap each slice in plastic wrap. Then, place the wrapped slices in a freezer-safe bag. When you want to eat it, take a slice out and let it thaw in the fridge. This helps keep the creamy texture.
Shelf Life
In the fridge, this dessert lasts about 3 to 4 days. Look for changes in color or texture to spot spoilage. If it smells off or has a watery layer, it's time to toss it. Enjoy your dessert at its best!
FAQs
Can I make this dessert ahead of time?
Yes, you can make this dessert ahead of time. I often prepare it the night before. It needs time to chill and set, which makes it perfect for planning. Keep it in the fridge overnight for the best taste.
How do I prevent the strawberries from leaking juice?
To prevent strawberries from leaking juice, I suggest using fresh, firm berries. You can also dry them with a paper towel before slicing. Adding them just before serving helps keep them fresh and firm.
What can I substitute for cream cheese in this recipe?
If you need a substitute for cream cheese, you can use Greek yogurt or silken tofu. Both options give a creamy texture. For a sweeter taste, try using mascarpone cheese or a dairy-free cream cheese.
How long does the chocolate drizzle last?
The chocolate drizzle stays good for a few days in the fridge. However, it may harden. If it does, simply warm it up in the microwave for a few seconds. This will make it easy to drizzle again.
Can I use a different type of cookie for the crust?
Absolutely! You can use graham crackers or even shortbread cookies for the crust. Just crush them and mix with melted butter. Each type will give a unique flavor to your dessert.
This dessert recipe is simple and fun. You learned about the ingredients, tips, and variations. You can customize it to fit your needs. From flavor swaps to storage tips, you have options. Enjoy making this dessert with fresh strawberries and a chocolate drizzle. Remember to present it well for your guests. This treat is sure to impress anyone. So gather your ingredients, get started, and enjoy every delicious bite!