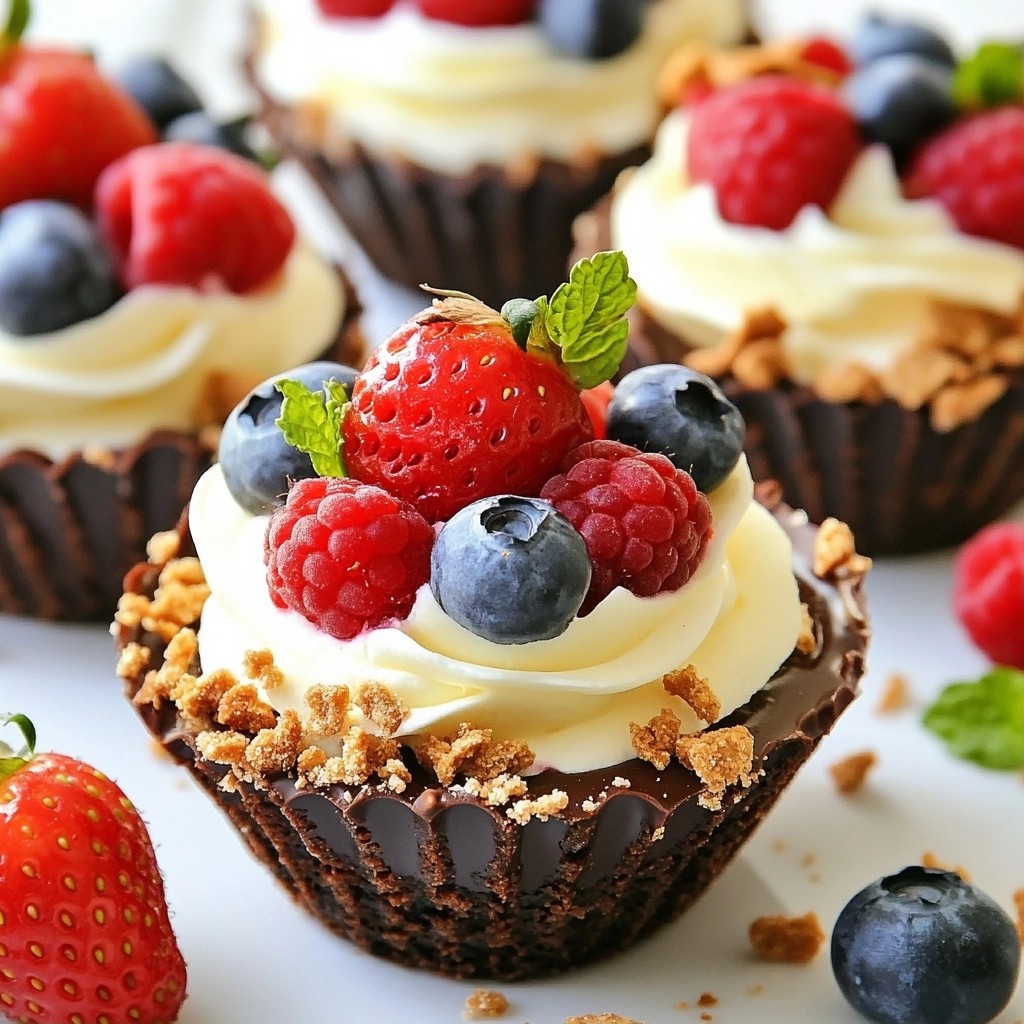
Sink your teeth into pure bliss with my decadent No-Bake Triple Berry Chocolate Cups! These delightful treats combine rich dark chocolate with fresh mixed berries for a heavenly dessert experience. Perfect for a quick and impressive treat, they require no oven and are easy to assemble. Get ready to impress your friends and family while enjoying a burst of flavor in every bite. Let’s dive in and make this sweet creation together!
Why I Love This Recipe
- Indulgent Delight: These chocolate cups are a rich and decadent treat that satisfies any sweet tooth without the need for baking.
- Fresh and Fruity: The combination of mixed berries adds a refreshing burst of flavor that perfectly complements the chocolate.
- Easy to Make: This no-bake recipe comes together quickly, making it a perfect dessert for any occasion, even on short notice.
- Customizable: You can easily adapt the recipe by using different types of chocolate or berries, allowing for endless variations!
Ingredients
Main Ingredients Needed
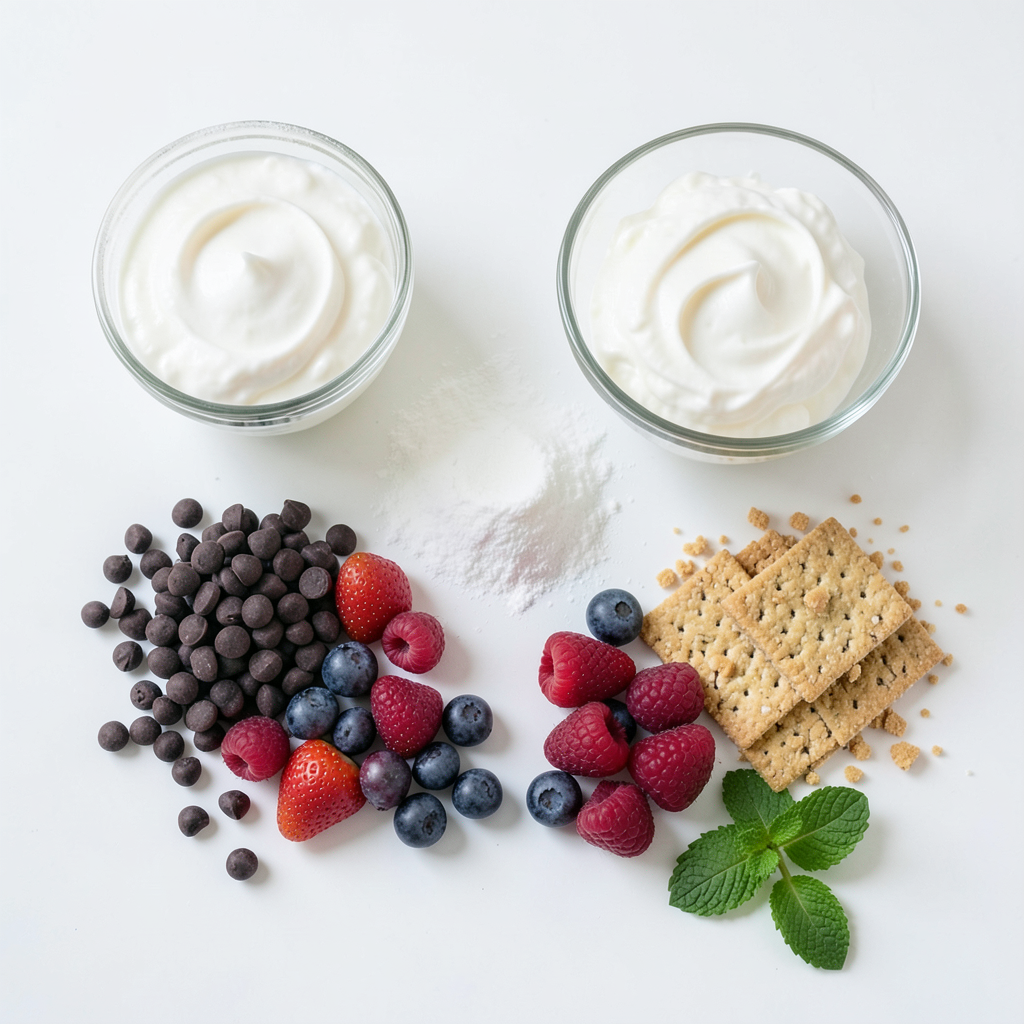
- 1 cup dark chocolate chips
- 1 cup mixed berries (strawberries, blueberries, raspberries)
- 1/2 cup heavy whipping cream
Dark chocolate chips provide a rich base. They melt easily and give a deep taste. Mixed berries add color and a burst of flavor. Strawberries, blueberries, and raspberries work best together. Heavy whipping cream makes the filling light and creamy. It helps create a smooth texture that pairs well with the chocolate.
Optional Ingredients
- 2 tablespoons powdered sugar
- 1 teaspoon vanilla extract
- Crushed graham crackers for topping
Powdered sugar sweetens the cream and helps it hold its shape. Vanilla extract adds a warm flavor. It enhances the overall taste of the dessert. Crushed graham crackers offer a crunchy topping. They add a nice texture contrast to the smooth chocolate and cream.
Garnishing Ingredients
- Fresh mint leaves
Fresh mint leaves add a pop of color. They also provide a refreshing taste. Just a few leaves on top can make your cups look fancy.
Step-by-Step Instructions
Melting the Chocolate
To melt chocolate safely, choose a microwave-safe bowl. Place dark chocolate chips inside. Heat them for 30 seconds at a time. After each interval, stir the chocolate. This helps it melt evenly. Stop when the chocolate is smooth and shiny. Be careful not to overheat it. Burnt chocolate can ruin your cups.
Preparing Cup Molds
Silicone molds work best for these cups. They are flexible and make it easy to remove the chocolate later. Traditional molds can stick, making it hard to get the chocolate out. Coat the bottom and sides of the silicone molds with melted chocolate. Leave room in the center for the filling. Chill them for about 15 minutes until set.
Whipping the Cream
To whip cream, start with a cold mixing bowl. Add heavy whipping cream, powdered sugar, and vanilla extract. Use a hand mixer or stand mixer on medium speed. Beat the mixture until soft peaks form. This means it should hold its shape but still be smooth. Don't overwhip, as it can turn grainy.
Filling the Chocolate Cups
Once the chocolate cups are set, carefully remove them from the molds. Spoon the whipped cream into each chocolate cup. Gently fold in half of the mixed berries. Be cautious not to crush them too much. You want some whole berries for texture and color. This adds a fresh touch to your dessert.
Final Touches
After filling the cups, sprinkle the remaining berries on top. This makes the cups look pretty. If you want extra crunch, add crushed graham crackers. Just a little will do! Finally, chill the cups in the fridge for about 30 minutes. This helps the flavors blend together and firm up the texture.
Tips & Tricks
Best Practices for Melting Chocolate
To melt chocolate well, use a microwave. Place the dark chocolate chips in a bowl. Heat in short bursts of 30 seconds. Stir between each burst. This helps avoid burning. Keep an eye on the chocolate while it melts. If it starts to clump, stop heating. Stir it well until smooth. A double boiler is another good choice. Place a bowl over simmering water. This method heats gently and evenly.
How to Choose Fresh Berries
For tasty chocolate cups, pick fresh berries. Look for ripe strawberries, blueberries, and raspberries. They should feel firm and look bright. Avoid any that are mushy or dull. Smell them, too! Fresh berries give off a sweet scent. If you can, buy organic berries. They often taste better and are safer. Always wash them before use. This removes dirt and pesticides.
Enhancing Flavor and Texture
Want to make your chocolate cups even better? Add more toppings! Crushed graham crackers give a nice crunch. You can also use chopped nuts or coconut flakes. For a twist, try flavored whipped cream. Add a bit of lemon zest or almond extract. Fresh mint leaves add a pop of color and flavor. Let your creativity shine!
Pro Tips
- Choose High-Quality Chocolate: The flavor of your chocolate cups will greatly depend on the quality of the chocolate chips. Opt for high-quality dark chocolate for a richer taste.
- Keep Berries Fresh: Use fresh, ripe berries for the best flavor. Avoid overripe berries as they can make the filling too watery.
- Adjust Sweetness: You can modify the amount of powdered sugar in the whipped cream to suit your taste. Taste as you go to find the perfect balance.
- Experiment with Flavors: Feel free to add other flavorings, such as a splash of lemon juice or orange zest, to the whipped cream for a unique twist.
Variations
Different Chocolate Options
You can switch the dark chocolate for milk or white chocolate. Milk chocolate adds a sweeter taste. White chocolate gives a creamy texture. Both options work well with the berries. Just melt them the same way as dark chocolate. The process remains simple and fun.
Alternative Filling Ideas
You can swap the mixed berries for other fruits. Try using bananas, peaches, or mangoes. Each fruit brings its own unique flavor. You can also add nuts, granola, or even coconut flakes on top. This will change the taste and texture of the cups. Feel free to mix and match your favorite fruits.
Dietary Adjustments
Making these cups vegan or dairy-free is easy. Use dairy-free chocolate chips and coconut cream instead of heavy cream. This keeps the flavor rich and delicious. You can also use maple syrup as a sweetener. These adjustments ensure everyone can enjoy these treats.
Storage Info
Best Practices for Storing Chocolate Cups
To keep your chocolate cups fresh, store them in an airtight container. Place them in the fridge. This helps maintain the creamy texture and flavor. Avoid stacking them to prevent squishing. If you plan to eat them soon, you can leave them uncovered for a short time. However, cover them if you leave the house.
Freezing Instructions
Yes, you can freeze these chocolate cups. To do this, first, let them chill in the fridge for at least 30 minutes. Then, wrap each cup in plastic wrap or foil. Place them in a freezer-safe container. When ready to eat, let them sit in the fridge overnight to thaw.
Shelf Life
In the fridge, these chocolate cups last about five days. If you freeze them, they can last up to three months. Just remember, the fresher you eat them, the better they taste!
FAQs
Can I use different types of chocolate?
Yes, you can use other chocolates. Milk chocolate adds sweetness. White chocolate brings a creamy texture. If you prefer a healthier option, try dark chocolate with a higher cocoa content. Each type gives a unique taste and look. Just remember, the melting process stays the same for all types.
What can I use instead of heavy cream?
If you want a dairy-free option, use coconut cream. It whips well and adds a nice flavor. Almond milk or soy cream can also work but may not whip as well. Choose a brand that fits your taste. This way, you can enjoy the recipe even if you avoid dairy.
How do I ensure my chocolate cups come out easily?
To make removing chocolate cups easy, let the chocolate set fully. Use silicone molds for easy release. If you use rigid molds, lightly grease them with oil. Gently twist or push the mold from the bottom to pop out the cups. This method keeps your cups intact and looking great.
This blog post covered how to make delicious chocolate cups filled with berries. You learned about the main ingredients, like dark chocolate and mixed berries. We discussed step-by-step instructions for melting chocolate and whipping cream. I shared tips for choosing fresh berries and variations for dietary needs. Remember to store your chocolate cups properly for the best taste. Enjoy making these treats, and feel free to explore new flavors. Your kitchen will be a fun place filled with sweet surprises. Happy cooking!