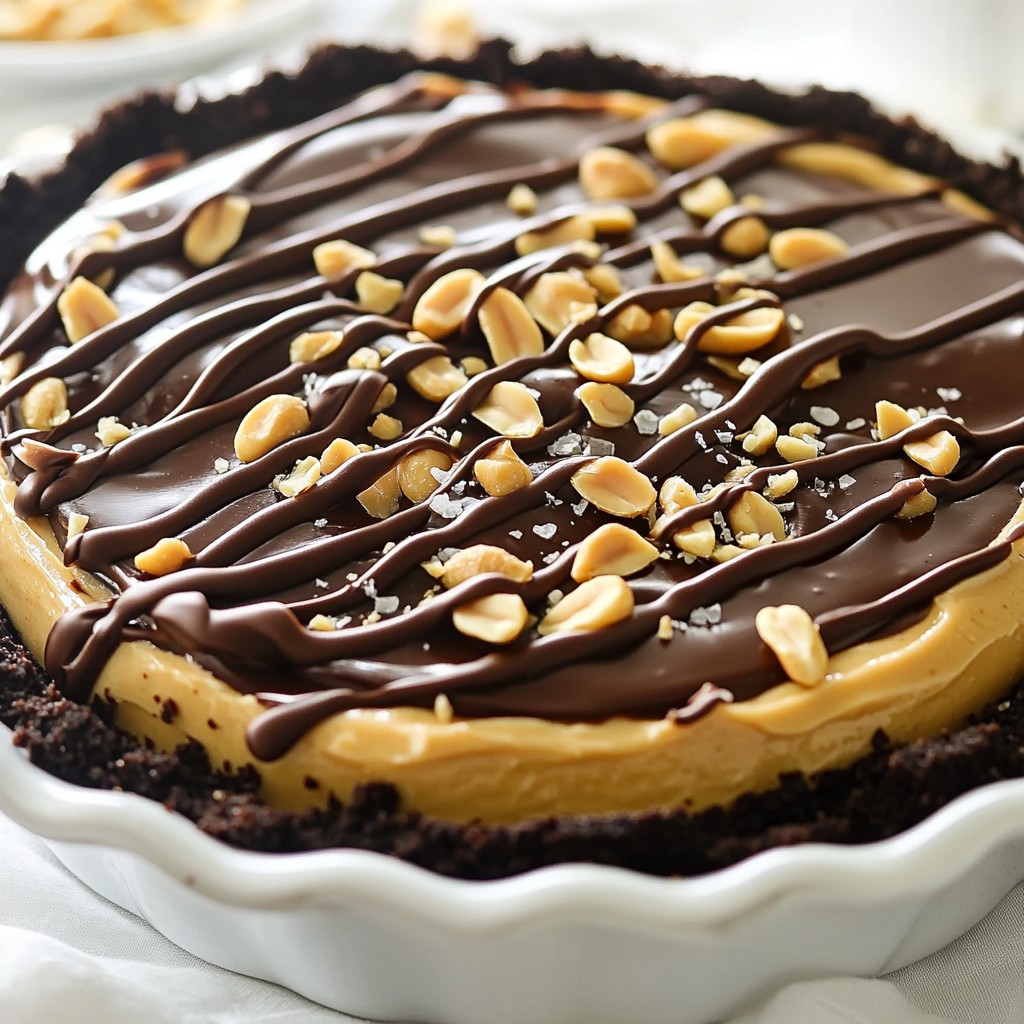
Get ready to indulge in a sweet treat! My Decadent No-Bake Peanut Butter Chocolate Pie Delight is the perfect dessert for any occasion. It combines creamy peanut butter and rich chocolate into a dreamy pie that you can whip up in no time. No baking is required, and every bite delivers joy. Whether you’re a peanut butter lover or just craving something sweet, this pie will be your new go-to dessert. Let’s dive in!
Why I Love This Recipe
- Indulgent Flavor Combination: This pie combines rich chocolate and creamy peanut butter, creating a dessert that satisfies every sweet craving.
- Quick and Easy: No baking is required, making this pie a simple yet impressive dessert that anyone can whip up in no time.
- Perfect for Any Occasion: Whether it's a family gathering or a holiday celebration, this pie is sure to be a crowd-pleaser.
- Customizable Toppings: Add your favorite toppings like whipped cream or extra chocolate drizzle to make it uniquely yours!
Ingredients
List of Required Ingredients
- 1 ½ cups chocolate cookie crumbs
- ½ cup unsalted butter, melted
- 1 cup creamy peanut butter
- 1 cup powdered sugar
- 1 cup heavy whipping cream
- 1 teaspoon vanilla extract
- 4 ounces dark chocolate, chopped
- ¼ cup roasted peanuts, chopped (for garnish)
- Sea salt (optional, for garnish)
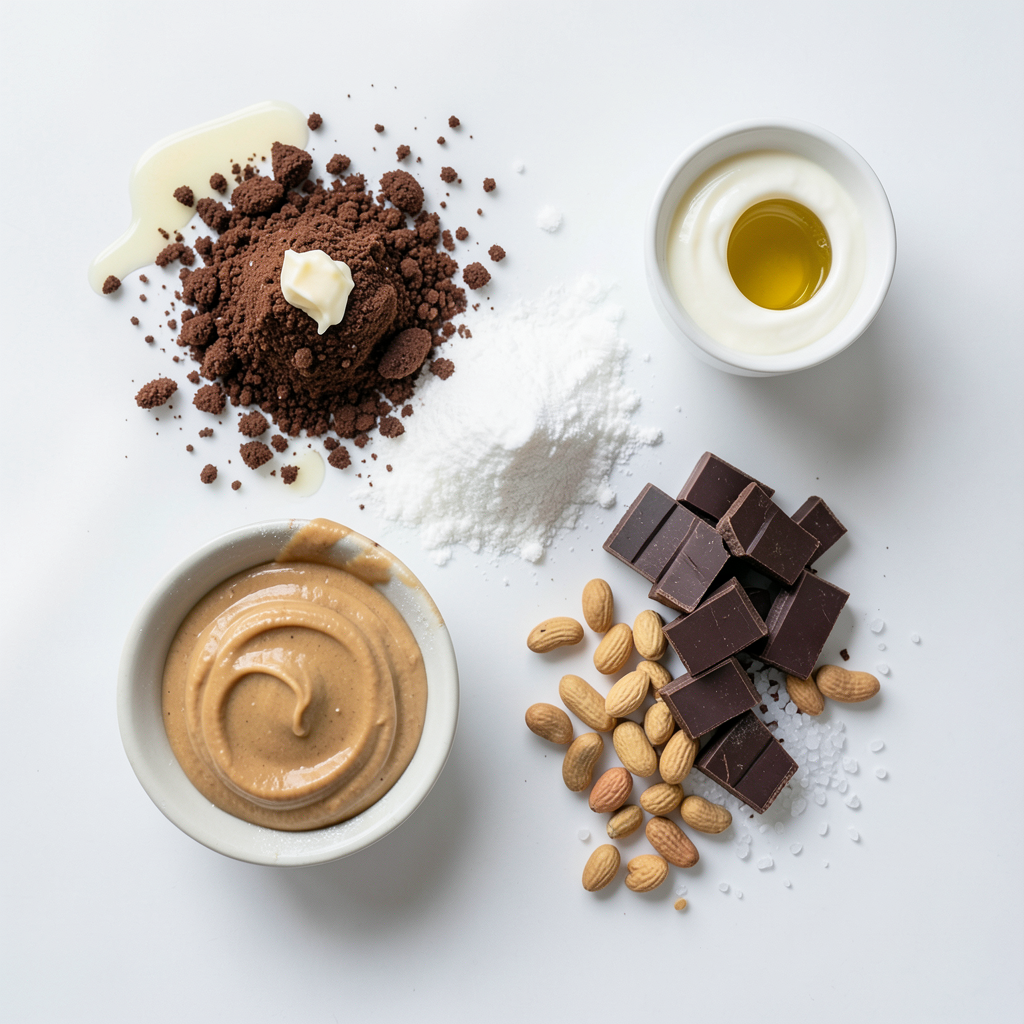
To create this pie, you need simple but tasty ingredients. Each one plays a role in making the pie rich and creamy. The chocolate cookie crumbs form a crunchy base. The unsalted butter helps bind the crust together. Creamy peanut butter gives the filling its signature flavor.
Powdered sugar adds sweetness, while heavy cream makes it light and fluffy. Vanilla extract enhances the overall taste. Dark chocolate, when melted, creates a delicious drizzle on top. Lastly, chopped roasted peanuts add a nice crunch. You can skip the sea salt, but it gives a lovely contrast to the sweet flavors.
Gather these ingredients before you start. This will make your cooking process smoother and more fun. Enjoy the blend of chocolate and peanut butter in every bite of your no-bake pie!
Step-by-Step Instructions
Preparation of the Pie Crust
First, gather your chocolate cookie crumbs and melted butter. In a medium bowl, combine them well. Mix until the crumbs are fully coated in butter. Next, press this mixture into a 9-inch pie dish. Make sure you pack it tightly to hold together when sliced. Once you’ve shaped the crust, chill it in the refrigerator for about 15 minutes. This helps it set nicely.
Making the Peanut Butter Filling
Now it's time to make the filling. In a large mixing bowl, beat together the creamy peanut butter and powdered sugar. Mix until it is smooth and creamy. In another bowl, whip the heavy cream with vanilla extract until soft peaks form. Once whipped, gently fold this cream into the peanut butter mixture. Be careful not to deflate the cream; you want it fluffy.
Assembling and Topping the Pie
Pour the peanut butter filling into the chilled crust. Smooth the top with a spatula. Next, melt the dark chocolate. You can do this over a double boiler or in the microwave, stirring often. Once melted, drizzle the chocolate over the pie. Finally, refrigerate the pie for at least 4 hours, or until it is firm. Before serving, garnish with chopped roasted peanuts and a sprinkle of sea salt, if you like. Slice and enjoy the rich layers of chocolate and creamy peanut butter!
Tips & Tricks
Perfecting the Pie Crust
To make the crust, you need to pack it tightly. This step helps it hold together when you slice the pie. If it is too loose, it will crumble. Use chocolate cookie crumbs for the best flavor. They add a rich taste that pairs well with peanut butter.
Enhancing the Peanut Butter Flavor
Choosing the best peanut butter makes a big difference. Look for creamy peanut butter with no added sugar or oils. This gives your pie a smooth texture. You can also add a bit of honey or a pinch of cinnamon for extra flavor. These additions can make your pie even more delicious.
Drizzling Chocolate Like a Pro
For a smooth chocolate drizzle, melt it slowly. You can use a double boiler or the microwave. Stir it often to avoid burning. Once melted, try different designs when drizzling. You can create swirls or lines to make your pie look fancy. This small touch makes a big impact!
Pro Tips
- Use Room Temperature Ingredients: Allow your peanut butter and cream to come to room temperature for easier mixing and a smoother filling.
- Chill the Crust Well: Make sure to chill the crust adequately to ensure it holds together when slicing the pie.
- Whip Cream to Soft Peaks: Be careful not to over-whip the cream; soft peaks will give the pie a light and airy texture.
- Experiment with Toppings: Feel free to add additional toppings like chocolate shavings or drizzle caramel sauce for extra flavor and visual appeal.
Variations
Alternative Crust Options
You can switch up the crust if you like. Instead of chocolate cookie crumbs, try using graham crackers. They add a nice sweetness. If you want something different, oat cookies work well too. They give a hearty texture. For gluten-free options, use gluten-free cookie crumbs. This way, everyone can enjoy the pie.
Flavor Enhancements
To make the peanut butter filling even richer, add melted chocolate. Just mix it in before you fold in the whipped cream. This makes the filling super chocolatey. You can also add caramel or other mix-ins. A swirl of caramel can bring a lovely contrast to the flavor. Try adding mini chocolate chips for extra sweetness and texture.
Presentation Ideas
When it comes to serving, don’t hold back on toppings. A sprinkle of chopped roasted peanuts adds crunch. If you want a bit of flair, drizzle more melted chocolate on top. You can also add a dollop of whipped cream. For a fun twist, try placing a few chocolate shavings on the pie. This makes it look fancy and inviting.
Storage Info
Proper Storage Techniques
To keep your pie fresh, store it in the refrigerator. Place the pie in an airtight container. This helps seal in flavor and moisture. If you don’t have a container, cover it tightly with plastic wrap. Make sure it touches the pie to limit air exposure.
Freezing the Pie
You can freeze this pie for later enjoyment. First, wrap the pie well in plastic wrap. Then, cover it with aluminum foil to prevent freezer burn. When you want to enjoy it, remove the pie from the freezer. Place it in the fridge for several hours to thaw. You can also leave it at room temperature for about 30 minutes.
Shelf Life Recommendations
In the fridge, this pie lasts up to five days. Keep an eye out for signs of spoilage. If you see any mold or an off smell, it’s best to discard it. Always trust your senses. They guide you well in the kitchen!
FAQs
Can I make this recipe ahead of time?
Yes, you can make this pie ahead of time. I recommend making it one day before you plan to serve it. This allows the pie to chill and set properly. Simply follow the steps, refrigerate it, and it will taste even better the next day!
What can I substitute for heavy whipping cream?
You can use coconut cream or double the whipped topping instead of heavy cream. Use 1 cup of coconut cream, and it will give a nice texture. If using whipped topping, use 1 cup as well. Both options keep it creamy and help the pie set.
Can I use crunchy peanut butter instead of creamy?
You can use crunchy peanut butter. It will add a fun texture to the pie. The flavor will be richer, and the bites will feel more exciting. If you love the crunch, go for it! Just know it may not be as smooth as when using creamy peanut butter.
This blog post taught you how to make a delicious peanut butter pie. You learned about the key ingredients, from chocolate cookie crumbs to dark chocolate and roasted peanuts. Following the steps, you can create a tasty crust and a creamy filling while adding your own twists. Remember, storage is important to keep it fresh, and feel free to explore variations. Dive into making this pie and enjoy every bite!