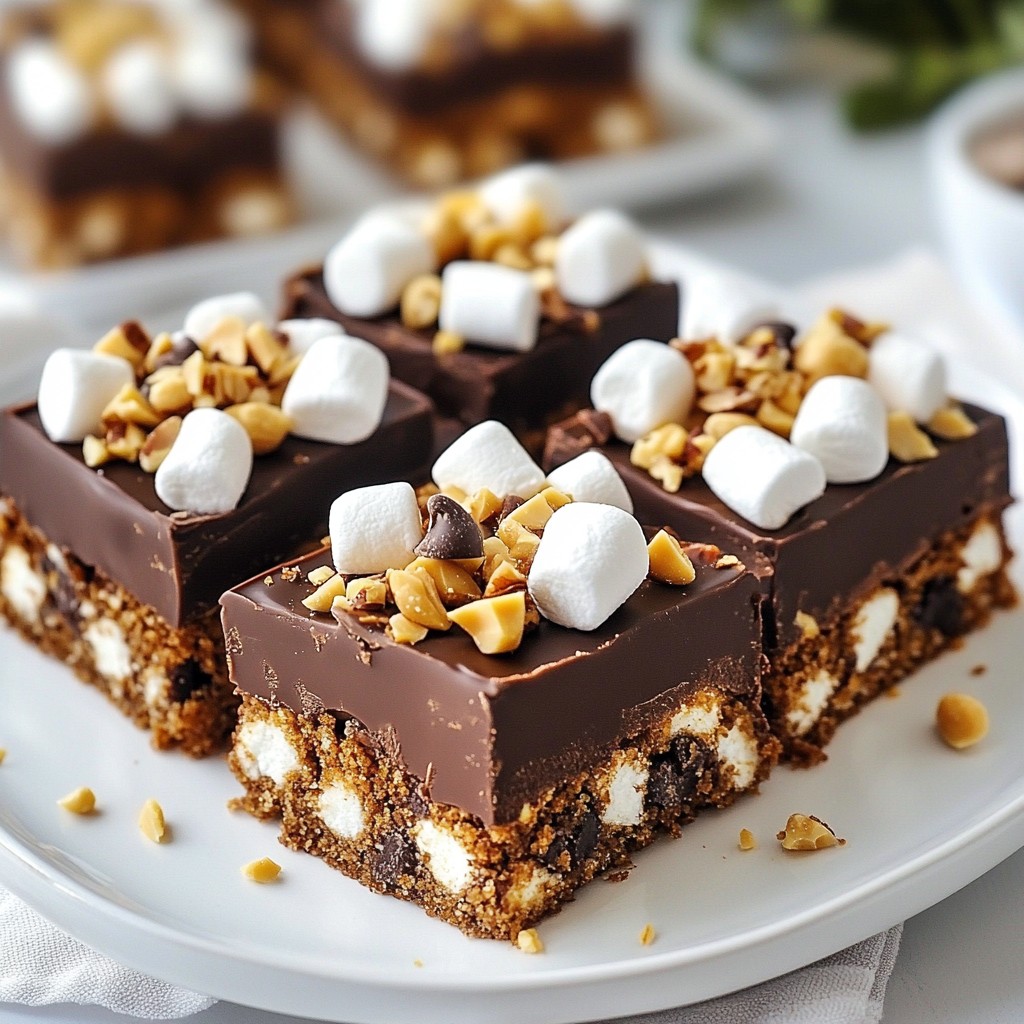
Get ready for a sweet treat that’s easy and fun! My Crunchy No-Bake S'mores Chocolate Bars are perfect for any occasion. You’ll enjoy the gooey marshmallow, rich chocolate, and crunchy texture without turning on the oven. Follow my simple steps, and you’ll have a delicious, no-bake dessert in no time. Let’s dive into the ingredients and make these yummy bars together!
Why I Love This Recipe
- Easy and Quick: This recipe requires no baking and can be prepared in just 15 minutes, making it perfect for a last-minute treat.
- Decadent Flavor: The combination of rich cocoa, creamy almond butter, and gooey marshmallows creates a deliciously indulgent chocolate experience.
- Customizable: You can easily swap out ingredients, like using different nut butters or adding your favorite toppings, to make it your own.
- Healthier Alternative: With wholesome ingredients like almond butter and natural sweeteners, you can enjoy a sweet treat without guilt.
Ingredients
Complete List of Ingredients
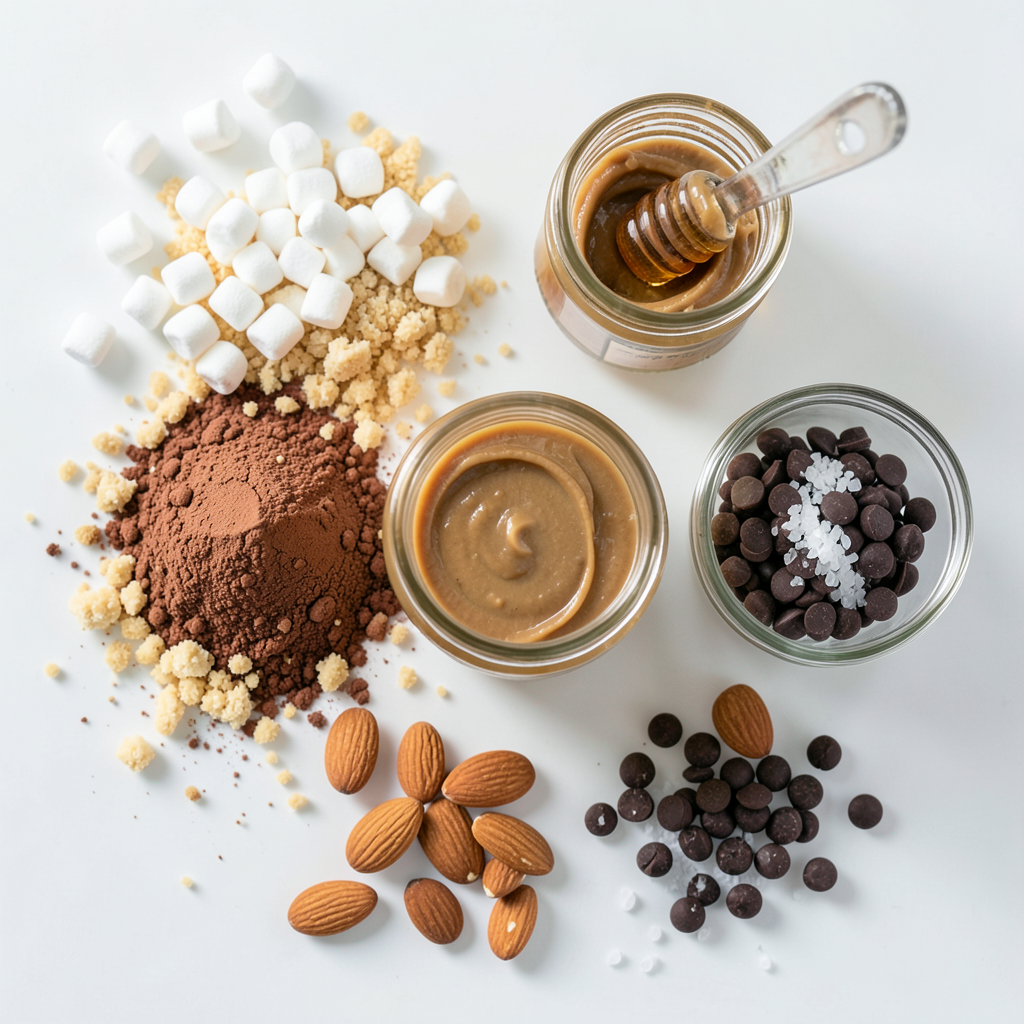
- 1 cup graham cracker crumbs
- 1 cup mini marshmallows
- 1/2 cup unsweetened cocoa powder
- 1/2 cup almond butter (or any nut or seed butter)
- 1/4 cup honey or maple syrup
- 1/2 teaspoon vanilla extract
- 1/3 cup dark chocolate chips
- 1/3 cup chopped nuts (such as almonds or walnuts)
- A pinch of sea salt
For this recipe, I use graham cracker crumbs for that classic s'mores flavor. If you want a gluten-free option, use gluten-free graham crackers or ground oats. The mini marshmallows add a fun, chewy texture. If you can’t find them, regular marshmallows cut into small pieces work too.
Unsweetened cocoa powder gives a rich taste. You can swap it for carob powder if you prefer. I often use almond butter, but any nut or seed butter works. Try peanut butter or sunflower seed butter for a different flavor.
Honey and maple syrup both add sweetness. Choose the one you like best or have on hand. The vanilla extract boosts the flavor and makes it even better.
Dark chocolate chips add a nice chocolatey bite. You could use milk chocolate chips if you want something sweeter. Chopped nuts, like almonds or walnuts, add crunch. Feel free to skip them or use your favorite nuts. Lastly, don’t forget the pinch of sea salt! It balances the sweetness and enhances all the flavors.
Step-by-Step Instructions
Preparation Steps
1. Start with a large bowl. Add 1 cup of graham cracker crumbs, 1/2 cup of cocoa powder, and a pinch of sea salt. Mix these dry ingredients well. This helps them blend evenly.
2. Take a microwave-safe bowl. Place 1/2 cup of almond butter and 1/4 cup of honey (or maple syrup) inside. Microwave it for about 30 seconds. This warm mixture will blend easily. Stir until it becomes smooth.
3. Now, add 1/2 teaspoon of vanilla extract to the almond butter mix. Stir again until it’s all combined.
4. Pour the almond butter mixture over the dry mix. Use a spatula to combine everything well. You want to coat all the dry ingredients.
5. Gently fold in 1 cup of mini marshmallows, 1/3 cup of dark chocolate chips, and 1/3 cup of chopped nuts. Save some marshmallows and nuts for later.
6. Line an 8x8 inch square baking dish with parchment paper. Transfer your mixture into the dish. Press it down firmly and evenly. Use the back of a spatula for a smooth top.
Setting and Serving
1. Sprinkle the reserved mini marshmallows and chopped nuts on top. Gently press them in to stick.
2. Place the dish in the refrigerator. Let the bars set for at least 2 hours. This helps them firm up nicely.
3. Once they are set, lift the bars out using the parchment paper. Cut them into squares.
4. For a fun presentation, arrange the bars on a rustic wooden board. Serve with extra chocolate chips and marshmallows on the side. Enjoy!
Tips & Tricks
Best Practices for Success
How to prevent sticking To keep your bars from sticking, always line your baking dish with parchment paper. Make sure you leave some paper hanging over the edges. This makes it easy to lift the bars out later. When pressing down the mixture, use a spatula or your hands, but wet them slightly to reduce sticking.
Ensuring the right texture The right texture is key for crunchy no-bake bars. Mix the dry ingredients well before adding wet ones. This ensures even distribution. When you combine the almond butter and honey, let it cool a bit. If it's too hot, it can melt the chocolate chips and marshmallows.
Enhancing Flavor
Suggestions for adding flavor variations You can get creative with flavors! Try adding a pinch of cinnamon for warmth. A dash of espresso powder gives a rich taste. You can also swap vanilla extract for almond extract for a nutty twist. For a fun seasonal touch, add pumpkin spice or peppermint extract during the holidays. These small changes can make your s'mores bars unique and exciting!
Pro Tips
- Use Quality Ingredients: For the best flavor, use high-quality chocolate and nut butter. This will enhance the overall taste of your bars.
- Customize Your Nuts: Feel free to experiment with different types of nuts or seeds for varied textures and flavors. Pecans and sunflower seeds work great too!
- Chill for Longer: If you want your bars extra firm, let them chill for a longer period, up to 4 hours. This will make cutting them easier and create a better texture.
- Serve with Extra Toppings: Consider serving these bars with a drizzle of melted chocolate or a sprinkling of crushed graham crackers for an added crunch and visual appeal.
Variations
Ingredient Substitutions
You can easily swap out ingredients in this recipe. First, let’s talk about nut butters. If you don’t have almond butter, try peanut butter or sunflower seed butter. Each option brings its unique taste. You can even use cashew butter for a creamy twist.
Next, let’s discuss sweeteners. The recipe calls for honey, but you can use maple syrup instead. Maple syrup adds a rich flavor and is great for vegans. Both options work well, so choose what you prefer.
Creative Twists
Want to make your bars even more special? Consider adding fruits like sliced bananas or chopped strawberries. This will give your bars a fresh flavor. You can also throw in some dried fruit like cranberries or raisins for a chewy texture.
For themed variations, try adding festive colors for holidays. Add red and green sprinkles for Christmas or orange zest for Halloween. You can even make mini bars for parties, using cookie cutters for fun shapes. These ideas will make your s'mores bars stand out!
Storage Info
Best Storage Methods
To keep your Crunchy No-Bake S'mores Chocolate Bars fresh, use airtight containers. Glass or plastic containers work well. If you want to stack the bars, use parchment paper between layers. This helps prevent sticking. Store them in a cool, dry place. For best taste, keep them in the fridge. This helps them stay firm and tasty.
For longer shelf life, avoid storing the bars in warm or humid spots. Keeping them wrapped tightly will also help. If you plan to eat them later, refrigerate them to keep the flavors strong.
Freezing Options
You can freeze these bars for later enjoyment. First, cut them into squares. Wrap each square tightly in plastic wrap. Then, place the wrapped bars in a freezer-safe bag. This will keep them fresh for up to three months.
When you want to eat them, take the bars out of the freezer. Place them in the fridge overnight to thaw. You can also let them sit at room temperature for about an hour. They will be ready to enjoy again!
FAQs
Common Questions about No-Bake S'mores Bars
Can I use different types of chocolate? Yes, you can use different types of chocolate. Milk chocolate, dark chocolate, or even white chocolate work well. Each type adds a unique taste. You can also mix them for fun flavors.
How long do these bars last? These bars last up to one week in the fridge. Store them in an airtight container. You can also freeze them for up to three months. Just let them thaw before enjoying.
Troubleshooting Common Issues
What to do if the bars are too crumbly? If your bars are too crumbly, add more nut butter or honey. This will bind the ingredients better. Mix well and press down firmly when setting them.
How to fix overly sticky bars? If your bars are too sticky, dust your hands with graham cracker crumbs. This will help you handle the mixture. You can also refrigerate them longer to firm them up.
You now have everything to make no-bake s'mores bars. We covered the list of ingredients, step-by-step instructions, and helpful tips for success. You learned about flavor variations and how to store your treats safely. Remember, you can use different nut butters or sweeteners to fit your taste. Don't forget to try creative mix-ins for fun twists. With these insights, you can enjoy sweet, tasty bars with ease. Happy making!