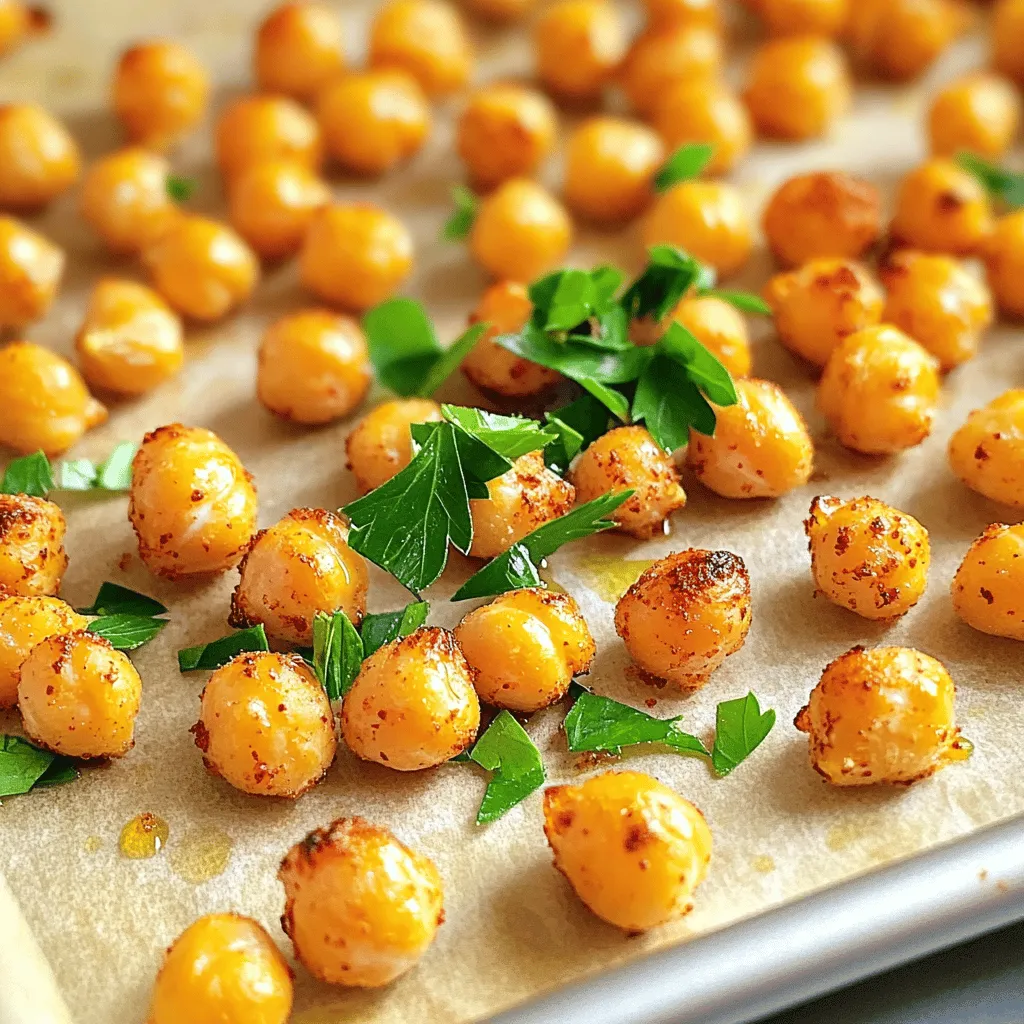
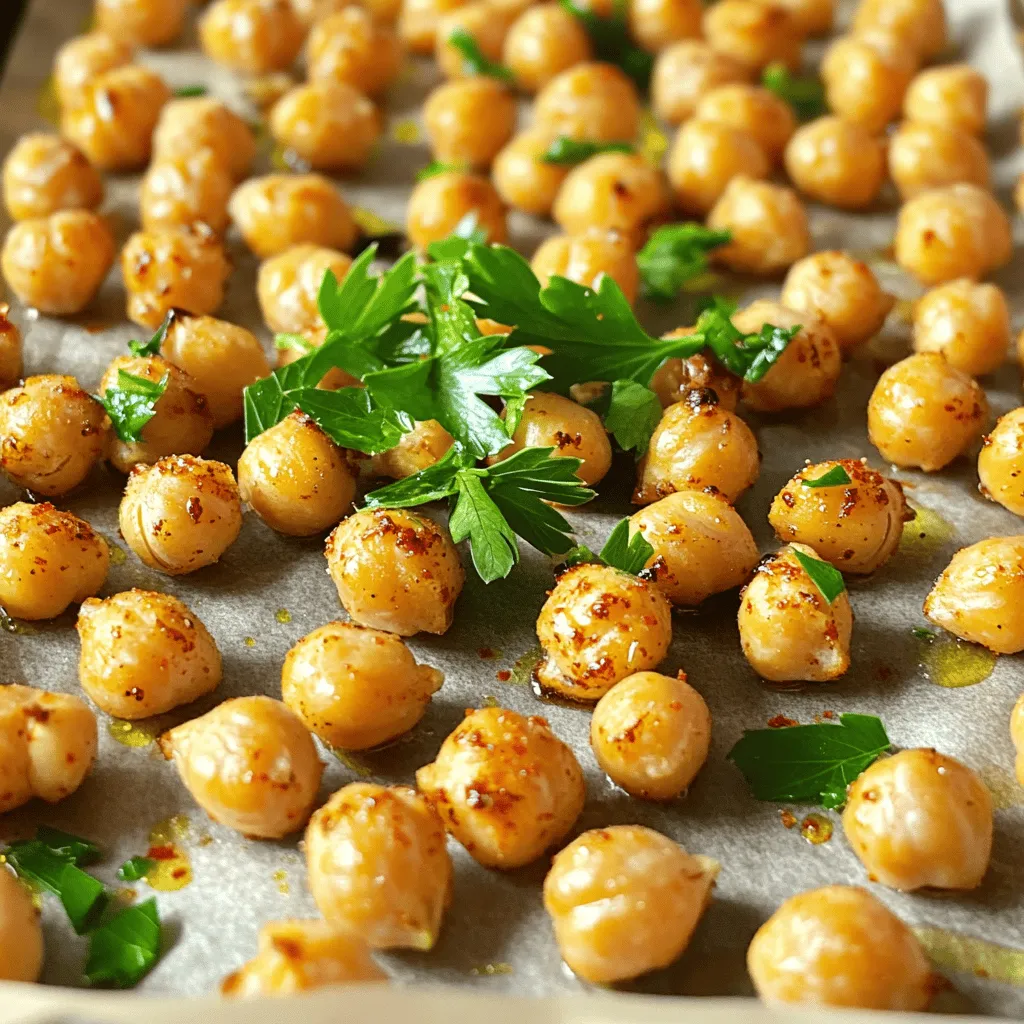
Looking for a tasty and healthy snack? Crispy Garlic Roasted Chickpeas are your answer! Packed with flavor, they’re easy to make and perfect for any craving. With just a few simple ingredients and spices, you can whip up this crunchy delight in no time. Let’s dive into how to create this mouthwatering snack that everyone will love!
Ingredients
Main Ingredients
– 1 can (15 oz) chickpeas, drained and rinsed
– 2 tablespoons olive oil
– 4 cloves garlic, minced
Seasoning Options
– 1 teaspoon smoked paprika
– 1 teaspoon cumin
– 1/2 teaspoon cayenne pepper (adjust to taste)
– Salt and pepper to taste
Garnishing
– Fresh parsley, chopped (for garnish)
The main ingredients for crispy garlic roasted chickpeas are simple yet powerful. First, chickpeas form the base of this dish. They are packed with protein and fiber, making them a healthy choice. Using canned chickpeas saves time, but you can use dried ones if you prefer. Just make sure to soak and cook them first.
Next, we have olive oil. It helps the chickpeas crisp up nicely. You can swap it with other oils, but olive oil adds a lovely flavor. The minced garlic brings a punch of taste. Fresh garlic is best for that robust flavor.
When it comes to seasoning, you can get creative. Smoked paprika adds a warm, smoky taste. Cumin gives a bit of earthiness. If you like heat, cayenne pepper is your friend. Adjust it to your spice level. Don’t forget salt and pepper to enhance all the flavors.
Lastly, fresh parsley adds a pop of color and freshness. It makes the dish look nice and bright.
Step-by-Step Instructions
Prepping for Roasting
– Preheat your oven to 400°F (200°C).
– Line a baking sheet with parchment paper.
Preparing the Chickpeas
– Rinse and pat dry the chickpeas.
– Combine chickpeas with olive oil and seasonings.
To start, you need to rinse the chickpeas well. This removes extra salt and helps with flavor. Use a clean kitchen towel to pat them dry. This step is key for getting them crispy.
In a mixing bowl, add the dried chickpeas. Pour in two tablespoons of olive oil. Next, add four cloves of minced garlic. For spice, include one teaspoon of smoked paprika, one teaspoon of cumin, and half a teaspoon of cayenne pepper. Season with salt and pepper to taste. Toss everything together until the chickpeas are well-coated.
Roasting Process
– Spread chickpeas on the baking sheet.
– Roast for 20-25 minutes, stirring halfway through.
Now, spread the chickpeas out on the prepared baking sheet. Make sure they are in a single layer. This helps them cook evenly.
Roast the chickpeas in the preheated oven for about 20 to 25 minutes. Stir them halfway through. This ensures they crisp up nicely. Keep an eye on them to prevent burning.
Once they turn golden brown and crispy, take them out. Let them cool for a few minutes. They will continue to crisp as they cool. Enjoy your Crispy Garlic Roasted Chickpeas!
Tips & Tricks
Achieving Crispy Chickpeas
To get that perfect crunch, drying the chickpeas is key. After rinsing, use a kitchen towel to pat them dry. This removes moisture, which can make them soggy. Spread the chickpeas on a towel in a single layer for best results.
Avoid overcrowding your baking sheet. If you pile the chickpeas on top of each other, they will steam instead of roast. Keep them in a single layer for even cooking. This helps them turn golden brown all over.
Flavor Enhancements
You can adjust the seasoning levels to match your taste. If you love garlic, add more minced garlic. For a smoky flavor, increase the smoked paprika. Feel free to experiment with different spices, like chili powder or curry powder. Each choice adds a unique touch to your chickpeas.
Serve Fresh
For the best flavor, serve your crispy chickpeas right after baking. Let them cool for a few minutes before serving. This cooling time allows them to crisp up even more. Enjoy them as a tasty snack or add them to salads for extra crunch.
Variations
Different Flavor Profiles
You can easily change the taste of crispy garlic roasted chickpeas. For a spicy kick, add more cayenne or chili powder. This will give the chickpeas a nice heat that many love. If you prefer herbs, try mixing in rosemary or thyme. These herbs add a fresh and vibrant flavor. Both options will keep your snack exciting and new.
Incorporating Other Ingredients
To make your chickpeas even more special, consider adding nutritional yeast. This gives them a cheesy flavor that is delightful. You can also mix in seeds like pumpkin or sunflower. Nuts such as almonds or cashews add a crunchy texture. These ingredients will make your crispy chickpeas stand out even more.
Dietary Modifications
Crispy garlic roasted chickpeas are already gluten-free. This makes them a great choice for many diets. If you follow a vegan diet, rest easy. The recipe is vegan-friendly, too. You can enjoy these snacks without worry. They fit into many meal plans while being tasty and healthy.
Storage Info
Keeping Them Fresh
To keep your crispy garlic roasted chickpeas fresh, use an airtight container. Glass jars or plastic containers work well. This helps prevent air from making them soggy. You want to keep that crunch! Always store them at room temperature. Avoid using paper bags, as they let in moisture.
Refrigeration vs. Room Temperature
These chickpeas do best at room temperature. They can last about 5 days in a cool, dry pantry. If you put them in the fridge, they might lose their crunch faster. So, it’s best to avoid refrigeration unless you need to keep them longer.
Re-crisping Instructions
If your chickpeas lose their crunch, don’t worry! Preheat your oven to 400°F (200°C). Spread them out on a baking sheet. Bake for about 5 to 10 minutes until they are crispy again. Keep an eye on them to avoid burning. If you notice any chickpeas that taste stale or soft, it’s best to toss them out. Enjoy your crispy garlic roasted chickpeas fresh for the best flavor and texture!
FAQs
How do I make Crispy Garlic Roasted Chickpeas from scratch?
To make crispy garlic roasted chickpeas, follow these steps:
1. Preheat your oven to 400°F (200°C). Line a baking sheet with parchment paper.
2. Drain and rinse one can of chickpeas. Pat them dry with a towel.
3. In a mixing bowl, combine the chickpeas with 2 tablespoons of olive oil, 4 minced garlic cloves, 1 teaspoon smoked paprika, 1 teaspoon cumin, and 1/2 teaspoon cayenne pepper. Add salt and pepper to taste.
4. Toss the mixture until all chickpeas are coated.
5. Spread the chickpeas on the baking sheet in a single layer.
6. Roast for 20-25 minutes, stirring halfway through until golden brown and crispy.
7. Let them cool for a few minutes. Garnish with chopped parsley before serving.
This method ensures a tasty snack that you can enjoy anytime.
Can I use dried chickpeas instead of canned?
Yes, you can use dried chickpeas, but there are pros and cons to each option.
Dried Chickpeas:
– Pros: They are often cheaper, have no added sodium, and offer a fresher taste.
– Cons: They require soaking overnight and longer cooking times. You need to plan ahead.
Canned Chickpeas:
– Pros: They are quick and easy to use, with no prep time. They save you time.
– Cons: They can contain added sodium, which may not be ideal for some diets.
Using either option will yield delicious results, but canned chickpeas are more convenient.
What can I serve with Crispy Garlic Roasted Chickpeas?
You can enjoy crispy garlic roasted chickpeas in many ways:
– As a healthy snack on their own.
– Tossed over salads for added crunch.
– Used as a topping for soups to enhance flavor.
– Paired with dips like hummus or tzatziki for extra taste.
These chickpeas fit well with various meals and snacks, making them a versatile addition to your kitchen.
Crispy Garlic Roasted Chickpeas are tasty and easy to make. We covered key ingredients, like chickpeas and seasonings, along with simple steps for roasting. I shared tips for achieving that perfect crunch and various flavor tweaks. Store these snacks wisely to keep them fresh and crispy.
Experiment with flavors and enjoy the countless ways to serve them. You’ll love how nutritious and fun they are!