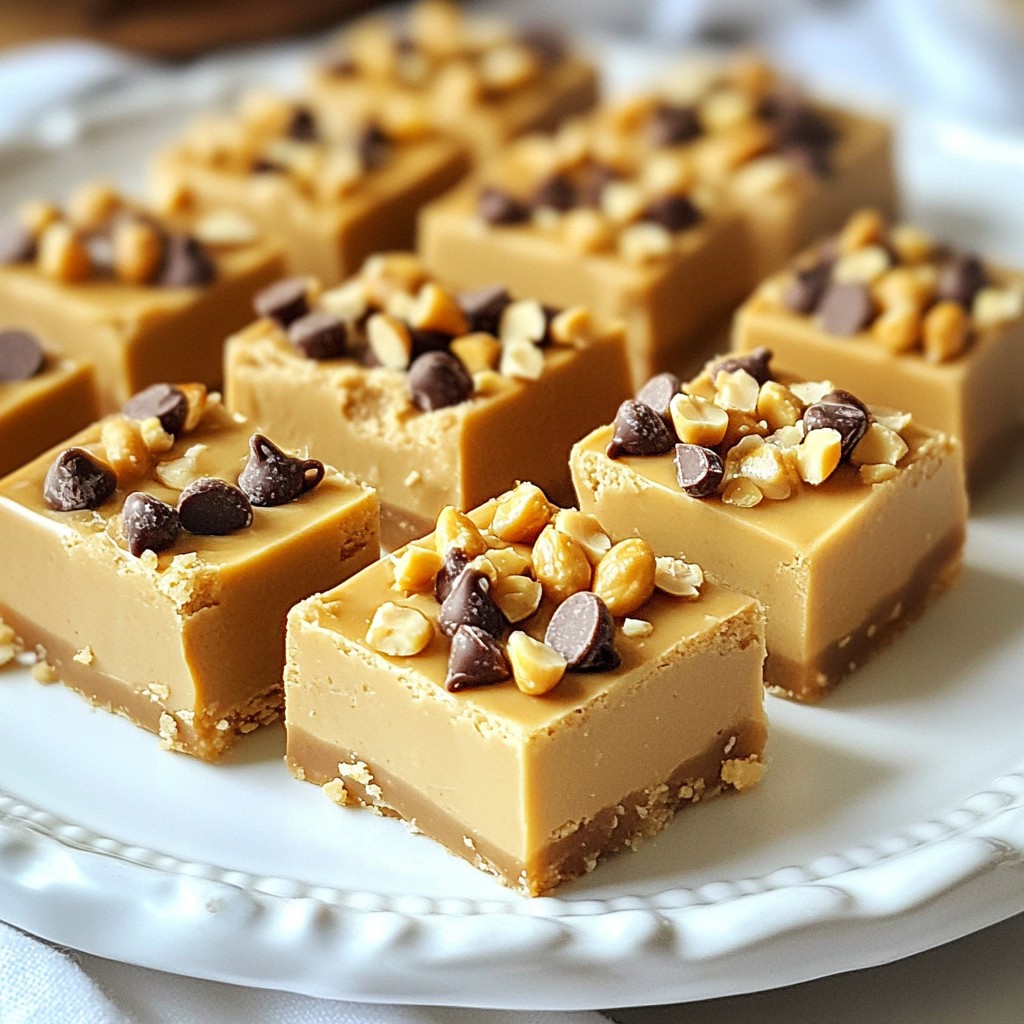
Looking for a quick and tasty sweet treat? You’ve found it! My creamy no-bake peanut butter fudge is simple to make and perfect for any occasion. With just a few easy steps and ingredients, you can whip up a delicious dessert that everyone will love. Get ready to impress your friends and family with this rich, peanut buttery goodness that requires no oven at all! Let’s dive into the recipe.
Why I Love This Recipe
- Quick and Easy: This recipe can be prepared in just 10 minutes, making it a perfect last-minute treat.
- Rich and Creamy Flavor: The combination of peanut butter and butter creates a decadent and smooth fudge that melts in your mouth.
- No Baking Required: Skip the oven! This no-bake fudge is ideal for warm days or when you want to avoid extra heat in the kitchen.
- Customizable: Add your favorite mix-ins like chocolate chips or crushed nuts to make it your own!
Ingredients
Complete List of Ingredients
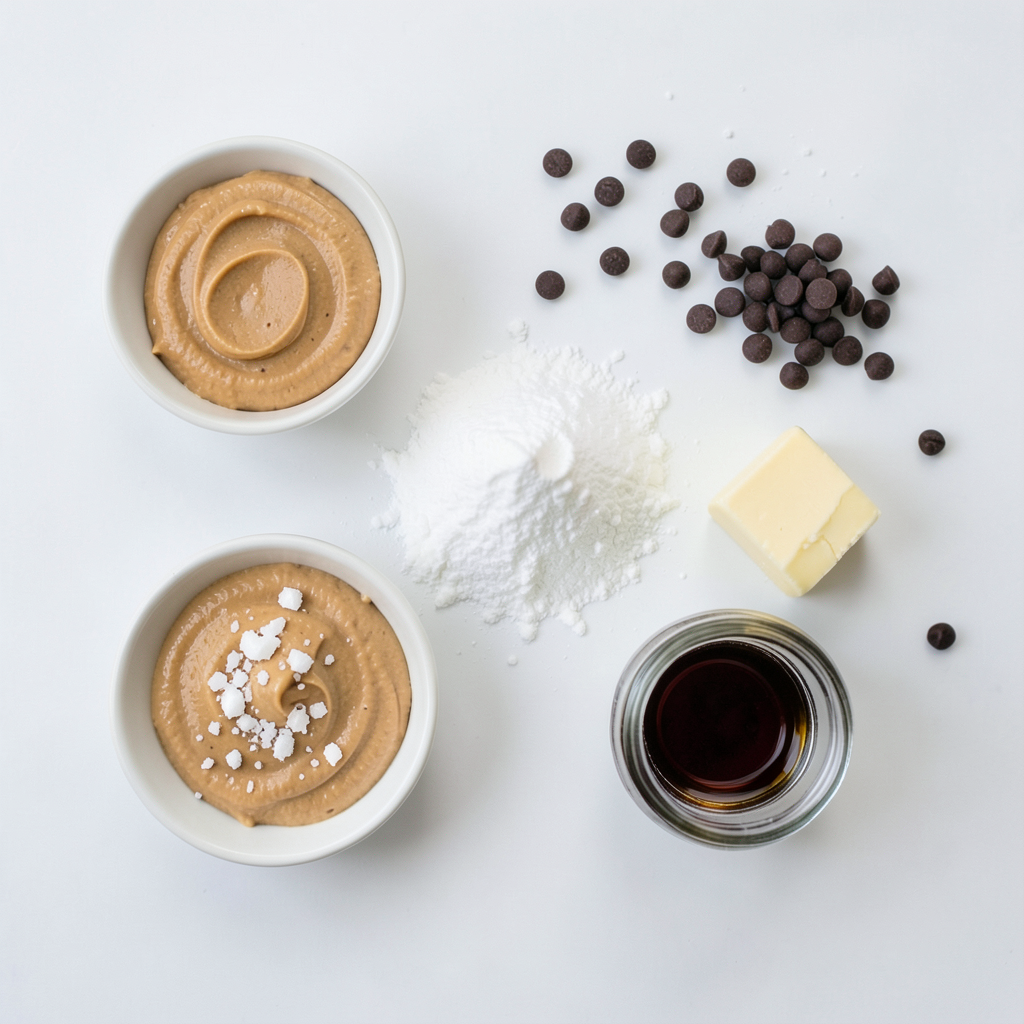
To make creamy no-bake peanut butter fudge, you need a few simple items:
- 1 cup creamy peanut butter
- 1 cup powdered sugar
- 1/2 cup unsalted butter, softened
- 1 teaspoon vanilla extract
- Pinch of salt
- 1/4 cup mini chocolate chips (optional)
These ingredients create a rich, sweet treat that everyone loves.
Ingredient Substitutions
If you need to swap out some items, here are some good options:
- Use almond butter instead of peanut butter for a nut-free twist.
- Swap unsalted butter with coconut oil for a dairy-free option.
- Instead of powdered sugar, you can use maple sugar or a sugar substitute for a healthier choice.
These swaps can change the flavor a bit, but they still taste great.
Optional Add-ins
Want to make your fudge even more fun? Try these add-ins:
- Mini marshmallows for a chewy texture.
- Chopped nuts for crunch.
- Swirls of caramel or chocolate for extra flavor.
Feel free to get creative and mix in what you like!
Step-by-Step Instructions
Preparation Steps
First, gather all your ingredients. You need creamy peanut butter, powdered sugar, butter, vanilla extract, and a pinch of salt. If you want, grab some mini chocolate chips as an optional add-in. Next, take an 8x8 inch baking dish and line it with parchment paper. Leave some paper hanging over the edges. This makes it easier to lift out the fudge later.
Mixing the Ingredients
In a mixing bowl, add the softened butter and the creamy peanut butter. Use an electric mixer and blend them on medium speed. Mix until the mixture is smooth and creamy. Now, slowly add the powdered sugar. Start on low speed to avoid a big cloud of sugar dust. Once the sugar is mixed in, increase the speed to medium. Mix until everything is well combined.
Next, pour in the vanilla extract and add a pinch of salt. Give it another mix until everything is fully combined. If you want some extra fun, gently fold in the mini chocolate chips using a spatula. This adds a nice touch to the fudge.
Chilling and Cutting the Fudge
Now, pour the peanut butter mixture into the prepared baking dish. Spread it evenly with a spatula. You can smooth the top or add a few more chocolate chips for a decorative look. Once it looks nice, place the dish in the refrigerator. Chill the fudge for at least 2 hours or until it sets fully.
After it has set, lift the fudge out of the dish using the parchment paper. Cut it into small squares. Enjoy your delicious, creamy no-bake peanut butter fudge!
Tips & Tricks
Achieving the Creamiest Texture
To get the creamiest fudge, use room temperature butter. Softened butter blends well with peanut butter. This mix creates a smooth base. Mix at a low speed first to avoid sugar clouds. Once combined, increase the speed to blend fully. If your fudge feels too thick, add a bit of milk. A teaspoon at a time helps achieve the perfect consistency.
Troubleshooting Common Issues
If your fudge is too soft, it might need more time to chill. Make sure to refrigerate it for at least two hours. If it's too hard, you may have added too much sugar. For a second try, reduce the powdered sugar by a quarter cup. If the fudge sticks to the pan, line it well with parchment paper. That makes removal easy and clean.
Serving Suggestions
Cut the fudge into small squares for easy serving. You can arrange the squares on a pretty platter. For a special touch, sprinkle crushed peanuts on top. Drizzling melted chocolate can make it look fancy. Serve with a glass of cold milk for a perfect treat. Let your friends enjoy this creamy no-bake peanut butter fudge!
Pro Tips
- Use Room Temperature Ingredients: Make sure your butter is softened at room temperature to easily blend with the peanut butter, resulting in a smoother fudge.
- Chill for Perfect Texture: Allow the fudge to chill in the refrigerator for at least 2 hours to ensure it sets properly and achieves the right consistency.
- Customize Your Add-ins: Feel free to add chopped nuts, dried fruit, or even a swirl of caramel for a unique twist on the classic peanut butter fudge.
- Storage Tips: Store the fudge in an airtight container in the refrigerator for up to two weeks, or freeze for longer storage while keeping it fresh.
Variations
Chocolate Peanut Butter Fudge
You can easily add chocolate to this fudge. To make chocolate peanut butter fudge, simply mix in 1/3 cup of cocoa powder with the powdered sugar. This gives a rich, chocolate flavor. If you want, you can also fold in mini chocolate chips for extra bites of chocolate. The result is a creamy treat with a deep chocolate taste that pairs perfectly with the peanut butter.
Nut-Free Alternative
If you need a nut-free option, try sun butter instead of peanut butter. Sun butter is made from sunflower seeds and tastes great. Use the same amount as the recipe calls for. The texture will remain creamy, and it will still be a hit. This is a perfect choice for schools or events where nuts are not allowed. You can still enjoy the same sweet and creamy fudge without worry.
Swirls and Add-ins Ideas
Swirls and add-ins can take your fudge to the next level. Try adding a swirl of caramel or chocolate on top before it sets. This gives a fun design and extra flavor. You can also mix in dried fruits like cranberries or raisins for a chewy texture. For crunch, consider tossing in crushed pretzels or graham crackers. These options add fun and make each bite more exciting.
Storage Info
Best Practices for Storing Fudge
To keep your fudge fresh, store it in an airtight container. I recommend placing parchment paper between layers. This prevents sticking. Keep it in a cool, dry place, away from sunlight. If your kitchen is warm, the fridge is a good spot. This keeps the fudge firm and creamy.
Freezing Instructions
You can freeze your fudge for later enjoyment. First, cut it into squares. Wrap each piece in plastic wrap. Then, place them in a freezer-safe bag. This helps to keep the flavor intact. When you're ready to enjoy, take it out and let it thaw in the fridge. It should be ready in a few hours.
Shelf Life
When stored correctly, your creamy no-bake peanut butter fudge lasts about two weeks at room temperature. In the fridge, it stays fresh for up to a month. If you freeze it, expect to enjoy it for about three months. Always check for any changes in smell or texture before eating.
FAQs
Can I use crunchy peanut butter?
Yes, you can use crunchy peanut butter. It adds a nice texture. The fudge will still be creamy and delicious. Just follow the same steps in the recipe. The bits of nuts will give a fun crunch.
How can I make this recipe vegan?
To make this fudge vegan, swap the butter for coconut oil or a vegan butter. Use a plant-based powdered sugar if needed. Make sure the chocolate chips are dairy-free. This way, you can enjoy the same tasty treat while keeping it vegan.
What's the best way to cut the fudge?
The best way to cut the fudge is to chill it fully first. Once set, lift it out using the parchment paper. Use a sharp knife to cut it into squares. For cleaner cuts, wipe the knife with a damp cloth between slices. This keeps your fudge looking neat and pretty.
This blog post covered everything you need to make fudge. We reviewed key ingredients, offered substitutions, and noted optional add-ins. I provided clear steps for preparation, mixing, and chilling. You learned tips for a creamy texture and troubleshooting issues. Variations like chocolate peanut butter fudge added fun twists. We discussed storage and answered common questions.
With these insights, you can now create delicious fudge with ease. Enjoy making your treat!