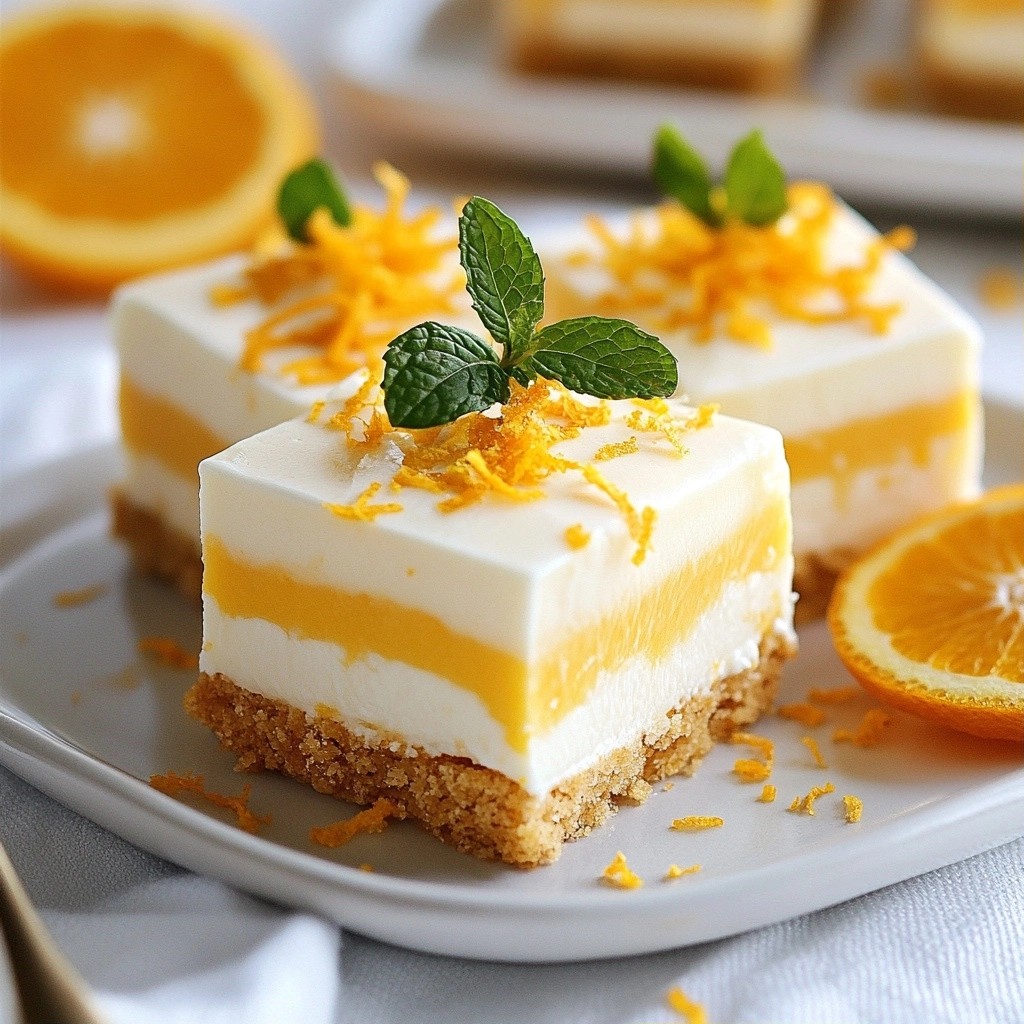
Indulge in the sweet taste of summer with my easy, no-bake Orange Creamsicle Bars! These creamy treats combine fresh orange flavor with a smooth filling, all atop a crunchy crust. Best of all, you don’t need an oven to make them! Join me as I guide you step-by-step through this fun recipe. Grab your ingredients, and let’s create a dessert that’s sure to impress!
Why I Love This Recipe
- Refreshing Flavor: The combination of orange juice and zest provides a bright and zesty taste that’s perfect for warm days.
- No-Bake Convenience: This recipe requires no baking, making it easy to prepare, especially during hot weather when you want to avoid the oven.
- Creamy Texture: The whipped cream combined with sweetened condensed milk creates an indulgently creamy texture that melts in your mouth.
- Easy to Make Ahead: With just a little prep time, you can make these bars in advance and have a delicious dessert ready to serve whenever you need it.
Ingredients
List of Ingredients
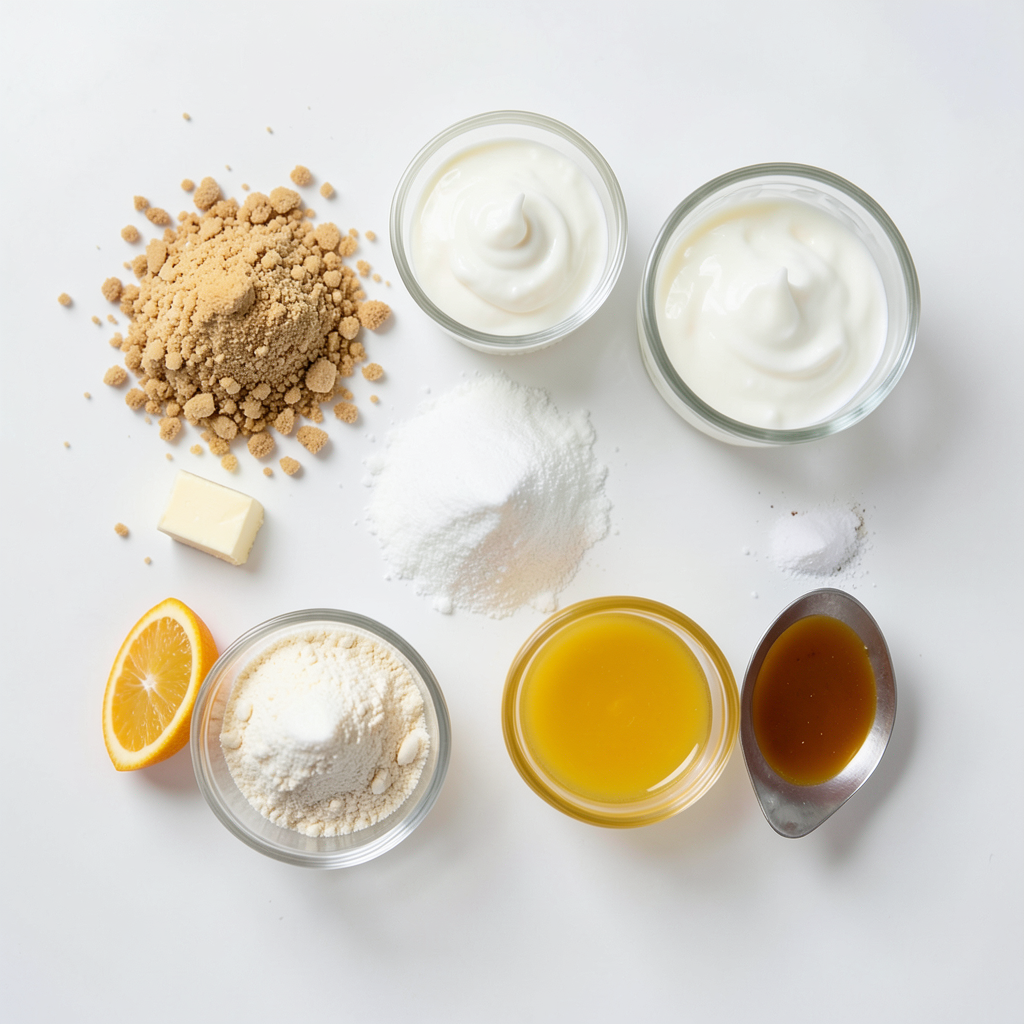
To make these creamy no-bake orange creamsicle bars, gather these items:
- 1 cup graham cracker crumbs
- 1/4 cup unsalted butter, melted
- 1/4 cup granulated sugar
- 1 cup heavy whipping cream
- 1 cup sweetened condensed milk
- 1/2 cup orange juice (freshly squeezed is best)
- 1 tablespoon orange zest
- 1 teaspoon vanilla extract
- Pinch of salt
Optional Ingredient Substitutions
You can swap some ingredients if needed:
- Use coconut cream instead of heavy cream for a dairy-free option.
- Try honey or maple syrup instead of granulated sugar for a different sweetness.
- Lemon juice can replace orange juice for a tart twist.
- Graham crackers can be switched with digestive biscuits or vanilla wafers.
Tips for Fresh Ingredients
Freshness matters for the best flavor:
- Choose vibrant oranges for juice and zest; they offer the best taste.
- Use heavy cream that is cold; it whips better and adds fluffiness.
- Check the date on the sweetened condensed milk for freshness.
- Store your butter in the fridge; it should be firm but not hard.
Step-by-Step Instructions
Preparation of the Crust
Start by mixing three simple ingredients. In a medium bowl, combine 1 cup of graham cracker crumbs, 1/4 cup of melted unsalted butter, and 1/4 cup of granulated sugar. Stir until the crumbs are well-coated. This mix gives a sweet and tasty base. Next, press the mixture into the bottom of an 8x8 inch baking dish. Use the back of a measuring cup to pack it down tightly. A firm crust sets the stage for our creamy filling.
Making the Creamy Orange Filling
For the filling, whip 1 cup of heavy cream in a large bowl. Whip until soft peaks form, which takes just a few minutes. In another bowl, combine 1 cup of sweetened condensed milk, 1/2 cup of freshly squeezed orange juice, 1 tablespoon of orange zest, 1 teaspoon of vanilla extract, and a pinch of salt. Stir this mixture well. Gently fold the whipped cream into the orange mixture. Be careful to keep it light and airy. This makes the filling creamy and smooth.
Assembly and Setting
Now, pour the creamy orange mixture over your prepared crust. Spread it evenly to cover the crust fully. Cover the dish with plastic wrap and refrigerate for at least 4 hours. This helps the bars set and firm up. Once they’re set, cut them into bars and serve chilled. For a lovely touch, garnish each bar with orange zest and a small mint leaf. Enjoy these delightful treats!
Tips & Tricks
Best Practices for Whipping Cream
Whipping cream is an art. Start with cold heavy cream. Chill your mixing bowl in the fridge for 10-15 minutes to help. Use a hand mixer or stand mixer for the best results. Beat the cream on medium speed. Watch for soft peaks to form; this takes about 3-5 minutes. Stop once you see the peaks. Overwhipping can lead to butter, which we don’t want.
How to Avoid Common Mistakes
One common mistake is not measuring ingredients correctly. Use dry measuring cups for solids and liquid measuring cups for liquids. Another issue is folding the whipped cream too hard. Gently fold it into the orange mixture. You want to keep that light, fluffy texture. If you rush, you might end up with a dense filling. Lastly, don't skip chilling the bars. They need time to set in the fridge.
Serving Suggestions for Presentation
Presentation matters. Cut the bars into even squares for a tidy look. Garnish each bar with a sprinkle of orange zest. Add a small mint leaf for a pop of color. This touch makes your creamy bars look fancy. Serve them on a bright plate to enhance the colors. For extra flair, drizzle some chocolate sauce on the plate. Your guests will love it!
Pro Tips
- Chill Your Bowl: For an even fluffier whipped cream, chill your mixing bowl and beaters in the freezer for about 10 minutes before whipping the cream.
- Use Fresh Juice: For the best flavor, always use freshly squeezed orange juice instead of bottled juice. It enhances the taste of the bars significantly.
- Let It Set: Be patient and allow the bars to set in the refrigerator for at least 4 hours. This ensures they hold their shape when cut.
- Garnish for Presentation: Before serving, add a sprinkle of orange zest and a mint leaf on top of each bar for a pop of color and added freshness.
Variations
Alternative Flavor Combinations
You can change up the flavors in these bars. Instead of orange, try lemon for a zesty twist. You can also use lime juice for a fresh taste. For a berry option, add some pureed strawberries or blueberries. Each fruit adds its own flair to the creamy mixture. You can even mix fruits for a fun blend.
Healthier Ingredient Swaps
Want to make these bars healthier? Swap the heavy cream for a light whipped topping. Use low-fat sweetened condensed milk if you prefer less sugar. You can also substitute honey or maple syrup for granulated sugar. For a gluten-free option, use gluten-free crumbs instead of graham crackers. These swaps keep the taste while making them a bit lighter.
Mini Versions for Bite-Sized Treats
Mini versions of these bars are a hit! Use a muffin tin to create smaller treats. Fill each cup with the crust and creamy filling, just like the larger bars. These bite-sized delights are perfect for parties. They are easy to grab and enjoy. Plus, they look cute on any dessert table.
Storage Info
How to Store Leftover Bars
To keep your creamy no-bake orange creamsicle bars fresh, store them in the fridge. Use an airtight container or cover the dish with plastic wrap. This helps prevent moisture loss and keeps the bars from absorbing other odors in the fridge. They taste best chilled, so avoid leaving them out at room temperature.
Freezing Instructions
If you want to keep the bars longer, freezing works well. First, cut the bars into servings. Wrap each piece in plastic wrap tightly. Then, place them in a freezer-safe container or bag. They can last up to three months in the freezer. When ready to enjoy, just thaw them in the fridge overnight.
Shelf Life and Quality Tips
These bars stay fresh for about five days in the fridge. After a few days, their texture may change, so eat them soon for the best taste. Check for any signs of freezer burn if frozen. The flavor is best when enjoyed within a month of freezing. Always use fresh ingredients to ensure quality and taste.
FAQs
Can I use store-bought crust?
Yes, you can use a store-bought crust. It saves time and still tastes great. Look for graham cracker crusts for a similar flavor. This option works well when you want a quick treat. Just remember to check the size. You want it to fit an 8x8 inch dish.
What can I substitute for heavy cream?
If you need a substitute for heavy cream, use full-fat coconut milk. It gives a rich texture and works well in desserts. Another option is to use whipped coconut cream. It adds a little sweetness and creaminess. You can also try using a mixture of milk and butter. Use three parts milk and one part melted butter.
How do I know when the bars are set?
You can tell the bars are set when they feel firm to the touch. After chilling for at least four hours, check the edges. They should not wobble or jiggle. If they do, let them chill longer. Once they are firm, cut into squares and serve chilled. This ensures the best texture and flavor.
This blog post covered everything you need to make creamy orange bars. We explored ingredients, preparation steps, and helpful tips to ensure your bars turn out great. I shared variations for flavors and sizes, plus how to store leftovers. Each point aimed to make your baking fun and easy. Remember, the right ingredients and methods lead to tasty results. Don’t hesitate to try different flavors or mini versions. Happy baking, and enjoy your bars!