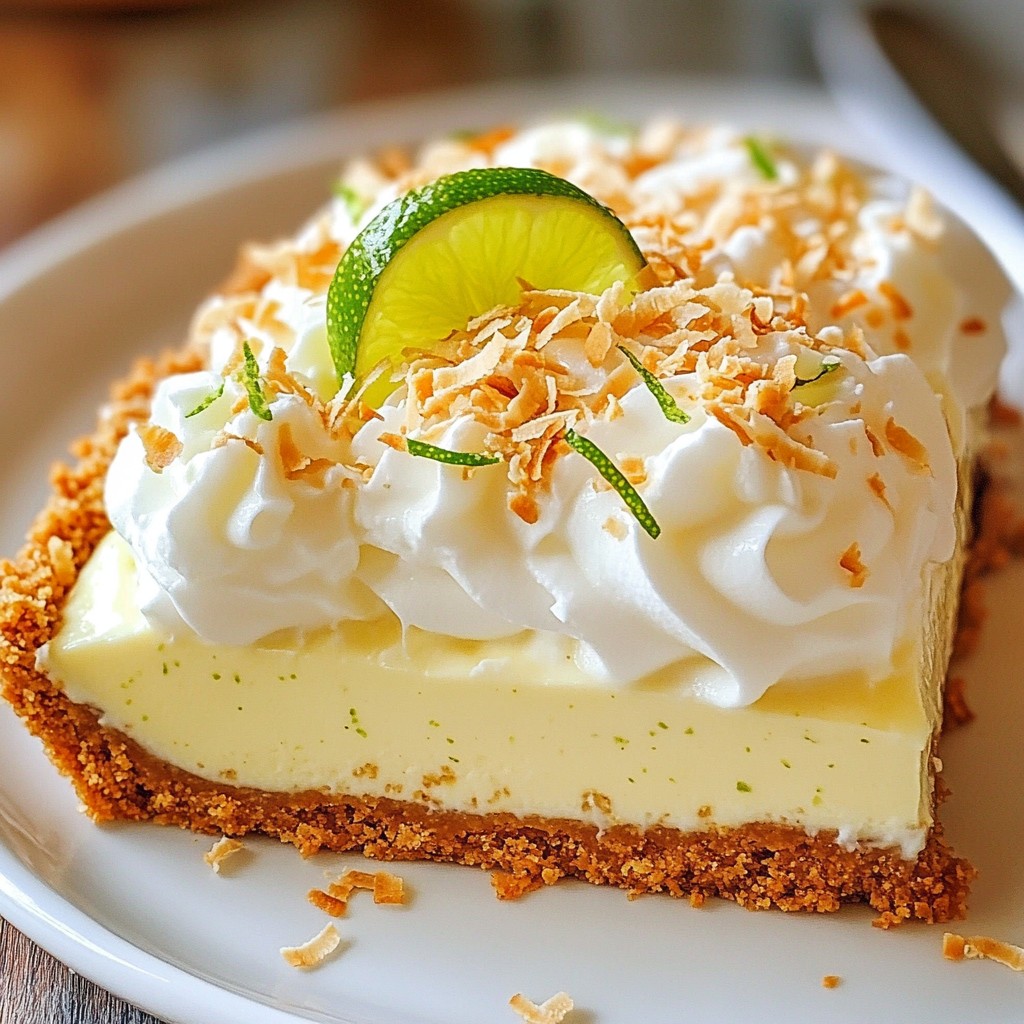
Looking for a sweet, zesty treat that’s easy to whip up? You’re in luck! This Creamy No-Bake Coconut Lime Tart is pure bliss. With just a few simple ingredients like coconut, lime, and sweetened condensed milk, you can create a delightful dessert that will impress anyone. Perfect for warm days or any gathering, this tart is a must-try. Let’s dive into this easy recipe that you'll love!
Why I Love This Recipe
- Refreshing Flavor: The combination of coconut and lime creates a tropical flavor profile that's perfect for warm weather.
- No-Bake Convenience: This tart is easy to make without the need for baking, saving you time and effort.
- Decadent Creaminess: The filling is rich and creamy, thanks to the whipped cream and sweetened condensed milk, making every bite indulgent.
- Customizable Toppings: You can easily personalize the tart with various toppings like toasted coconut or fresh fruit for added flair.
Ingredients
Main Ingredients
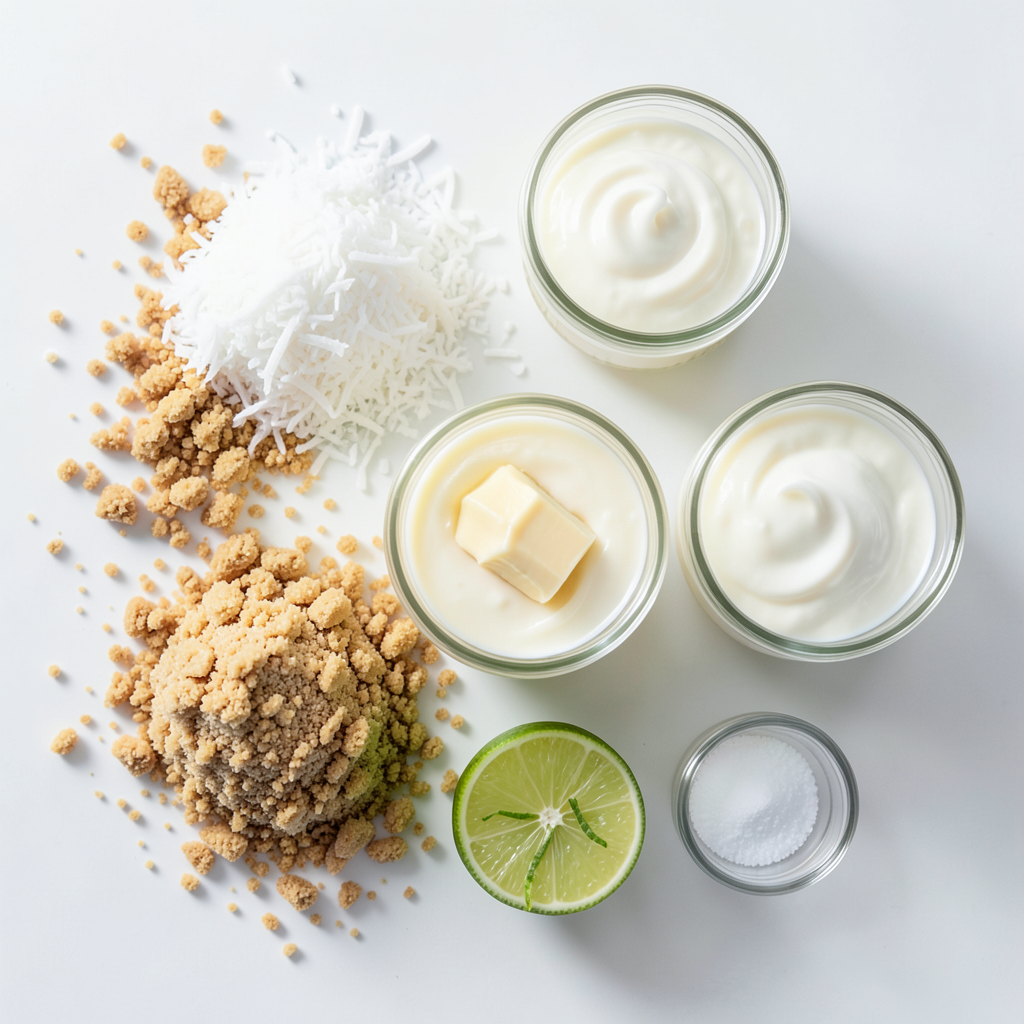
- 1 ½ cups graham cracker crumbs
- ½ cup unsweetened shredded coconut
- ½ cup unsalted butter, melted
- 1 can (14 oz) sweetened condensed milk
- 1 cup heavy whipping cream
- ½ cup fresh lime juice
- Zest of 2 limes
- 1 teaspoon vanilla extract
- A pinch of salt
This tart starts with a lovely crust. You need graham cracker crumbs, shredded coconut, and melted butter. These three things mix well together. The crumbs give a nice crunch, while the coconut adds flavor. You want a mix that feels like wet sand. This will hold together well.
Next comes the filling. Sweetened condensed milk is key here. It makes the tart creamy and sweet. Fresh lime juice adds a tangy taste. Lime zest gives even more flavor. It’s like a burst of freshness in every bite. The vanilla extract rounds it all out nicely. A little salt helps balance the sweetness too.
Optional Garnishes
- Toasted coconut
- Additional lime zest
- Whipped cream
To make this tart even prettier, you can add some garnishes. Toasted coconut gives a nice crunch. It also looks lovely on top. A sprinkle of lime zest brightens the tart and adds color. Lastly, a dollop of whipped cream is always a hit. These extras make your tart look fancy and taste even better.
Step-by-Step Instructions
Preparing the Crust
First, gather your graham cracker crumbs, shredded coconut, and melted butter. Place them in a mixing bowl. Mix these ingredients together until they look like wet sand. This mixture should hold together well. Next, take a 9-inch tart pan and press the crust into it. Make sure to pack it firmly against the bottom and up the sides. Use the back of a measuring cup for this step. Once it's all set, place the pan in the fridge to chill while you make the filling.
Making the Filling
Now, let’s create the filling. In a separate bowl, combine the sweetened condensed milk, fresh lime juice, lime zest, vanilla extract, and a pinch of salt. Whisk these together until smooth. This mixture should be creamy and well blended. Next, take another bowl and whip the heavy cream. You want to whip it until you see stiff peaks form. This means the cream holds its shape. Gently fold the whipped cream into the condensed milk mixture. Be careful not to deflate the cream, as you want to keep it light and fluffy.
Final Assembly
Once your filling is ready, pour it into the chilled crust. Use a spatula to smooth the top for a nice finish. Cover the tart with plastic wrap and place it back in the fridge. Let it chill for at least four hours. This will help the tart set properly. After chilling, your creamy coconut lime tart is ready to serve. Enjoy every bite of this delightful treat!
Tips & Tricks
Achieving the Perfect Texture
To make your tart creamy and smooth, folding the whipped cream gently is key. This keeps the air in, giving your filling a light texture. Use a spatula to fold in the cream. Start from the bottom and lift it over the top. Avoid stirring too hard.
Next, ensure your crust is packed firmly. When you press the graham cracker mix into the pan, use the back of a measuring cup. This step helps create a sturdy base. A well-packed crust holds the filling better.
Chill Time Insights
Chilling is essential for setting your tart. It allows the filling to firm up and makes slicing easier. The tart needs at least four hours in the fridge. However, overnight chilling is even better. This extra time enhances the flavors and texture.
If you are in a hurry, you can chill for a shorter time, but the tart may be softer. Trust me, patience pays off with this dessert!
Pro Tips
- Use Fresh Limes: Freshly squeezed lime juice enhances the flavor, making the tart taste brighter and more vibrant compared to bottled juice.
- Chill the Mixing Bowls: Chilling the mixing bowls and utensils for whipping the cream can help achieve better volume and stability.
- Toast the Coconut: For added flavor, lightly toast the shredded coconut before adding it to the crust for a deeper, nuttier taste.
- Let it Set Overnight: For the best texture, allow the tart to set overnight in the refrigerator, which helps the flavors meld beautifully.
Variations
Flavor Tweaks
You can give the creamy no-bake coconut lime tart a fun twist. One easy way is to change the citrus. Try adding lemon or orange juice instead of lime. This will create a new flavor while keeping it fresh and bright. You can also layer in chocolate or vanilla. For chocolate, use cocoa powder in the filling. For vanilla, add more vanilla extract. Both options will add depth to your tart.
Dietary Adjustments
If you need gluten-free options, you have choices for the crust. Use gluten-free graham crackers or ground nuts like almonds or walnuts. These options make a great base that is just as tasty. For vegan adjustments, substitute the cream and sweetened condensed milk. Use coconut cream instead of heavy cream. For the sweetened milk, use a plant-based version. These changes keep the tart creamy while meeting dietary needs.
Storage Info
Proper Refrigeration
To keep your creamy no-bake coconut lime tart fresh, store it in the fridge. Place it in an airtight container to prevent any odors from other foods. The tart will stay good for about 5 days. If you cut it into slices, cover the exposed edges with plastic wrap to keep them moist. This helps maintain its creamy texture and zesty flavor.
Freezing Options
Yes, you can freeze this tart! To freeze, wrap it tightly in plastic wrap and then use aluminum foil for extra protection. It can last in the freezer for about 2 to 3 months. When you’re ready to eat, transfer it to the fridge to thaw overnight. This slow thaw helps keep the filling smooth and creamy. Avoid microwaving, as this can ruin the texture. Enjoy your tart when it’s fully chilled!
FAQs
Can I use store-bought crust instead?
Yes, you can use a store-bought crust. Using a pre-made crust saves time and effort. It is a great option if you are short on time. However, store-bought crusts may lack the fresh taste of homemade ones. They might also be less sturdy than a well-packed homemade crust. If you choose a store-bought option, look for one made with simple ingredients. This way, you can still enjoy a tasty tart.
How can I tell when the tart is set?
You can tell the tart is set when the filling is firm to the touch. The cream should hold its shape and not jiggle. It should also look smooth and glossy. After chilling, check the edges first. They should be slightly firmer than the center. If the center is still too soft, give it more chill time. A properly set tart will slice easily and hold its shape when served.
Can I make this tart ahead of time?
Yes, you can make this tart a day in advance. This allows the flavors to meld together. Just keep it in the fridge until you are ready to serve. Make sure it is covered well with plastic wrap. This keeps it fresh and prevents it from absorbing any fridge odors. When you are ready to serve, slice and garnish as desired. This way, you can enjoy your time with guests without any stress.
This blog post guides you through making a delicious tart using key ingredients like graham cracker crumbs and fresh lime juice. You learned how to prepare the crust, make the filling, and assemble the tart. I shared tips for achieving the right texture and chill time for the best results.
Feel free to experiment with flavors and dietary adjustments. Store it correctly for freshness, and remember that it can be frozen too. With these insights, you can create a perfect tart that delights everyone. Enjoy your baking!