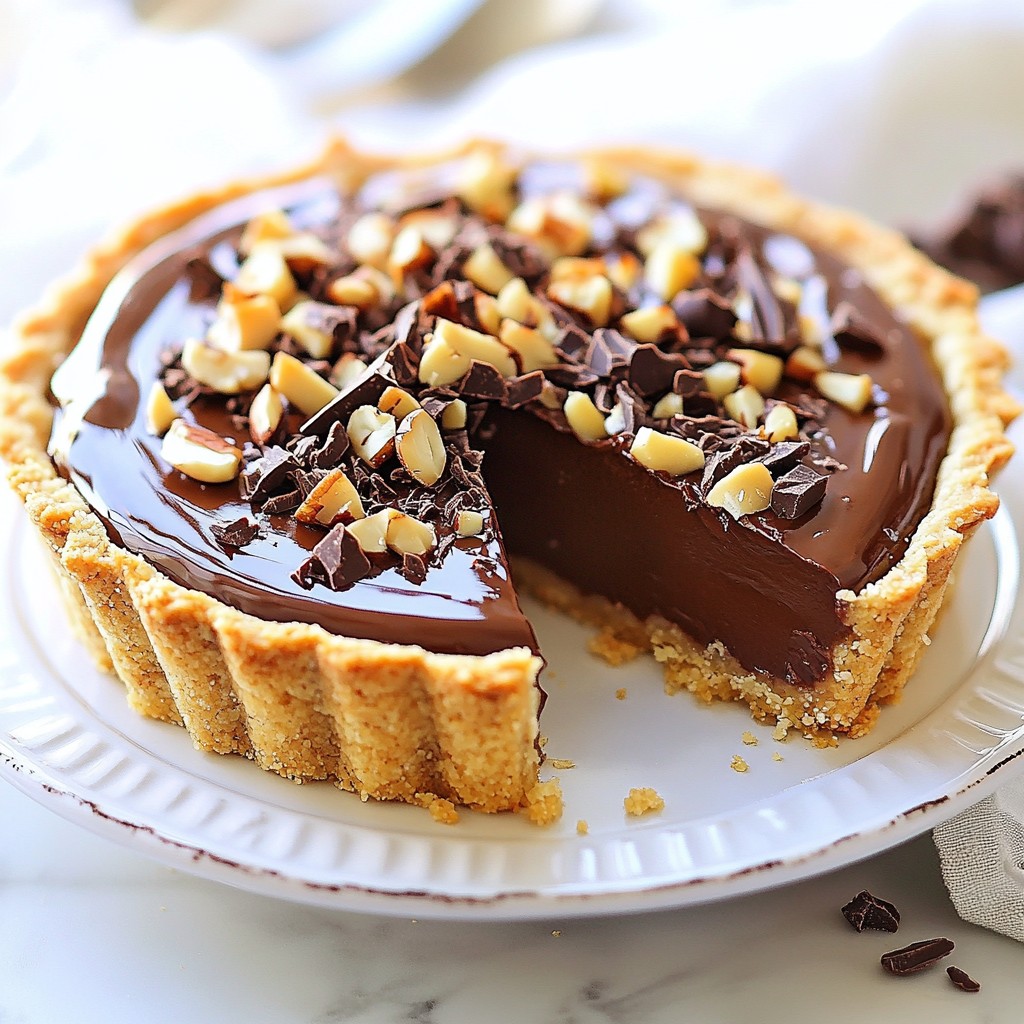
Looking for a sweet treat that’s easy and delicious? You’ve found it! This Creamy No-Bake Chocolate Hazelnut Tart is perfect for any occasion. With a simple crust and rich filling, it’s a dessert you can whip up in no time. Plus, I’ll share tips and variations to make it your own. Ready to impress your friends and family? Let's dive into the tasty details!
Why I Love This Recipe
- Irresistible Flavor: This tart combines rich chocolate and nutty hazelnut for a truly decadent dessert that satisfies every sweet tooth.
- No-Bake Convenience: With no baking involved, this recipe is quick and easy, perfect for any occasion or last-minute dessert craving.
- Beautiful Presentation: The addition of chocolate shavings and chopped hazelnuts makes this tart visually stunning, perfect for impressing guests.
Ingredients
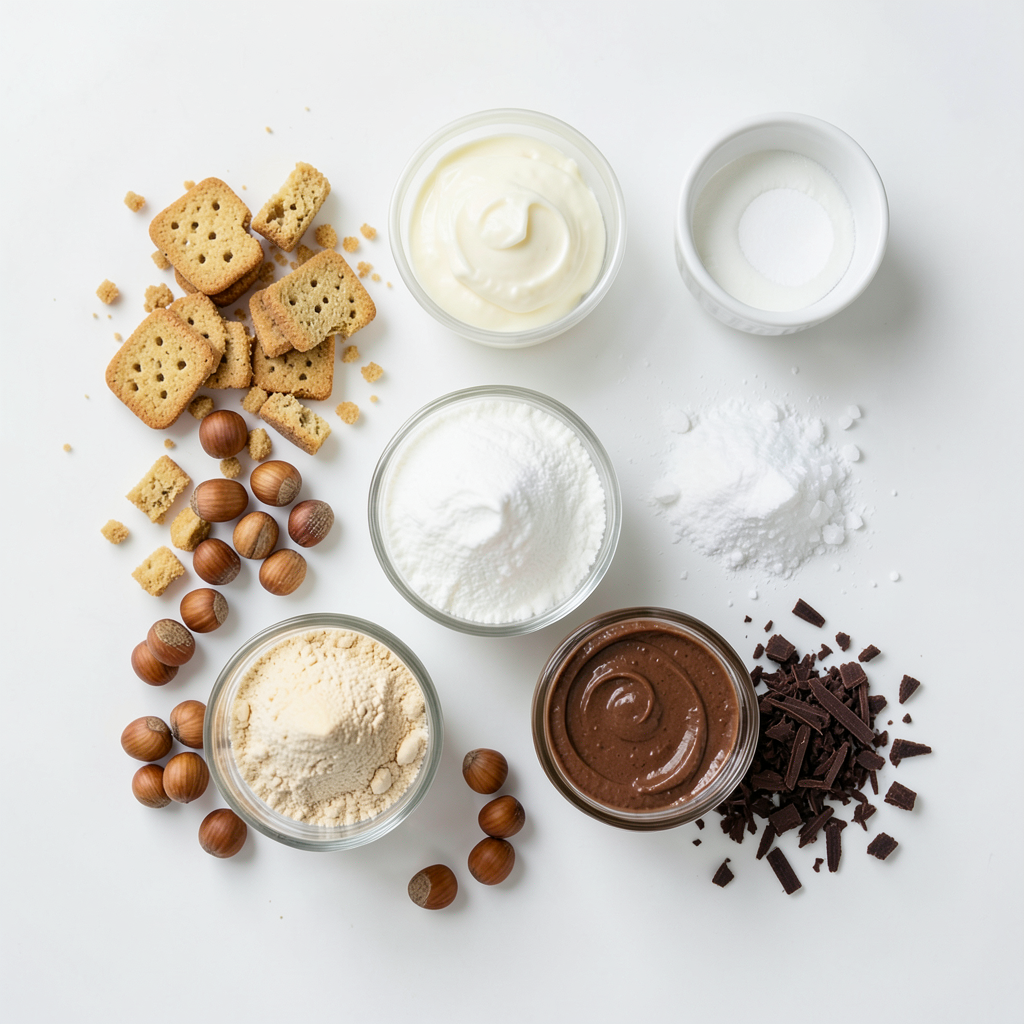
List of Ingredients with Measurements
- 1 ½ cups crushed digestive biscuits
- ½ cup unsalted butter, melted
- 1 cup hazelnuts, toasted and roughly chopped
- 1 cup cream cheese, softened
- 1 cup heavy whipping cream
- ½ cup powdered sugar
- 1 cup chocolate hazelnut spread (like Nutella)
- 1 teaspoon vanilla extract
- A pinch of sea salt
- Extra chopped hazelnuts for garnish
- Dark chocolate shavings for decoration
Substitutions for Ingredients
You can try using graham crackers instead of digestive biscuits for a different taste. If you want a dairy-free option, use coconut cream in place of heavy whipping cream. Instead of cream cheese, you can opt for a vegan cream cheese made from cashews. For a nut-free version, consider using sunflower seed butter instead of chocolate hazelnut spread.
Recommended Brands for Ingredients
For the best flavor, I recommend using McVitie's Digestive Biscuits for the crust. For chocolate hazelnut spread, Nutella is a classic choice, but you can also try Justin's Chocolate Hazelnut Butter. For whipping cream, look for brands like Horizon or Organic Valley for high-quality heavy whipping cream. Always check for fresh cream cheese from Philadelphia or any local brand you trust.
Step-by-Step Instructions
Preparation of the Crust
First, you need to make the crust. In a mixing bowl, combine 1 ½ cups of crushed digestive biscuits and ½ cup of melted unsalted butter. Mix until the crumbs soak up all the butter. This step is key for a tasty base.
Next, press this mixture firmly into the bottom and up the sides of a 9-inch tart pan. Make sure it is even using your fingers or the back of a spoon. Once you finish, place the crust in the fridge to set while you prepare the filling. This will help it hold together.
Making the Creamy Filling
Now, let’s whip up the filling. Start by beating 1 cup of heavy whipping cream in a large bowl. Beat until soft peaks form. This step is crucial for a light and airy texture. Gradually add in ½ cup of powdered sugar and beat until you see stiff peaks. Set this aside.
In another bowl, beat together 1 cup of softened cream cheese and 1 cup of chocolate hazelnut spread until smooth. This mixture should be creamy and rich. Add 1 teaspoon of vanilla extract and a pinch of sea salt, mixing until well combined.
Now, gently fold the whipped cream into the chocolate hazelnut mixture. Be careful not to deflate the whipped cream too much. Fold until everything is creamy and well mixed.
Assembling the Tart
Once your filling is ready, it’s time to fill the tart. Pour the creamy filling into the chilled crust. Smooth the top with a spatula for a nice finish.
Next, cover the tart with plastic wrap and place it in the refrigerator. Chill it for at least 4 hours. For the best results, try to chill it overnight. This allows it to set properly.
When you're ready to serve, take the tart out of the fridge. Decorate the top with extra chopped hazelnuts and dark chocolate shavings for that special touch. Slice and enjoy this delicious creamy no-bake chocolate hazelnut tart!
Tips & Tricks
How to Achieve the Perfect Crust
To get the best crust, use crushed digestive biscuits. They give a nice crunch. Mix them with melted butter. This helps bind the crumbs together. Press the mixture firmly into your tart pan. Use your fingers or a spoon to spread it evenly. Chill the crust in the fridge. This makes it firm and ready for the filling.
Best Practices for Whipping Cream
Whipping cream is easy if you follow a few steps. Start with cold heavy whipping cream. This helps it whip faster and better. Use a clean bowl and beaters. Beat the cream on medium speed. Watch closely for soft peaks to form. Then slowly add powdered sugar. Continue beating until you see stiff peaks. Be gentle when folding it into your mixture. This keeps the cream light and fluffy.
Serving Suggestions for Garnishing
Garnishing makes your tart look stunning. After chilling, remove it from the fridge. Top it with extra chopped hazelnuts for a nice crunch. Dark chocolate shavings add a touch of elegance. Use a vegetable peeler to create thin shavings. Arrange them on top just before serving. You can also add fresh berries for color and taste.
Pro Tips
- Use Fresh Ingredients: Always opt for fresh cream cheese and heavy cream for a richer flavor and creamier texture in your tart.
- Chill the Tart Overnight: For the best set and flavor, chill the tart overnight. This allows the filling to firm up and the flavors to meld beautifully.
- Toast Hazelnuts for Depth: Toasting the hazelnuts enhances their nutty flavor, making your tart even more delicious. Just watch them closely to avoid burning!
- Experiment with Toppings: Feel free to get creative with your toppings! Besides hazelnuts and chocolate shavings, try adding fresh berries or a drizzle of caramel for extra flair.
Variations
Alternative Nut Spreads
You can switch the chocolate hazelnut spread for other nut spreads. Almond, peanut, or cashew spreads work well. Each one brings its own taste. Almond spread gives a light, sweet flavor. Peanut butter adds a rich, salty bite. Cashew spread brings creaminess with a hint of sweetness. These swaps keep your tart exciting and new.
Different Biscuit Options for the Crust
While I love using digestive biscuits, you can try other types. Graham crackers bring a sweet crunch. Oreo cookies add a rich chocolate flavor. Gluten-free biscuits are a great option for those with dietary needs. Just crush them and mix with melted butter, the same way you would with digestive biscuits.
Flavor Additions to the Filling
Want to spice up your tart filling? You can add various flavors. A splash of coffee gives a nice depth. A pinch of cinnamon warms the taste. For a fruity twist, add some orange zest. You can even mix in a tablespoon of liqueur, like Frangelico or Kahlúa, for an adult treat. Each addition makes your tart unique and fun!
Storage Info
How to Properly Store Leftovers
To keep your creamy no-bake chocolate hazelnut tart fresh, cover it tightly. Use plastic wrap or a lid to seal it well. Store it in the fridge. This keeps the tart cool and tasty.
Freezing Instructions
You can freeze the tart if you want to save some for later. First, slice it into pieces. Wrap each slice in plastic wrap, then place them in a freezer bag. This helps to avoid freezer burn. When you want to enjoy it, take it out and let it thaw in the fridge overnight.
Shelf Life of the Tart
The tart lasts about 3 to 5 days in the fridge. If you freeze it, it can stay fresh for up to 2 months. Just remember to check for any changes in texture or smell before eating. This tart is best when it's fresh, but it still tastes great after a few days!
FAQs
Can I make this tart in advance?
Yes, you can make this tart a day ahead. It’s even better when chilled longer. Just prepare the tart, cover it well with plastic wrap, and place it in the fridge. This lets the flavors mix and the filling set properly. When you're ready to serve, just add the garnishes.
What can I use instead of cream cheese?
If you want a dairy-free option, try using a cashew cream. Blend soaked cashews with a bit of lemon juice. This gives a creamy texture and a fresh taste. You can also use Greek yogurt for a tangy flavor. It will change the taste slightly, but it still works well.
How long will the tart last in the refrigerator?
This tart will stay fresh in the fridge for up to five days. Store it in an airtight container to keep it from drying out. After a few days, the texture might change, but it will still be tasty. Enjoy it within that time for the best experience!
This blog post guides you through making a delicious tart. We covered all the needed ingredients, measurements, and substitutions. You learned the best brands to use. I shared step-by-step instructions for the crust, filling, and assembly. Tips for a perfect crust and whipped cream helped too. Variations let you mix flavors, while storage info ensures freshness. Overall, you now have the tools to create a tasty tart that you can enjoy and share! Happy baking!