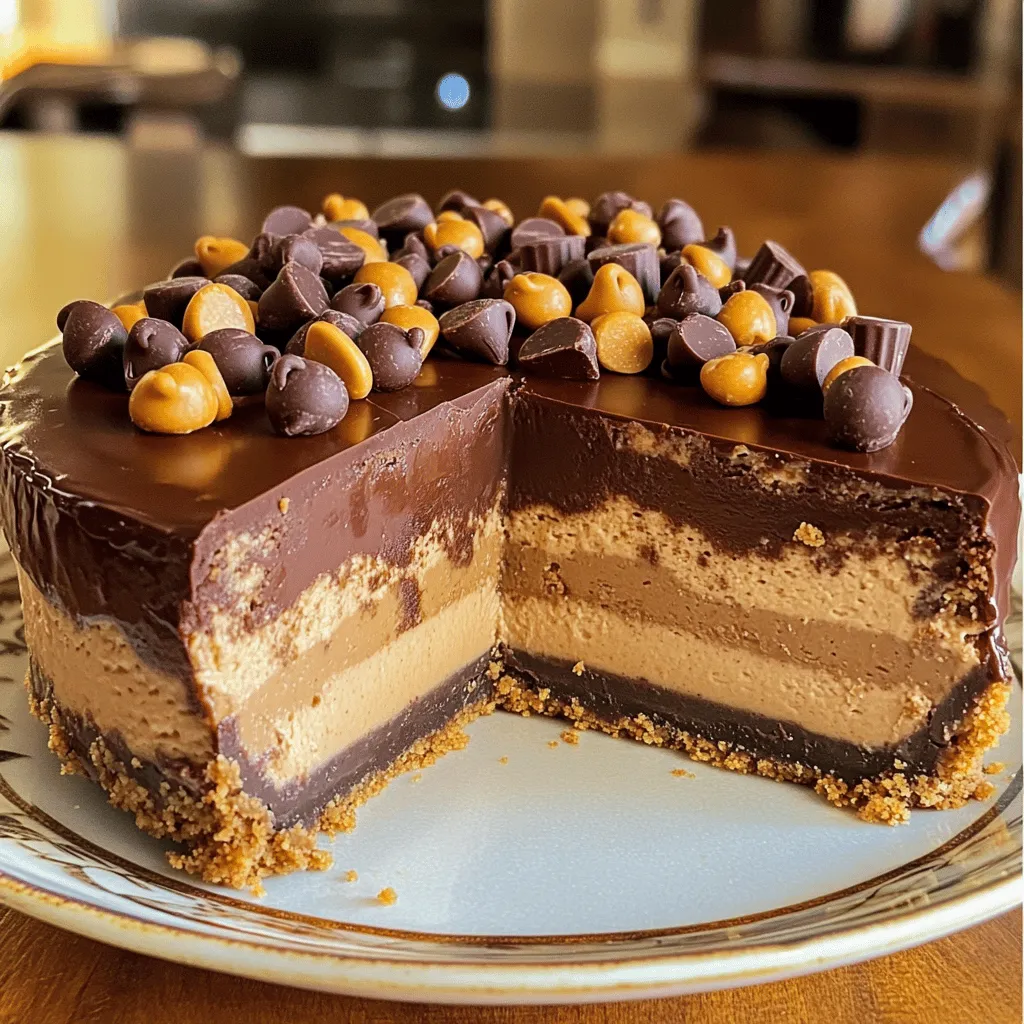
If you love chocolate and peanut butter, this cheesecake is for you! Imagine a rich and creamy dessert that melts in your mouth. In this post, I’ll share the easy steps to create a heavenly Chocolate Peanut Butter Cheesecake. I’ll cover the ingredients you need, and step-by-step instructions, plus tips to make it even better. Get ready to impress your friends and family with this delightful treat!
Ingredients
Here are the key ingredients you’ll need to create the rich and creamy chocolate peanut butter cheesecake:
– 1 ½ cups graham cracker crumbs
– ½ cup unsalted butter, melted
– 1 tablespoon sugar
– 16 oz cream cheese, softened
– 1 cup powdered sugar
– 1 cup creamy peanut butter
– 1 teaspoon vanilla extract
– ½ cup heavy cream
– 4 oz semi-sweet chocolate, melted (and cooled slightly)
– ½ cup chocolate chips (for topping)
– ¼ cup mini peanut butter cups (for garnish, optional)
Each of these ingredients plays a vital role in making this cheesecake a delight. The graham cracker crumbs bring a sweet crunch, while the melted butter binds the crust. Cream cheese gives the cheesecake its creamy texture, and peanut butter adds that rich, nutty flavor we all love.
The melted chocolate enhances the taste, adding depth to each bite. Topping with chocolate chips and mini peanut butter cups makes it look stunning and adds extra flavor.
Step-by-Step Instructions
Preparation of the Crust
Start by mixing the graham cracker crumbs, melted butter, and sugar in a medium bowl. Make sure everything blends well. Next, press this mixture into the bottom of a 9-inch springform pan. It should form a nice, even layer. Once done, chill the crust in the refrigerator for 30 minutes. This helps it set up nicely.
Making the Filling
In a large bowl, beat together the softened cream cheese and powdered sugar. Keep mixing until the mixture is smooth and creamy. Then, add the creamy peanut butter and vanilla extract. Mix everything until fully combined. Now, it’s time to incorporate the melted chocolate. Pour it in gradually while mixing on low speed. You want a uniform filling, so take your time to ensure there are no lumps.
Combining and Chilling
Now, whip the heavy cream in a separate bowl until you see soft peaks. This adds lightness to your filling. Gently fold the whipped cream into the chocolate and peanut butter mixture. Be careful not to deflate the whipped cream. Once combined, pour this delicious mixture over the chilled crust. Smooth out the top using a spatula. Tap the pan lightly on the counter to release any air bubbles. Cover it and refrigerate for at least 4 hours, or overnight for the best results.
Tips & Tricks
Perfecting the Texture
To make a smooth and creamy cheesecake, start with softened cream cheese. This step is key. Cold cream cheese will create lumps in your mixture. Leave it out for about an hour to warm up. You can also cut it into chunks to help it soften faster.
When you mix in the melted chocolate, pour it in slowly. Keep the mixer on low to blend it well. This prevents lumps from forming. Scrape the sides of the bowl often. This will ensure all ingredients mix evenly.
Serving Recommendations
When it’s time to serve, use a sharp knife. Dip it in hot water and wipe it dry. This helps you cut neat slices. For a fun twist, you can make mini cheesecakes in muffin tins. Just adjust the crust and filling amounts.
For toppings, add chocolate chips or mini peanut butter cups. Fresh whipped cream adds a nice touch too. You can even drizzle some melted chocolate on top for extra flair. Each slice should look as delicious as it tastes.

Variations
Alternative Flavors
You can change the flavors in this cheesecake to suit your taste. Instead of peanut butter, try almond butter for a nutty twist. If you want a nut-free option, use sun butter or another seed butter. These swaps keep the creamy texture while changing the taste.
You can also play with chocolate types. For a richer flavor, use dark chocolate. If you prefer a sweeter taste, white chocolate works well too. Mixing different chocolates can add depth and surprise to your dessert.
Dietary Adjustments
If you need a gluten-free option, use gluten-free graham cracker crumbs for the crust. Many brands offer great alternatives that taste just as good. Just make sure to check the labels to ensure they are truly gluten-free.
For a vegan version, swap the cream cheese and heavy cream with plant-based alternatives. Look for vegan cream cheese and coconut cream. These choices will give you a similar rich and creamy texture while keeping it dairy-free. You can enjoy this cheesecake while sticking to your dietary needs!
Storage Info
Best Practices for Refrigeration
To keep your chocolate peanut butter cheesecake fresh, store it in the fridge. First, cover the cheesecake tightly with plastic wrap or aluminum foil. This prevents it from absorbing other smells from the fridge. You can also use an airtight container if you have one.
Leftovers can last up to five days in the fridge. I recommend enjoying it within three days for the best taste. The flavors remain rich and creamy, but you may notice slight changes in texture after a few days.
Freezing Tips
If you want to save some cheesecake for later, freezing works great. Start by slicing the cheesecake into individual pieces. Wrap each slice tightly in plastic wrap. Then, place them in a freezer-safe bag or container. This helps keep them fresh and easy to grab.
To thaw, take a slice out of the freezer and place it in the fridge overnight. This way, it will defrost slowly and stay creamy. You can also thaw it at room temperature for about 30 minutes if you’re in a hurry. Enjoy the cheesecake chilled for the best flavor and texture. You’ll love that rich and creamy delight anytime!
FAQs
How long does the cheesecake need to chill?
The cheesecake needs to chill for at least 4 hours. For the best taste, I suggest chilling it overnight. This allows the flavors to blend well. Plus, a longer chill helps it set firmly.
Can I make this cheesecake ahead of time?
Yes, you can make this cheesecake ahead of time. It is perfect for parties or special occasions. Prepare it a day or two before serving. Just keep it in the fridge. This way, you save time on the event day.
What can I use if I don’t have a springform pan?
If you don’t have a springform pan, don’t worry! You can use a regular pie dish or an 8×8 inch baking pan. Line the bottom with parchment paper for easy removal. Just be careful when slicing and serving. Keep in mind, the shape may be different, but the taste will still be amazing!
This blog post covered a delicious no-bake peanut butter cheesecake. You learned about the ingredients, step-by-step instructions, tips, variations, and storage methods. Remember, using softened cream cheese is key for the best texture.
I hope you feel ready to make this tasty dessert. Whether you stick with the original recipe or try new flavors, enjoy every bite. Happy baking!