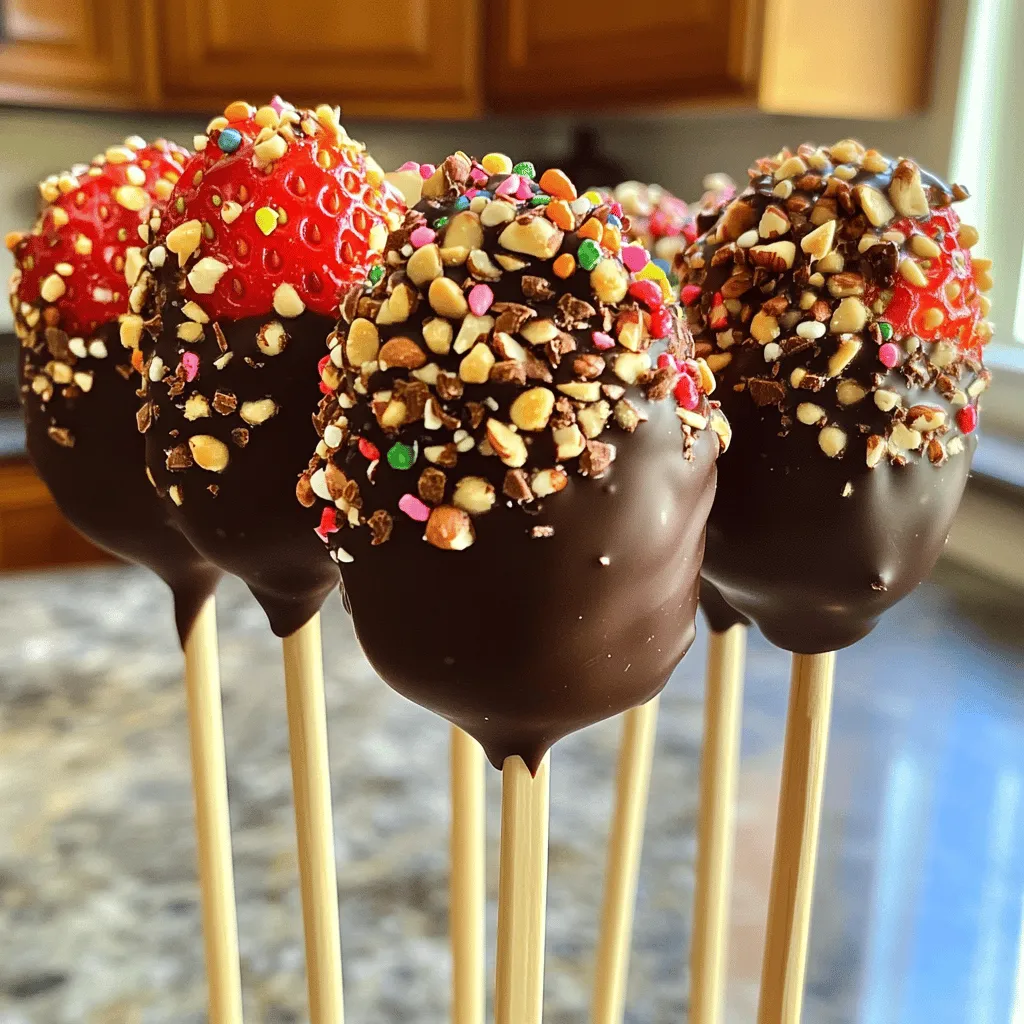
Are you ready for a sweet treat? Chocolate Covered Strawberry Pops are delicious and fun to make. I’ll guide you through this easy recipe that uses fresh strawberries and rich chocolate. You’ll learn tips to pick the best berries, melt chocolate perfectly, and even mix it up with toppings. Let’s dive into the world of these delightful pops and impress your friends and family with your tasty creations!
Ingredients
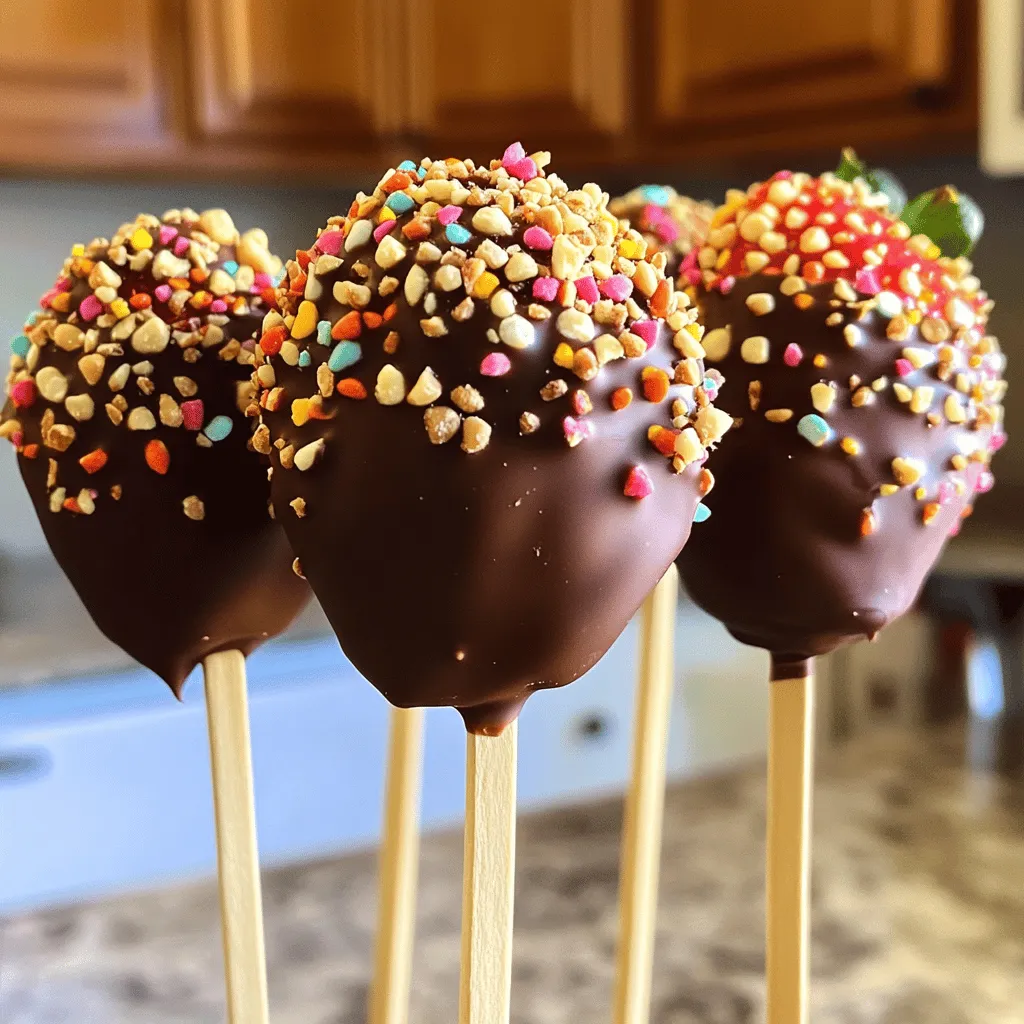
Here’s what you need to make Chocolate Covered Strawberry Pops. Gather these items before you start:
– 1 pound fresh strawberries
– 8 ounces dark chocolate
– 1 tablespoon coconut oil (optional)
– Sprinkles or crushed nuts
– Wooden popsicle sticks
These ingredients are simple but key to a great treat. Fresh strawberries give a sweet and juicy bite. Dark chocolate adds a rich flavor, while coconut oil helps to make it smooth. You can use sprinkles or nuts to add fun and crunch. The popsicle sticks are essential for holding the strawberries.
Make sure to wash and dry the strawberries well. This step is important for the chocolate to stick. Each ingredient plays a role in making these pops a delightful treat.
Step-by-Step Instructions
Preparing the Strawberries
Start with fresh strawberries. Wash them well and dry them gently. This step is key. If the strawberries are wet, the chocolate won’t stick. Next, take a wooden popsicle stick. Insert it into the stem end of each strawberry. Push it in halfway. This will make it easy to dip.
Melting the Chocolate
Now, it’s time to melt your chocolate. Use a microwave-safe bowl for this. Add the chocolate and coconut oil if you want a smoother mix. Heat it in the microwave. Start with 30 seconds. Afterward, take it out and stir well. Repeat this until it is fully melted and smooth.
Dipping and Decorating
Grab a strawberry by the stick. Dip it into the melted chocolate. Swirl it gently to coat it well. Let the extra chocolate drip back into the bowl. While the chocolate is still wet, roll the strawberry in sprinkles or crushed nuts. This adds fun and flavor. Place the dipped strawberries upright. You can use a glass or a parchment-lined tray. Let them sit for a few minutes to harden. Or, put them in the fridge for about 15 minutes to speed up the process.Enjoy your tasty Chocolate Covered Strawberry Pops!
Tips & Tricks
Choosing the Best Strawberries
When picking strawberries, I always choose organic if I can. Organic strawberries taste better and have fewer chemicals. Look for bright red berries. They should smell sweet and feel firm. Size matters too. Medium to large strawberries work best for pops. They hold chocolate well and provide a great bite.
Perfecting the Chocolate Coating
To get a smooth chocolate finish, melt chocolate slowly. I use a microwave, heating in short bursts. Stir often to avoid burning. If your chocolate clumps, add a bit of coconut oil. This helps the chocolate stay smooth and shiny. Dip each strawberry quickly to avoid a messy coating. Let excess chocolate drip back into the bowl.
Making Ahead for Special Occasions
If you plan for a party, you can prep the strawberries ahead. Store washed berries in the fridge for a day. Keep them dry to avoid spoilage. You can also melt chocolate a few hours before. Just reheat it gently if it cools down too much. This way, you can enjoy stress-free fun on the big day.
Variations
Chocolate Options
You can use different types of chocolate for your pops. Dark chocolate offers a rich, bold taste. Milk chocolate gives a sweet and creamy flavor. White chocolate is sweet and pairs well with fruit. You can also try flavored chocolates. For example, mint or orange chocolate adds a fun twist.
Alternative Toppings
Toppings can change the look and taste of your pops. Chopped nuts add crunch and flavor. Shredded coconut gives a tropical feel. You can use cookie crumbs for a fun texture. Seasonal sprinkles, like stars or hearts, make them festive. Choose toppings that match the season or the occasion.
Fruit Alternatives
While strawberries are the star, other fruits work great too. Bananas can be cut into chunks and dipped. Pineapple gives a tart and juicy option. You can also try other berries like blueberries or raspberries. Each fruit offers its own unique flavor and texture. Feel free to mix and match for fun!
Storage Information
Best Way to Store
To keep your Chocolate Covered Strawberry Pops fresh, you should store them in the fridge. The cool temperature helps maintain the chocolate’s firmness and keeps strawberries juicy. Place each pop in an airtight container. This will keep them safe from moisture and odors. If you stack them, put parchment paper between layers to avoid sticking.
Shelf Life
These delightful treats stay fresh for about 3 to 5 days when stored properly. After that, they may lose flavor and texture. Look for signs of spoilage like dull chocolate or mushy strawberries. If you see these signs, it’s best to toss them out. Enjoy your Chocolate Covered Strawberry Pops while they are at their best!
FAQs
Can I use any type of chocolate?
Yes, you can use many types of chocolate for dipping. Dark chocolate, milk chocolate, and white chocolate all work well. Each type gives a different taste. I love dark chocolate for its rich flavor, but choose what you like best. You can even try flavored chocolates, like mint or orange. The key is to melt it properly for a smooth dip.
What if my chocolate is too thick?
If your chocolate is too thick, do not worry! You can fix it easily. Add a little coconut oil or vegetable oil to the chocolate. Start with just a teaspoon, and stir it in. This will help thin the chocolate for a nice, smooth coating. Heat it in the microwave again for a few seconds if needed. Stir until it is just right for dipping.
Can I make these vegan?
Yes, you can make chocolate covered strawberry pops vegan! Use dairy-free chocolate instead of regular chocolate. There are many great brands that offer this option. For the popsicle sticks, make sure they are vegan-friendly. The rest of the recipe is already vegan since strawberries and sprinkles are plant-based. Enjoy your tasty treat without any animal products!
This blog post covered how to create delicious chocolate-covered strawberries. We started with the right ingredients and moved through each step, from preparing the strawberries to storing your treats. I shared tips for choosing the best fruit and perfecting your chocolate coating. Plus, I discussed fun variations and answered common questions. Now you can impress friends with this easy, tasty treat. Enjoy creating your own fun versions, and share your tasty results!