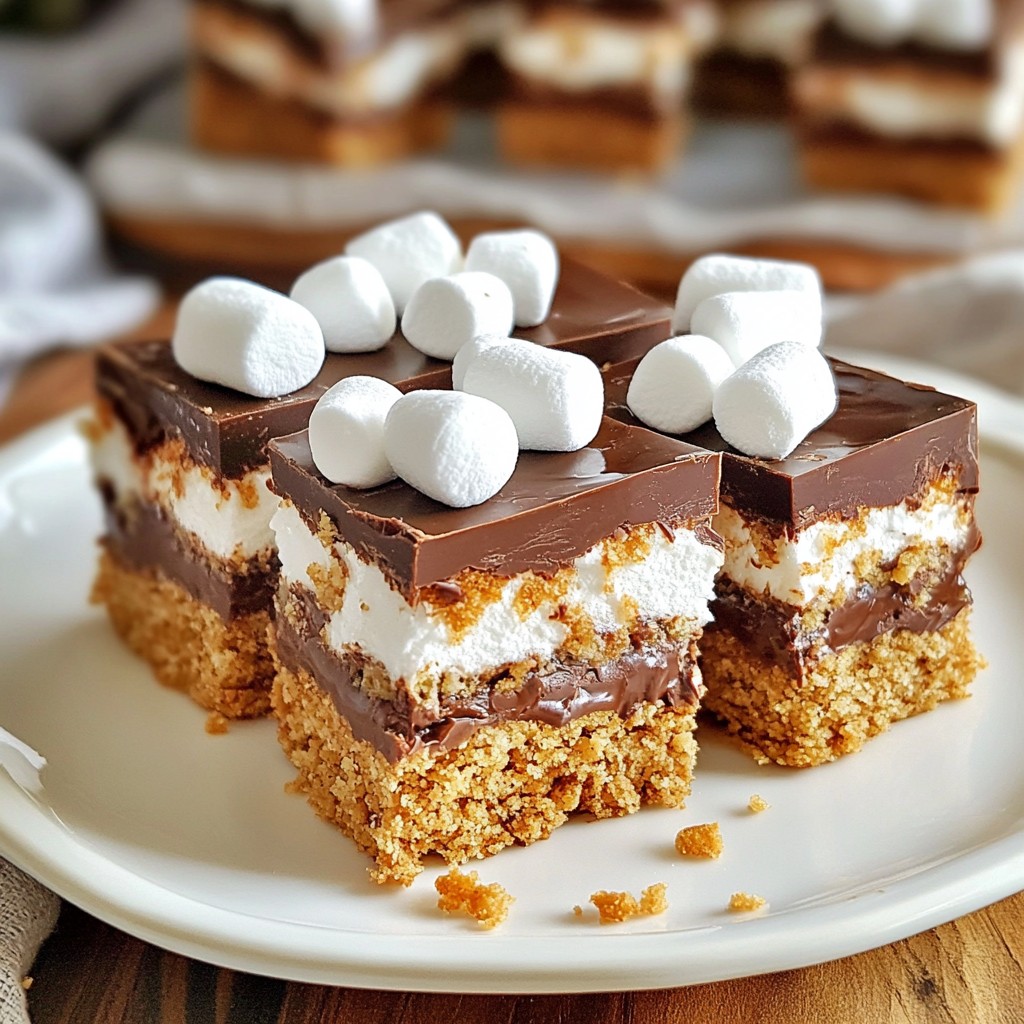
Craving a sweet and simple treat? These Chewy No-Bake S'mores Bars are your answer! Made with classic ingredients like graham cracker crumbs, chocolate, and marshmallows, you’ll whip them up in no time. No oven is needed, and trust me, they are deliciously chewy! Let’s dive into this easy recipe and discover how to satisfy your s'mores craving without the mess. You’re going to love making these!
Why I Love This Recipe
- Quick & Easy: This recipe requires no baking and can be prepared in just 15 minutes, making it a perfect last-minute treat!
- No-Bake Goodness: Enjoy the classic s'mores flavor without the hassle of a campfire; these bars are made right in your kitchen.
- Customizable: Feel free to adjust the ingredients by adding nuts, dried fruits, or even different types of chocolate for a personalized touch.
- Kid-Friendly: This is a fun recipe that kids can help with, making it a great activity for family bonding in the kitchen.
Ingredients
List of Ingredients
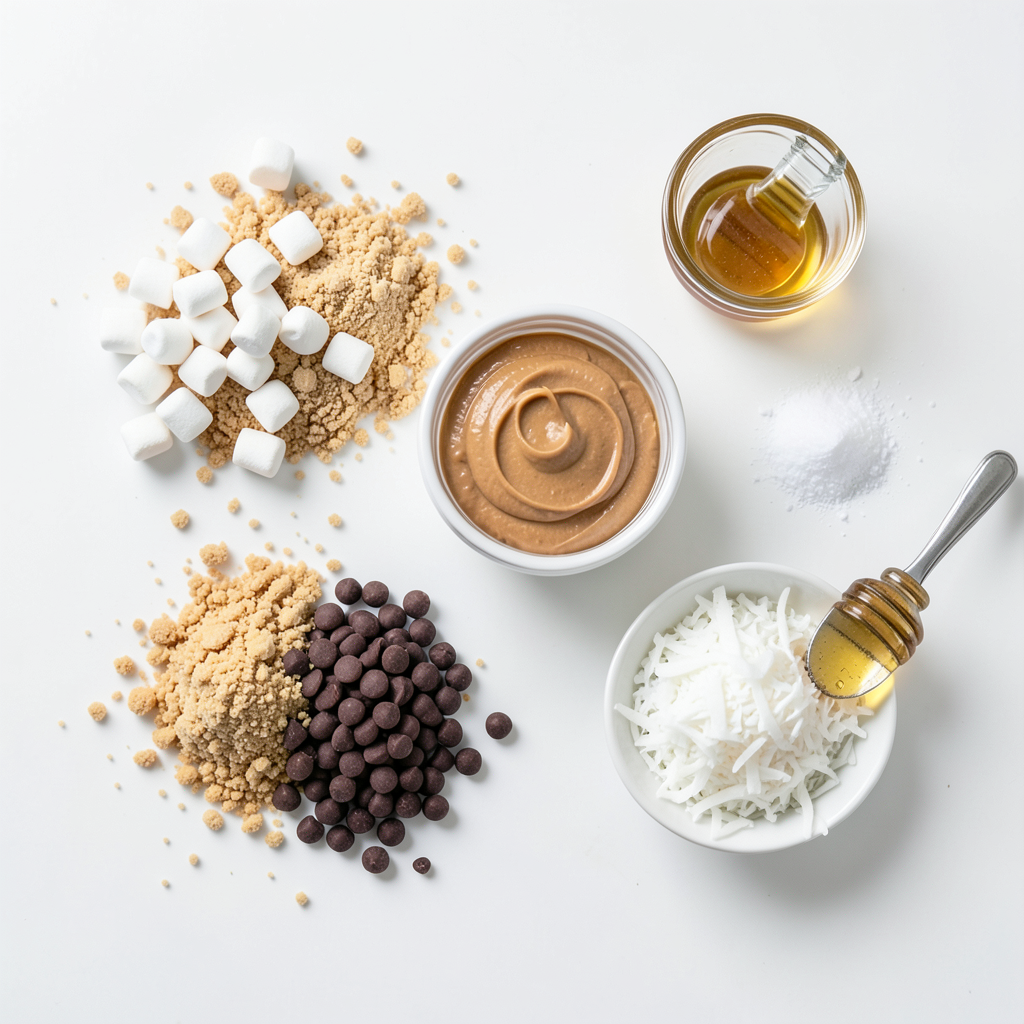
- 2 cups graham cracker crumbs
- 1 cup mini marshmallows
- 1 cup semi-sweet chocolate chips
- 1/2 cup creamy peanut butter
- 1/2 cup unsweetened shredded coconut (optional)
- 1/4 cup honey or maple syrup
- 1/2 teaspoon vanilla extract
- A pinch of salt
Equipment Needed
- Mixing bowls
- Microwave-safe bowl
- Baking dish (8x8 inches)
- Parchment paper
- Spatula
In this recipe, I use simple and tasty ingredients to make Chewy No-Bake S'mores Bars. Each item plays a key role in the flavor and texture.
The graham cracker crumbs give a sweet and crunchy base. Mini marshmallows add a soft and chewy layer. Semi-sweet chocolate chips bring rich chocolate flavor. Creamy peanut butter adds creaminess and binds the bars together.
If you want a twist, add unsweetened shredded coconut for a hint of tropical flavor. Honey or maple syrup adds sweetness. The vanilla extract enhances all the flavors, while a pinch of salt balances the sweetness.
Make sure you have the right tools. Use mixing bowls for combining ingredients. A microwave-safe bowl helps melt the chocolate and peanut butter. An 8x8-inch baking dish lets you shape the bars nicely. Parchment paper makes it easy to lift the bars out later. A spatula helps to press the mixture firmly into the dish.
With these ingredients and tools, you're all set to create a delightful treat!
Step-by-Step Instructions
Preparing the Base
- In a large mixing bowl, combine 2 cups graham cracker crumbs, 1 cup mini marshmallows, and 1/2 cup unsweetened shredded coconut (if you want).
- Stir until everything is evenly mixed. This base holds all the great flavors together.
Melting the Chocolate-Peanut Butter Mixture
- In a microwave-safe bowl, add 1 cup semi-sweet chocolate chips and 1/2 cup creamy peanut butter.
- Microwave in 30-second intervals. Stir after each interval until the mix is melted and smooth.
- Add in 1/4 cup honey (or maple syrup), 1/2 teaspoon vanilla extract, and a pinch of salt. Stir well to combine.
Mixing and Setting
- Pour the melted chocolate-peanut butter mixture over the dry ingredients in your mixing bowl.
- Mix thoroughly. Ensure all the dry ingredients are coated.
- Line an 8x8-inch baking dish with parchment paper, leaving some overhang for easy removal.
- Press the mixture firmly into the bottom of the dish. Use a spatula or your hands to spread and pack it tightly.
- Refrigerate the bars for at least 2 hours or until they are firm.
- Once set, lift the bars out using the parchment overhang and cut them into squares or rectangles.
Tips & Tricks
Achieving the Perfect Chewy Texture
- Use fresh mini marshmallows. They help create that soft, chewy bite.
- Ensure even mixing and packing. This step keeps your bars together.
When you mix the ingredients, pay attention to the marshmallows. Old ones can get hard and dry. Fresh marshmallows will melt into the mix and add a great texture. Make sure you pack the mixture tightly in the baking dish. This helps hold the bars together when you cut them.
Serving Suggestions
- Serve the bars on a rustic wooden board. It adds charm and warmth to your presentation.
- Garnish with extra mini marshmallows and chocolate on top. You can also drizzle melted chocolate for a fun touch.
For an extra treat, consider adding a sprinkle of sea salt. This contrast enhances the sweet flavors. You can also pair these bars with a scoop of ice cream for a delightful dessert.
Troubleshooting Common Issues
- If the mixture is too crumbly, add a bit more peanut butter or honey. This will help bind everything together.
- To ensure bars hold their shape, press the mixture firmly into the dish. Refrigerate for at least two hours to help them set.
If your bars fall apart, it often means they weren’t packed tightly enough. For a firmer bar, let them chill a bit longer. Patience is key to achieving the perfect chewy treat.
Pro Tips
- Use Fresh Ingredients: Ensure your mini marshmallows and chocolate chips are fresh for the best flavor and texture.
- Press Firmly: When pressing the mixture into the baking dish, make sure to pack it tightly; this helps the bars hold together once set.
- Experiment with Flavors: Consider adding a pinch of cinnamon or using flavored chocolate chips to elevate the taste of your bars.
- Store Properly: Keep the s'mores bars in an airtight container in the refrigerator for up to a week to maintain their chewy texture.
Variations
Ingredient Swaps
You can change the nut butter if you want. Try almond or cashew butter for a new taste. These swaps keep the bars creamy and add their own flavor. If you are vegan, use plant-based sweeteners instead of honey. Maple syrup works great and stays sweet.
Flavor Enhancements
To make your bars even better, add cocoa powder. It gives a rich chocolate taste. You can also mix in crushed nuts for crunch. Try adding different extracts, like almond or coconut, for a fun twist. Each option makes the bars unique and tasty.
Seasonal Twists
You can customize your bars for holidays too. In fall, add warm spices like cinnamon and nutmeg. For winter, a hint of mint can refresh the flavor. These twists make your no-bake s'mores bars fun for any season.
Storage Info
Best Storage Practices
To keep your Chewy No-Bake S'mores Bars fresh, store them in the fridge. Use an airtight container to prevent them from drying out. You can also wrap them in plastic wrap before placing them in the container. This extra layer helps keep the bars soft and chewy.
Freezing Options
If you want to save some for later, freezing is a great choice. First, cut the bars into squares. Wrap each piece in plastic wrap. Then place them in a freezer-safe bag or container. When you're ready to enjoy, take a bar out and let it thaw in the fridge. This helps it stay soft. You can also eat it straight from the freezer for a cool treat!
Shelf Life
These bars last about a week in the fridge. After that, they may start to lose their taste and texture. Look out for any changes in color or smell. If they smell off or look dry, it’s best to throw them away. Always trust your senses!
FAQs
Can I make Chewy No-Bake S'mores Bars in advance?
Yes, you can make these bars in advance. They stay fresh for several days. I suggest preparing them a day or two before you need them. Store them in the fridge to keep them firm.
How do I replace graham cracker crumbs?
If you need a gluten-free version, use almond flour or gluten-free cookie crumbs. Both options work well and give a nice flavor. Look for brands that are certified gluten-free.
What can I use instead of peanut butter?
For a nut-free option, try sun butter or soy nut butter. These options have a similar taste and texture. They keep the bars creamy and delicious without nuts.
How long do I need to refrigerate the bars?
Refrigerate the bars for at least 2 hours. This time allows them to set properly. If you want them firmer, you can chill them longer. Just make sure they are well-covered to prevent drying out.
This blog post outlined a fun way to make chewy no-bake s'mores bars. You learned the ingredients and tools needed, as well as the step-by-step process. Mixing graham cracker crumbs with chocolate and peanut butter is key. Keep these bars chewy by using fresh marshmallows. Remember, you can customize flavors too! Store them well, or freeze for later. Enjoy creating this easy dessert that can fit any occasion. Your friends and family are sure to love them.