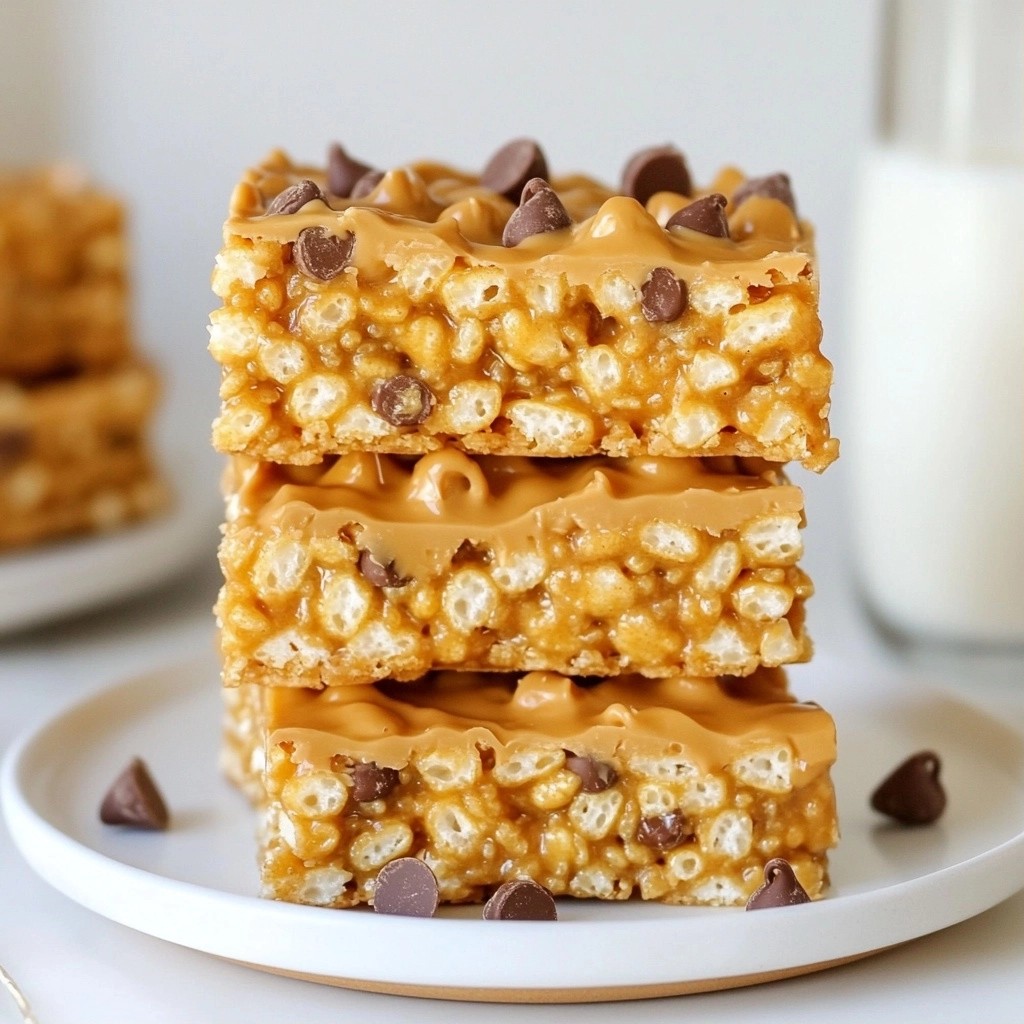
Craving a no-bake treat that’s both easy and delicious? Look no further! In this post, I’ll show you how to make chewy no-bake peanut butter Rice Krispie treats that everyone will love. With just a few ingredients and simple steps, you'll whip up this tasty snack in no time. Get ready to impress your family and friends with this delightful treat that packs a punch of flavor!
Why I Love This Recipe
- Easy to Make: This recipe requires no baking, making it a quick and simple treat to whip up whenever you have a craving.
- Chewy Texture: The combination of peanut butter and honey creates a wonderfully chewy texture that is irresistibly satisfying.
- Customizable: You can easily add your favorite mix-ins like nuts, dried fruits, or different types of chocolate for a personalized touch.
- Healthier Option: With natural sweeteners like honey or maple syrup, these treats are a healthier alternative to traditional desserts.
Ingredients
Main Ingredients for Chewy No-Bake Peanut Butter Rice Krispie Treats
To make these treats, you need:
- 3 cups Rice Krispies cereal
- 1 cup creamy peanut butter
- 1 cup honey or maple syrup
- 1 teaspoon vanilla extract
- Pinch of sea salt
These ingredients work together to create a sweet and chewy snack. The Rice Krispies add crunch, while the peanut butter gives a rich flavor.
Optional Add-ins
You can add some fun extras to your treats:
- 1/2 cup mini chocolate chips (optional)
These chocolate chips give a tasty twist. You can mix them in with the Rice Krispies for added sweetness.
Substitutions for Common Ingredients
If you want to switch things up, here are some ideas:
- Use crunchy peanut butter for a different texture.
- Maple syrup can replace honey if you prefer.
- For a nut-free option, try sun butter instead of peanut butter.
These swaps keep the treats delicious while meeting your needs.

Step-by-Step Instructions
Preparing the Peanut Butter Mixture
Start by grabbing a medium saucepan. Add 1 cup of creamy peanut butter and 1 cup of honey or maple syrup. Place the saucepan over medium heat. Stir the mixture continuously for about 2-3 minutes. The goal is to make it smooth and well blended. Once it looks good, take the saucepan off the heat. Add 1 teaspoon of vanilla extract and a pinch of sea salt. This step boosts the flavor and makes it even better.
Combining Rice Krispies with the Mixture
Now, take a large mixing bowl. Pour in 3 cups of Rice Krispies cereal. Carefully pour the warm peanut butter mixture over the cereal. Use a spatula to mix it all together. Make sure every piece of cereal gets coated. If you like chocolate, you can fold in 1/2 cup of mini chocolate chips now. They add a nice touch to each bite.
Setting and Cutting the Treats
Next, grab an 8x8 inch baking dish. Line it with parchment paper, leaving some overhang. This will help you lift the treats out later. Press the mixture firmly into the dish. The firmer you press it, the chewier the treats will be. Let them cool at room temperature for about 30 minutes. If you're in a hurry, pop them in the fridge for 15 minutes. Once they are set, use the parchment to lift them out. Cut them into squares or bars, and enjoy your tasty treats!
Tips & Tricks
Achieving the Perfect Texture
To get chewy treats, press the mixture firmly into the dish. The more you press, the denser your treats will be. If you want a lighter texture, press less. Allowing them to cool longer will also help them set better. Patience is key here!
Common Mistakes to Avoid
One common mistake is not mixing the cereal enough. You want every piece to be coated with the peanut butter mix. Another mistake is using too much heat. If the peanut butter mixture gets too hot, it may not set right. Make sure to stir on medium heat and remove it as soon as it blends well.
Enhancing Flavor with Additions
Want to jazz up the flavor? Try adding mini chocolate chips, as they melt slightly and mix in well. You can also add chopped nuts for crunch or dried fruit for a sweet twist. A sprinkle of sea salt on top can enhance the peanut flavor.
Pro Tips
- Use Natural Peanut Butter: Opt for natural peanut butter without added sugar or oils for a healthier treat that still has plenty of flavor.
- Customize Your Sweetness: Adjust the amount of honey or maple syrup based on your taste preference; you can use less for a less sweet treat.
- Press Firmly: When pressing the mixture into the baking dish, ensure you press down firmly to create denser, chewier treats.
- Experiment with Mix-ins: Try adding nuts, dried fruits, or seeds for added texture and flavor variations!
Variations
Healthy Modifications to the Recipe
To make these treats a bit healthier, I suggest using natural peanut butter. This type has no added sugar or oils. You can also swap honey for pure maple syrup. Both add sweetness, but maple syrup is lower in calories. For a boost of nutrition, add some ground flaxseed or chia seeds. This will give your treats extra fiber and healthy fats.
Flavor Variations
You can play with flavors to keep things fun. Try adding butterscotch chips instead of chocolate chips. This will give a sweet twist to each bite. You can also mix in some cocoa powder for a chocolatey flavor. Just add about 2 tablespoons to your peanut butter mixture. Another idea is to add a pinch of cinnamon for a warm, cozy taste.
Alternative Sweeteners for Different Dietary Needs
If you want to avoid sugar, consider using stevia or monk fruit sweetener. These options are great for those watching their sugar intake. You can also try agave nectar as a substitute for honey. It has a lower glycemic index and is sweet without being too heavy. Always check the conversion amounts on the packaging for best results.
Storage Info
Best Practices for Storing Treats
I always store my Chewy No-Bake Peanut Butter Rice Krispie Treats in an airtight container. This helps keep them fresh and chewy. I recommend using parchment paper between layers. It stops them from sticking together. You can place them in the kitchen counter or pantry. Just keep them out of direct sunlight and heat.
How Long Do They Last?
These treats last about one week at room temperature. If you want them to stay fresh longer, move them to the fridge. When refrigerated, they can last for about two weeks. Just remember, the colder they get, the firmer they become.
Freezing for Later Use
Freezing is a great option for longer storage. Wrap each treat in plastic wrap tightly. Then, place them all in a freezer-safe bag. This keeps them from getting freezer burn. They can last up to three months in the freezer. When ready to eat, just thaw them in the fridge or at room temperature. Enjoy your tasty treats anytime!
FAQs
Can I use crunchy peanut butter instead?
Yes, you can use crunchy peanut butter. It adds a nice texture to the treats. The bites will have little nutty pieces that make them even more fun to eat. Just keep in mind that the crunchy version may alter the smoothness of the mix a bit.
How do I make these treats vegan?
To make these treats vegan, swap honey for maple syrup. Use a plant-based creamy peanut butter too. Both changes keep the treats delicious and chewy. You won’t lose any flavor or texture by using these substitutes.
What is the best way to reheat or refresh them?
To refresh these treats, place them in the microwave for 10-15 seconds. This warms them up and brings back some chewiness. If they seem too firm, try wrapping them in a damp paper towel during warming. This simple step adds moisture back into the treats.
These chewy no-bake peanut butter Rice Krispie treats are simple and fun to make. We covered the key ingredients, steps to prepare them, and lots of helpful tips. You can enjoy variations and even store them for later.
In the end, making these treats is easy and rewarding. You can customize them to fit your taste. Enjoy your time in the kitchen, and share this sweet treat with others!