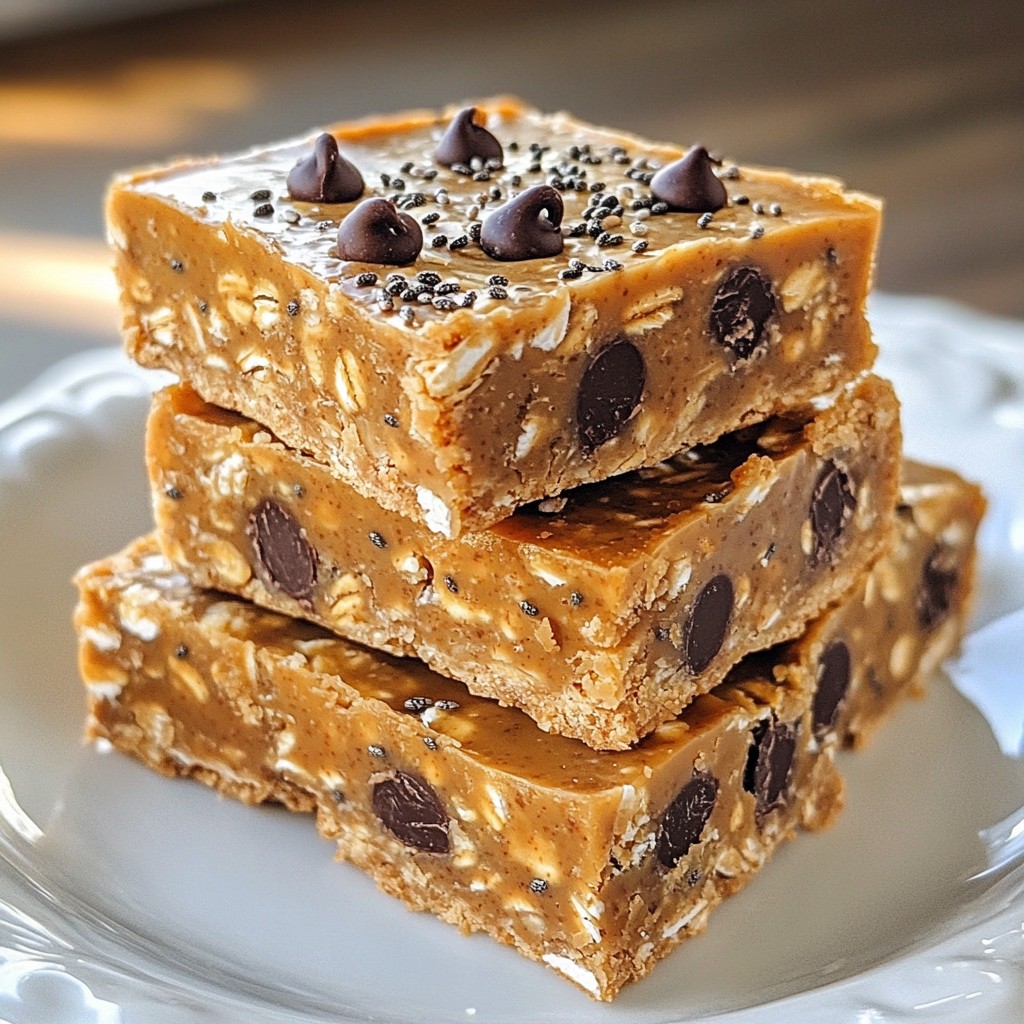
Are you craving a delicious snack that’s simple to make? My Chewy No-Bake Peanut Butter Oat Bars are just what you need! This easy recipe packs flavor and nutrition into every chewy bite. With only a few ingredients, you can whip these up in no time. Stick around to learn how to create these tasty bars and get tips on storage, variations, and more. Let’s dive in!
Why I Love This Recipe
- Quick and Easy: This recipe comes together in just 10 minutes, making it perfect for a last-minute snack or treat.
- Healthy Ingredients: Packed with oats, chia seeds, and peanut butter, these bars are a nutritious choice for any time of day.
- Customizable: You can easily swap out ingredients like honey for maple syrup or add different mix-ins to suit your taste.
- No Baking Required: These bars set in the refrigerator, making them a hassle-free option for delicious, chewy snacks.
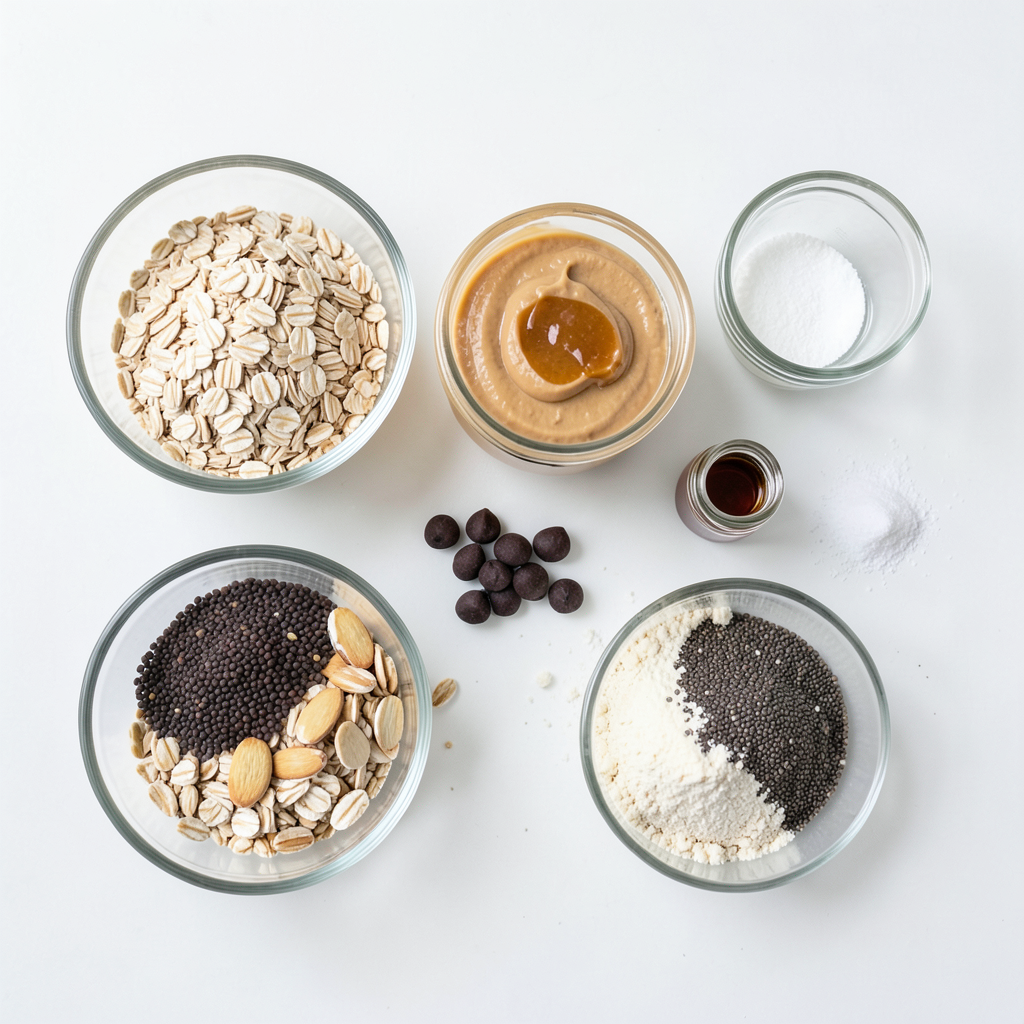
Ingredients
List of Ingredients
- 2 cups rolled oats
- 1 cup creamy peanut butter
- 1/2 cup honey (or maple syrup for a vegan option)
- 1/2 cup almond flour (or any nut flour)
- 1/2 cup dark chocolate chips (dairy-free if needed)
- 1/4 cup chia seeds
- 1/2 teaspoon vanilla extract
- A pinch of salt
These ingredients come together to make a tasty and chewy treat. The rolled oats offer a great base, while the peanut butter gives a rich flavor. Honey or maple syrup adds sweetness and binds it all. Almond flour adds texture and nutty taste. Chia seeds pack in some nutrients. Dark chocolate chips make every bite delightful. Each ingredient contributes to the bars' chewy texture and flavor.
Ingredient Substitutions
You can switch some ingredients based on what you have. Try almond butter instead of peanut butter for a different taste. If you want a nut-free option, use sunflower seed butter. For sweeteners, agave syrup works well if you prefer it. You can swap almond flour with oat flour or coconut flour, but adjust the amounts you use.
Nutritional Information
These bars are not just tasty; they also pack some nutrition. Each bar contains about:
- Calories: 180
- Protein: 5g
- Carbohydrates: 20g
- Fiber: 3g
- Sugars: 7g
- Fat: 9g
These numbers can change based on your ingredient choices. For a healthier version, reduce the sweetener or use less chocolate. Enjoy these bars as a snack or a quick breakfast.
Step-by-Step Instructions
Preparation Overview
To make these chewy no-bake peanut butter oat bars, you need a few simple steps. First, gather your ingredients. This recipe is quick and takes just 10 minutes of prep. You will then mix all the dry and wet ingredients separately. After that, combine them and press the mixture into a dish. Finally, let the bars chill in the fridge.
Detailed Mixing Instructions
1. Start by taking a large mixing bowl. Add 2 cups of rolled oats, 1/2 cup of almond flour, and 1/4 cup of chia seeds. Mix these dry ingredients well. This step is key for even flavor.
2. In another bowl, combine 1 cup of creamy peanut butter, 1/2 cup of honey, 1/2 teaspoon of vanilla extract, and a pinch of salt. Stir until this mixture is smooth.
3. Pour the peanut butter mixture over the dry ingredients. Mix it until all the dry bits are coated. You will see a sticky dough form, which is perfect for our bars.
4. Now, fold in 1/2 cup of dark chocolate chips. Make sure they are mixed evenly throughout the dough. This adds a delicious touch to your bars.
Setting the Bars
1. Prepare a 9x9 inch baking dish by lining it with parchment paper. Leave some paper hanging over the sides. This will help you lift the bars out easily later.
2. Transfer your mixture into the lined dish. Press it down firmly using a spatula or your hands. Make sure it forms an even layer.
3. Place the baking dish in your fridge. Let it chill for at least 2 hours or until it feels firm to the touch. This is crucial for the bars to hold their shape.
4. Once set, lift the bars out using the parchment paper. Cut them into squares or rectangles with a sharp knife.
5. Store any leftovers in an airtight container in the fridge for up to a week. You can also freeze them for longer storage. Enjoy your tasty, chewy bars!
Tips & Tricks
Achieving the Perfect Chewy Texture
To get that perfect chewiness, use rolled oats, not quick oats. Rolled oats hold moisture better. Mix the peanut butter and honey well; this helps bind the bars. Press the mixture firmly into the dish. A firm press ensures the bars stick together. Refrigerate for at least two hours. This step is key for the right texture.
Common Mistakes to Avoid
One common mistake is not measuring ingredients properly. Use measuring cups for accuracy. Skipping the refrigeration time can lead to crumbly bars. Ensure your bars are fully chilled before cutting. Using too much sweetener can make them too sticky. Balance your ingredients for the best result.
Best Tools for Preparation
A large mixing bowl is essential for combining ingredients. A spatula helps in mixing and pressing the mixture into the dish. Using parchment paper in your baking dish makes removal easy. A sharp knife works best for cutting the bars. Keeping these tools handy will make your baking experience smoother.
Pro Tips
- Storage Tip: To keep your bars fresh, store them in an airtight container in the refrigerator. They can last up to a week.
- Nut Butter Variations: Feel free to swap out the peanut butter for almond butter or cashew butter for a different flavor profile.
- Add-ins Galore: Customize your bars by adding dried fruits, seeds, or even a sprinkle of cinnamon for extra flavor and nutrition.
- Vegan Option: Use maple syrup instead of honey to make these bars vegan-friendly without sacrificing taste or texture.
Variations
Vegan Alternatives
To make these bars vegan, swap honey for maple syrup. Maple syrup gives a nice sweetness without using animal products. You can also use almond flour or any nut flour for the same effect. Just make sure your chocolate chips are dairy-free too. This way, everyone can enjoy these chewy treats.
Flavor Enhancements (e.g., add-ins)
You can mix in fun add-ins to change the flavor. Consider adding:
- 1/2 cup dried fruit, like cranberries or raisins
- 1/2 cup nuts, such as walnuts or almonds
- 1/4 cup coconut flakes for a tropical twist
These additions bring new tastes and textures to your bars. You can even switch out the peanut butter for almond or cashew butter for a different nutty flavor.
Different Sweetener Options
While honey and maple syrup are great, there are other sweeteners you can try. Agave nectar is a good vegan choice. You can also use brown rice syrup for a thicker consistency. If you want less sugar, consider using mashed bananas or applesauce. These options can change the taste and texture, making your bars unique every time.
Storage Info
Storing Refrigerated Bars
Store your chewy no-bake peanut butter oat bars in an airtight container. This keeps them fresh and tasty. I suggest placing a piece of parchment paper between layers to prevent sticking. You can keep them in the fridge for up to a week. The cold helps maintain their chewy texture, making each bite a delight.
Freezing Instructions
If you want to save some bars for later, freezing is a great option. First, cut the bars into squares or rectangles. Wrap each piece tightly in plastic wrap. Then, place them in a freezer-safe bag or container. You can keep them in the freezer for up to three months. When you're ready to enjoy one, just take it out and let it thaw in the fridge.
Shelf Life and Safety Tips
These bars can last up to a week when stored properly in the fridge. If you freeze them, they can last three months. Always check for any signs of spoilage, like an off smell or change in texture. If you notice anything unusual, it’s best to toss them out. Enjoying these bars fresh is key to their flavor and texture!
FAQs
Can I use a different nut butter?
Yes, you can swap peanut butter for almond or cashew butter. Each nut butter has its own flavor. Almond butter gives a nice twist, while cashew butter is creamier. Just ensure the nut butter is smooth to mix well.
How do I make them more chocolatey?
To boost the chocolate flavor, add more dark chocolate chips. You can also drizzle melted chocolate on top. Another option is to use cocoa powder. Just mix in a few tablespoons with the dry ingredients. These changes will make your bars rich and sweet.
Can I substitute certain ingredients for dietary restrictions?
Yes, you can easily adjust the recipe. Use maple syrup instead of honey for a vegan option. If you need gluten-free bars, make sure to use certified gluten-free oats. You can also skip chia seeds or switch them for flaxseeds. Each swap keeps the bars delicious and safe for your diet.
You learned about the ingredients and how to prepare your bars. I shared tips for a chewy texture and how to avoid mistakes. I highlighted variations to suit different diets and flavors. Lastly, I provided storage tips to keep your bars fresh and safe.
Creating these bars is simple and fun. Enjoy experimenting with ingredients and find what you love!