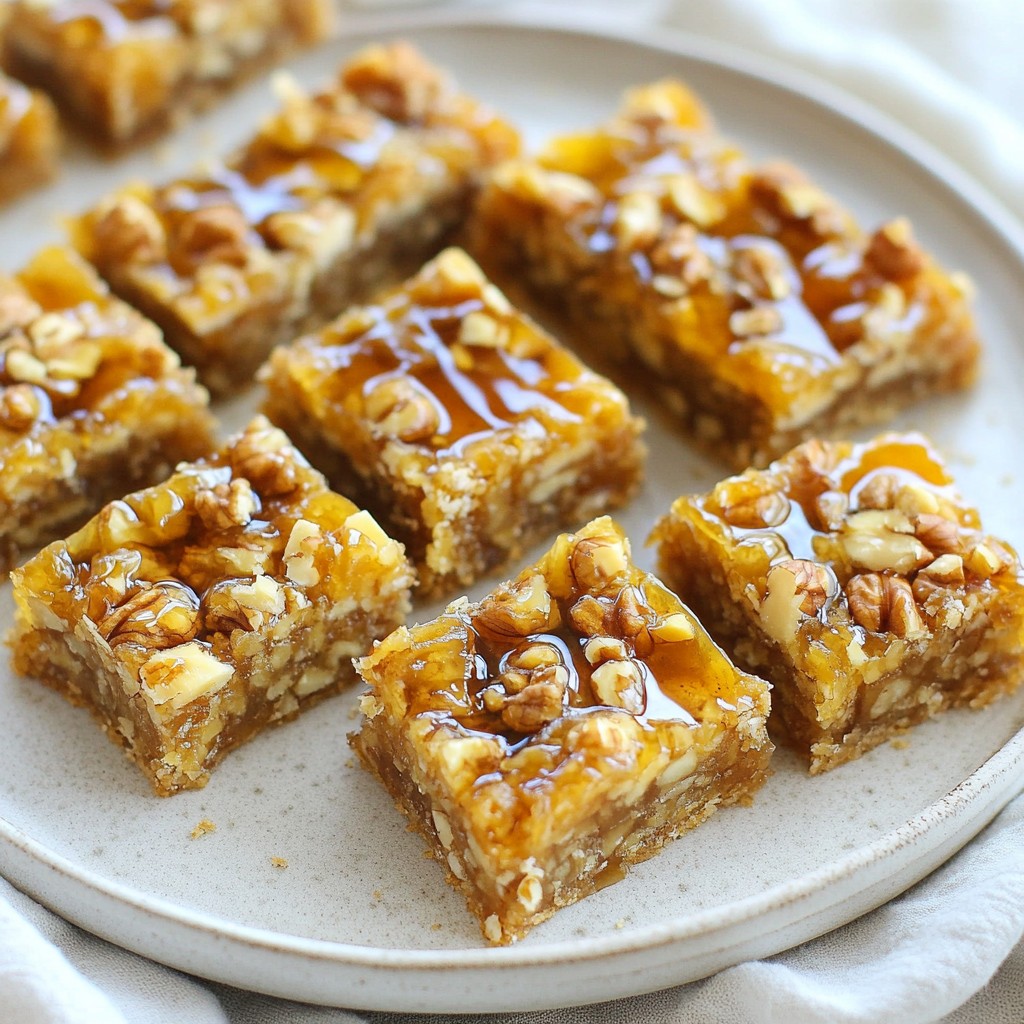
Looking for a tasty treat that's easy to make? You'll love these Chewy No-Bake Maple Walnut Bars! With just a few simple ingredients, you can whip up a delightful snack that satisfies your sweet tooth. Packed with oats, walnuts, and a touch of maple syrup, each bite is chewy and flavorful. Let’s dive into this straightforward recipe that will thrill your taste buds and keep you energized!
Why I Love This Recipe
- Easy to Make: This recipe requires no baking, making it a quick and simple treat to whip up anytime.
- Nutritious Ingredients: Packed with wholesome oats, walnuts, and dates, these bars provide a healthy energy boost.
- Customizable: Feel free to substitute or add your favorite nuts or seeds for a personal touch!
- Deliciously Chewy: The combination of almond butter and dates creates a wonderfully chewy texture that’s hard to resist.
Ingredients
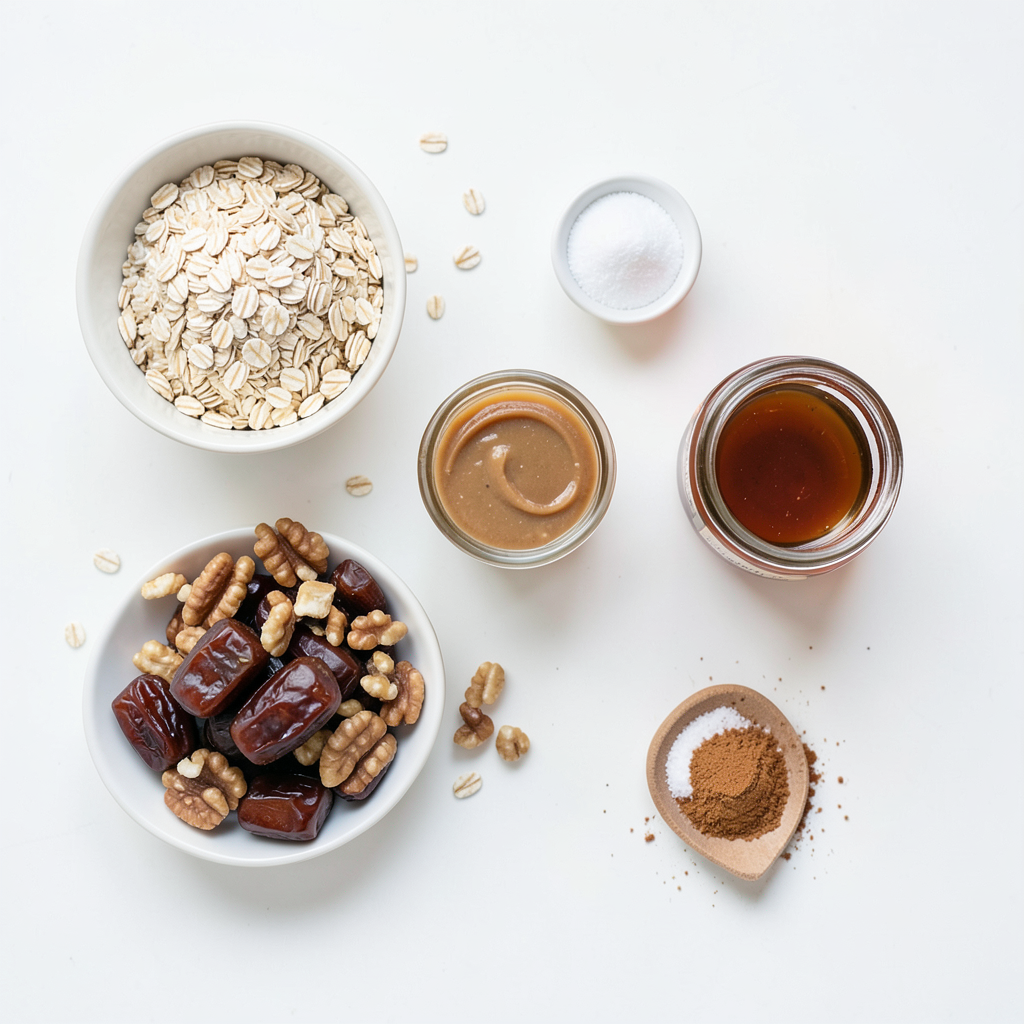
To make Chewy No-Bake Maple Walnut Bars, you need simple and wholesome ingredients. These bars are packed with flavor and nutrition. Here’s the list of what you will need:
- 2 cups rolled oats
- 1 cup walnuts, roughly chopped
- 1 cup pitted dates, soaked in warm water for 10 minutes
- 1/2 cup natural almond butter (or peanut butter)
- 1/3 cup pure maple syrup
- 1 teaspoon vanilla extract
- 1/4 teaspoon salt
- 1/2 teaspoon cinnamon (optional)
Each ingredient plays a key role in making these bars tasty. The oats provide a hearty base, while the walnuts add a nice crunch. Soaked dates bring natural sweetness and stickiness. Almond butter gives it a creamy texture, and maple syrup adds a rich flavor. Vanilla extract and salt enhance all the tastes. If you like, cinnamon adds warmth and spice.
Gather these ingredients, and you are ready to create a delightful treat.
Step-by-Step Instructions
Preparation of Ingredients
First, gather all your ingredients. You need 2 cups of rolled oats, 1 cup of walnuts, and 1 cup of pitted dates. Soak the dates in warm water for 10 minutes. This helps them blend smoothly. You will also need 1/2 cup of almond or peanut butter and 1/3 cup of pure maple syrup. Don't forget 1 teaspoon of vanilla extract, 1/4 teaspoon of salt, and 1/2 teaspoon of cinnamon if you like.
Mixing the Base
Start by placing the soaked dates and almond butter in a food processor. Blend them until smooth. If the mix is thick, add a little water to help it blend. Next, grab a large bowl. Add the rolled oats, chopped walnuts, salt, cinnamon, and vanilla extract. Stir these dry ingredients well. Now, pour the smooth date and almond butter mix into the bowl. Drizzle the maple syrup on top. Use a spatula or your hands to mix everything together until it feels sticky.
Assembling the Bars
Line an 8x8 inch baking dish with parchment paper. Leave some paper hanging over the edges. This helps you lift the bars out later. Press the mixture into the dish firmly. Use a measuring cup to pack it down evenly. Pop the dish in the fridge for at least 1-2 hours. This helps the bars set. Once set, lift the mixture out using the parchment paper. Cut it into bars or squares. Enjoy your chewy no-bake maple walnut bars!
Tips & Tricks
Ensuring the Right Consistency
To get the perfect texture, make sure your dates are soft. Soak them in warm water for about 10 minutes. This step helps them blend smoothly. If your mixture feels too thick, just add a tablespoon of water. Mix again until you reach a creamy texture. This will help your bars hold together.
Techniques for Pressing the Mixture
Pressing the mixture firmly is key for good bars. Use a spatula or your hands to spread it evenly in the baking dish. I like using the back of a measuring cup to pack it down tight. This makes sure the bars don’t crumble. The firmer you press, the better they hold their shape after chilling.
Presentation Tips
Once set, these bars look great on any plate. Arrange them on a rustic wooden board for a homey vibe. Drizzle a bit of extra maple syrup on top for a sweet touch. Serve with fresh fruit for a splash of color. This not only makes the dish look nice but adds a tasty contrast.
Pro Tips
- Chill for Firmness: Refrigerate the bars for longer than 2 hours if you want them even firmer and easier to cut.
- Experiment with Nuts: Feel free to substitute walnuts with your favorite nuts like almonds or pecans for a different flavor profile.
- Sweetness Adjustment: Adjust the amount of maple syrup based on your preferred sweetness level. You can reduce it for a less sweet bar.
- Add Extra Flavor: Enhance the flavor by mixing in dried fruits like cranberries or apricots for added texture and taste.
Variations
Alternative Nut Choices
You can change the nuts in these bars. Instead of walnuts, try almonds or pecans. Both add a nice crunch. If you want a nut-free option, use seeds. Sunflower seeds or pumpkin seeds work great. They bring flavor and texture without nuts.
Adding Flavor Enhancements
Want to jazz up your bars? Add some extras! Mix in dark chocolate chips for a sweet twist. Dried fruits like cranberries or apricots add chewiness and fun. You can also try spices. A pinch of nutmeg or ginger can boost the taste.
Sweetness Adjustments
If you prefer less sweet, cut back on the maple syrup. Use only 1/4 cup instead of 1/3 cup. You can also swap some syrup for mashed bananas. This keeps the bars sweet but lowers the sugar. Adjust to your taste for a perfect treat!
Storage Info
Best Storage Practices
To keep your chewy no-bake maple walnut bars fresh, store them in an airtight container. This helps prevent moisture from ruining their texture. You can also wrap each bar in wax paper. This makes them easy to grab on the go.
Shelf Life of Maple Walnut Bars
When stored correctly, these bars can last up to one week in the fridge. Their taste stays great, and they remain chewy. If you notice any changes in smell or texture, it’s best to toss them out.
Freezing Options
You can freeze these bars for longer storage. Wrap each bar tightly in plastic wrap before placing them in a freezer bag. They can last up to three months in the freezer. To enjoy, simply thaw them in the fridge overnight before eating. This keeps them tasty and ready to go!
FAQs
How long do these bars need to set?
These bars need at least 1 to 2 hours to set in the fridge. This time allows them to firm up and get chewy. If you can wait longer, they taste even better!
Can I substitute the almond butter?
Yes, you can use peanut butter or sunflower seed butter. Each option adds a different taste but still keeps the bars chewy and delicious.
What is the best way to cut the bars?
The best way to cut the bars is to lift them out of the dish first. Use the parchment paper edges to pull them out. Then, use a sharp knife to slice them into even squares.
How should I store these bars?
Store the bars in an airtight container. They stay fresh in the fridge for up to a week. If you want them to last longer, freeze them!
Can I add other nuts or seeds?
Absolutely! You can mix in pecans, almonds, or even seeds like chia or flax. This adds new flavors and boosts nutrition.
Can I make these bars gluten-free?
Yes, use gluten-free oats to keep the bars gluten-free. Always check the labels to ensure they meet your needs.
What can I serve with these bars?
These bars pair well with fresh fruit or yogurt. You can also drizzle a bit of maple syrup on top for added sweetness.
Are these bars kid-friendly?
Definitely! Kids love the sweet taste and chewy texture. They make a great snack or lunchbox treat.
Can I use other sweeteners instead of maple syrup?
Yes, you can use honey or agave nectar. Each sweetener has a unique flavor, but they all work well in this recipe.
How do I make these bars more chocolatey?
You can add mini chocolate chips to the mixture. They melt slightly and add a nice touch of sweetness.
You learned how to make delicious maple walnut bars. We covered key ingredients, step-by-step instructions, and helpful tips. You also discovered tasty variations and how to store your bars.
These simple snacks are healthy and easy to make. Enjoy these bars at any time to satisfy your hunger. With some practice, you’ll perfect the recipe. Now, get started and treat yourself to homemade goodness!