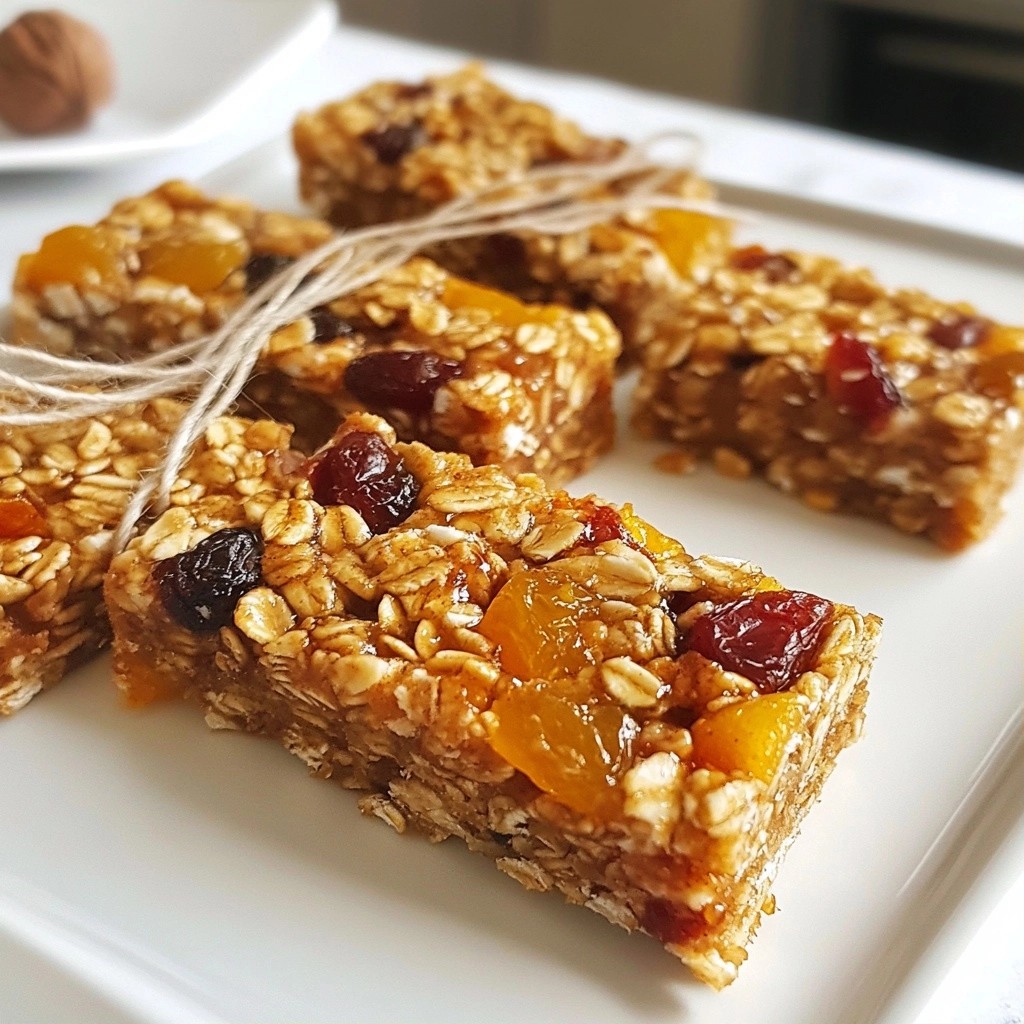
Looking for a delicious snack that's easy to make? Chewy no-bake granola fruit bars might be your answer! In this post, I’ll show you how to whip up these tasty treats with simple ingredients. Whether you want a quick breakfast or a healthy snack, these bars offer both flavor and nutrition. Let’s dive into the easy steps to create your new favorite snack!
Why I Love This Recipe
- Healthy Snack Alternative: These granola bars are packed with wholesome ingredients, making them a nutritious option for a quick snack.
- No-Bake Convenience: With no baking required, these bars come together quickly and easily, perfect for busy days.
- Customizable Flavors: Feel free to switch up the nuts, fruits, or sweeteners to match your personal taste preferences.
- Great for Meal Prep: These bars can be made ahead of time and stored, making them an ideal option for meal prep enthusiasts.
Ingredients
Essential Ingredients
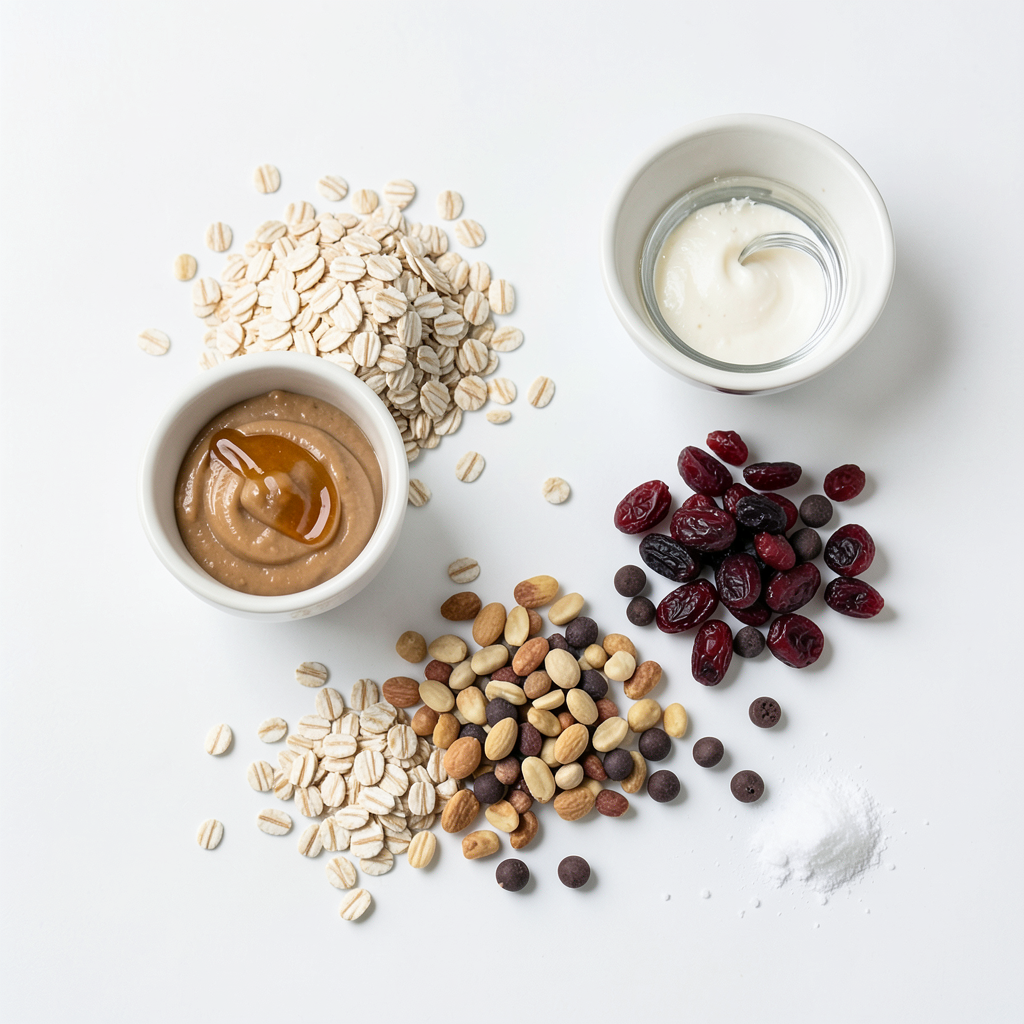
To make these chewy no-bake granola fruit bars, you need a few key items:
- 1 cup rolled oats
- 1/2 cup almond butter (or any nut butter of choice)
- 1/4 cup honey or maple syrup
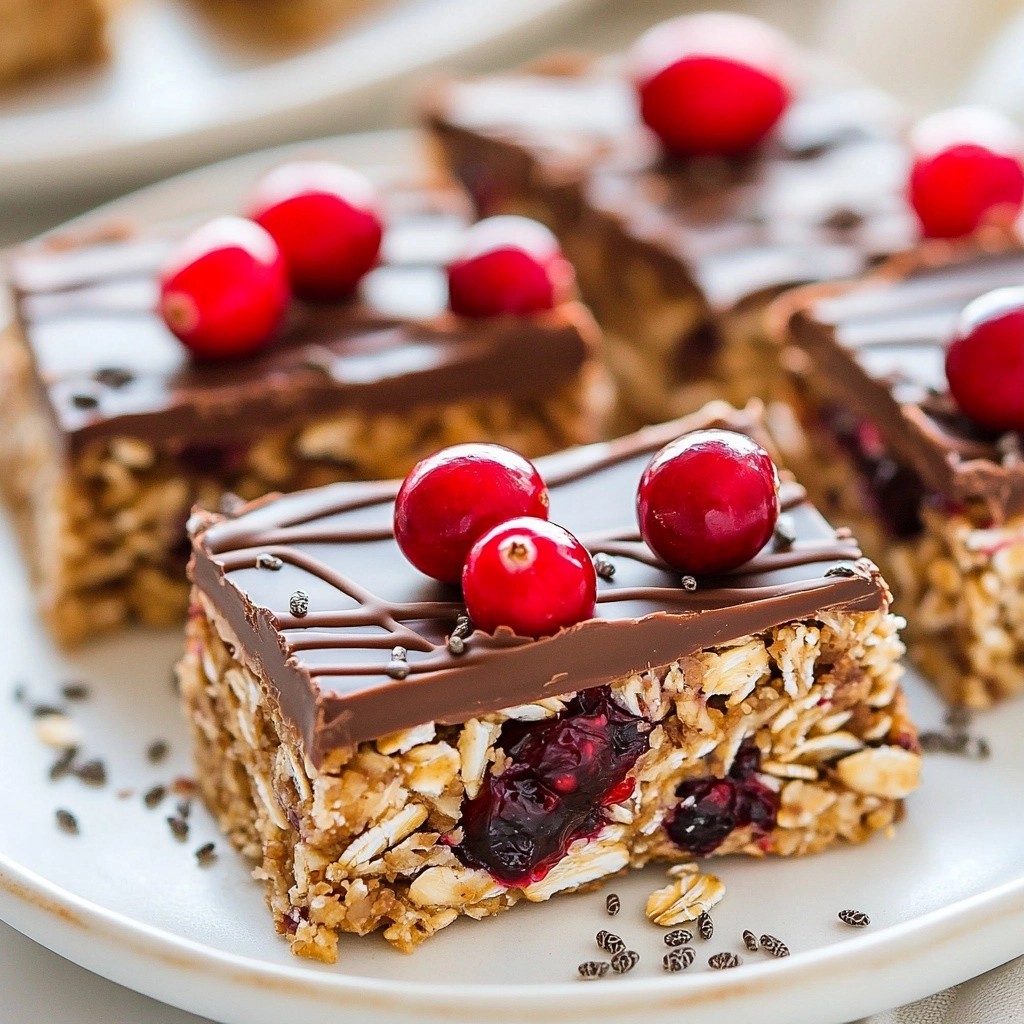
- 1/2 cup dried fruits (e.g., cranberries, apricots, or raisins)
- 1/2 cup mixed nuts (e.g., almonds, walnuts, or pecans), chopped
- A pinch of salt
These core ingredients create a strong base for your bars. The rolled oats provide the main structure. The nut butter adds creaminess and helps bind everything. Honey or maple syrup gives natural sweetness.
Optional Ingredients
You can add optional ingredients for extra flavor and fun:
- 1/4 cup mini dark chocolate chips
Chocolate chips bring a sweet touch and pair well with the nuts and fruits. They also make these bars feel more like a treat.
Substitutions and Choices
Feel free to swap ingredients to fit your tastes:
- Use peanut butter instead of almond butter.
- Try agave syrup in place of honey or maple syrup.
- Change the dried fruits based on what you have.
These choices let you customize the recipe easily. You can make it vegan or nut-free with simple swaps. Don't be afraid to get creative!
Step-by-Step Instructions
Preparing the Mixture
First, grab a large mixing bowl. Add 1 cup of rolled oats, 1/2 cup of dried fruits, and 1/2 cup of chopped nuts. You can use cranberries, apricots, or raisins for the fruits, and almonds, walnuts, or pecans for the nuts. Stir everything well to mix the ingredients evenly. This step sets the base for your delicious granola bars.
Melting the Nut Butter Mixture
Next, take a small saucepan and place it on low heat. Combine 1/2 cup of almond butter, 1/4 cup of honey or maple syrup, 1/2 teaspoon of vanilla extract, and a pinch of salt in the pan. Stir continuously for about 2-3 minutes. The mixture should become smooth and well combined. This warm mixture helps bind the bars together.
Assembling and Setting the Bars
Now, pour the warm nut butter mixture over the oat mixture in your large bowl. Use a spatula or your hands (lightly greased) to mix everything together. Make sure all the ingredients are well coated. If you want, fold in 1/4 cup of mini dark chocolate chips at this stage for extra flavor.
Next, line an 8x8 inch baking dish with parchment paper. Leave some overhang for easy removal later. Pour the mixture into the dish and press it down firmly with your hands or the back of a spatula. This helps the bars hold their shape. Refrigerate the mixture for at least 2 hours until it sets. Once set, lift the granola slab out using the parchment paper and cut it into bars. Store the bars in an airtight container in the fridge for up to 2 weeks. Enjoy your tasty snack!
Tips & Tricks
Ensuring Proper Mixing
When making chewy no-bake granola fruit bars, mix all dry ingredients first. Combine rolled oats, dried fruits, and chopped nuts in a large bowl. Use a spatula or your hands to blend them well. This step helps spread flavors evenly. It also ensures every bite is tasty and fulfilling.
Customizing with Flavor Enhancers
You can easily add your favorite flavors. Try using different dried fruits like mango or figs. Swap almond butter for peanut or cashew butter, too. You can also mix in spices like cinnamon or nutmeg for a warm touch. If you love chocolate, add more mini dark chocolate chips. Get creative with your choices!
Best Practices for Pressing Down
Pressing the mixture down well is key to great bars. Use your hands or a spatula to flatten it evenly in the dish. Press firmly to avoid crumbly bars. Lining the dish with parchment paper helps lift the bars out later. Make sure to refrigerate them for at least two hours for the best results.
Pro Tips
- Customize Your Sweetness: Adjust the amount of honey or maple syrup based on your preference for sweetness. You can also substitute with a sugar-free sweetener if desired.
- Mix and Match Ingredients: Feel free to swap out dried fruits and nuts with your favorites. This recipe is versatile, so you can create different flavor combinations each time!
- Press Firmly: Ensure you press the mixture down firmly in the baking dish; this will help the bars hold together better when cut.
- Store Properly: Keep the granola bars in an airtight container in the refrigerator to maintain freshness for up to 2 weeks. For longer storage, consider freezing them.
Variations
Fruit & Nut Combinations
You can mix and match fruits and nuts in this recipe. Dried cranberries add a sweet-tart flavor. Try apricots for a chewy texture. Raisins work well too. For nuts, almonds, walnuts, or pecans all add crunch. Choose nuts that you love for the best taste.
Alternative Sweeteners
If you want to change sweeteners, use maple syrup instead of honey. Agave syrup is another great choice. You can also use date syrup for a different flavor. Each sweetener gives a unique taste to the bars.
Add-ins for Flavor and Texture
Want to boost flavor? Try adding a spoonful of nutmeg or cinnamon. These spices give warmth and depth. For extra crunch, add pumpkin seeds or sunflower seeds. If you love chocolate, mix in some dark chocolate chips. Each add-in makes your bars special and tasty!
Storage Info
Best Storage Methods
To keep your chewy no-bake granola fruit bars fresh, store them in an airtight container. This prevents air from making them dry. You can also wrap each bar in parchment paper. This makes grabbing a snack easy and adds a nice touch.
Shelf Life and Freshness Tips
These granola bars stay fresh for up to two weeks in the fridge. After that, they may lose their chewiness. For the best taste, enjoy them within the first week. Check for any signs of spoilage, like a strange smell or color change. If you notice anything off, it’s best to toss them.
Freezing for Long-term Storage
You can freeze these bars for longer storage. Wrap them tightly in plastic wrap or foil before placing them in a freezer-safe bag. They can last up to three months in the freezer. When you’re ready to eat, let them thaw in the fridge overnight. This keeps them soft and tasty!
FAQs
How to make chewy no-bake granola bars?
To make chewy no-bake granola bars, mix rolled oats, dried fruits, and nuts in a bowl. Melt almond butter, honey, and vanilla in a pan over low heat. Pour the melted mix into the oat mix and stir until coated. Press the mixture into a lined baking dish. Chill for two hours, then cut into bars.
Can I use different nut butters?
Yes, you can use any nut butter you like. Almond butter works great, but peanut butter or cashew butter also fits well. Each nut butter adds its unique flavor. Just ensure it has a similar texture to almond butter for the best results.
How do I know when they are set?
You will know the bars are set when they feel firm to the touch. After chilling for at least two hours, the mixture will hold its shape when pressed. If they still feel soft, give them more time in the fridge.
Are these granola bars healthy?
These granola bars are a healthy snack option. They use wholesome ingredients like oats, nuts, and dried fruits. They offer fiber, healthy fats, and natural sugars. Eating these bars can help keep your energy levels up.
Can I add protein powder to the recipe?
Yes, adding protein powder is a great idea! You can mix in a scoop when you combine the oats and nuts. This will boost the protein content and make your bars even more filling.
We covered how to make no-bake granola bars, from key ingredients to storage tips. You learned how to mix, melt, and assemble the bars. I shared ways to customize flavors and textures. These bars are easy and fun to make. You can store them in multiple ways for freshness. With all the options, you can create a snack you love. Enjoy making these tasty treats!