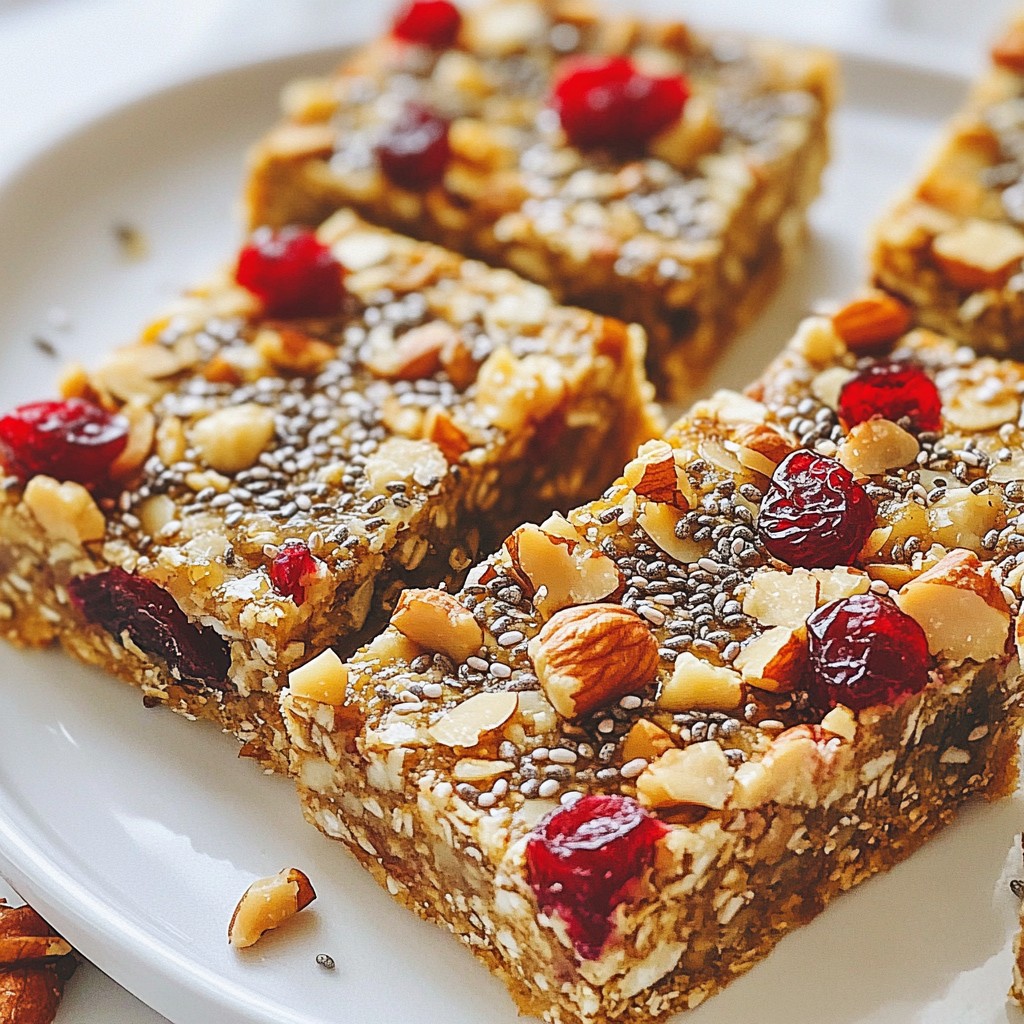
Looking for a quick energy boost? These Chewy No-Bake Cranberry Nut Bars are your answer! Packed with wholesome ingredients, they offer a tasty pick-me-up without the fuss. In just a few simple steps, you can create a snack that's not only delicious but also nutritious. Join me as I guide you through easy instructions, tips for the perfect texture, and fun variations to keep your bars exciting! Let’s get started!
Why I Love This Recipe
- Healthy Ingredients: This recipe is packed with nutritious components like dates, nuts, and cranberries, making it a wholesome snack choice.
- No Baking Required: These bars are incredibly easy to make since they require no baking, saving you time and effort in the kitchen.
- Customizable: You can easily modify the recipe by swapping out nuts or adding other dried fruits, making it versatile for your taste.
- Perfect Snack Option: These chewy bars are ideal for on-the-go snacking, providing a quick energy boost without any guilt.
Ingredients
List of Required Ingredients
To make chewy no-bake cranberry nut bars, you will need:
- 1 cup pitted dates
- 1 cup mixed nuts (almonds, walnuts, cashews)
- 1 cup dried cranberries
- 1/4 cup rolled oats
- 1/4 teaspoon sea salt
- 1 tablespoon maple syrup
- 1 teaspoon vanilla extract
- 1/4 teaspoon cinnamon
Optional Ingredients for Extra Texture
For extra texture, consider adding:
- 2 tablespoons chia seeds
Chia seeds add crunch and help bind the bars. They also boost nutrition with fiber and healthy fats.
Freshness Tips for Ingredients
When preparing your ingredients, freshness matters. Here are some tips:
- Store nuts in a cool, dark place to prevent them from going stale.
- Check the expiration date on dried cranberries for optimal taste.
- Use fresh dates to keep the bars moist and chewy.
These tips will help you enjoy the best flavors in your chewy no-bake cranberry nut bars.

Step-by-Step Instructions
Preparation of the Base Mixture
To start, gather your ingredients. You will need:
- 1 cup pitted dates
- 1 cup mixed nuts (almonds, walnuts, cashews)
- 1 cup dried cranberries
- 1/4 cup rolled oats
- 1/4 teaspoon sea salt
- 1 tablespoon maple syrup
- 1 teaspoon vanilla extract
- 1/4 teaspoon cinnamon
- Optional: 2 tablespoons chia seeds
First, place the pitted dates and mixed nuts in your food processor. Process them until they are finely chopped. The mixture should start to clump together. Next, add in the dried cranberries, rolled oats, sea salt, maple syrup, vanilla extract, and cinnamon. If you want extra texture, toss in the chia seeds. Pulse the mixture until it is well-combined and sticky. Make sure to scrape down the sides as needed.
How to Form and Compact the Bars
Now, you need a baking dish. Line an 8x8-inch dish with parchment paper. Leave some overhang for easy removal later. Next, take the sticky mixture and press it into the dish. Spread it evenly to about 1/2 inch thick. Use the back of a spatula to pack it down firmly. This step is key for getting the right texture in your bars.
Chilling and Setting the Bars
Once you have pressed the mixture into the dish, it's time to chill. Place the dish in the fridge for at least 1 hour. This helps the bars firm up. After they have set, use the parchment paper to lift the bars out of the dish. Cut them into squares or rectangles with a sharp knife. You can store the bars in an airtight container in the fridge for up to a week. For longer storage, freeze them. Enjoy your chewy no-bake cranberry nut bars anytime for a quick energy boost!
Tips & Tricks
Achieving the Perfect Chewy Texture
To get that chewy texture in your bars, use fresh pitted dates. They add moisture. Chop the dates and nuts finely in the food processor. This keeps the bars compact. Be sure to add enough maple syrup. It helps everything stick together. Press the mixture firmly into the dish. A spatula can help make it even. Refrigerate the bars for at least one hour. This allows them to set well.
Common Mistakes to Avoid
One common mistake is not using enough ingredients. If you skip the oats or nuts, the bars may crumble. Make sure to pulse the mixture well. If it is too dry, add a bit more maple syrup. Avoid over-processing the mix. It should be sticky but not mushy. Also, do not skip the chilling step. This step is key to getting the bars firm.
Enhancements for Flavor and Nutrition
You can boost the flavor by adding spices. A bit more cinnamon or a pinch of nutmeg works well. Try adding vanilla extract for extra taste. For added nutrition, include chia seeds. They provide omega-3 fatty acids and fiber. You can also mix in some cocoa powder for a chocolate twist. If you want a tropical touch, add shredded coconut. These small changes can make your bars even better!
Pro Tips
- Use Fresh Dates: Make sure to use fresh, soft pitted dates for the best texture and sweetness in your bars.
- Customize Your Nuts: Feel free to swap out the mixed nuts with your favorite variety or even add seeds for a unique flavor.
- Chill for Best Results: Allow the bars to chill longer if you prefer a firmer texture; overnight is ideal for the best consistency.
- Storage Tip: To prevent sticking, place parchment paper between layers if stacking the bars in an airtight container.
Variations
Nut Alternatives and Substitutions
You can change the nuts in this recipe. Try using sunflower seeds or pumpkin seeds. These seeds add crunch and flavor. You can also use pecans or hazelnuts. Just make sure to choose nuts you like. If you're allergic to nuts, seeds work well too. They keep the bars chewy and tasty.
Flavor Additions (Coconut, Chocolate, etc.)
Want to make these bars even better? Add some shredded coconut for a tropical twist. You can also mix in dark chocolate chips for a sweet touch. Try using dried apricots or raisins as well. Each addition gives a new flavor. Mix and match to find your favorite combo. Your taste buds will thank you!
Gluten-Free and Vegan Options
This recipe is already vegan, which is great. To ensure it's gluten-free, use certified gluten-free oats. This way, everyone can enjoy them. You can also swap maple syrup with agave nectar if needed. These options keep the bars friendly for all diets. Enjoy these chewy bars without worry!
Storage Information
Best Practices for Refrigeration
You want to keep your chewy no-bake cranberry nut bars fresh. Store them in an airtight container. This will help prevent them from drying out. Placing them in the fridge is best. They stay firm and tasty this way. I suggest using parchment paper to separate the layers. This keeps them from sticking together.
Freezing Instructions for Long-Term Storage
If you want to keep these bars for longer, freezing is a great option. Wrap each bar in plastic wrap or foil. Then, place them in a freezer-safe bag. Make sure to squeeze out any air. They can last up to three months in the freezer. When you’re ready to eat one, let it thaw in the fridge overnight.
Shelf Life of Chewy No-Bake Bars
When stored properly, these bars can last about a week in the fridge. But, if you freeze them, they can last much longer. Just remember, the fresher they are, the better they taste. Enjoy them as a quick snack or energy boost!
FAQs
How can I make these bars nut-free?
You can easily make these bars nut-free. Replace the mixed nuts with seeds. Use sunflower seeds or pumpkin seeds as great options. You can also add more oats to replace the volume. This change keeps the bars tasty and chewy.
Can I use fresh cranberries instead of dried?
Using fresh cranberries is not ideal for these bars. Fresh cranberries are too tart and add too much moisture. Dried cranberries have the right sweetness and texture. If you want a twist, try dried cherries or blueberries instead.
What is the best way to cut the bars?
To cut the bars, use a sharp knife. First, chill the bars for an hour. Lift the bars out using the parchment paper. Place them on a cutting board. Cut them into squares or rectangles. Clean your knife between cuts for a neat finish.
You learned how to make chewy no-bake bars. We covered the ingredients you need, like the base and optional add-ins. I shared smart tips for the right texture and common mistakes to avoid. You also saw ways to switch flavors and ensure your bars are safe for your diet. Remember to store them well for freshness. With these steps, you can create tasty snacks that fit your needs. Enjoy making and sharing your no-bake bars!