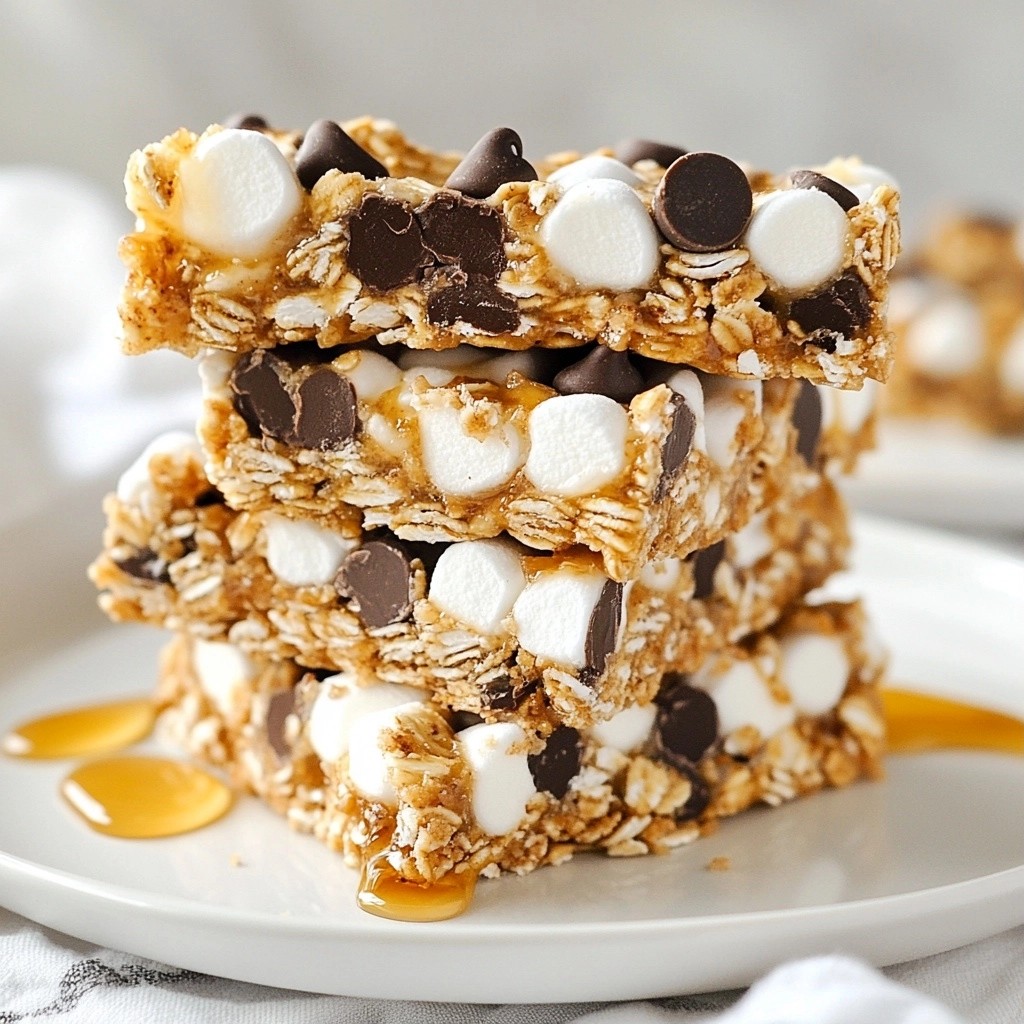
Are you ready to treat yourself with a delicious snack? These chewy no-bake chocolate chip granola bars are simple to make and perfect for any time of day. With just a few healthy ingredients, you can whip up a tasty snack in no time. I’ll guide you through the easy steps, share tips for a perfect chewy texture, and suggest fun flavor combos. Let’s dive into this delightful recipe!
Why I Love This Recipe
- Quick and Easy: This recipe requires only 15 minutes of prep time, making it perfect for busy days when you need a healthy snack.
- Nutritious Ingredients: Packed with rolled oats, chia seeds, and nut butter, these bars provide a great source of energy and nutrition.
- Customizable: You can easily adjust the ingredients based on your preferences. Add dried fruits, nuts, or different types of chocolate!
- Great for Meal Prep: These bars can be made ahead of time and stored in the fridge, making them a convenient grab-and-go snack.
Ingredients
List of Essential Ingredients
- 2 cups rolled oats
- 1 cup unsweetened nut butter (like almond or cashew)
- 1/2 cup honey or maple syrup
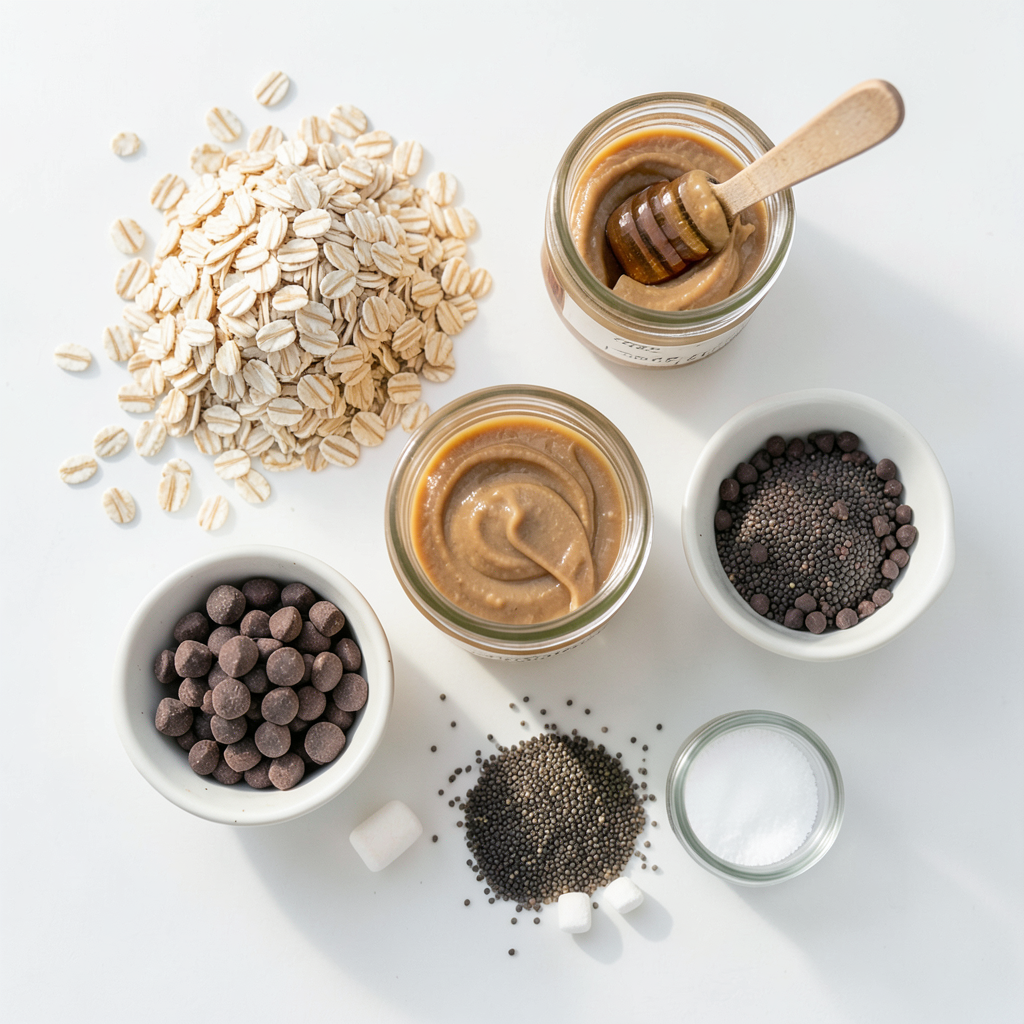
These are the core ingredients for my chewy no-bake chocolate chip granola bars. Rolled oats provide the base. They give the bars a great texture. Unsweetened nut butter adds creaminess and healthy fats. I love almond or cashew butter for this recipe. Honey or maple syrup acts as a natural sweetener. It helps bind everything together while adding a touch of sweetness.
Optional Ingredients for Extra Flavor
- 1/2 cup dark chocolate chips
- 1/4 cup mini marshmallows
- 1/2 teaspoon vanilla extract
These optional ingredients add fun flavors and textures. Dark chocolate chips bring a rich taste to the bars. Mini marshmallows make them extra chewy and fun. A splash of vanilla extract boosts the flavor profile. Feel free to mix and match based on your taste!
Tools You'll Need
- Large mixing bowl
- Microwave-safe bowl or double boiler
- Square baking dish
Having the right tools makes the process easier. A large mixing bowl holds all the ingredients. Use a microwave-safe bowl or a double boiler to melt the nut butter and sweetener. A square baking dish (8x8 inches) is perfect for shaping the bars. Lining it with parchment paper helps with easy removal later.
Step-by-Step Instructions
Combining the Dry Ingredients
Start by grabbing a large mixing bowl. Add 2 cups of rolled oats, 1/4 cup of chia seeds, and a pinch of salt. Stir them together well. This mix forms the base of your granola bars. The oats give texture, while the chia seeds add nutrition.
Preparing the Nut Butter Mixture
Next, take a microwave-safe bowl or a double boiler. Add 1 cup of unsweetened nut butter and 1/2 cup of honey or maple syrup. Heat gently until melted and mixed well. This makes the bars chewy and tasty. Once melted, stir in 1/2 teaspoon of vanilla extract. The vanilla adds a lovely flavor that pairs with the chocolate.
Mixing Everything Together
Now, pour the nut butter mixture over the dry ingredients. Use a spatula or your hands to mix everything well. Make sure all the dry ingredients are coated. Then, fold in 1/2 cup of dark chocolate chips. If you like extra chewiness, add 1/4 cup of mini marshmallows. Mix until everything is evenly distributed. This step brings together all the flavors for your chewy granola bars.
Tips & Tricks
Ensuring Chewy Texture
To get that perfect chewy texture, press the mixture tightly. This step helps the bars hold together. If you want extra chewiness, add mini marshmallows. They melt slightly and create a soft bite.
Perfecting Flavor Combinations
You can switch up the nut butter based on your taste. Almond, cashew, or peanut butter all work well. For sweeteners, you can use honey or maple syrup. Each option adds its own unique flavor. You can also play with spices, like cinnamon or nutmeg, for an extra kick.
Enhancing Presentation
Wrap each bar in parchment paper for gifting. Tie with a string for a pretty touch. For snack tables, arrange them neatly in a container. This makes them easy to grab and enjoy.
Pro Tips
- Chill for Chewiness: For extra chewy granola bars, refrigerate the mixture for longer, up to 2 hours, before cutting.
- Nut Butter Variations: Experiment with different nut butters like peanut or sunflower seed butter for unique flavors.
- Mix-Ins Galore: Feel free to add other mix-ins such as dried fruits, nuts, or seeds to customize your bars.
- Storage Secrets: To keep your bars fresh longer, store them in the freezer; they will stay good for up to 3 months.
Variations
Nut-Free Version
You can easily make these granola bars nut-free. Instead of nut butter, try using seed butters. Sunflower seed butter works well. It has a creamy texture and a nice taste. You can also use pumpkin seed butter. For sweeteners, consider using agave syrup or brown rice syrup. Both options are tasty and work great in this recipe.
Add-Ins for Extra Nutrition
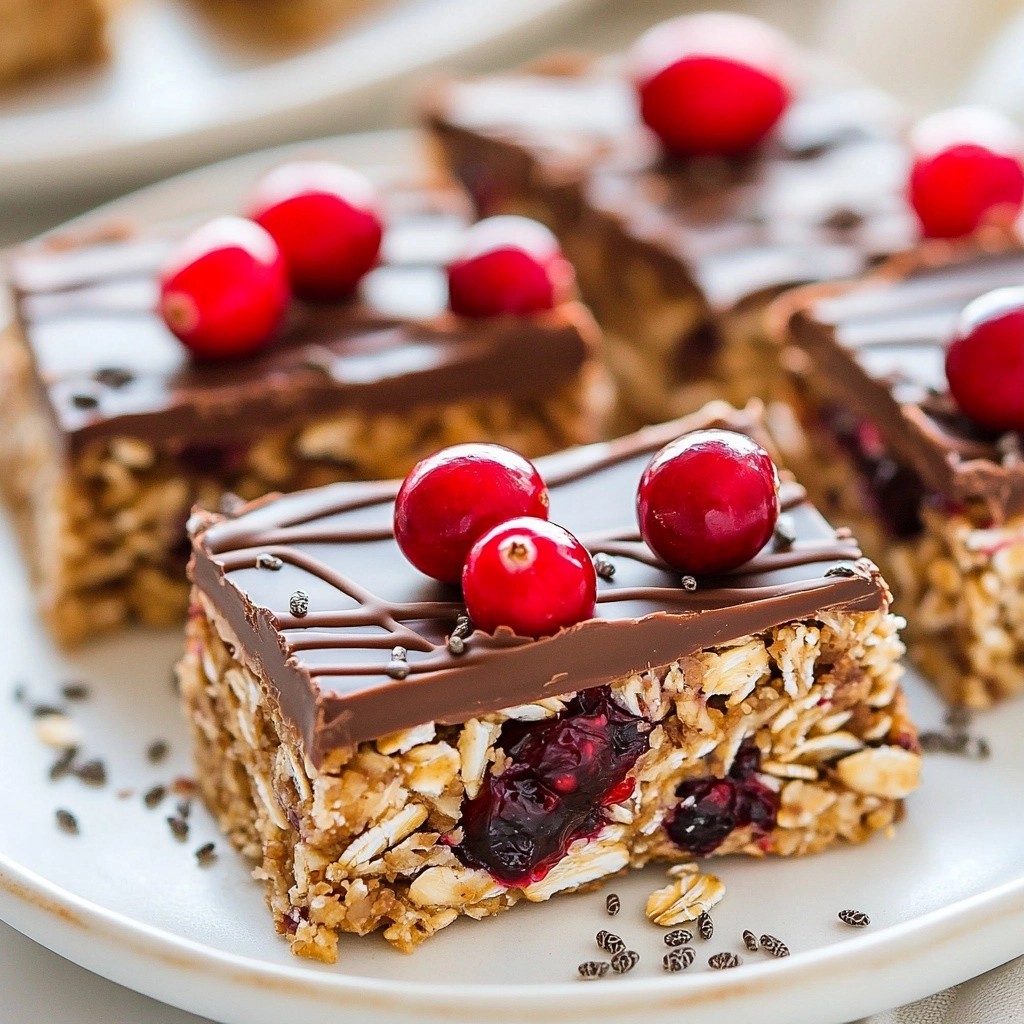
Adding extra nutrition is simple. Dried fruits add sweetness and flavor. Try mixing in raisins, cranberries, or apricots. They bring a chewy texture and fruity taste. You can also add seeds like pumpkin or sunflower. These seeds boost the protein and healthy fats in your bars. They help keep you full longer.
Flavor Combinations
Get creative with flavors! Coconut flakes can add a tropical twist. Mix in unsweetened coconut for a chewy bite. If you love chocolate, try cocoa powder. Adding cocoa powder gives your bars an extra chocolate kick. It makes them even more delicious and rich.
Storage Info
Best Storage Practices
Store your chewy no-bake chocolate chip granola bars in airtight containers. This keeps them fresh and tasty. I recommend using a container made of glass or plastic with a tight lid. If you have more than one batch, stack them with parchment paper between layers. This prevents sticking. Always refrigerate the bars to maintain their chewiness and flavor.
Shelf Life
When stored properly, these granola bars last up to a week in the fridge. For the best taste, enjoy them within the first few days. After that, they may lose some freshness. If you see any signs of spoilage, like an off smell or color change, it's best to discard them.
Freezing Options
You can freeze these granola bars for longer storage. Wrap each bar in plastic wrap or parchment paper, then place them in a freezer-safe bag. This keeps them from getting freezer burn. They can last up to three months in the freezer.
To thaw, take out the bars and leave them at room temperature for about 30 minutes. If you're in a hurry, you can microwave them for a few seconds. Enjoy your yummy snack anytime!
FAQs
Can I substitute honey with something else?
Yes, you can substitute honey with vegan sweeteners. Maple syrup works great. Agave nectar is another choice. Both will keep your bars sweet and chewy. You can also try brown rice syrup for a different flavor. Just remember, the texture may change a bit based on your choice.
How can I make these bars gluten-free?
To make these bars gluten-free, use certified gluten-free oats. Brands like Bob's Red Mill or Quaker offer good options. Always check the label to ensure there’s no gluten contamination. This step keeps your snacks safe for those with gluten issues.
What should I do if my bars are too crumbly?
If your bars are too crumbly, try pressing the mixture more firmly into the pan. You can also add a bit more nut butter or sweetener. This helps the ingredients stick together better. If needed, let them chill longer in the fridge to set. This will improve the overall texture.
These delicious granola bars are easy to make with just a few key ingredients. We covered essential components like rolled oats and nut butter, plus optional flavor boosts like chocolate chips. You now know how to combine and prepare your mixture for the perfect chewy texture. Don't forget about the variations and storage tips to keep them fresh and tasty! Try these ideas in your kitchen and enjoy a healthy snack that you can feel good about. Making your own granola bars is simple, fun, and rewarding. Dive in and get creative!